ARTE
BELLEZA Y BIENESTAR
ARTESANÍA
CULTURA E HISTORIA
ENTRETENIMIENTO
MEDIO AMBIENTE
COMIDA Y BEBIDAS
INGENIERÍA INVERSA
CIENCIAS
DEPORTES
TECNOLOGÍA
TECNOLOGÍA VESTIBLE
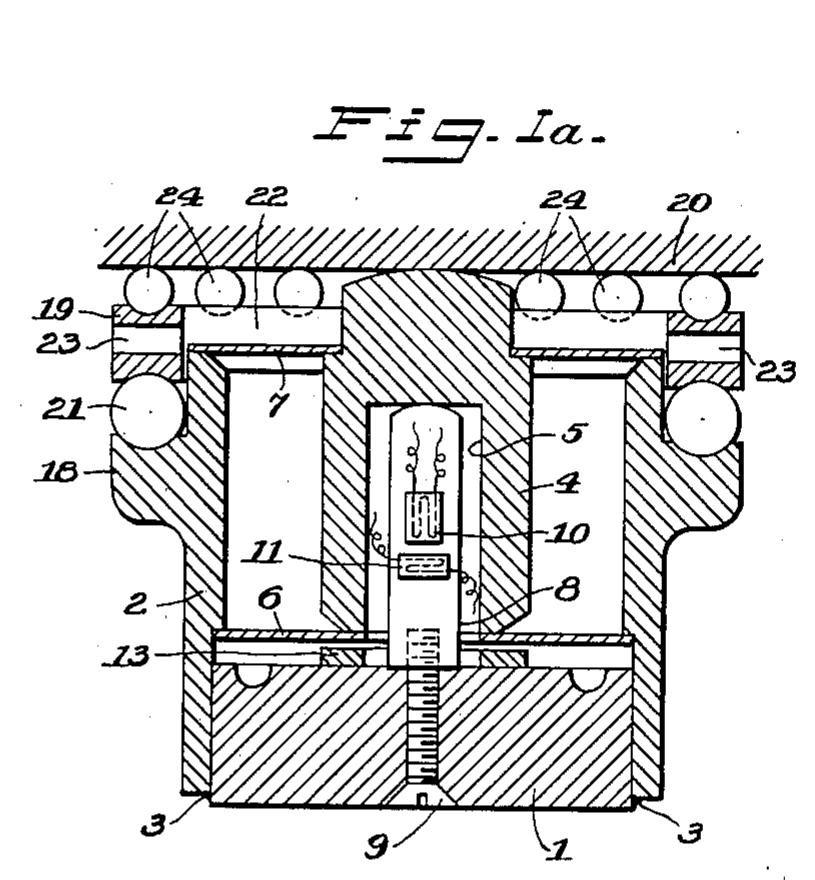


Strain-Gauge Load Cell with Floating Piston: Ruge, 1949
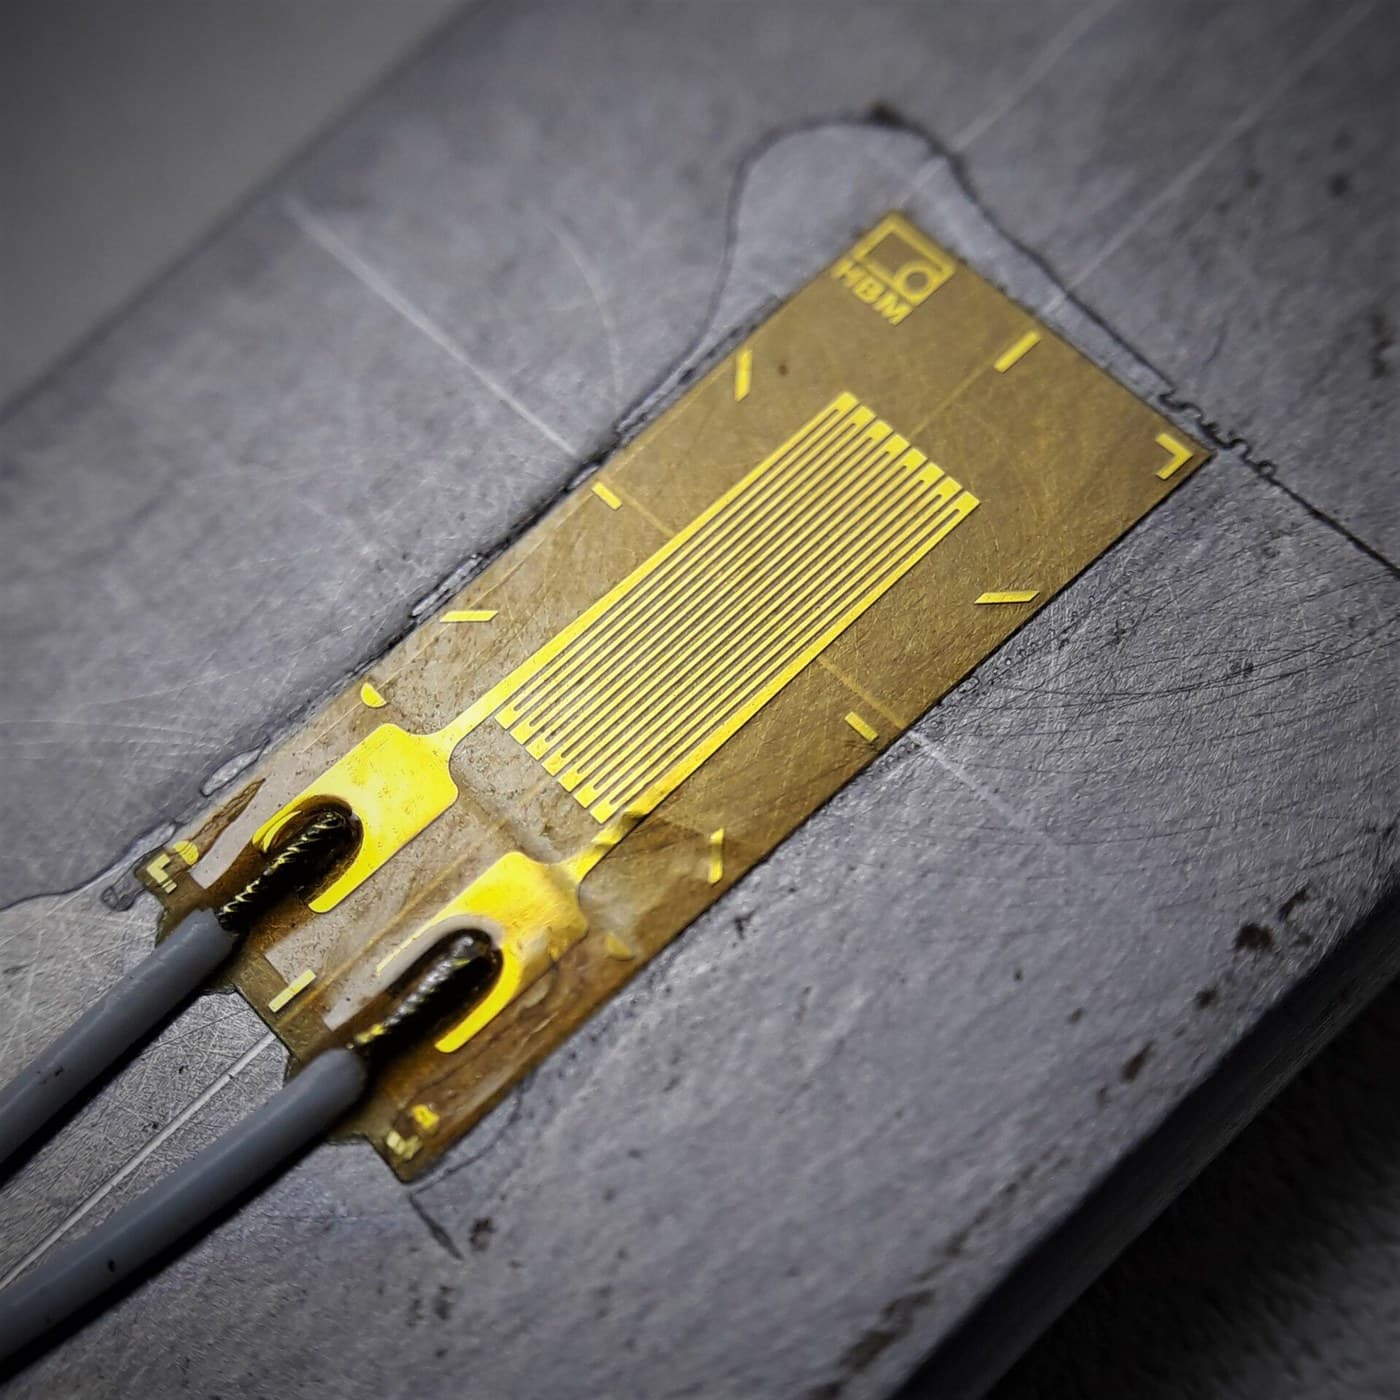
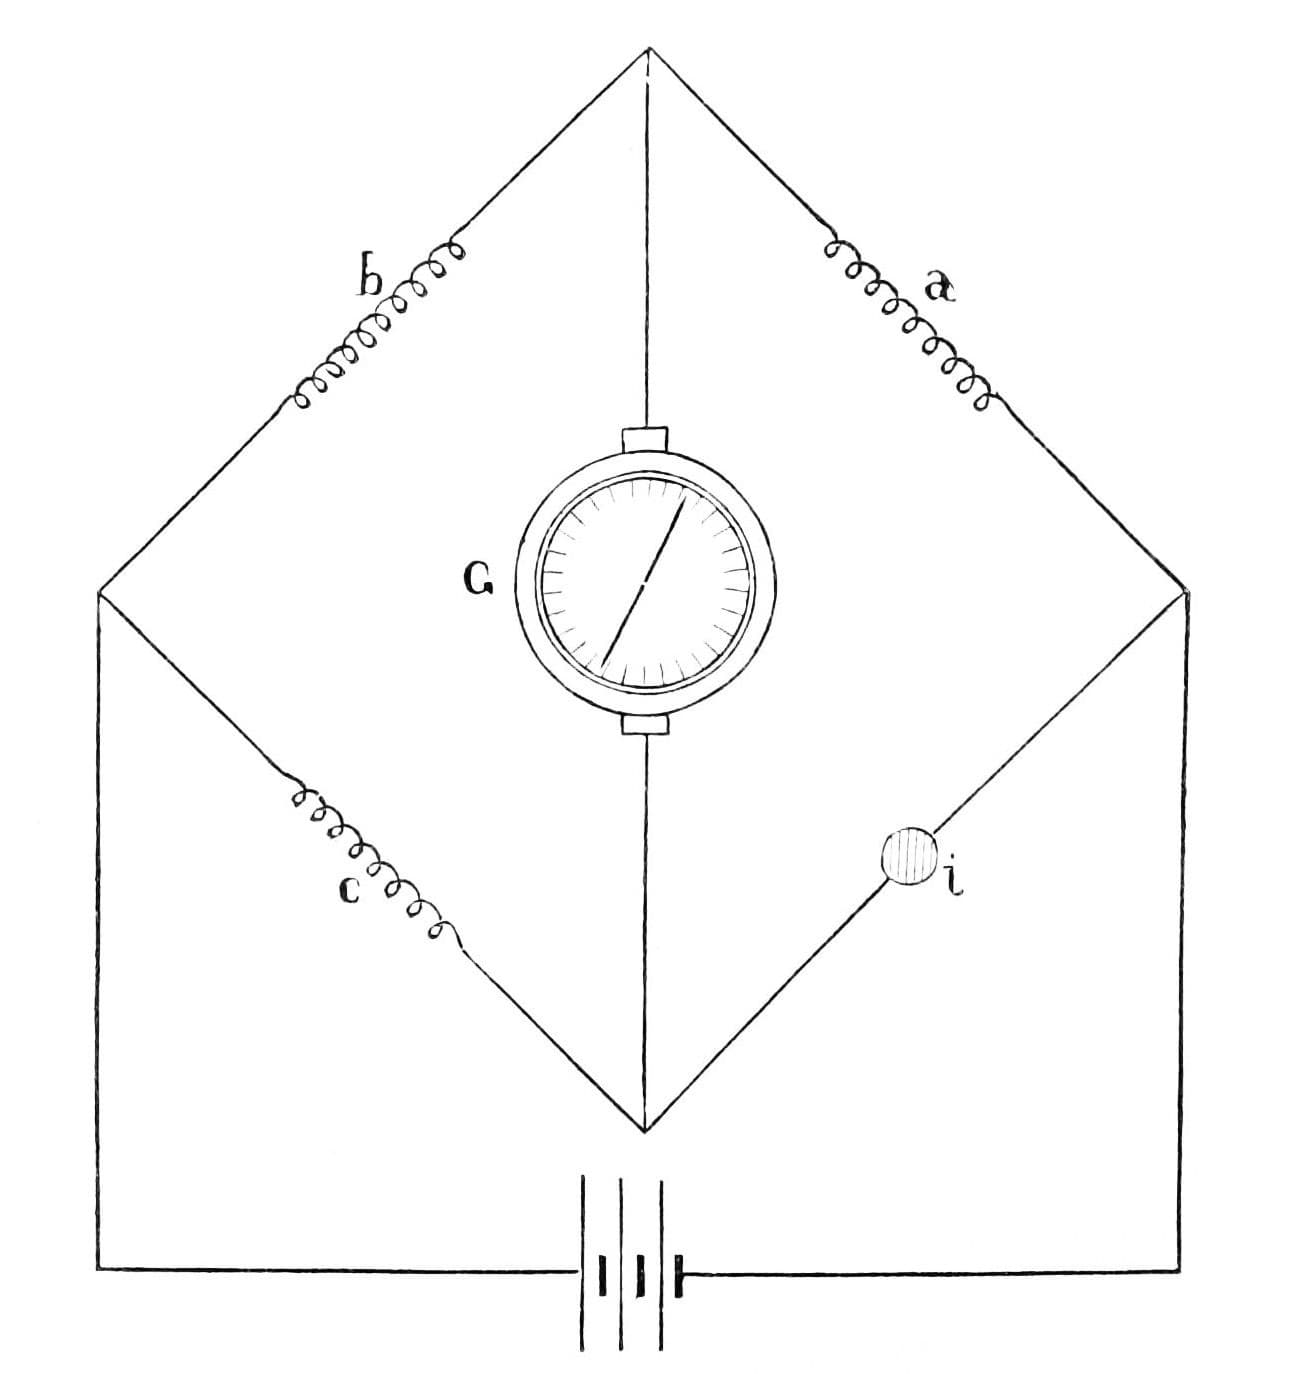
Arthur C. Ruge of Cambridge, Massachusetts, one of the two inventors of the bonded wire strain gauge, patented this load weighing cell in 1949, US 2,472,047 (filed 1946). Tanks, bins and scales rest on such cells so the weight of their contents can be read at any time. A floating piston, held in a heavy shell by two diaphragms, passes the load straight down onto a column carrying bonded strain gauges, so tilted, off-centre and twisting loads barely affect the reading. The gauges' change of resistance can be read on a Wheatstone bridge.
Avanzado
Workshop process
Instrucciones
1
1
Base and shell
Base and shell
Weld a rigid, preferably cylindrical shell to a relatively heavy base, or secure it some other way.
Materiales para este paso:
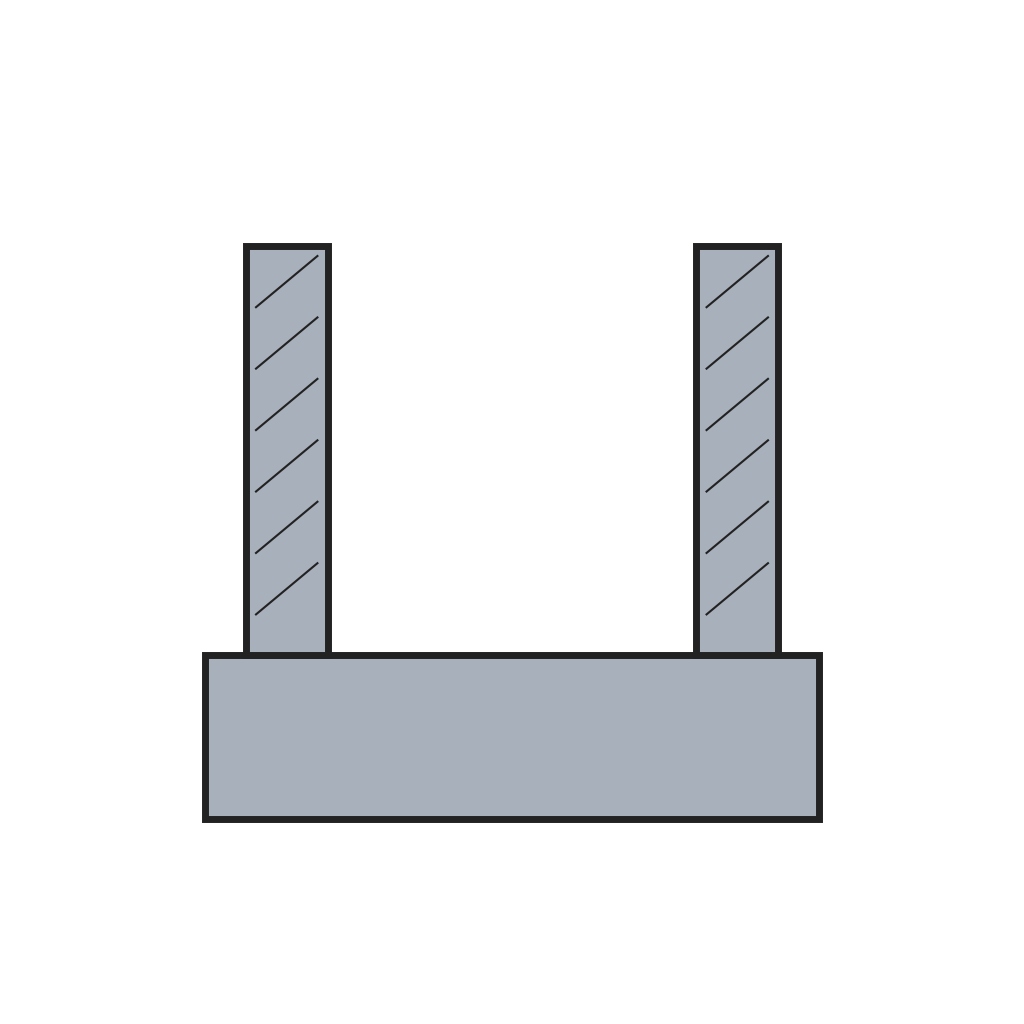 Base y carcasa cilíndrica de celda de carga1 pieza
Herramientas necesarias:
 Soldadora de arco
2
2
Load column and gauges
Load column and gauges
Screw the lower end of the load-sensitive column rigidly to the base; round its upper end to a half-sphere. Bond wire strain gauges to its surface at several points around it, so bending cancels out, and mount gauges of the same type crosswise for temperature compensation. The column may be round, but square, solid or hollow, makes the gauges easier to apply. Its capacity is set by its cross-section and the stiffness of its material.
Materiales para este paso:
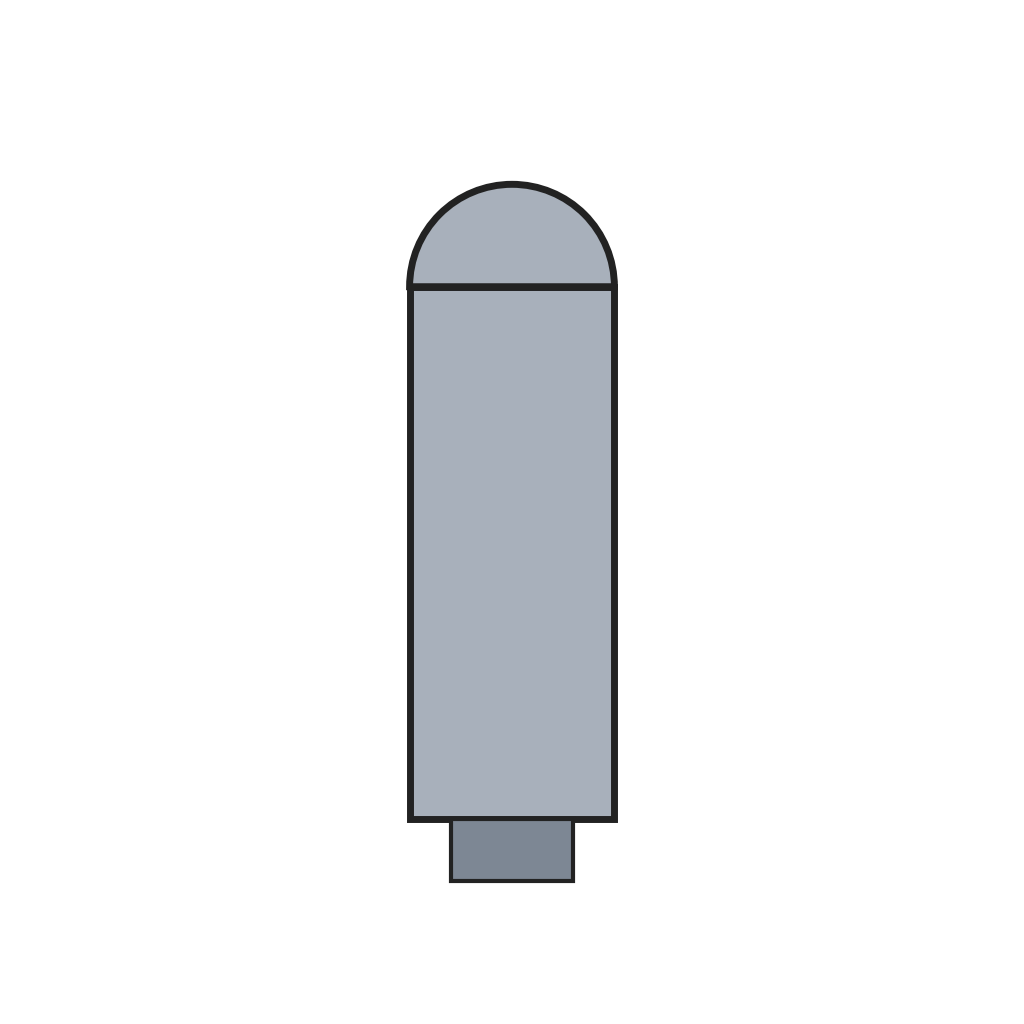 Columna sensible a la carga1 pieza
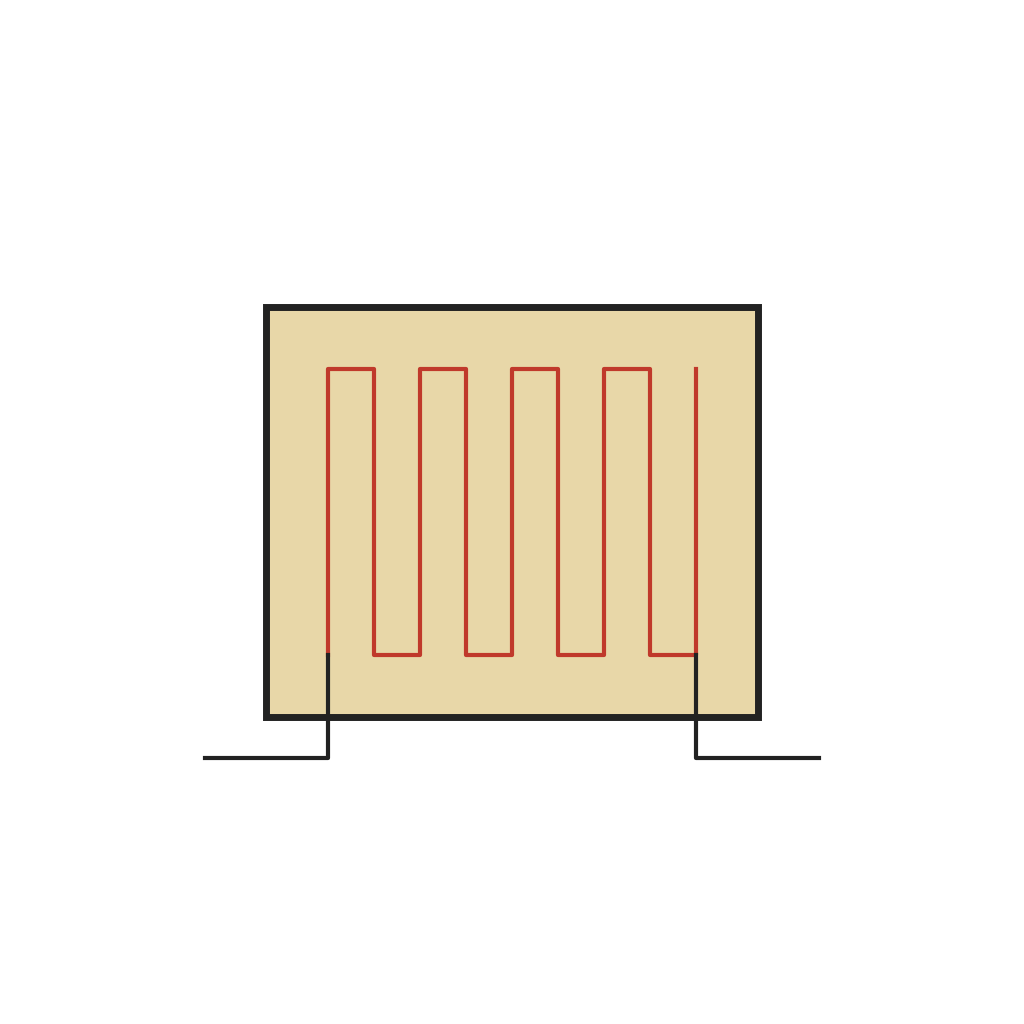 Galga extensométrica de hilo adherido1 juego
Herramientas necesarias:
 Juego de destornilladores
3
3
Floating piston
Floating piston
Bore the piston so the column reaches up inside it and its rounded end bears on the end of the bore. Centre the piston in the shell with two annular diaphragms, upper and lower, welded or brazed to piston and shell: widely spaced, they let it move freely up and down but resist side loads and off-centre loads.
Materiales para este paso:
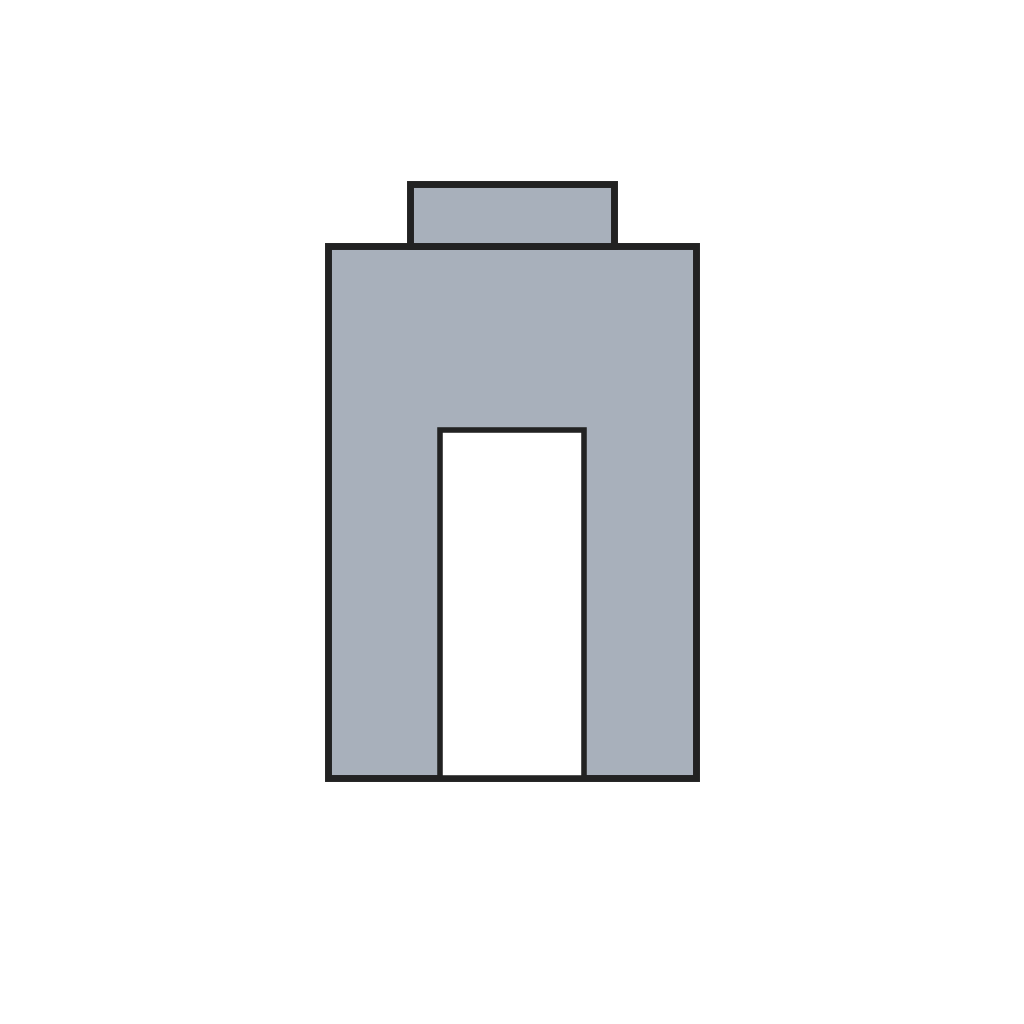 Pistón de carga flotante1 pieza
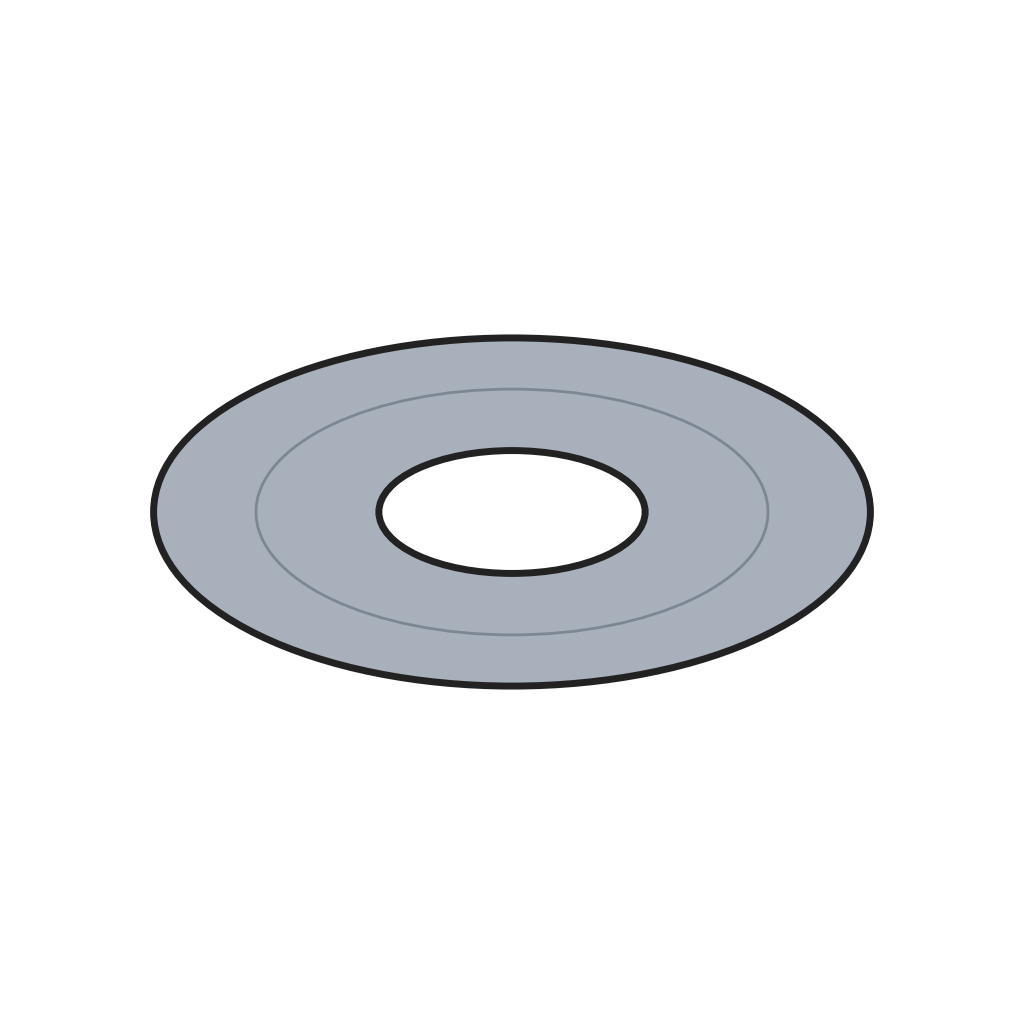 Diafragma guía anular2 piezas
Herramientas necesarias:
 Torno de metalSoldadora de arco
4
4
Overload ring and leads
Overload ring and leads
Set a safety ring under the piston with a small clearance: past a safe load, the piston lands on it and the excess goes straight to the base. Bring the gauge leads down through a hole in the ring and out through the lower diaphragm to an external cable. The gauges may be wired as a Wheatstone bridge. The cell can be sealed all round by brazing, or potted.
Materiales para este paso:
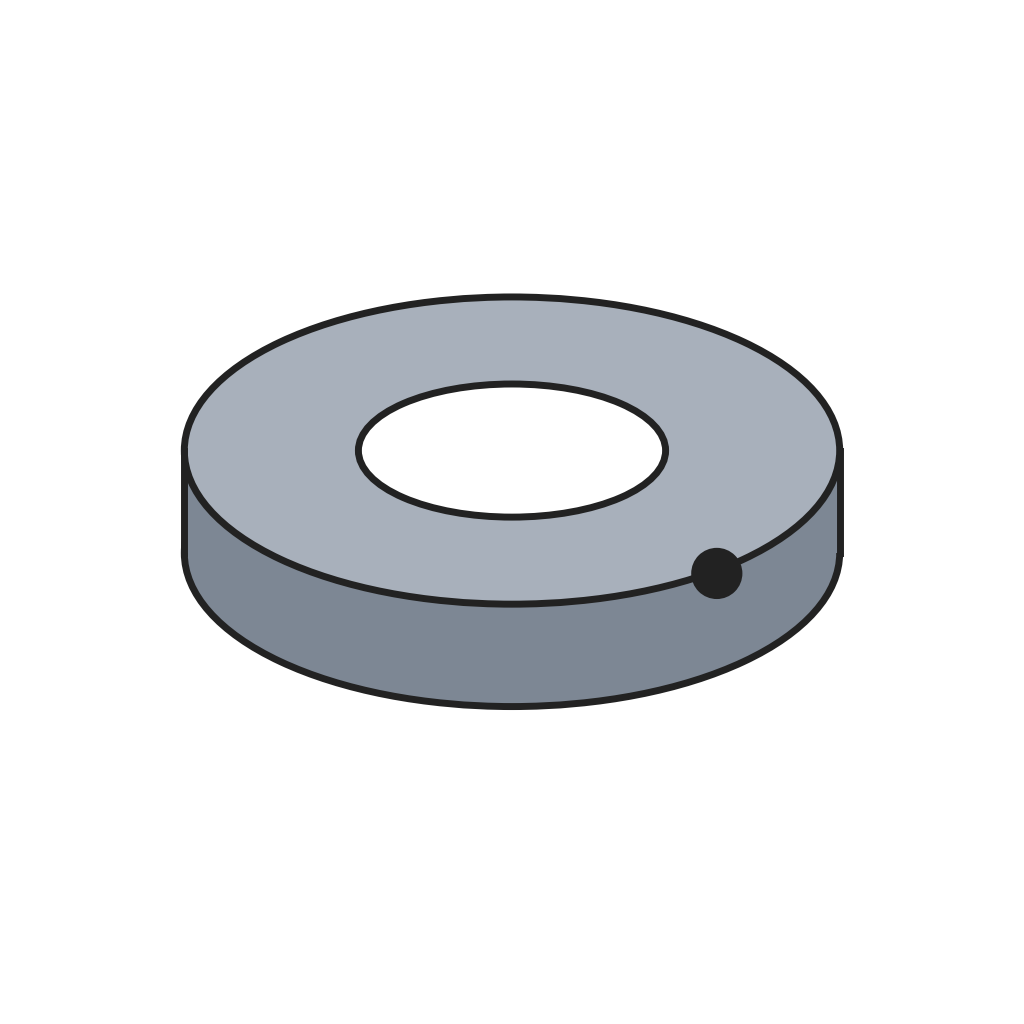 Anillo de seguridad contra sobrecarga1 pieza
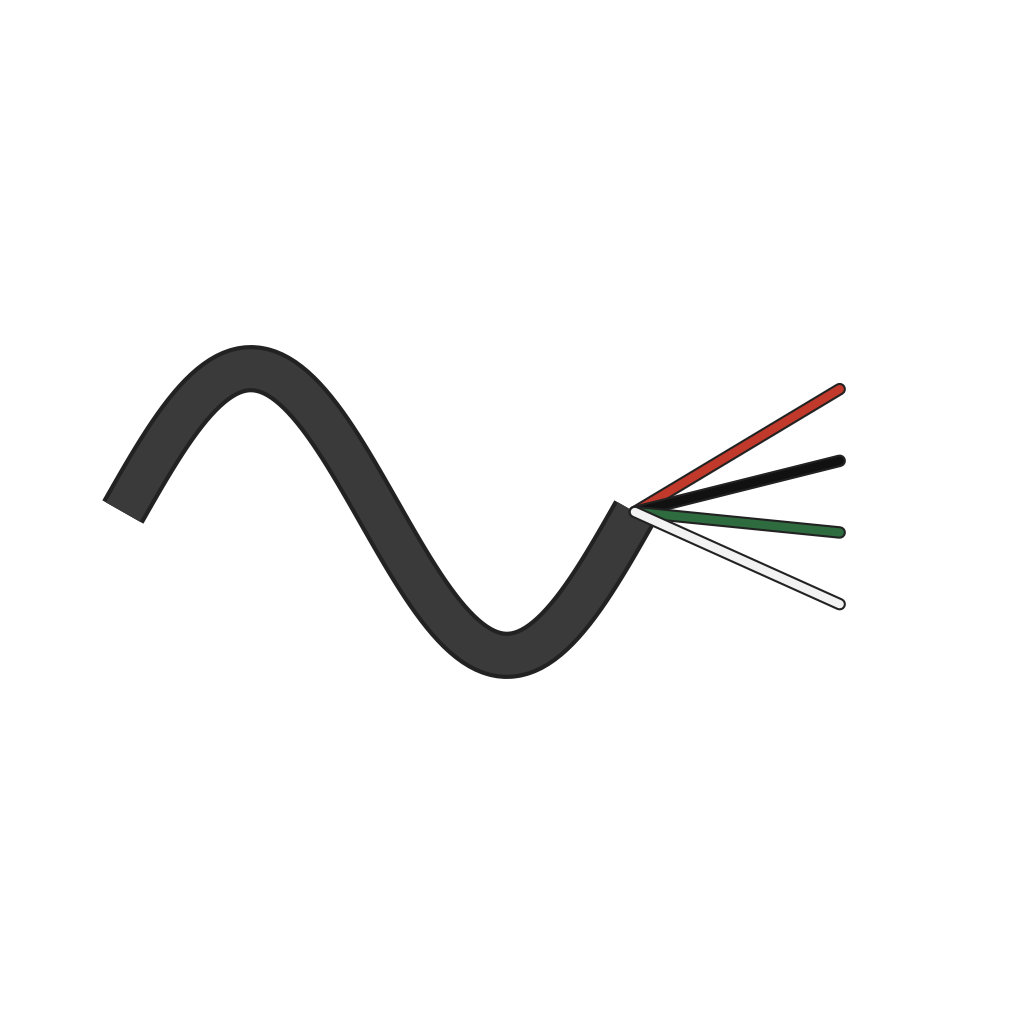 Cable multiconductor1 pieza
 Alambre de soldadura1 as required
Herramientas necesarias:
 Soldador eléctrico
 Pelacables
5
5
Zero check
Zero check
To read the zero without moving the tank, seat a fixed ball race on top of the shell and a turning race above it, with balls between on a slightly inclined cam surface and a second row of balls under the loaded surface. Turning the upper race with a bar or spanner lifts the load a few thousandths of an inch off the piston; read the bridge, then turn it back.
Materiales para este paso:
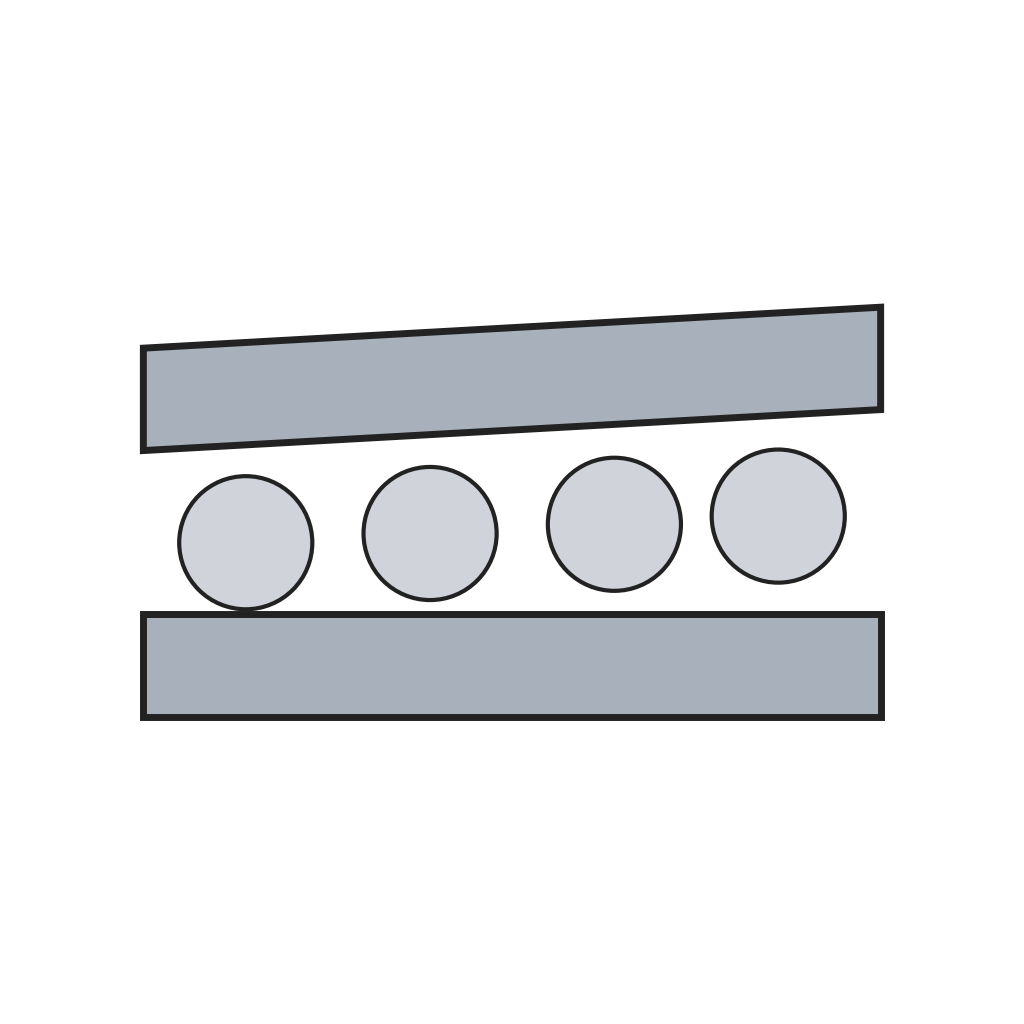 Par de pistas de bolas con leva1 pieza
 Rodamientos de bolas de acero1 juego
Herramientas necesarias:
 Llave inglesa
Materiales
10- Marcador de posición
- 1 piezaMarcador de posición
- Marcador de posición
- 1 piezaMarcador de posición
- 2 piezasMarcador de posición
- Marcador de posición
- 1 piezaMarcador de posición
- 1 as requiredMarcador de posición
- Marcador de posición
- Marcador de posición
Herramientas requeridas
6- Marcador de posición
- Marcador de posición
- Marcador de posición
- Marcador de posición
- Marcador de posición
- Marcador de posición
Este plano hace
Blueprints relacionados
Estos blueprints comparten conocimiento — técnicas, materiales o principios

CC0 Dominio público
Este Blueprint se publica bajo CC0. Eres libre de copiar, modificar, distribuir y usar este trabajo para cualquier propósito, sin pedir permiso.
Apoya al Maker comprando productos a través de su Blueprint, donde gana una Comisión del Maker establecida por los vendedores, o crea una nueva iteración de este Blueprint e inclúyela como conexión en tu propio Blueprint para compartir ingresos.