ARTE
BELLEZA Y BIENESTAR
ARTESANÍA
CULTURA E HISTORIA
ENTRETENIMIENTO
MEDIO AMBIENTE
COMIDA Y BEBIDAS
INGENIERÍA INVERSA
CIENCIAS
DEPORTES
TECNOLOGÍA
TECNOLOGÍA VESTIBLE
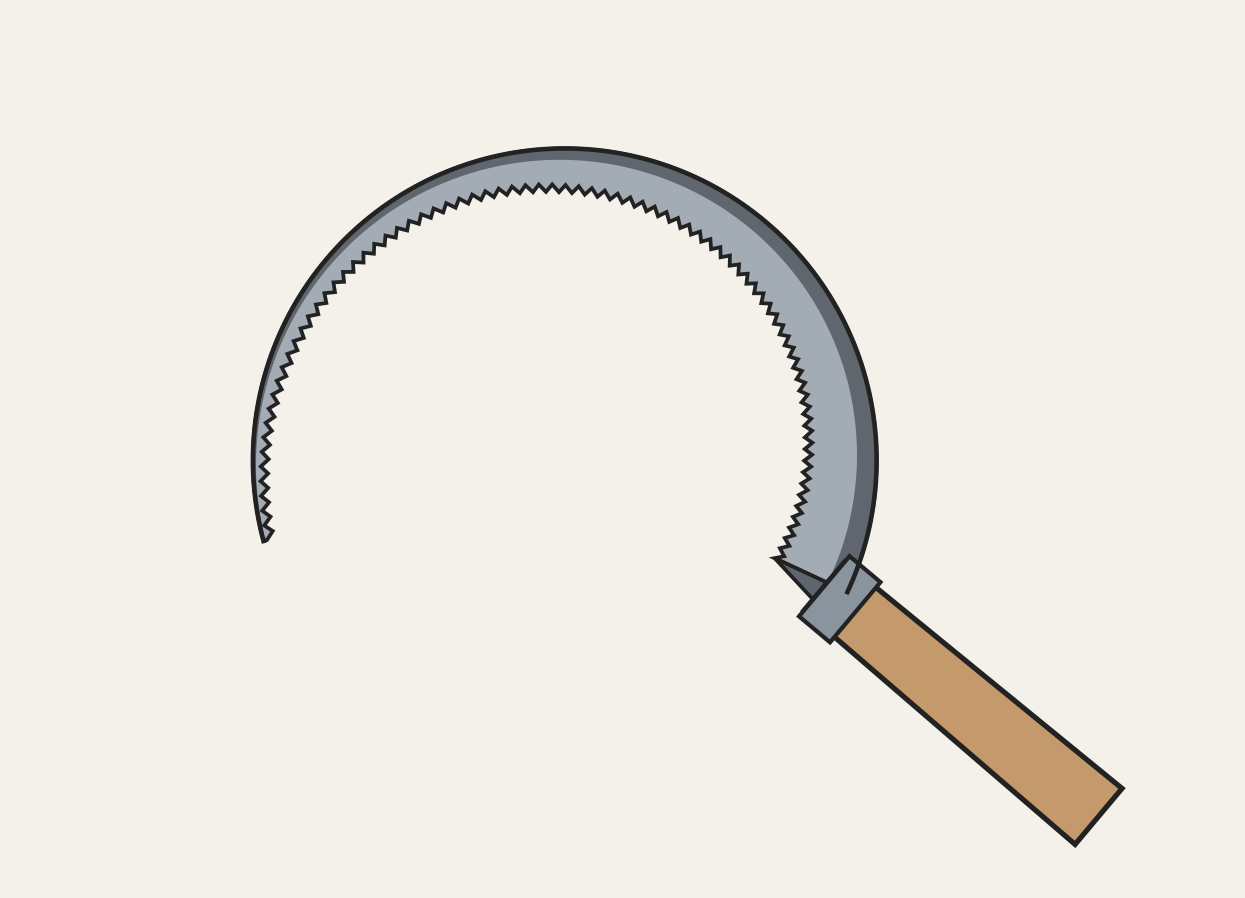


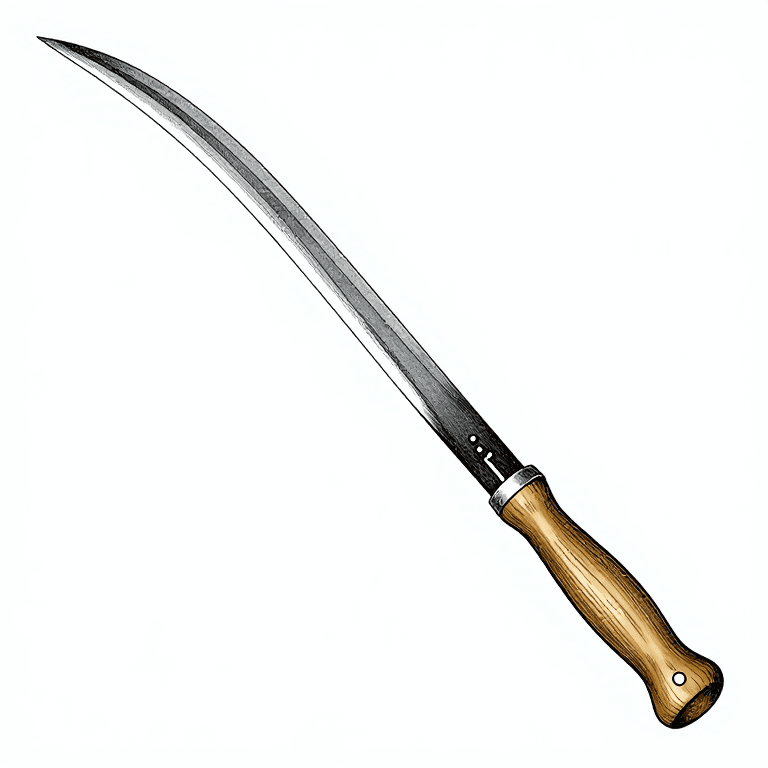
Toothed Steel Sickle: Steel Welded to Iron, Toothed with a Chisel
As made in the cutlery trades around 1913, a sickle is formed like a scythe: steel is welded lengthwise on to iron and forged out into the blade, while the iron makes a thick back that keeps it rigid. The blade is bent to its curve, smithed over and roughly ground, then toothed with a small chisel and hammer. After hardening and tempering it is ground again, which perfects the keenness and shape of the teeth, then glazed and hafted.
Avanzado
1–2 days
Instrucciones
1
1
Weld steel to iron
Weld steel to iron
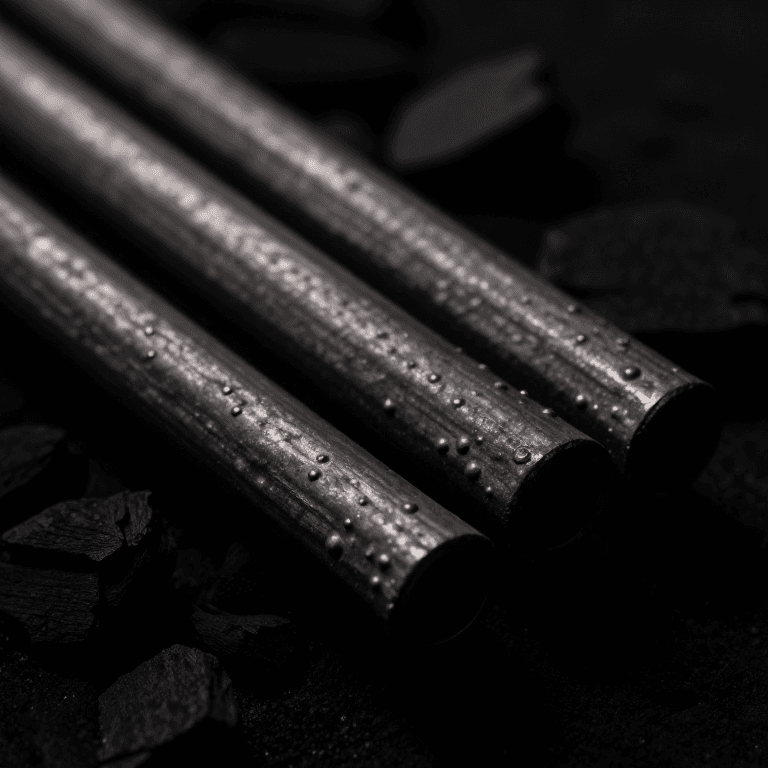
Forge-weld a strip of shear or blister steel lengthwise on to an iron bar, then forge the steel out into the blade with the iron along the back. Leave the end of the iron as the tang.
Materiales para este paso:
 Barra de hierro forjado1 pieza
 Barras de acero ampollado1 pieza
Herramientas necesarias:
 Fragua de herrero
 Yunque
 Martillo de forja
 Tenazas de fragua
2
2
Bend and smith
Bend and smith
Bend the blade to the sickle's curve and smith it over carefully with the hammer.
Herramientas necesarias:
Fragua de herreroYunqueMartillo de forja3
3
Rough grind and tooth
Rough grind and tooth
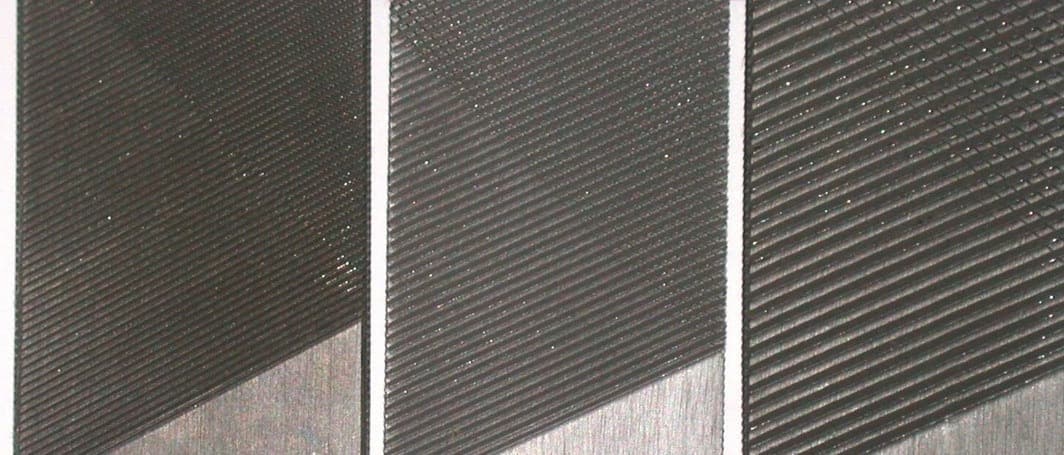
Grind the blade roughly, then cut the teeth along the edge with a small chisel and hammer.
Herramientas necesarias:
 Piedra de afilar de rueda
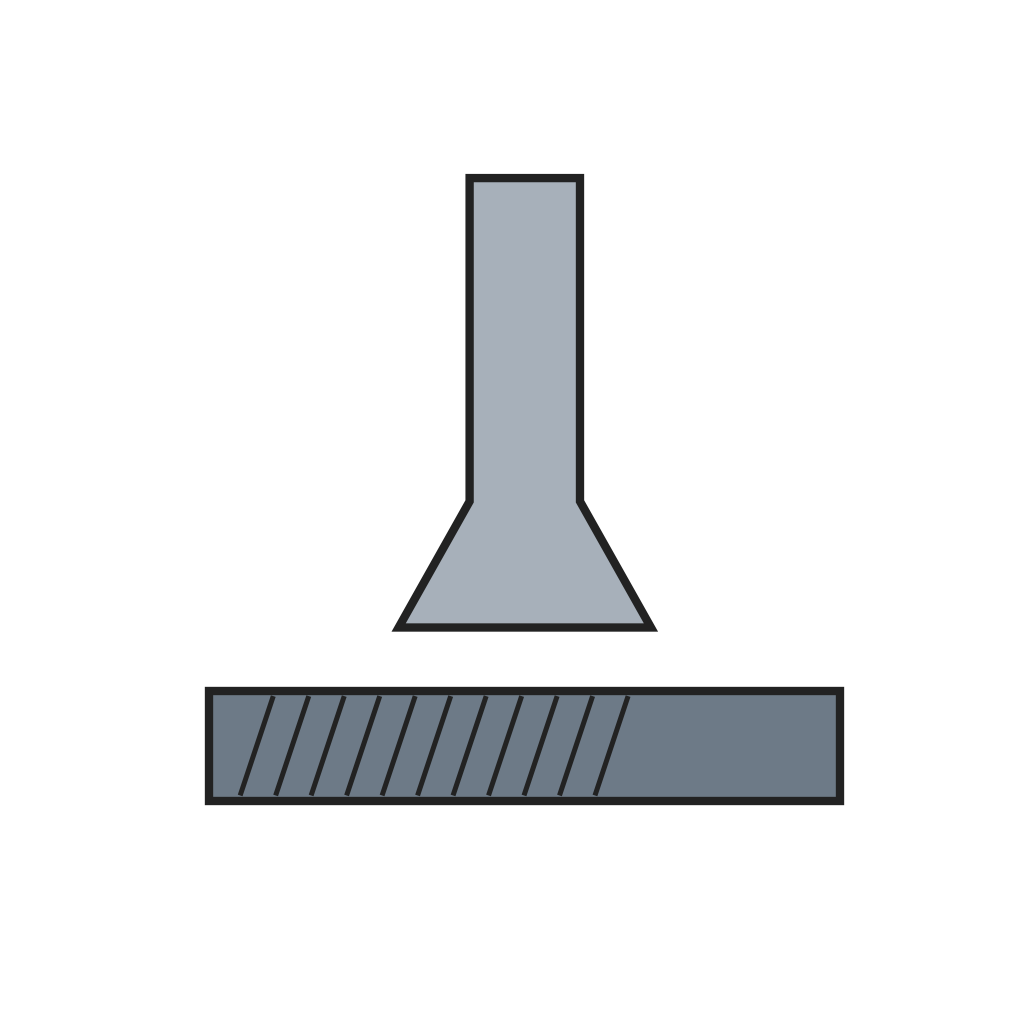 Cincel para picar limasMartillo de forja
4
4
Harden and temper
Harden and temper
Harden and temper the blade.
Herramientas necesarias:
Fragua de herreroTenazas de fragua5
5
Grind, glaze and haft
Grind, glaze and haft
Grind the blade again; this perfects the keenness and the shape of the teeth. Glaze it and fit the handle on the tang.
Materiales para este paso:
 Listón de madera dura para mangos1 pieza
Herramientas necesarias:
Piedra de afilar de rueda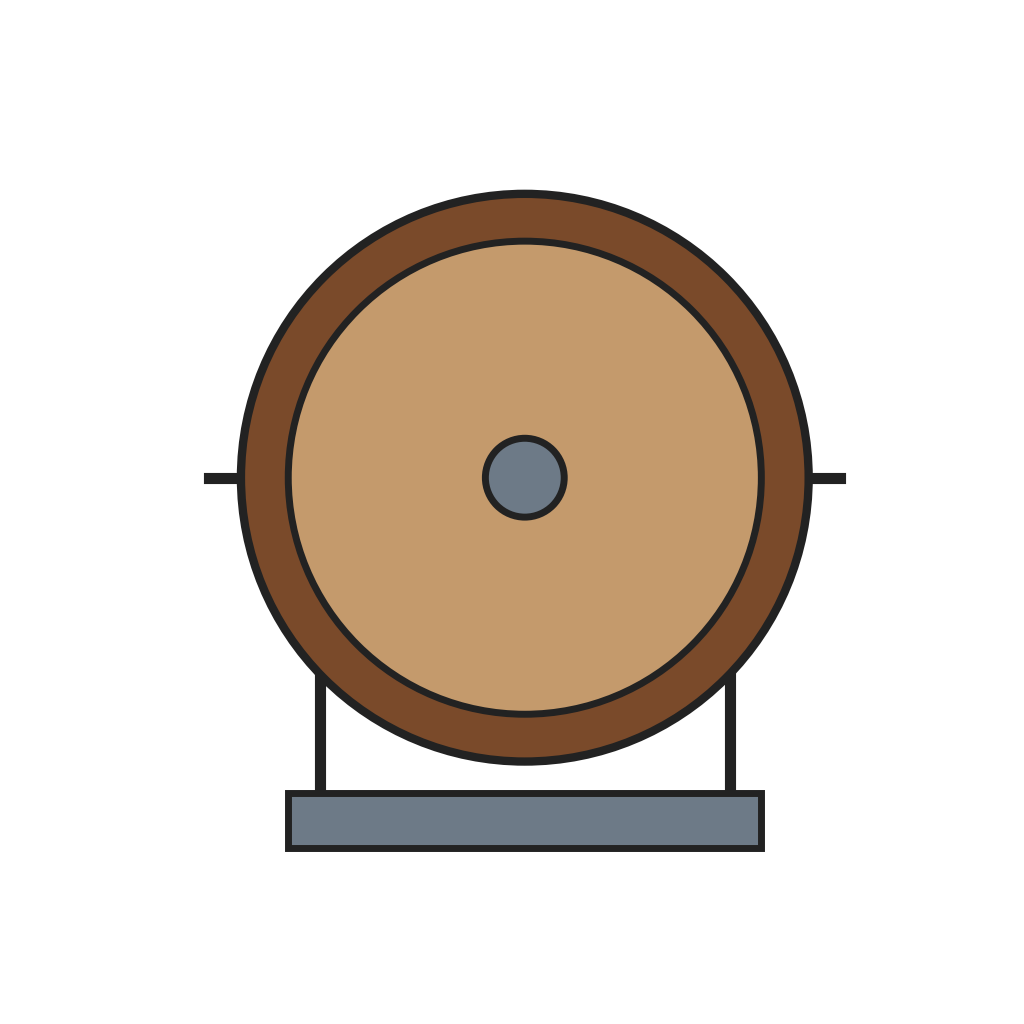 Rueda de glasear
Materiales
3- 1 piezaMarcador de posición
- 1 piezaMarcador de posición
- Marcador de posición
Herramientas requeridas
7- Marcador de posición
- Marcador de posición
- Marcador de posición
- Marcador de posición
- Marcador de posición
- Marcador de posición
- Marcador de posición


Blueprints relacionados
Estos blueprints comparten conocimiento — técnicas, materiales o principios

CC0 Dominio público
Este Blueprint se publica bajo CC0. Eres libre de copiar, modificar, distribuir y usar este trabajo para cualquier propósito, sin pedir permiso.
Apoya al Maker comprando productos a través de su Blueprint, donde gana una Comisión del Maker establecida por los vendedores, o crea una nueva iteración de este Blueprint e inclúyela como conexión en tu propio Blueprint para compartir ingresos.