ARTE
BELLEZA Y BIENESTAR
ARTESANÍA
CULTURA E HISTORIA
ENTRETENIMIENTO
MEDIO AMBIENTE
COMIDA Y BEBIDAS
INGENIERÍA INVERSA
CIENCIAS
DEPORTES
TECNOLOGÍA
TECNOLOGÍA VESTIBLE
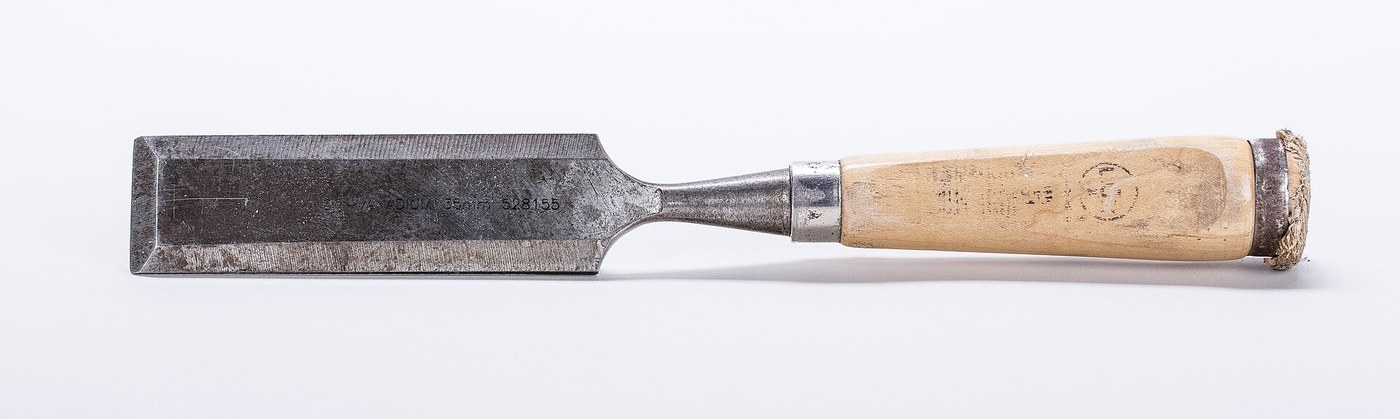


Wood Chisels and Gouges Forged from Tool Steel
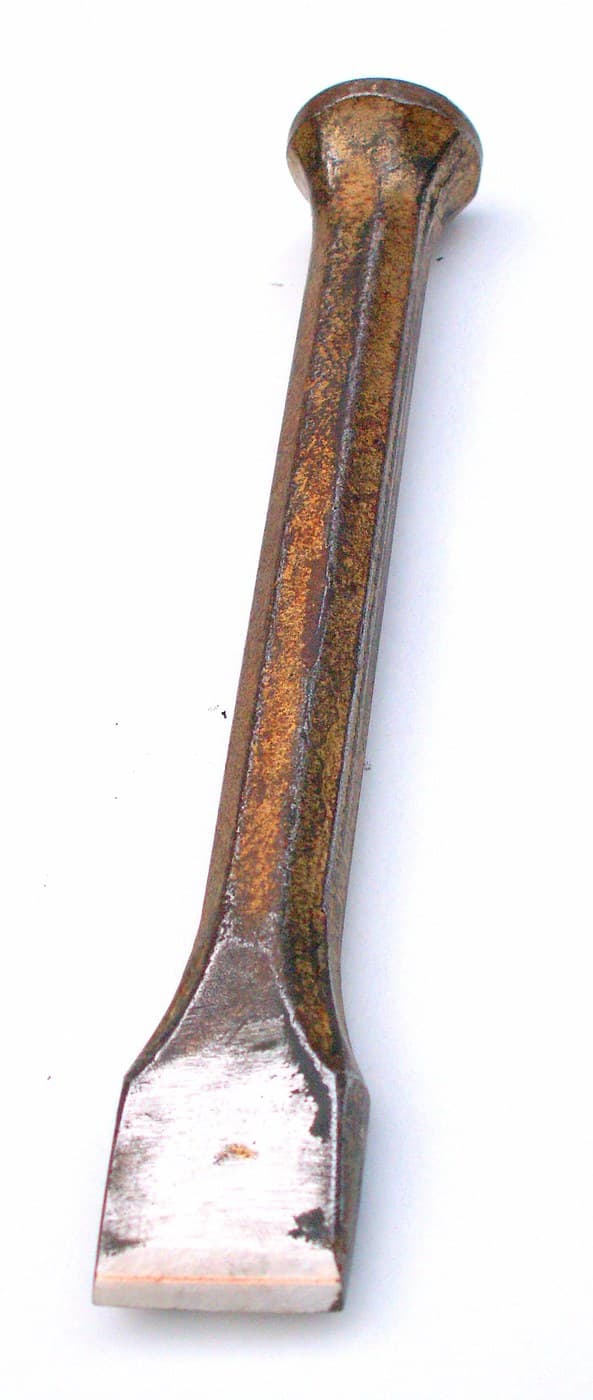
A woodworking chisel is a flat steel blade with a bevelled edge, hardened and tempered, on a wooden handle; bevelled sides let it into tight corners. A gouge is the same with a blade curved in section, for hollowing. Forge a set of widths from tool steel, harden them, temper to a dark straw and hone them sharp.
The picture: a bevel-edge wood chisel with its ferrule and wooden handle.
Avanzado
A day for a set
Instrucciones
1
1
Forge the blades
Forge the blades
Draw tool-steel bar out flat to each blade width, taper it slightly toward the edge and forge a square tang on the other end. For gouges, set the hot blade over a round groove of the swage block and drive it in to curve it.
Materiales para este paso:
 Barra plana de acero para herramientas1 pieza
 Carbón vegetal1 as required
Herramientas necesarias:
 Fragua de herrero
 Yunque
 Martillo de peña transversal
 Bloque estampador
 Tenazas de herrero
 Guantes de soldador
 Gafas de seguridad
2
2
File and bevel
File and bevel
Anneal by cooling slowly in the ashes, then file the faces flat, file the side bevels, and file the edge bevel, leaving it a little thick.
Herramientas necesarias:
 Lima para metal
3
3
Harden and temper
Harden and temper
Heat the blade evenly to a cherry red and quench it in water. Polish it bright, then heat the back gently and quench again as soon as a dark straw colour reaches the edge.
Materiales para este paso:
 Agua10 litros
Herramientas necesarias:
Fragua de herrero Cubo de templeTenazas de herreroGuantes de soldadorGafas de seguridad
4
4
Handles
Handles
Turn hardwood handles, fit a brass ferrule at the front of each, drill a pilot hole and drive the tang in. Oil the handles.
Materiales para este paso:
 Listón de madera dura2 piezas
 Lámina de latón1 pieza
 Aceite de linaza0.05 litro
Herramientas necesarias:
 Torno de madera
 Taladro de mano
5
5
Hone
Hone
Flatten each back on the stone and hone the bevel until a fine burr forms, then remove it.
Herramientas necesarias:
 Piedra de afilar de grano 1000
6
6
Temper colours
Temper colours
Cargando el cuaderno de Jupyter…
Materiales
6- Marcador de posición
- 1 as requiredMarcador de posición
- 10 litrosMarcador de posición
- 2 piezasMarcador de posición
- 1 piezaMarcador de posición
- 0.05 litroMarcador de posición
Herramientas requeridas
12- Marcador de posición
- Marcador de posición
- Marcador de posición
- Marcador de posición
- Marcador de posición
- Marcador de posición
- Marcador de posición
- Marcador de posición
- Marcador de posición
- Marcador de posición
- Marcador de posición
- Marcador de posición
Este plano hace




Blueprints relacionados
Estos blueprints comparten conocimiento — técnicas, materiales o principios
CC0 Dominio público
Este Blueprint se publica bajo CC0. Eres libre de copiar, modificar, distribuir y usar este trabajo para cualquier propósito, sin pedir permiso.
Apoya al Maker comprando productos a través de su Blueprint, donde gana una Comisión del Maker establecida por los vendedores, o crea una nueva iteración de este Blueprint e inclúyela como conexión en tu propio Blueprint para compartir ingresos.