ARTE
BELLEZA Y BIENESTAR
ARTESANÍA
CULTURA E HISTORIA
ENTRETENIMIENTO
MEDIO AMBIENTE
COMIDA Y BEBIDAS
INGENIERÍA INVERSA
CIENCIAS
DEPORTES
TECNOLOGÍA
TECNOLOGÍA VESTIBLE
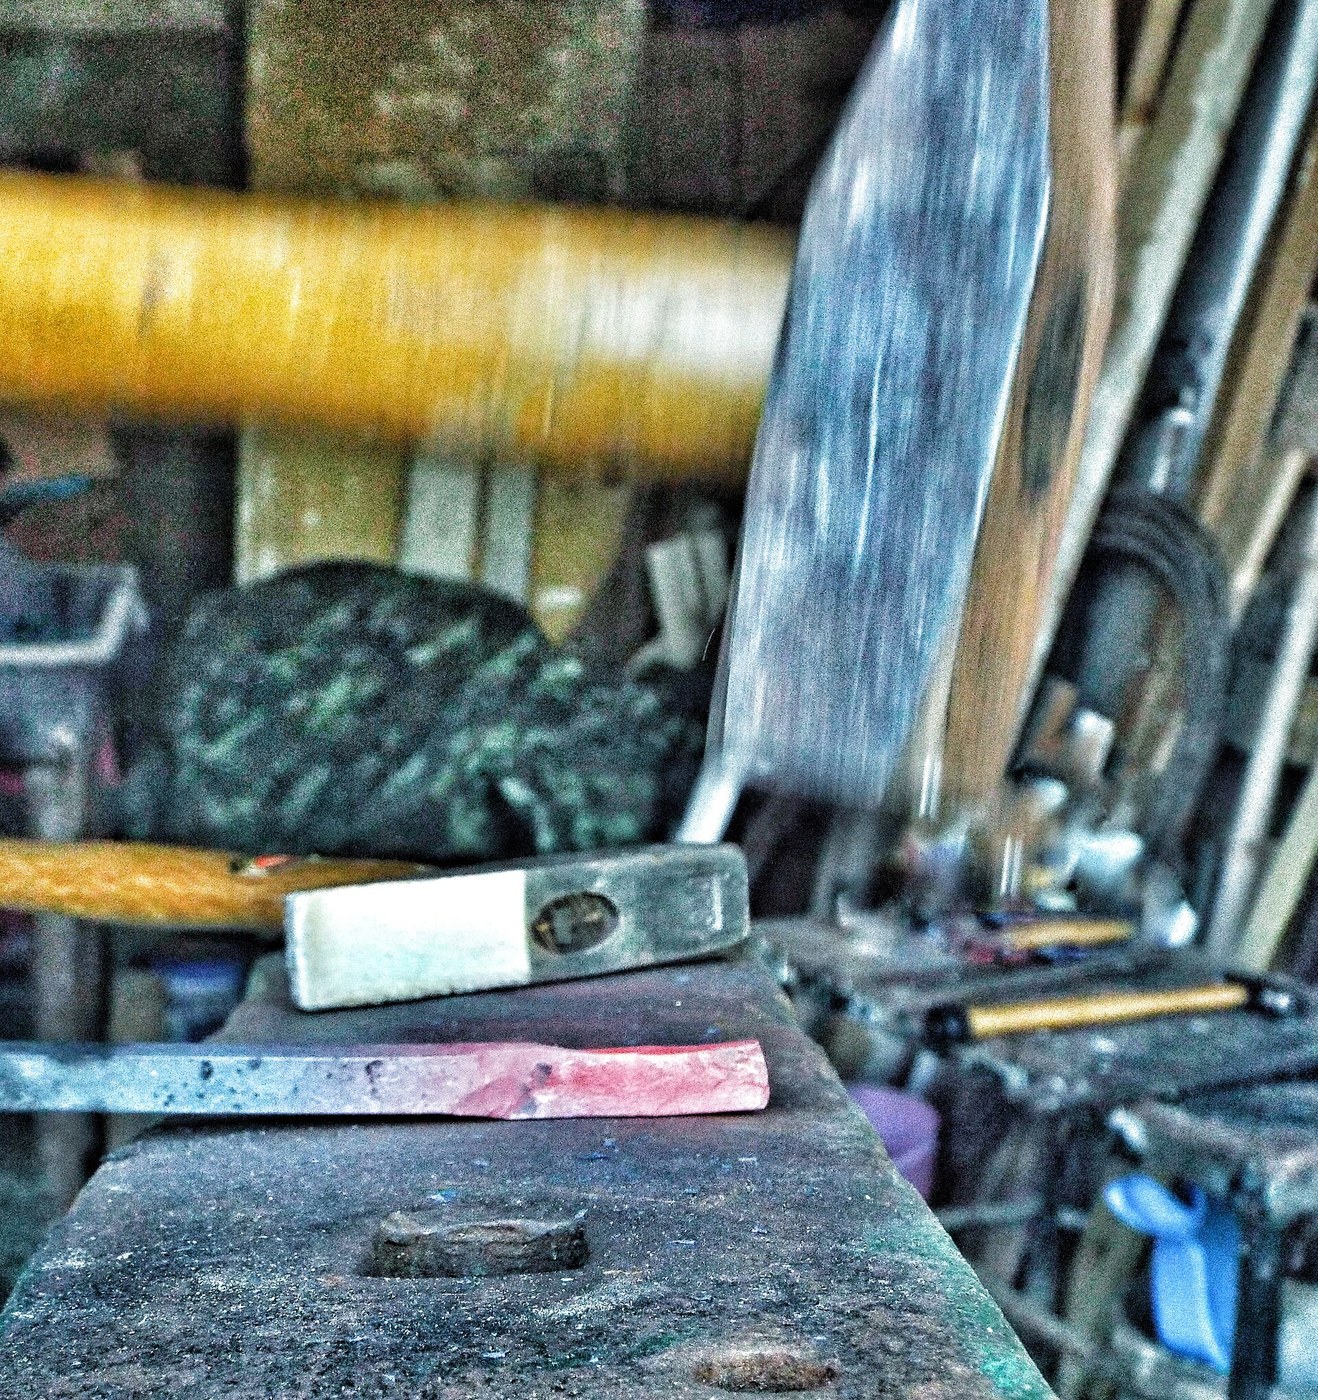


Wrought Iron Rod Drawn Down from Bar
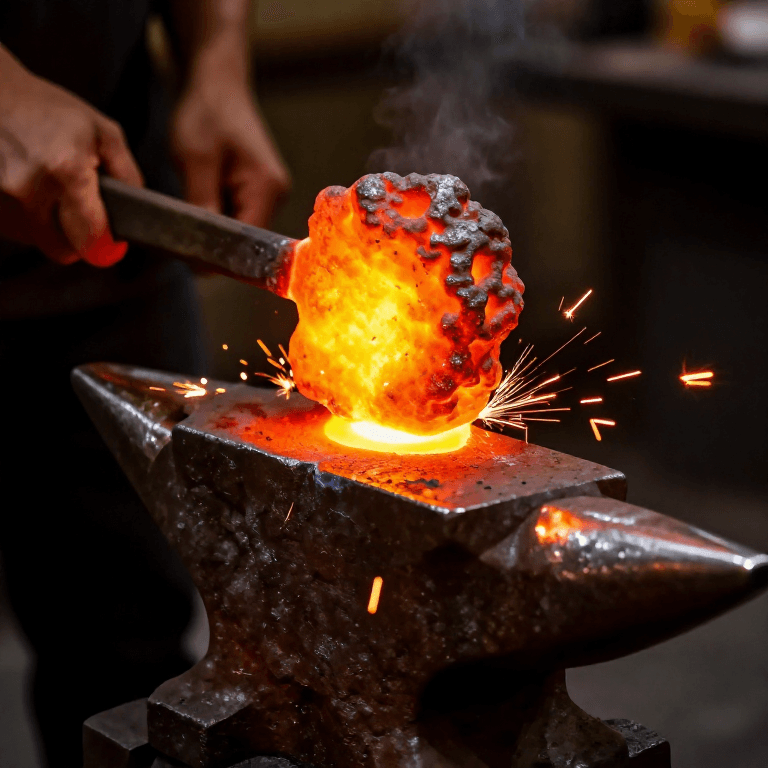
Thin iron rod for nails, rivets and bolts is drawn out of thicker bar under the hammer: each blow makes it thinner and longer. A fuller speeds the work on thick stock; the square is knocked to eight sides, then rounded in a swage.
The picture: a hot bar end on the anvil under a swinging hammer.
Intermedio
An afternoon
Instrucciones
1
1
Heat the bar
Heat the bar
Bring the end of the wrought iron bar to a bright yellow-orange in the forge.
Materiales para este paso:
 Barra de hierro forjado1 kg
 Carbón vegetal1 as required
Herramientas necesarias:
 Fragua de herrero
 Tenazas de herrero
 Guantes de soldador
 Gafas de seguridad
2
2
Fuller, then flatten
Fuller, then flatten
On thick bar, hammer a row of grooves across it with the fuller or the hammer's peen, then flatten the ridges with the face: the bar grows longer. Turn it a quarter turn and do the same on the next face.
Herramientas necesarias:
 Fuller (degolladera)
 Yunque
 Martillo de peña transversalTenazas de herreroGuantes de soldadorGafas de seguridad
3
3
Draw to size
Draw to size
Keep drawing on the anvil face, turning a quarter turn every few blows so it stays square. Work only while it glows; reheat as soon as it dulls.
Herramientas necesarias:
Fragua de herreroYunqueMartillo de peña transversalGuantes de soldadorGafas de seguridad4
4
Round it
Round it
Knock the corners down to eight sides, then roll and hammer it in a round groove of the swage block until it is round. Check the size with the caliper.
Herramientas necesarias:
 Bloque estampadorMartillo de peña transversal
 Calibre digital de 6 pulgadasGuantes de soldadorGafas de seguridad
5
5
Cut to lengths
Cut to lengths
Cut the rod hot on the hardy into lengths and let them cool in air.
Herramientas necesarias:
 Tajadera de yunqueYunqueMartillo de peña transversalGuantes de soldadorGafas de seguridad
6
6
How long the rod comes out
How long the rod comes out
Cargando el cuaderno de Jupyter…
Materiales
2- Marcador de posición
- 1 as requiredMarcador de posición
Herramientas requeridas
10- Marcador de posición
- Marcador de posición
- Marcador de posición
- Marcador de posición
- Marcador de posición
- Marcador de posición
- Marcador de posición
- Marcador de posición
- Marcador de posición
- Marcador de posición
Este plano hace

Blueprints relacionados
Estos blueprints comparten conocimiento — técnicas, materiales o principios
CC0 Dominio público
Este Blueprint se publica bajo CC0. Eres libre de copiar, modificar, distribuir y usar este trabajo para cualquier propósito, sin pedir permiso.
Apoya al Maker comprando productos a través de su Blueprint, donde gana una Comisión del Maker establecida por los vendedores, o crea una nueva iteración de este Blueprint e inclúyela como conexión en tu propio Blueprint para compartir ingresos.