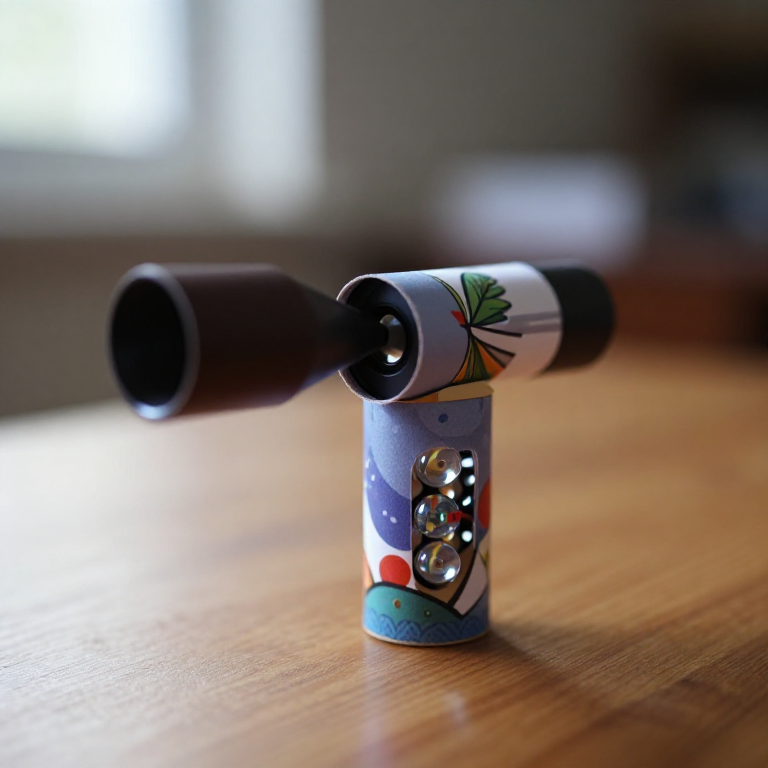


Kaleidoscope
Two mirrors meeting at an angle turn one object into many. The count is not a matter of taste — it is arithmetic. Set the mirrors at 60° and you see six sectors; at 45°, eight; at 30°, twelve. The number of images is 360 divided by the angle, and every kaleidoscope ever made obeys it.
That is the whole optical content, and it is worth building the instrument just to measure it yourself. Everything else — the tumbling chamber of beads, the ground-glass end, the polished tube — is packaging around one angle.
David Brewster patented it in 1817 and it became a craze within months. He also noted in that patent which angles look best, which is a rare case of an inventor writing down the aesthetics along with the optics.
Instructions
Decide the angle before you cut anything
Decide the angle before you cut anything
Choose the mirror angle first, because it fixes everything else. 60° gives six sectors and a clean hexagonal pattern; 45° gives eight; 30° gives twelve and a dense, busy image.
Cut three mirror strips
Cut three mirror strips
Cut three strips of mirror or mirrored acrylic 200 x 40 mm. Three strips taped into an equilateral triangle give exactly 60° at every joint with no measuring at all.
Materials for this step:
 Acrylic Mirror Sheet1 sheet
Tools needed:
 Craft Knife
 Metal Ruler (30cm)
Deburr the cut edges
Deburr the cut edges
Take the sharp edges off every strip with fine paper. Glass mirror cuts skin; acrylic mirror does not, which is why it is the better choice for a first build and for young makers.
Tools needed:
 Sandpaper
Tape the strips into a triangular tube
Tape the strips into a triangular tube
Lay the three strips side by side reflective-side down, tape the seams, then fold them into a triangle and tape the last joint. The mirrored faces must all point inward.
Check the joints are tight along their whole length
Check the joints are tight along their whole length
Sight down the tube. A gap at any seam prints a black line right through the pattern and no amount of decoration hides it.
Fit the mirror assembly into a tube
Fit the mirror assembly into a tube
Slide the triangle into a cardboard or plastic tube of matching length and pack any slack with paper so it cannot rotate or rattle.
Materials for this step:
 Cardboard Tube1 piece
Make the eyepiece end
Make the eyepiece end
Cap one end with card and pierce a 5 mm hole centred on the mirror triangle. Off-centre and the sectors come out uneven.
Materials for this step:
 Card Stock (Heavy, 50 Sheets)1 sheet
Build the object cell
Build the object cell
Make a shallow chamber at the far end from two clear discs about 10 mm apart. The near disc must be clear; the far one is frosted to diffuse the light.
Fill the cell loosely
Fill the cell loosely
Put in a few small coloured beads, glass fragments or snips of coloured film — no more than a third full. An overfilled cell jams and the pattern stops changing.
Materials for this step:
 Glass Beads20 pieces
Count the sectors and check the arithmetic
Count the sectors and check the arithmetic
Look through and count the repeated images around the circle. With a 60° triangle you should count six. Divide 360 by your angle and confirm the number matches — this is the measurement the whole build exists for.
Build a second scope at a different angle
Build a second scope at a different angle
Make another with two mirrors at 45° and a black card third side. Count again: eight sectors. Two data points prove the rule rather than illustrating it.
Try an angle that does not divide 360
Try an angle that does not divide 360
Set the mirrors to 50° and look. The pattern no longer closes — the last sector overlaps the first and the symmetry breaks. Only angles that divide 360 exactly give a clean figure, and seeing the failure teaches more than the success.
Test the light source
Test the light source
Point it at a window, then at a lamp, then at a white wall. The frosted end is doing the work: even, diffuse light behind the objects is what makes the colours read.
Finish the tube
Finish the tube
Cover the outside and make the object cell rotate freely against the body. A cell that turns under a fingertip is the difference between a demonstration and a toy someone will actually use.
History & Context
History & Context
Brewster, 1817. The Scottish physicist David Brewster — better known for the polarisation law that carries his name — conceived the kaleidoscope around 1816 while working on light and patented it in 1817. It was a scientific instrument in intent and a toy within months.
He wrote down which angles look best. The patent names 18°, 20° and 22.5° as producing the most pleasing effect. Those angles give 20, 18 and 16 sectors respectively — dense, intricate figures rather than the simple six of a 60° triangle. It is an unusual document: an inventor specifying the aesthetics of his device alongside its geometry.
The arithmetic. Two mirrors at an angle θ produce 360/θ images including the original, because each reflection rotates the image by 2θ around the joint until the images come back round to the start. When 360/θ is a whole number the figure closes seamlessly; when it is not, the last sector overlaps and the symmetry breaks visibly. This is the same reason floor tilings work with triangles, squares and hexagons and not with pentagons.
The patent did him little good. The kaleidoscope was copied immediately and sold in enormous numbers across Britain and France, and Brewster made very little from an invention that was a genuine craze. It is a recurring pattern in this period: patenting an idea that is trivially easy to reproduce protects almost nothing.
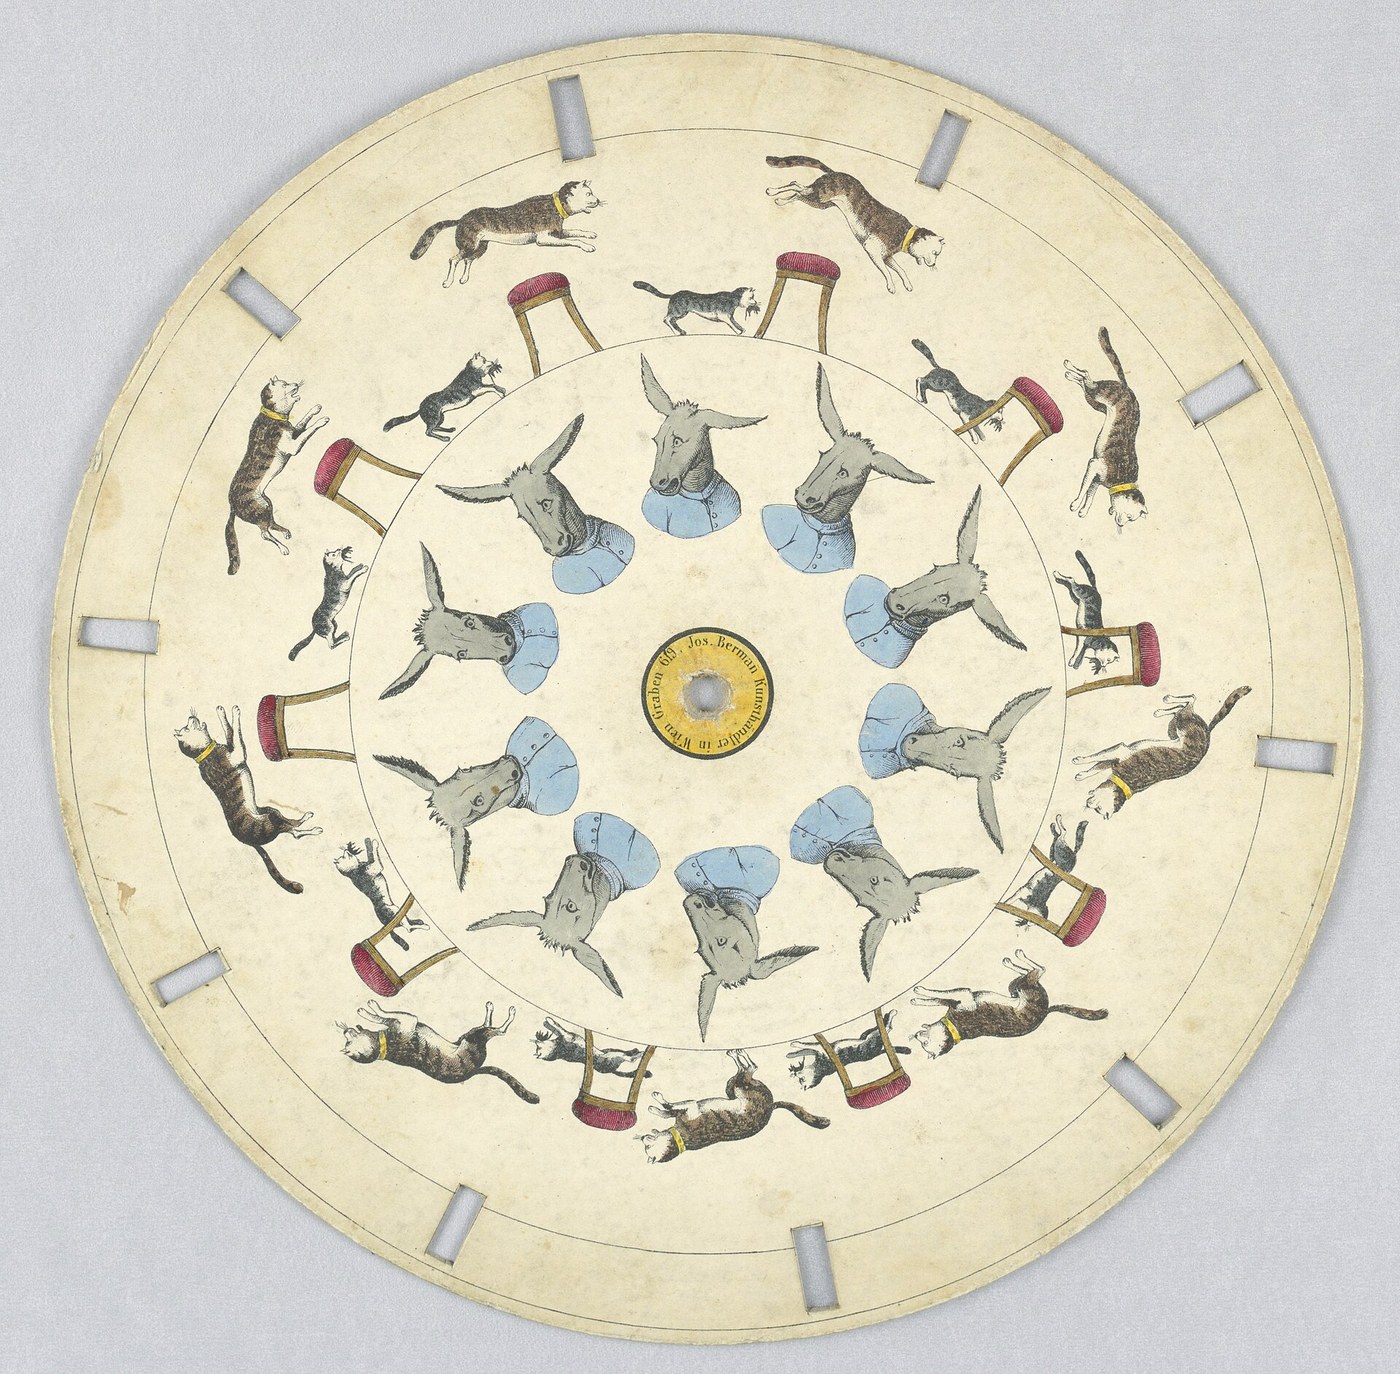
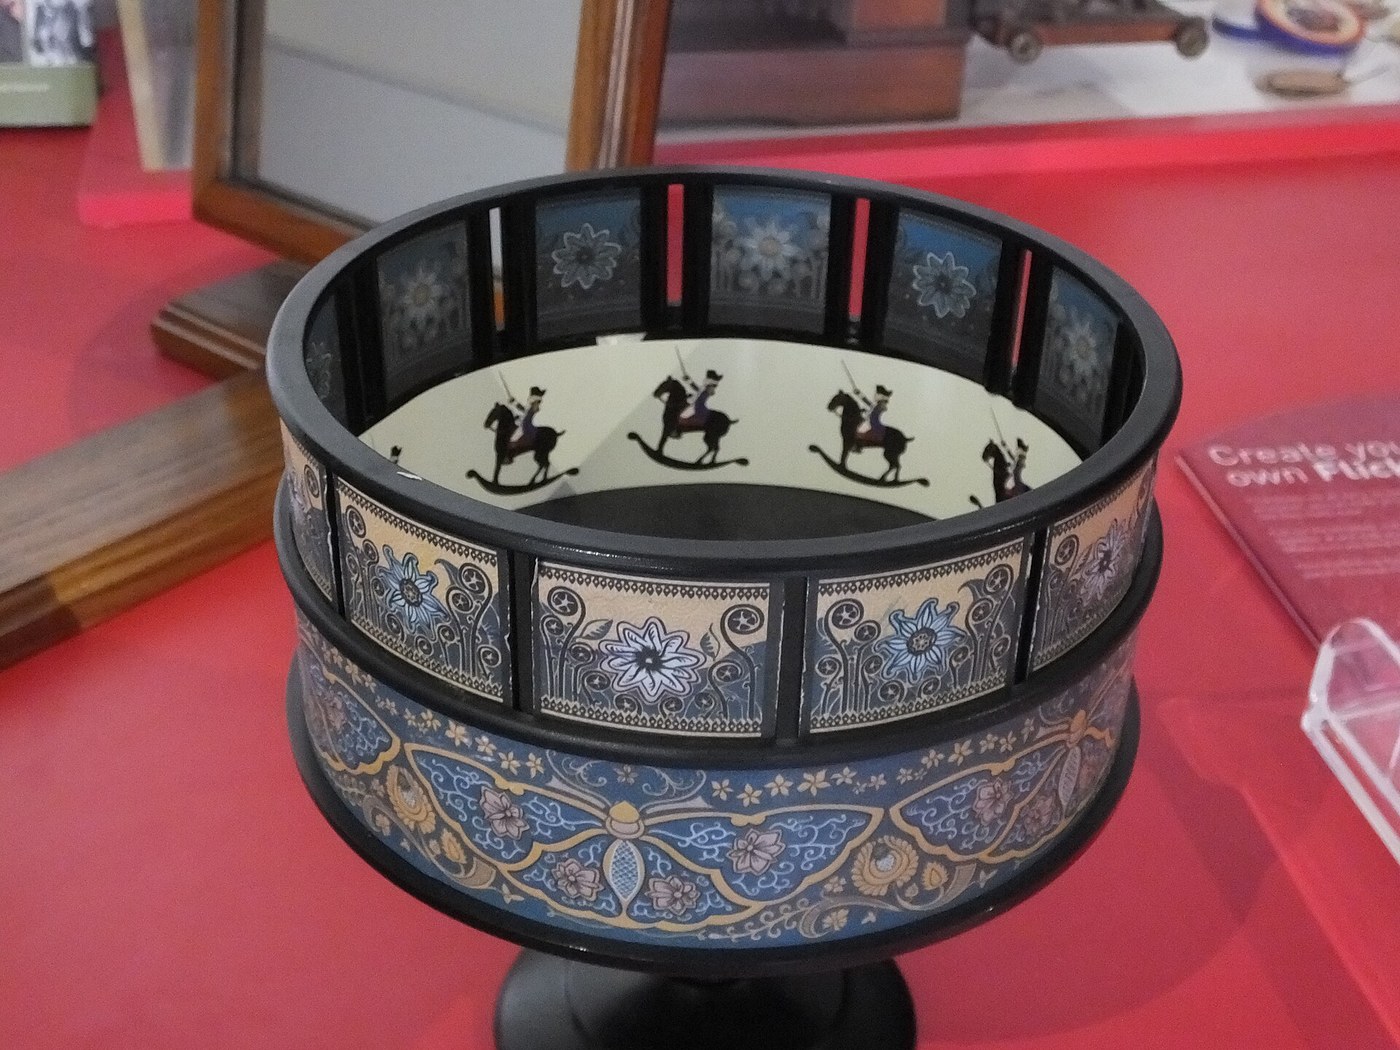
Why it stayed. Most optical toys of the era — thaumatropes, phenakistoscopes, zoetropes — were absorbed by cinema and disappeared as objects. The kaleidoscope had no successor technology to be swallowed by, so it is still made and sold in essentially Brewster's form, two centuries on.
Materials
4- 1 sheetPlaceholder
- 1 piecePlaceholder
- Placeholder
- 20 piecesPlaceholder
Related Blueprints
These blueprints share knowledge with this one — techniques, materials, or principles that connect them in the learning graph.
Related blueprints
Other builds that share materials, tools, or techniques with this one.
CC0 Public Domain
This blueprint is released under CC0. You are free to copy, modify, distribute, and use this work for any purpose, without asking permission.
Support the Maker by purchasing products through their Blueprint where they earn a Maker Commission set by Vendors, or create a new iteration of this Blueprint and include it as a connection in your own Blueprint to share revenue.