
Collaboration
ART
BEAUTÉ ET BIEN-ÊTRE
ARTISANAT
CULTURE ET HISTOIRE
DIVERTISSEMENT
ENVIRONNEMENT
NOURRITURE ET BOISSONS
INGÉNIERIE INVERSE
SCIENCES
SPORTS
TECHNOLOGIE
TECHNOLOGIE PORTABLE
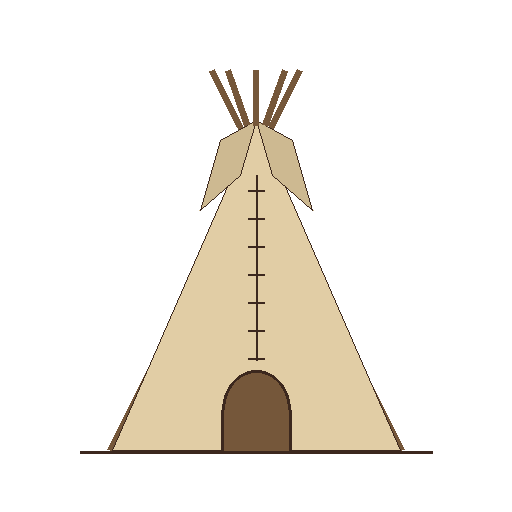
Blackfoot Tipi: Four Poles Locked in a Tie, Cover Raised on the Back Pole, Pinned over an East Door, Ears on Poles (Wissler, 1910)
Woody

Créé par

Woody

15. novembre 2026NO
3
0
0
0
0

Blackfoot Tipi: Four Poles Locked in a Tie, Cover Raised on the Back Pole, Pinned over an East Door, Ears on Poles (Wissler, 1910)

The Blackfoot (Niitsitapi) tipi as Clark Wissler measured it: seasoned pine or spruce poles about 7 m long, four of them tied where they cross and locked by swapping two, the rest laid in by side, a half-circle cover of buffalo skins or canvas raised on the back pole and pinned shut over an east-facing door, stretched by moving the poles, and two smoke-flap 'ears' on their own poles. A woman pitched it in thirty minutes.
Intermédiaire
Days to make; thirty minutes to pitch

Consignes

1

His measures

Chargement du notebook Jupyter…
2

Read Wissler

"This completes the process, a task which the average woman will perform in thirty minutes or less."
3

Cut and season the poles

Cut long, slender, straight pine or spruce poles (his museum set: about 7 m long and 7 cm thick at the butt), peel them and sharpen the butts. Set them up as a frame and leave them to season. Wissler counted 13 to 23 poles a tipi.

Matériaux pour cette étape :

Perche en boisPerche en bois1 pièce

Outils nécessaires :
HacheHache
PlanePlane
4

Make the cover

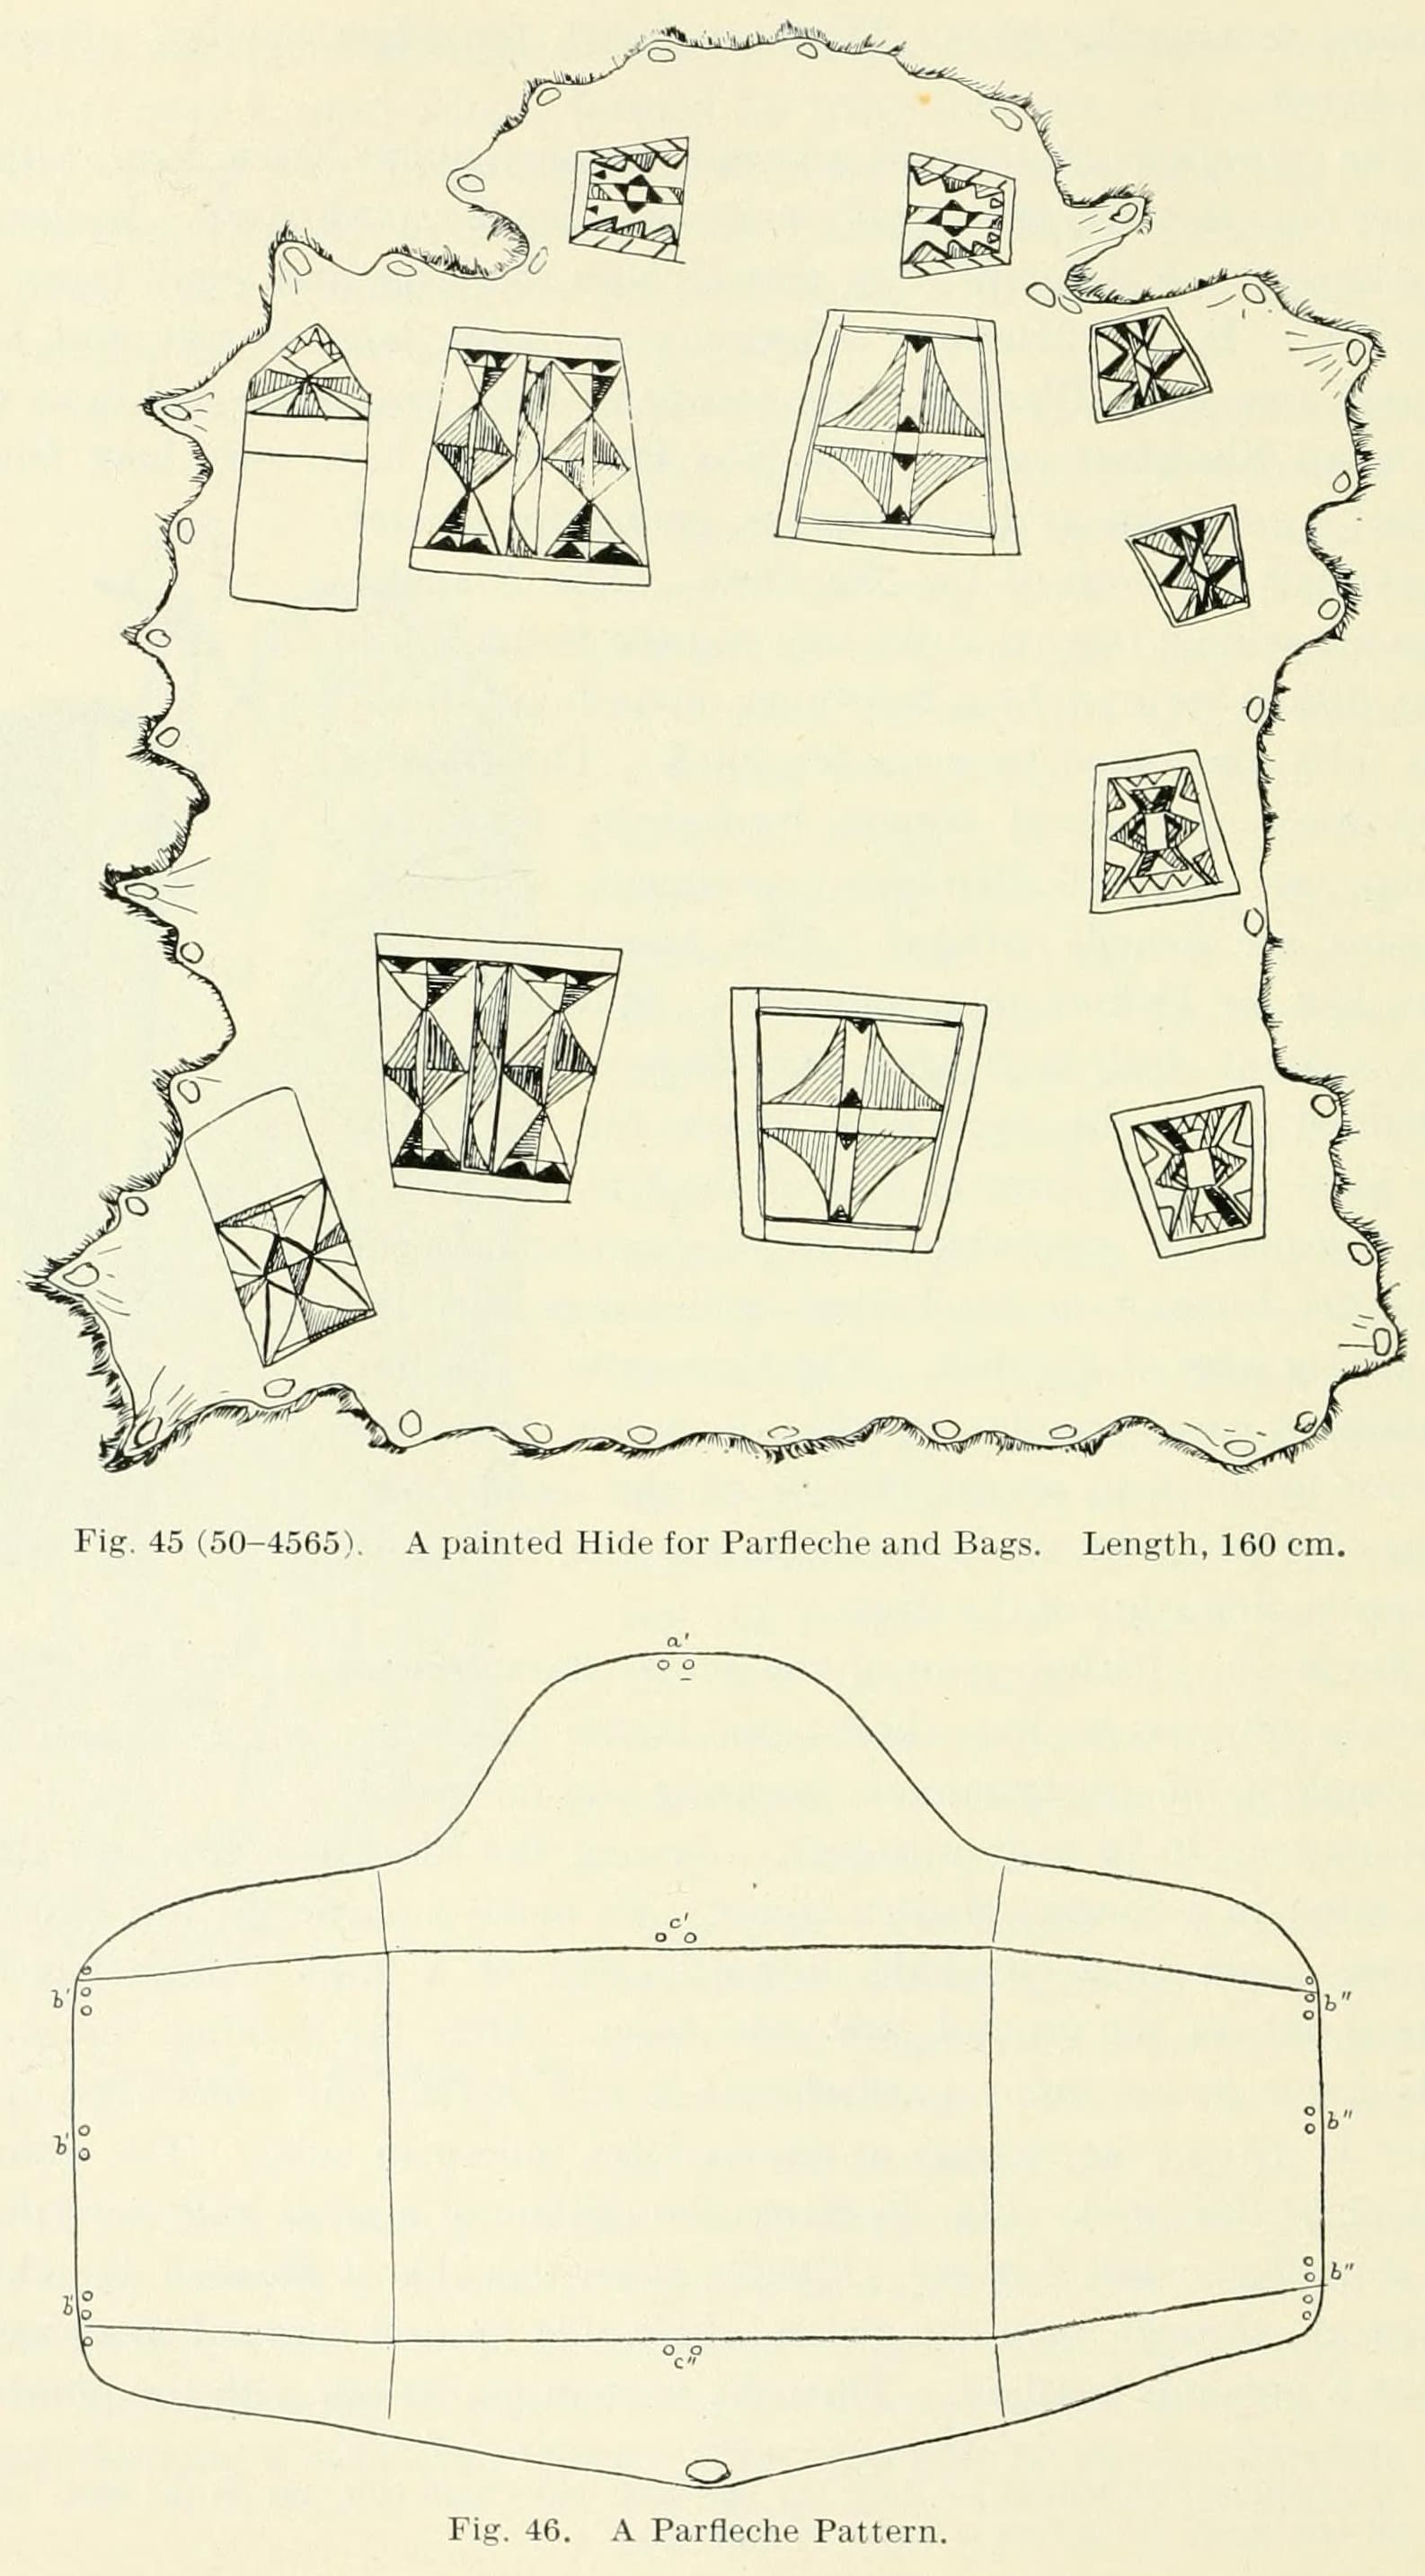
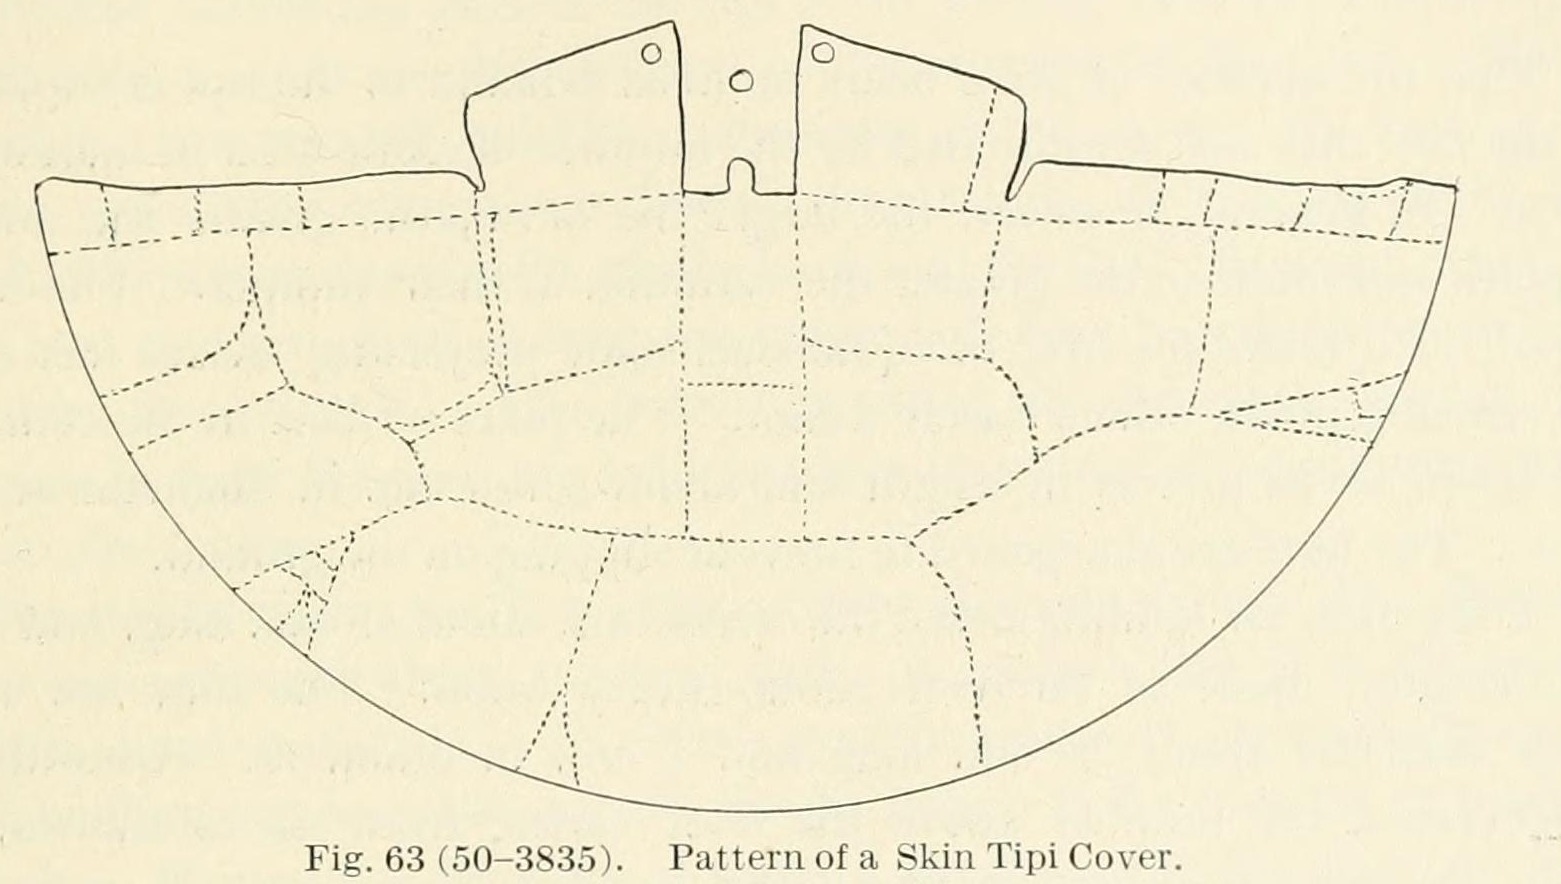
Make a cover that is close to a half circle (his radii 4.2-5.7 m). Formerly twelve to fourteen buffalo skins, dressed soft without hair, fitted together and sewn with sinew; now canvas strips sewn to a vertical centre strip. Add the two 'ears' with holes in their tips, a flap with cords at the top, lap strips with paired pin holes, a long oval door about 1.2 m long, and loops or holes round the curved edge for the stakes.

Matériaux pour cette étape :

Toile de cotonToile de coton1 pièce
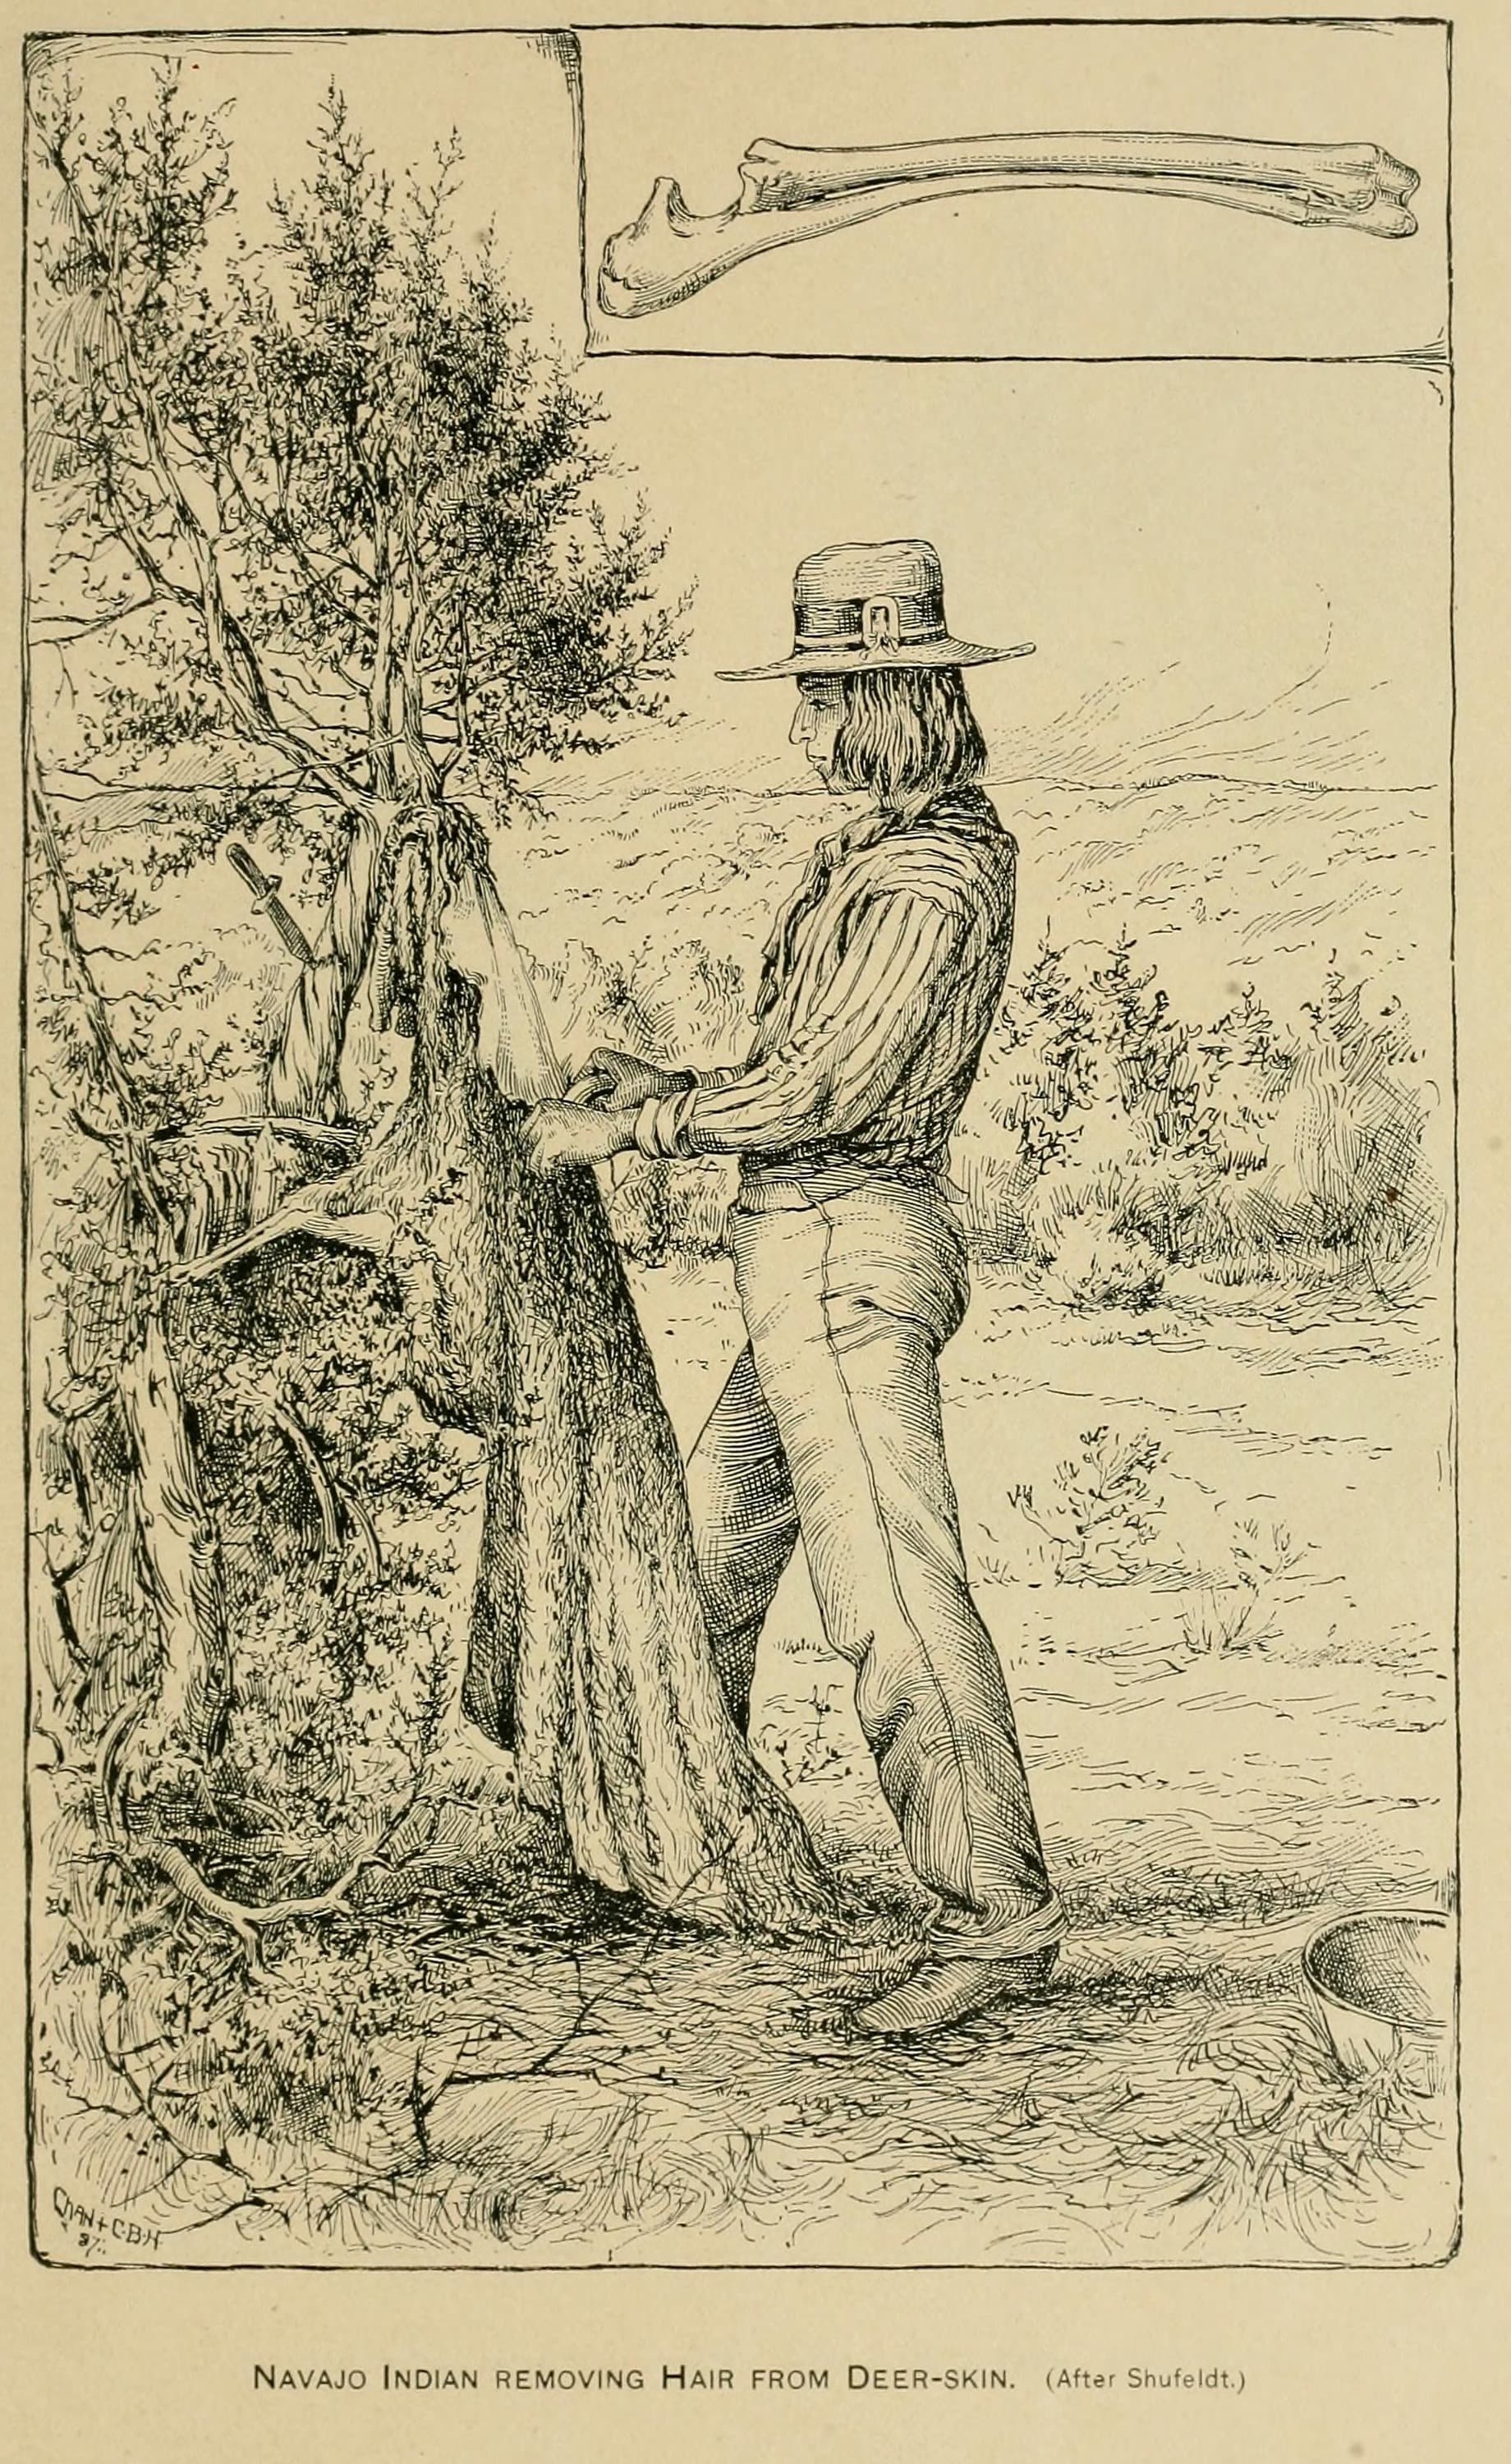
Peau de cerf tannée à la cervellePeau de cerf tannée à la cervelle1 pièce

Fil de tendonFil de tendon1 pièce

Outils nécessaires :
CouteauCouteau
AlêneAlêne
Aiguille à coudreAiguille à coudre
5

Cut stakes and pins

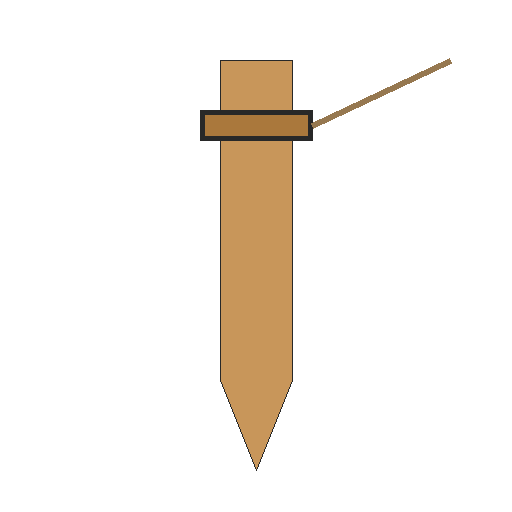
Make stakes about 42 x 2 cm and pins about 28 x 1 cm of birch or chokecherry: six to sixteen pins above the door and two to five below.

Matériaux pour cette étape :

Sardine de tenteSardine de tente1 pièce

Outils nécessaires :

CouteauCouteau
6

Tie the four poles

Unroll the folded cover: its folded length is the distance from base to smoke hole. Lay two poles side by side on it, cross the other two over them at that distance from the butts, and tie the crossing with a thong about 4.5 m long and a simple knot. Raise them: a and b to the east, c and d to the west; swapping b and c locks the tie. The four feet stand at the corners of a rectangle, short side east. Then lay the other poles in on the north and south sides in about equal numbers, then the west side except its middle, and last the east side, the two door poles resting in a second crotch; keep three poles back.

Matériaux pour cette étape :

Lacet de cuir brutLacet de cuir brut1 pièce
Perche en boisPerche en bois1 pièce

Outils nécessaires :

CouteauCouteau
7

Raise and pin the cover

Tie the cover's top cords to a pole so the bottom edge just touches the ground, stand it up in the middle of the west side through the crotch of the door poles, carry the cover round both ways and pin it above and below the door (door to the east; the right-hand edge, as you face it, on the outside; pins from right to left). A small ladder reaches the top pins.

Matériaux pour cette étape :

Lacet de cuir brutLacet de cuir brut1 pièce

Outils nécessaires :

CordeCorde
8

Stretch, ears and stakes

Go inside and move the poles out or in until the cover is tight and evenly conical, then finish from outside. Poke the small ends of the last two poles through the holes in the ears' tips; moving these poles opens, closes or turns the smoke hole away from the wind. Stake the edge down all round.

Matériaux pour cette étape :

Perche en boisPerche en bois1 pièce

Outils nécessaires :

Sardine de tenteSardine de tente
Maillet en boisMaillet en bois
9

Troubleshooting

Tipi troubleshooting.

Flow

Loading...
10

History and honest limits

From Clark Wissler, *Material Culture of the Blackfoot Indians*, **Anthropological Papers of the American Museum of Natural History** vol. V (1910), pp. 99-105 and Figs. 60-63 (checked on the archive.org scan materialcultureo00wiss; pp. 101-102 and 105 read from its text layer). The tipi was made and owned by the woman. The floor averaged about 4.3 m across, the fire a little toward the door. Wissler admits he was unsure how the cover's shape was laid out: he thought the skins were pieced roughly, trimmed against a pole and the bottom trimmed in place. Seam layout and canvas widths are ours.

Matériaux

6

Outils requis

8

CC0 Domaine public

Ce blueprint est publié sous CC0. Vous êtes libre de copier, modifier, distribuer et utiliser ce travail pour tout usage, sans demander la permission.

Soutenez le Maker en achetant des produits via son Blueprint où il perçoit une Commission Maker définie par les Vendeurs, ou créez une nouvelle itération de ce Blueprint et incluez-le comme connexion dans votre propre Blueprint pour partager les revenus.

Commentaires

(0)

Se connecter pour participer à la discussion

Chargement des commentaires...