Collaboration
ART
BEAUTÉ ET BIEN-ÊTRE
ARTISANAT
CULTURE ET HISTOIRE
DIVERTISSEMENT
ENVIRONNEMENT
NOURRITURE ET BOISSONS
INGÉNIERIE INVERSE
SCIENCES
SPORTS
TECHNOLOGIE
TECHNOLOGIE PORTABLE
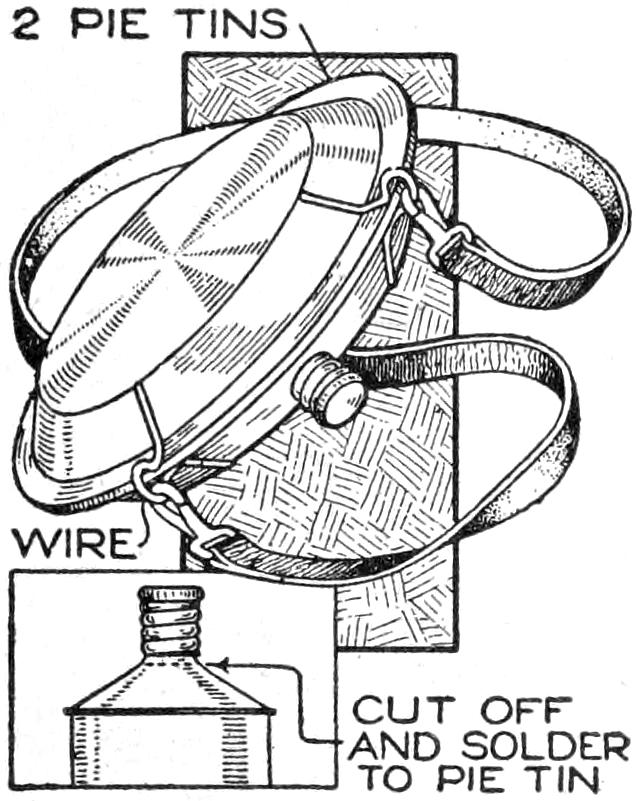


Canteen From Two Pie Plates: Rims Soldered Together, a Screw-Cap Neck in the Edge (Boy Mechanic, 1919)
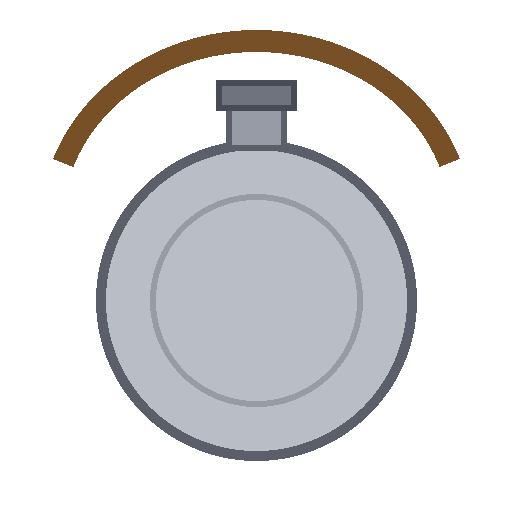
A canteen "for the camper or hiker", sent to The Boy Mechanic (1919) by J. R. Townsend of Itasca, Texas: two nickel-plated pie plates soldered rim to rim, the screw-capped neck of a metal-polish can soldered over an opening in the edge, and two wire loops for the snap hooks of a shoulder strap.
The book gives no sizes: the plates set the size.
Débutant
About 2 hours
Consignes
1
1
Read The Boy Mechanic
Read The Boy Mechanic
"Two good-quality pie plates were soldered at their edges to form a water-tight container." (J. R. Townsend, Itasca, Texas.)
2
2
Solder the plates together
Solder the plates together
Take two good-quality nickel-plated pie plates of the same size. Clean the rims, set them face to face, and solder them together all round the edge so the joint is water-tight. Use lead-free solder: this holds drinking water (our choice; the book only says solder).
Matériaux pour cette étape :
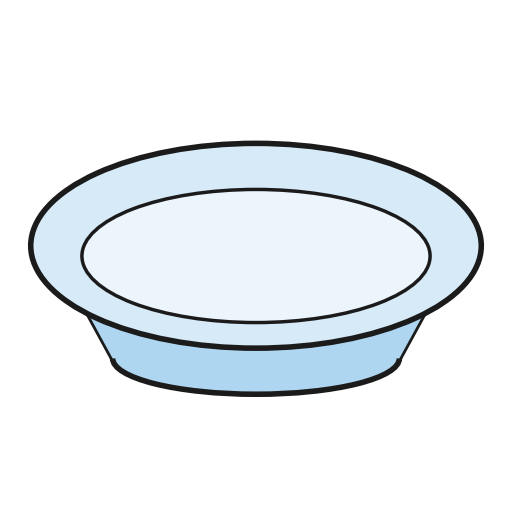 Plat à tarte2 pièces
 Soudure de plomberie sans plomb1 pièce
 Flux1 pièce
Outils nécessaires :
 Fer à souder électrique
 Lime à métaux
3
3
Cut the neck off the can
Cut the neck off the can
Take a small metal-polish can with a screw cap. As the book's drawing shows, cut off its sloping top with the threaded neck, and trim the cut edge.
Matériaux pour cette étape :
 Boîte de conserve1 pièce
Outils nécessaires :
 Cisailles à métaux renforcéesLime à métaux
4
4
Cut the opening and fit the neck
Cut the opening and fit the neck
Cut an opening in the edge of the canteen to suit the neck. Fit the neck carefully over it and solder it all round.
Matériaux pour cette étape :
Soudure de plomberie sans plomb1 pièceFlux1 pièceOutils nécessaires :
 Chignole à mainLime à métauxFer à souder électrique
5
5
Solder on the strap loops
Solder on the strap loops
Bend two short pieces of wire into loops and solder one at each side of the screw cap, as loops for the snap hooks of the shoulder strap.
Matériaux pour cette étape :
 Fil de fer1 pièceSoudure de plomberie sans plomb1 pièceFlux1 pièce
Outils nécessaires :
 Pince plateFer à souder électrique
6
6
Fit the strap and test
Fit the strap and test
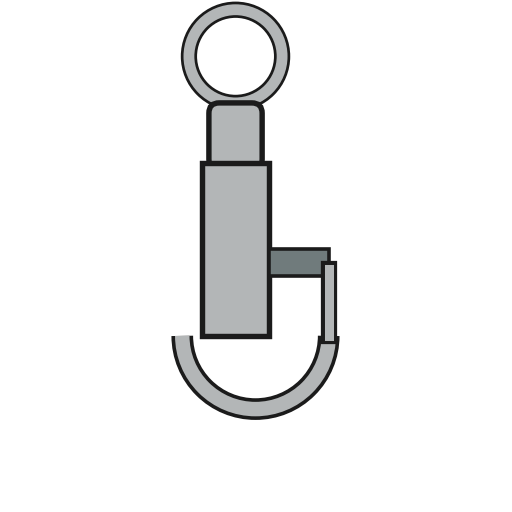
Put a snap hook on each end of a shoulder strap and hook them into the loops. Fill the canteen with water, screw on the cap and check every joint for leaks (our test), then rinse it before use.
Matériaux pour cette étape :
 Lanière de cuir1 pièce
 Mousqueton2 pièces
Outils nécessaires :
 Eau douce
7
7
Troubleshooting
Troubleshooting
Canteen troubleshooting.
Flow
Loading...
8
8
History and honest limits
History and honest limits
From **The Boy Mechanic, Book 3**, edited by H. H. Windsor, Popular Mechanics, Chicago, 1919 (Project Gutenberg 71856), "How to Make a Canteen", sent in by J. R. Townsend of Itasca, Texas. The book gives no sizes and names no tools; the lead-free solder, the tools, the strap material and the leak test are ours.
Matériaux
7- 2 piècesEspace réservé
- 3 piècesEspace réservé
- 3 piècesEspace réservé
- 1 pièceEspace réservé
- 1 pièceEspace réservé
- 1 pièceEspace réservé
- 2 piècesEspace réservé
Ce plan fabrique
Blueprints liés
Ces blueprints partagent des connaissances — techniques, matériaux ou principes


CC0 Domaine public
Ce blueprint est publié sous CC0. Vous êtes libre de copier, modifier, distribuer et utiliser ce travail pour tout usage, sans demander la permission.
Soutenez le Maker en achetant des produits via son Blueprint où il perçoit une Commission Maker définie par les Vendeurs, ou créez une nouvelle itération de ce Blueprint et incluez-le comme connexion dans votre propre Blueprint pour partager les revenus.