
Collaboration
ART
BEAUTÉ ET BIEN-ÊTRE
ARTISANAT
CULTURE ET HISTOIRE
DIVERTISSEMENT
ENVIRONNEMENT
NOURRITURE ET BOISSONS
INGÉNIERIE INVERSE
SCIENCES
SPORTS
TECHNOLOGIE
TECHNOLOGIE PORTABLE
Straight-Sided Guitar: Maple Box, Pine Top, Hatpin Frets and a 24-Inch Scale (Boy Mechanic, 1913)
Woody

Créé par

Woody

13. novembre 2026NO
11
0
0
0
0

Straight-Sided Guitar: Maple Box, Pine Top, Hatpin Frets and a 24-Inch Scale (Boy Mechanic, 1913)

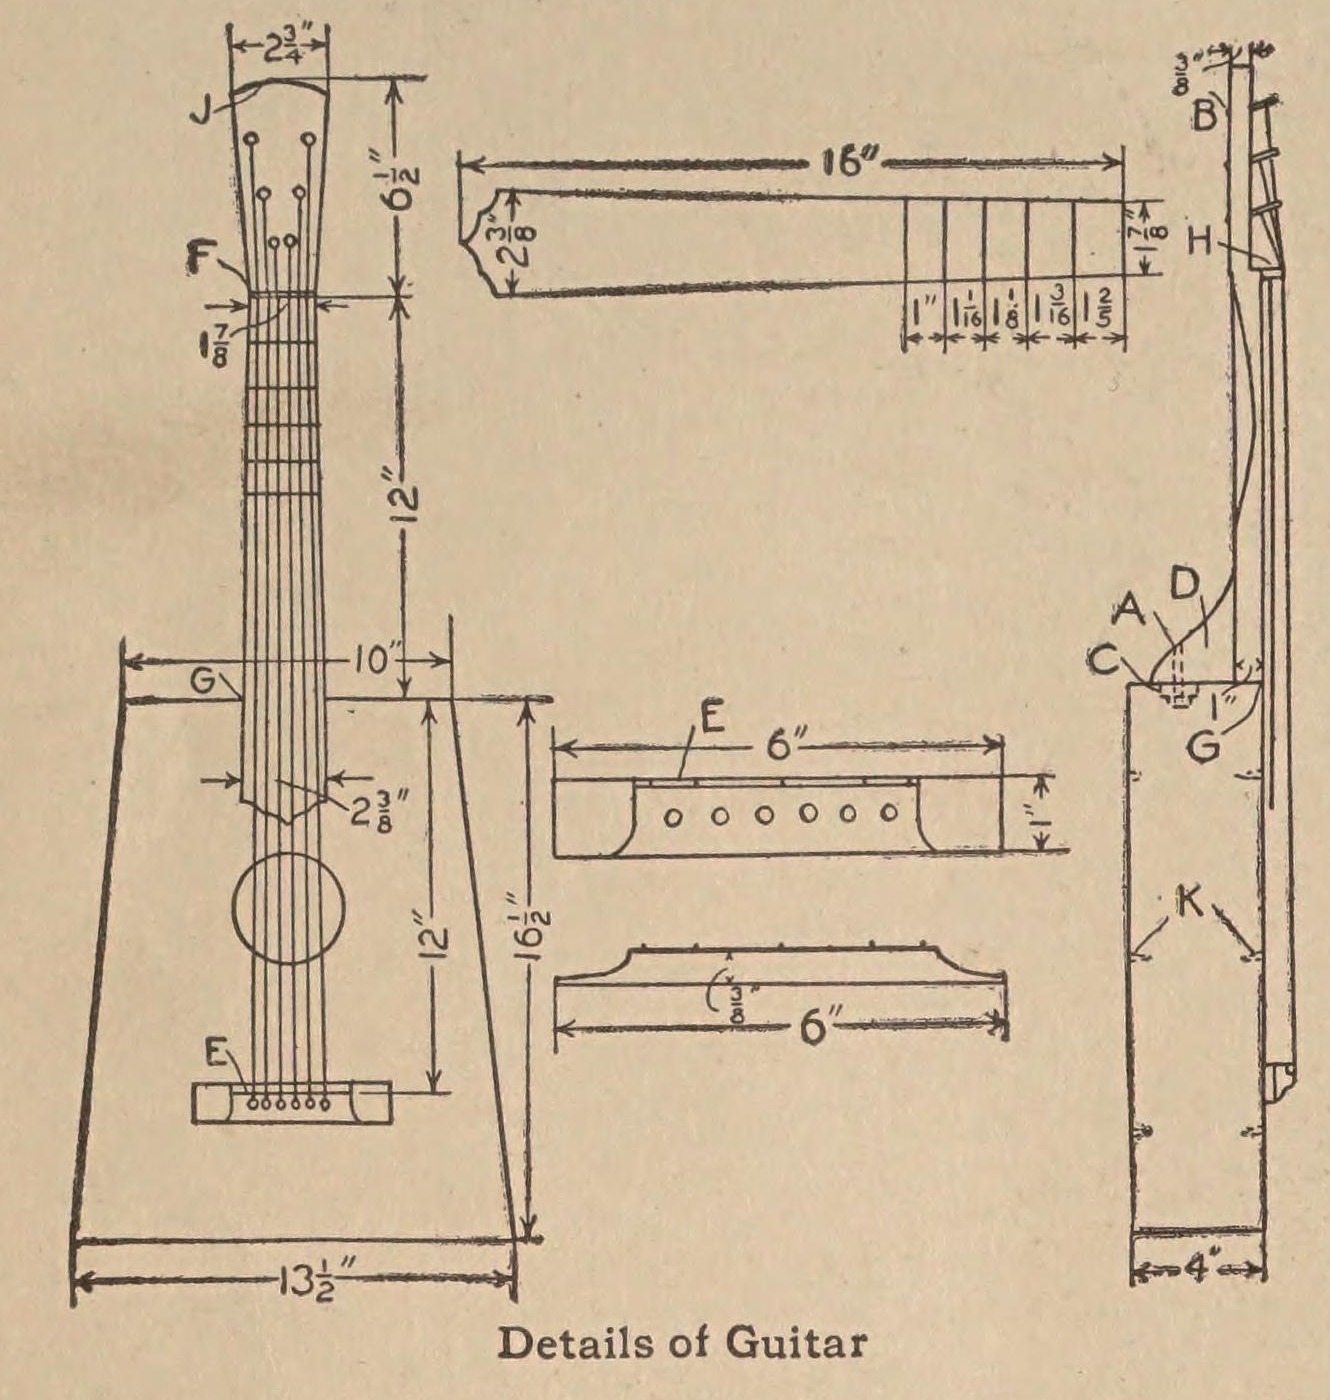
A six-string guitar "having straight lines, giving it an old-fashioned appearance", from The Boy Mechanic (1913): a tapered box of hard maple with a seasoned soft-pine top, a drawknifed neck, frets cut from hatpins and a 24 in scale. Sizes are read on the 1913 scan. "If care is taken in selecting the material, and having it thoroughly seasoned, the finished instrument will have a fine tone."
Avancé
About 1 week, with glue drying

Consignes

1

Cutting list and frets

Chargement du notebook Jupyter…
2

Read The Boy Mechanic

"The sides, ends and bottom are made of hard wood, preferably hard maple, and the top should be made of a thoroughly seasoned piece of soft pine." (J. H. Stoddard, Carbondale, Pa.)
3

Cut the pieces

Cut from thoroughly seasoned wood: top 3/16 by 14 by 17 in (soft pine); bottom 3/16 by 14 by 17 in, two sides 3/16 by 3-5/8 by 16-3/4 in, and ends 3/16 by 3-5/8 by 13-1/8 in and 9-5/8 in (hard maple); neck 1 by 2-5/16 by 18-1/2 in; fingerboard 3/16 by 2-5/8 by 16 in.

Matériaux pour cette étape :

Planche de bois durPlanche de bois dur1 pièce
Planche de pinPlanche de pin1 pièce

Outils nécessaires :

Scie égoïneScie égoïne
Mètre rubanMètre ruban
Équerre fixeÉquerre fixe
4

Shape the neck and fingerboard

Taper the neck from G to F and from J to F, with the back rounded, using a drawknife: 2-3/8 in at the heel, 1-7/8 in at the nut F, and a head 2-3/4 in wide and 6-1/2 in long. Taper the fingerboard to match. Glue a piece of hard wood 1/4 in square and 1-7/8 in long across the neck at F as the nut. Glue the fingerboard to the neck and clamp it until the glue sets.

Matériaux pour cette étape :

Baguette de bois durBaguette de bois dur1 pièce
Colle à boisColle à bois1 pièce

Outils nécessaires :

PlanePlane
Scie égoïneScie égoïne
Serre-joint à pompeSerre-joint à pompe
5

Fret the fingerboard

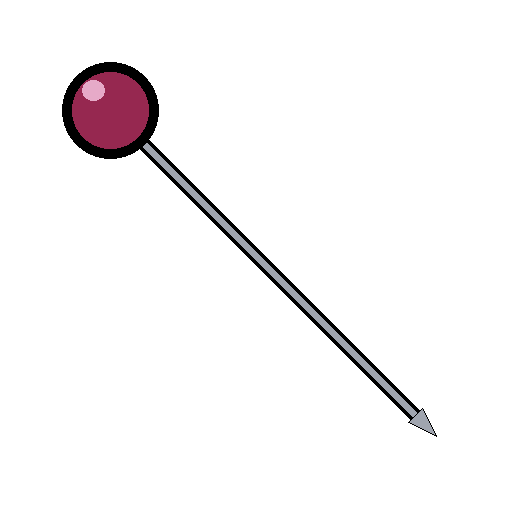
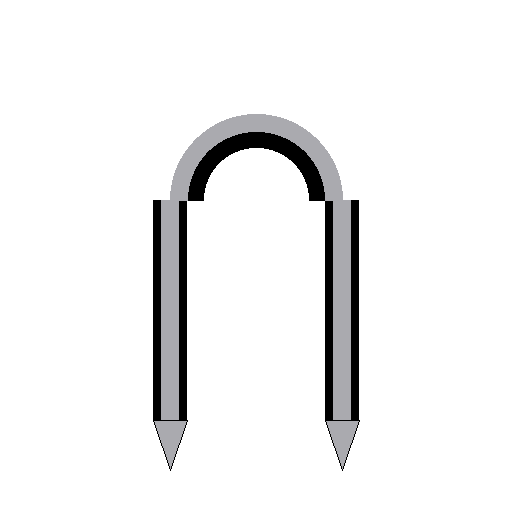
Mark the frets from the nut using the computed positions in step 1 (fret 1 at 1.347 in, fret 12 at 12 in). His drawing gives only five spaces, 1-2/5, 1-3/16, 1-1/8, 1-1/16 and 1 in; added up they put the 5th fret about 0.3 in short of the true place, so they are shown for history only. Cut pieces from hatpins and fasten them across the fingerboard with small wire staples. Mark accurately: the frets decide the pitch.

Matériaux pour cette étape :

Épingle à chapeauÉpingle à chapeau1 pièce
Cavalier en fil de ferCavalier en fil de fer1 pièce

Outils nécessaires :

Pince platePince plate
MarteauMarteau
Mètre rubanMètre ruban
Équerre fixeÉquerre fixe
6

Build the box

Glue the sides and ends together, so the body is 10 in wide at the neck end, 13-1/2 in at the tail and 16-1/2 in long. Glue the front on, put heavy weights on top and give the glue time to dry. Fasten pieces of soft wood in the corners as braces, glue a small block C inside the neck end to take the bolt, and glue strips of soft wood K across the front and back to strengthen them. Cut the sound hole in the top as drawn.

Matériaux pour cette étape :

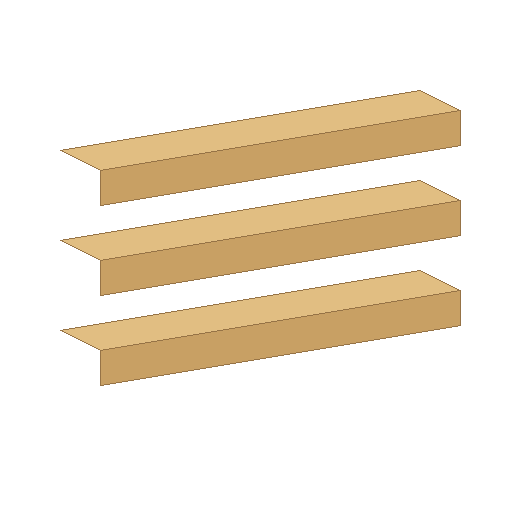
Tasseau de résineuxTasseau de résineux1 pièce
Colle à boisColle à bois1 pièce

Outils nécessaires :

Scie égoïneScie égoïne
Serre-joint à pompeSerre-joint à pompe
Vilebrequin et mècheVilebrequin et mèche
7

Fit the neck

Make the brace D 1 in thick, to any shape you like. Glue the neck to the box and secure it with a carriage bolt at A through the end and block C. Glue the back on and smooth the outside with sandpaper.

Matériaux pour cette étape :

Baguette de bois durBaguette de bois dur1 pièce
Boulon de carrosserieBoulon de carrosserie1 pièce
Planche de bois durPlanche de bois dur1 pièce
Colle à boisColle à bois1 pièce
Papier abrasifPapier abrasif1 pièce

Outils nécessaires :

Vilebrequin et mècheVilebrequin et mèche
Serre-joint à pompeSerre-joint à pompe
8

Make and place the bridge

Make the bridge 6 in long, 1 in wide and 3/8 in high, with an old hatpin or wire of the same size secured on top with pin staples as the saddle E. Drill six 3/16 in holes in it for the pins. Glue it on the top so the distance from the nut F to the saddle E is just 24 in.

Matériaux pour cette étape :

Baguette de bois durBaguette de bois dur1 pièce
Épingle à chapeauÉpingle à chapeau1 pièce
Cavalier en fil de ferCavalier en fil de fer1 pièce
Colle à boisColle à bois1 pièce

Outils nécessaires :

Vilebrequin et mècheVilebrequin et mèche
Scie égoïneScie égoïne
Mètre rubanMètre ruban
9

String it

Fit the turning pegs B in the head and string the guitar, holding the strings in the bridge with the pins. He bought the pegs and strings from a music store.

Matériaux pour cette étape :

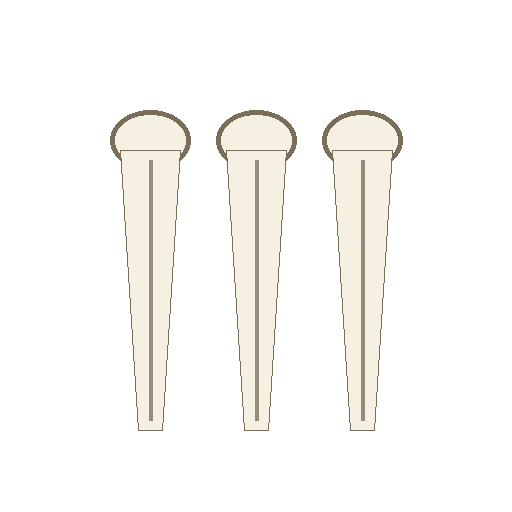
Chevilles d'accordChevilles d'accord1 pièce
Cordes de guitareCordes de guitare1 pièce
Chevilles de chevaletChevilles de chevalet1 pièce

Outils nécessaires :

Vilebrequin et mècheVilebrequin et mèche
10

Troubleshooting

Guitar troubleshooting.

Flow

Loading...
11

History and honest limits

From **The Boy Mechanic**, edited by H. H. Windsor, Popular Mechanics, Chicago, 1913, p. 320, "A Guitar That Is Easy to Make", sent in by J. H. Stoddard of Carbondale, Pa.; sizes read on the 1913 scan (archive.org boymechanicthing01unse). He dimensions only the first five fret spaces, and they disagree with equal temperament; the fret positions used are computed by us. The sound hole, saddle and string tensions are not dimensioned. The tools and metric figures are ours.

Matériaux

12

Outils requis

8

CC0 Domaine public

Ce blueprint est publié sous CC0. Vous êtes libre de copier, modifier, distribuer et utiliser ce travail pour tout usage, sans demander la permission.

Soutenez le Maker en achetant des produits via son Blueprint où il perçoit une Commission Maker définie par les Vendeurs, ou créez une nouvelle itération de ce Blueprint et incluez-le comme connexion dans votre propre Blueprint pour partager les revenus.

Commentaires

(0)

Se connecter pour participer à la discussion

Chargement des commentaires...