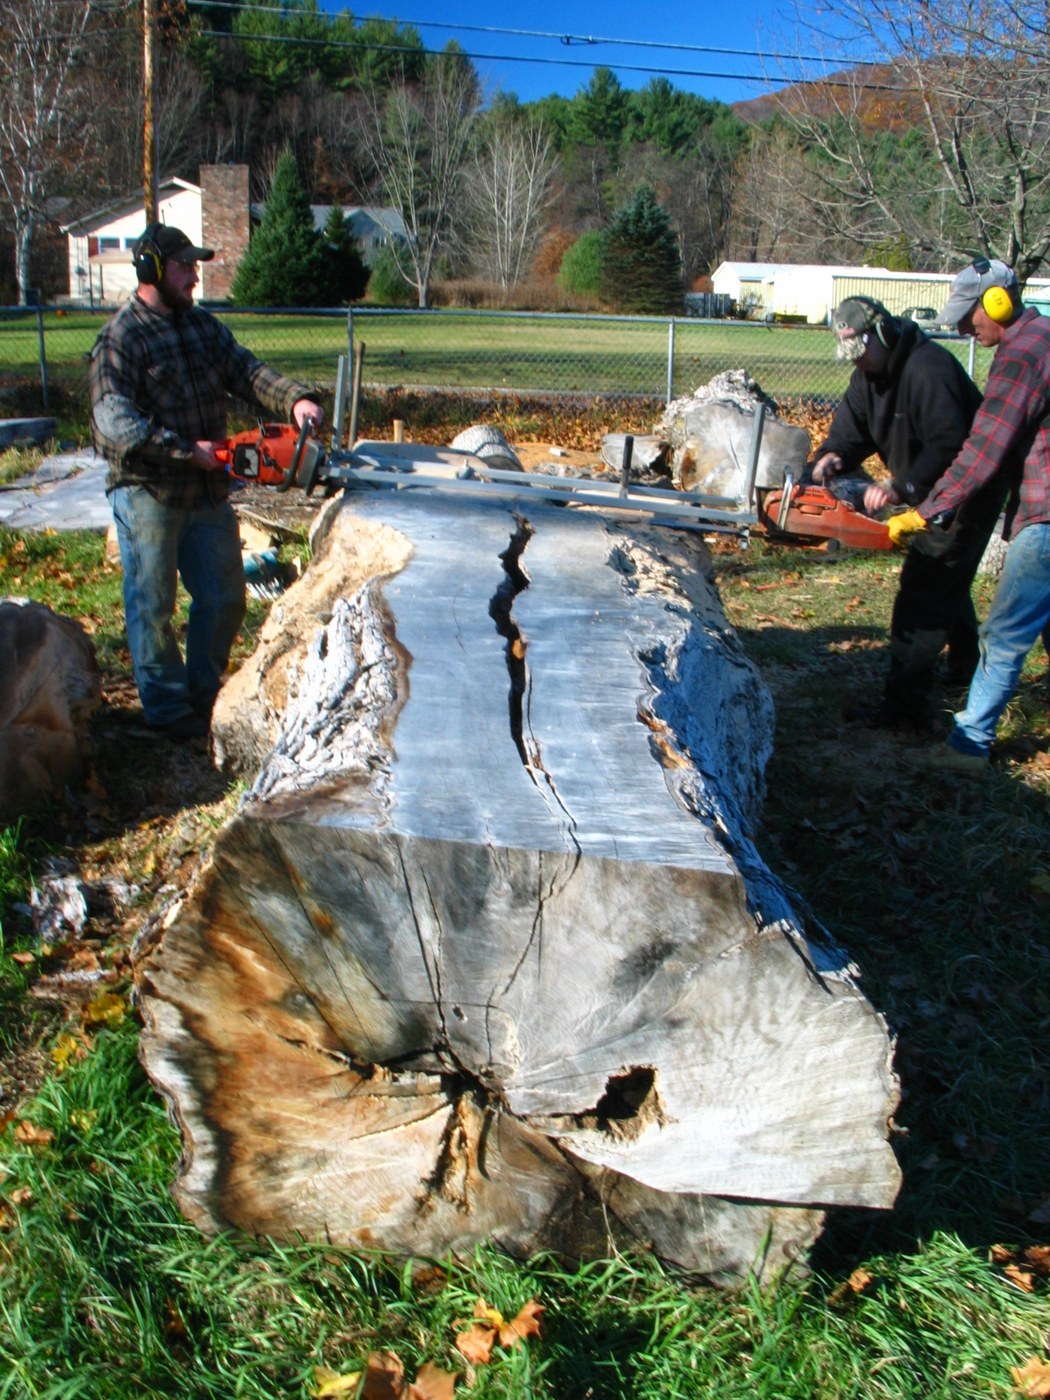


Pine Boards with a Chainsaw Mill
Consignes
Pick and prop the log
Pick and prop the log
Matériaux pour cette étape :
 Billes de bois tendre1 pièce
Outils nécessaires :
 Mètre ruban
Fit the mill
Fit the mill
Outils nécessaires :
 Tronçonneuse (de classe forestière professionnelle)
 Scierie pour tronçonneuse
Screw on the guide board
Screw on the guide board
Matériaux pour cette étape :
 Vis à bois6 pièces
Outils nécessaires :
 Planche de pin
 Perceuse sans fil
 Règle de contrôle
 Niveau à bulle
First cut
First cut
Outils nécessaires :
Tronçonneuse (de classe forestière professionnelle)Scierie pour tronçonneuse Casque de sécurité
 Casque antibruit
 Gants de travail en cuir
 Chaussures de sécurité à embout d'acier
Cut the boards
Cut the boards
Outils nécessaires :
Tronçonneuse (de classe forestière professionnelle)Scierie pour tronçonneuseMètre rubanSeal the ends
Seal the ends
Matériaux pour cette étape :
 Bouche-pores d'about (paraffine)0.5 litre
Sticker the stack
Sticker the stack
Matériaux pour cette étape :
 Baguette d'empilage en bois (entretoise de séchage)30 pièces
Outils nécessaires :
 Palette en boisNiveau à bulle
Cover and weight
Cover and weight
Outils nécessaires :
 Bâche
Measure the moisture
Measure the moisture
Outils nécessaires :
 Humidimètre
Troubleshooting
Troubleshooting
Flow
Matériaux
4- 1 pièceEspace réservé
- 6 piècesEspace réservé
- 0.5 litreEspace réservé
- Espace réservé
Outils requis
14- 1 vendor sell this, none ship to you yetEspace réservé
- Espace réservé
- Espace réservé
- Espace réservé
- 1 vendor sell this, none ship to you yetEspace réservé
- Espace réservé
- Espace réservé
- Espace réservé
- Espace réservé
- Espace réservé
- Espace réservé
- Espace réservé
- Espace réservé
- Espace réservé
Ce plan fabrique


Blueprints liés
Ces blueprints partagent des connaissances — techniques, matériaux ou principes
CC0 Domaine public
Ce blueprint est publié sous CC0. Vous êtes libre de copier, modifier, distribuer et utiliser ce travail pour tout usage, sans demander la permission.
Soutenez le Maker en achetant des produits via son Blueprint où il perçoit une Commission Maker définie par les Vendeurs, ou créez une nouvelle itération de ce Blueprint et incluez-le comme connexion dans votre propre Blueprint pour partager les revenus.