ART
BEAUTÉ ET BIEN-ÊTRE
ARTISANAT
CULTURE ET HISTOIRE
DIVERTISSEMENT
ENVIRONNEMENT
NOURRITURE ET BOISSONS
INGÉNIERIE INVERSE
SCIENCES
SPORTS
TECHNOLOGIE
TECHNOLOGIE PORTABLE
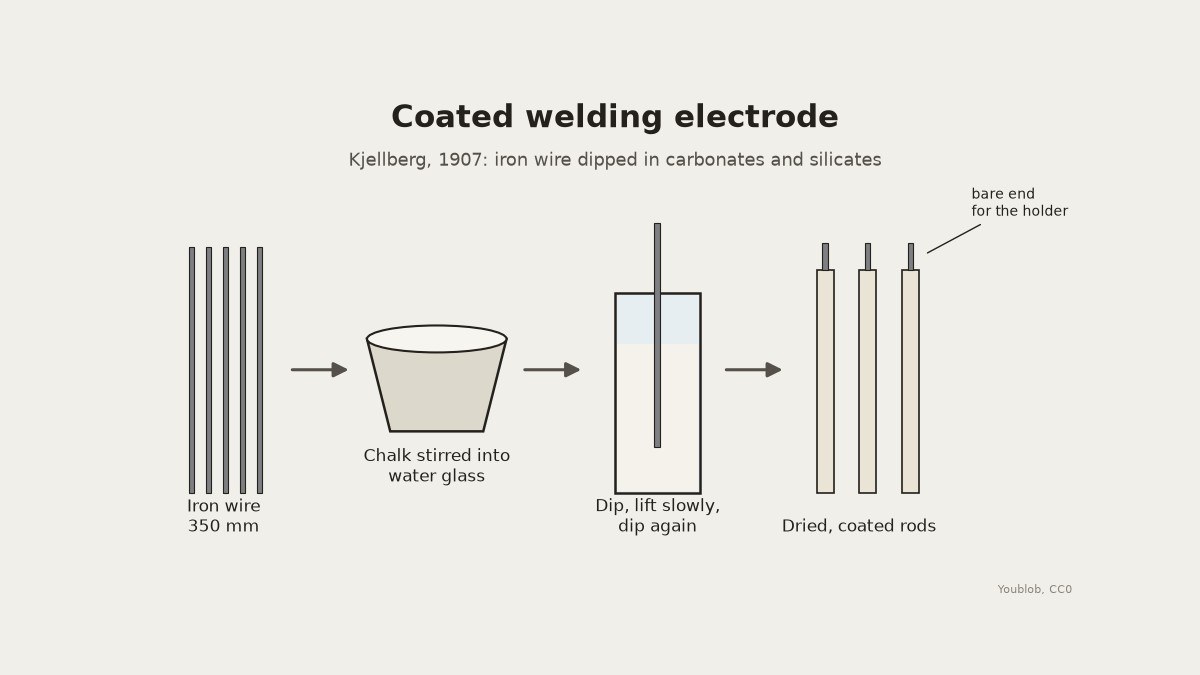


Coated Welding Electrode: Iron Wire Dipped in Chalk and Water Glass (Kjellberg, 1907)
In 1907 Oscar Kjellberg patented a welding electrode made by dipping bare iron wire in a thick mixture of carbonates and silicates. In the arc the coating gives off a fume that keeps air away from the molten metal while it cools. Here the carbonate is chalk and the silicate is water glass. Cut the wire to length, dip it in the paste, and dry the rods well before use.
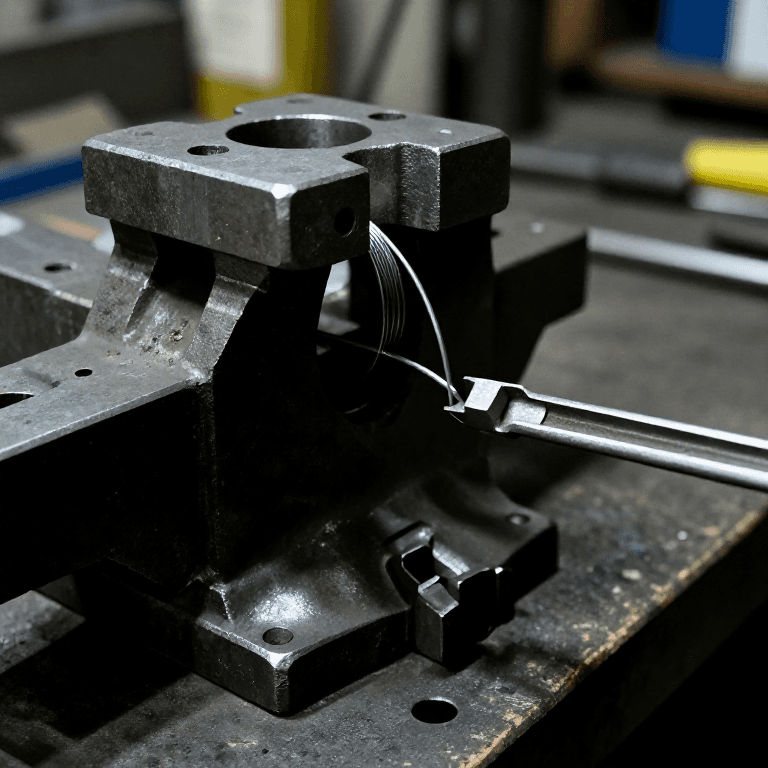
The picture: our diagram of the wire, the dip and the coated rod.
Débutant
An hour, then drying overnight
Consignes
1
1
Cut the wire
Cut the wire
Cut straight iron wire about 3 mm thick into 350 mm lengths and wipe it clean.
Matériaux pour cette étape :
 Fil de fer7 m
Outils nécessaires :
 Pince coupante
 Étau d'établi
 Mètre ruban
2
2
Mix the coating
Mix the coating
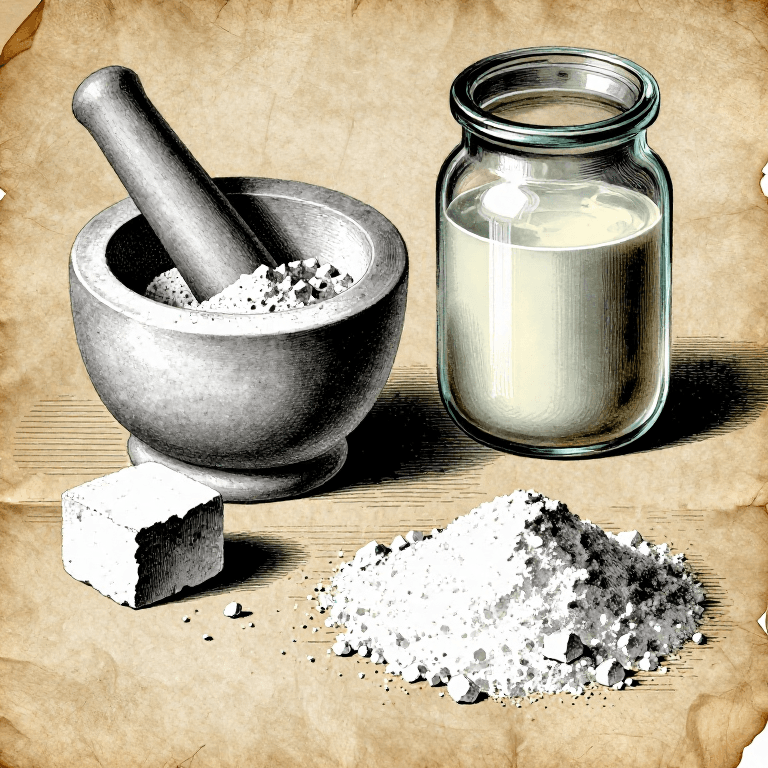
Stir sifted chalk into water glass, a little at a time, until the paste is thick enough to cling to the wire.
Matériaux pour cette étape :
 Verre soluble (solution de silicate de sodium)300 g
 Carbonate de calcium (blanc de Meudon)400 g
Outils nécessaires :
 Jeu de bols à mélanger
 Balance de cuisine numérique
 Gants en caoutchouc
3
3
Dip the rods
Dip the rods
Pour the paste into a tall jar. Dip each rod, leaving the top 30 mm bare for the holder, and lift it out slowly. When the first coat has set, dip again for a thicker coat.
Outils nécessaires :
 Bocal en verreGants en caoutchouc
4
4
Dry
Dry
Hang the rods bare end up until the coating is hard, then dry them in a warm oven before welding. Keep them dry.
Outils nécessaires :
 Séchoir
 Four
5
5
Wire for a batch
Wire for a batch
Chargement du notebook Jupyter…
Matériaux
3- 7 mEspace réservé
- Espace réservé
- Espace réservé
Outils requis
9- Espace réservé
- Espace réservé
- 1 vendor sell this, none ship to you yetEspace réservé
- Espace réservé
- Espace réservé
- Espace réservé
- Espace réservé
- Espace réservé
- Espace réservé
Ce plan fabrique
Blueprints liés
Ces blueprints partagent des connaissances — techniques, matériaux ou principes

CC0 Domaine public
Ce blueprint est publié sous CC0. Vous êtes libre de copier, modifier, distribuer et utiliser ce travail pour tout usage, sans demander la permission.
Soutenez le Maker en achetant des produits via son Blueprint où il perçoit une Commission Maker définie par les Vendeurs, ou créez une nouvelle itération de ce Blueprint et incluez-le comme connexion dans votre propre Blueprint pour partager les revenus.