
Making Chalk White Pigment (Whiting) — Grinding and Levigating Natural Chalk
Chalk is one of the most abundant and accessible white pigments on Earth — a soft, fine-grained limestone composed almost entirely of calcium carbonate (CaCO₃) from the compressed shells of microscopic marine organisms (coccolithophores) that lived 65-100 million years ago. The white cliffs of Dover, the chalk downs of southern England, the champagne region of France, and the chalk formations of Denmark are all vast deposits of this natural white pigment material.
Processed chalk (known as 'whiting' in the paint trade) has been used since prehistoric times as a white pigment, a filler, a polishing compound, and the foundation of gesso — the white ground applied to wood panels and canvases before painting. Every medieval and Renaissance panel painting began with a gesso ground made from whiting and hide glue. Whiting is also the primary ingredient of traditional distemper paint, putty, and lime-based wall coatings.
Making whiting is one of the simplest pigment processes: crush raw chalk, grind it fine, and levigate (wash) it to separate the finest particles from coarse grit and impurities. The levigation step is the key — water sorting separates particles by size, and the finest fraction (which stays in suspension longest) gives the smoothest, most opaque pigment. The result is a brilliant white powder that mixes with any binder to produce paint, gesso, or coating.
Consignes
Break the raw chalk into small pieces
Break the raw chalk into small pieces
Start with a lump of natural chalk (calcium carbonate). Break it into walnut-sized pieces using a hammer or by hand — chalk is soft enough to crumble easily. Remove any flint inclusions, dark streaks, or clay contamination. The purest chalk is brilliant white throughout with no discolouration. About 200 g of raw chalk will produce approximately 150 g of finished whiting after losses from levigation.
Matériaux pour cette étape :
 Natural Chalk (Raw Lumps)200 g
Grind to a coarse powder
Grind to a coarse powder
Crush the chalk pieces in a mortar and pestle until reduced to a coarse powder — roughly the texture of granulated sugar. Chalk is very soft (Mohs hardness 1-3) and grinds easily. Work in batches if the mortar is small. The goal is to break down the lumps enough for levigation — the water will do the final sorting.
Outils nécessaires :
 Mortar and Pestle
Levigate in water to separate fine from coarse
Levigate in water to separate fine from coarse
Place the crushed chalk in a large jar or bucket and add 1 litre of clean water. Stir vigorously for 2 minutes to suspend the particles. Let stand for exactly 30 seconds — the coarsest particles will settle to the bottom. Carefully pour the still-cloudy suspension into a second clean container, leaving the settled grit behind. This milky suspension contains the finest chalk particles — the pigment-grade whiting. Repeat the stirring and pouring with the settled residue to extract more fine particles.
Outils nécessaires :
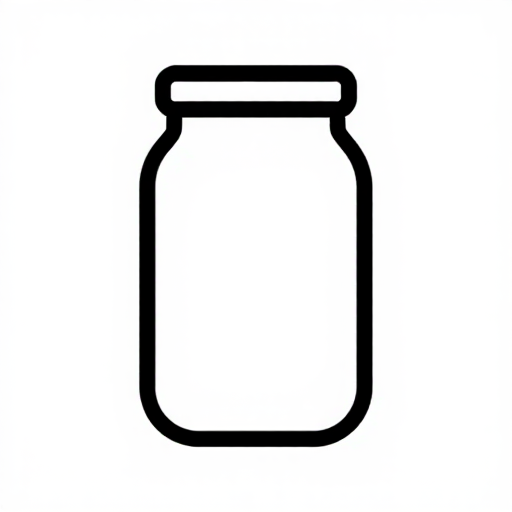 Glass Jar (500ml)
Let the fine suspension settle overnight
Let the fine suspension settle overnight
Let the milky suspension stand undisturbed overnight (8-12 hours). The fine chalk particles will settle to the bottom as a dense white layer. The water above will become clear. Carefully pour off the clear water without disturbing the sediment. The settled white mass is your whiting — pure, fine-grained calcium carbonate pigment.
Dry and store the finished whiting
Dry and store the finished whiting
Spread the wet whiting paste on a clean, non-absorbent surface (glass, ceramic, or plastic) in a thin layer and let it dry completely in a warm, dry place. This takes 1-2 days depending on temperature and humidity. Once dry, break up any cakes and grind briefly with a mortar and pestle to restore the powder. The finished whiting is a brilliant white, silky-smooth powder. Store in a sealed jar. Use as a white pigment, a filler in gesso and putty, a base for distemper paint, or a polishing compound.
Outils nécessaires :
Mortar and PestleMatériaux
1- Espace réservé
Outils requis
2- Espace réservé
- Espace réservé
Matériaux des Blueprints connectés
You might also need
Materials makers commonly use alongside this build.


Blueprints liés
Ces blueprints partagent des connaissances — techniques, matériaux ou principes
Related blueprints
Other builds that share materials, tools, or techniques with this one.

CC0 Domaine public
Ce blueprint est publié sous CC0. Vous êtes libre de copier, modifier, distribuer et utiliser ce travail pour tout usage, sans demander la permission.
Soutenez le Maker en achetant des produits via son Blueprint où il perçoit une Commission Maker définie par les Vendeurs, ou créez une nouvelle itération de ce Blueprint et incluez-le comme connexion dans votre propre Blueprint pour partager les revenus.