ART
BEAUTÉ ET BIEN-ÊTRE
ARTISANAT
CULTURE ET HISTOIRE
DIVERTISSEMENT
ENVIRONNEMENT
NOURRITURE ET BOISSONS
INGÉNIERIE INVERSE
SCIENCES
SPORTS
TECHNOLOGIE
TECHNOLOGIE PORTABLE
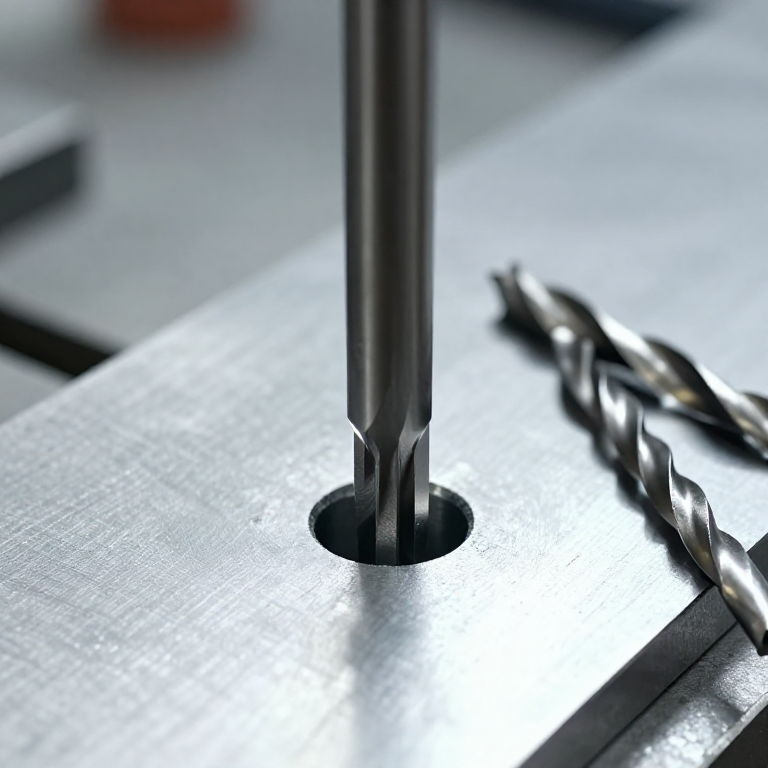


Drilling, Boring and Reaming: Three Tools, Three Different Jobs
A twist drill is a rough tool pretending to be a precise one. It makes a hole that is oversize, not quite round, and not necessarily where you wanted it — and it does all three while looking like it worked perfectly.
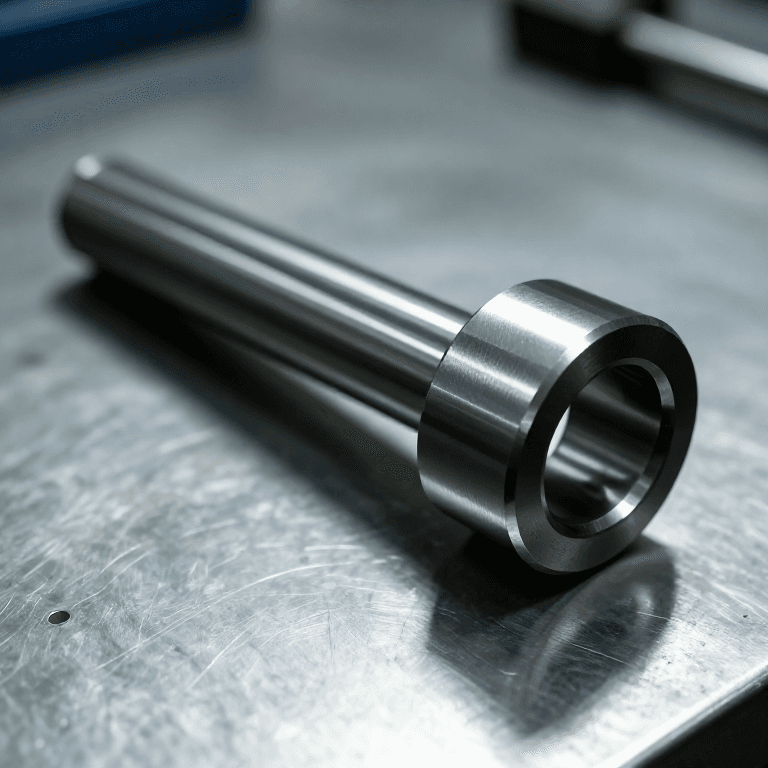
So a hole that has to be a size is made by three tools in succession, and each fixes something the others cannot. The drill removes the bulk. The BORING BAR makes the hole round, straight and concentric, because it follows the machine rather than the hole. The REAMER brings it to size and finish, following the hole it is given.
The order matters and so does the reason. A reamer cannot straighten a crooked hole — it will follow it faithfully and produce a crooked hole of exactly the right diameter.
Intermédiaire
4 hours
Consignes
1
1
Start the hole where you meant to
Start the hole where you meant to
Face the end, then start with a centre drill. Its short stiff body will not wander, and the small cone it leaves gives the twist drill something to sit in.
A twist drill started on a bare or domed surface walks. Its chisel edge at the very centre does not cut so much as extrude, and until the full lips engage the drill is free to skate — which is how a hole ends up a millimetre off centre on a part that was set up perfectly.
On the lathe the drill is in the tailstock and the work turns, so a wandering start also means the hole is not on the axis. Everything downstream inherits that, and no later operation removes it except boring.
Matériaux pour cette étape :
 Barre ronde en acier doux1 pièce
Outils nécessaires :
 Tour à métaux
 Jeu de forets à centrer
 Huile de coupe
2
2
Measure what your drill actually produces
Measure what your drill actually produces
Drill a hole with a 10 mm drill in a scrap of the material you are using, then measure it with a telescoping gauge and a micrometer, at two depths and two angles.
It will be oversize — commonly by five to fifteen hundredths of a millimetre — and it will usually be slightly oval or bell-mouthed at the entry. A drill is supported only by the hole it is making, so any asymmetry in its two lips steers it, and the hole comes out larger than the drill by roughly twice that error.
Do this once for each drill you rely on and write the number on the case. That single measurement turns the drill from an unknown into a tool with a known behaviour, which is the whole theme of this ladder.
Matériaux pour cette étape :
Barre ronde en acier doux1 pièceOutils nécessaires :
 Jeu de forets
 Jeu de jauges télescopiques
 Micromètre
3
3
Bore it to make it true, ream it to make it size
Bore it to make it true, ream it to make it size
If the hole must be round, straight and on the axis, BORE it. A boring bar carries one cutting tip and is fed by the slide, so the hole it cuts is defined by the machine's own geometry — it will cut a crooked hole straight and an oval hole round, because it takes no notice of what was there.
If the hole must be an exact size with a good finish, REAM it. A reamer has many flutes and floats in the hole, so it cannot correct position — it follows. What it does superbly is take a controlled small amount off the whole surface at once.
Bore first, ream second, and understand what each is for. A part reamed without boring is a correctly sized hole in the wrong place; a part bored without reaming is in the right place with a dubious finish.
Matériaux pour cette étape :
Barre ronde en acier doux1 pièceOutils nécessaires :
Tour à métaux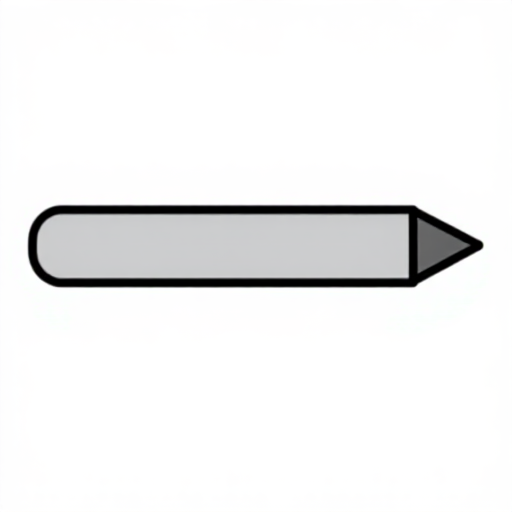 Barre d'alésage
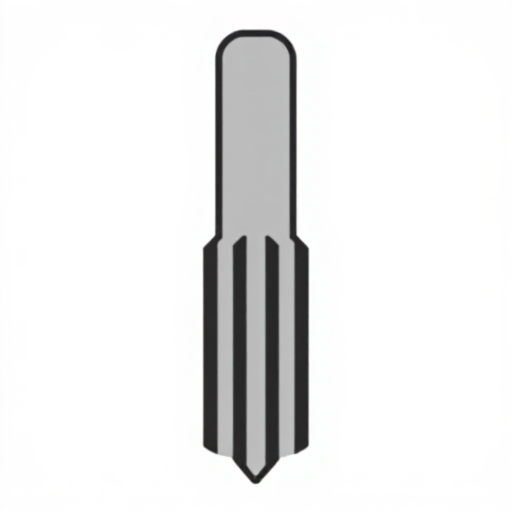 AlésoirJeu de jauges télescopiques
4
4
The allowance, the speed and the one thing you must never do
The allowance, the speed and the one thing you must never do
Chargement du notebook Jupyter…
Matériaux pour cette étape :
Barre ronde en acier doux1 pièceOutils nécessaires :
AlésoirJeu de jauges télescopiquesMicromètre Calculatrice
5
5
Gauge it instead of measuring it
Gauge it instead of measuring it
Once the size is proved on the first part, check the rest with a go/no-go plug gauge rather than measuring each one.
Reaming is a repeatable operation — the same reamer in the same material at the same speed gives the same hole — so what you need from part two onward is a yes or a no, not a number. The GO end enters full depth, the NO-GO end does not, and it takes two seconds.
The number still matters when something changes: a new reamer, a different material, or the first part after a long gap. Measure then, gauge afterwards. That is the division of labour the go/no-go rung sets out, and holes are where it earns the most.
Matériaux pour cette étape :
Barre ronde en acier doux3 piècesOutils nécessaires :
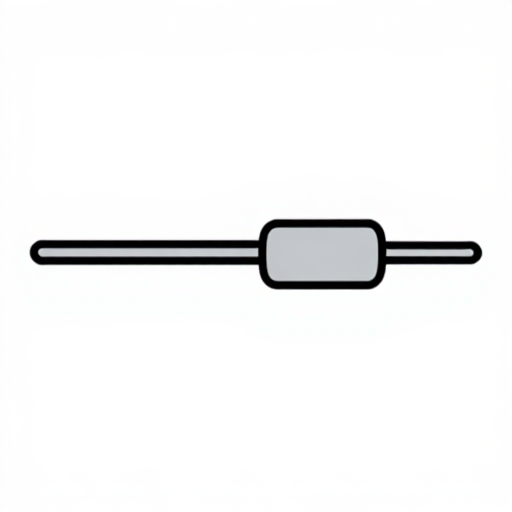 Jeu de calibres tamponsAlésoirMicromètre
Outils requis
10- Espace réservé
- Espace réservé
- Espace réservé
- Espace réservé
- Espace réservé
- Espace réservé
- Espace réservé
- Espace réservé
- Espace réservé
- Espace réservé
Blueprints liés
Ces blueprints partagent des connaissances — techniques, matériaux ou principes
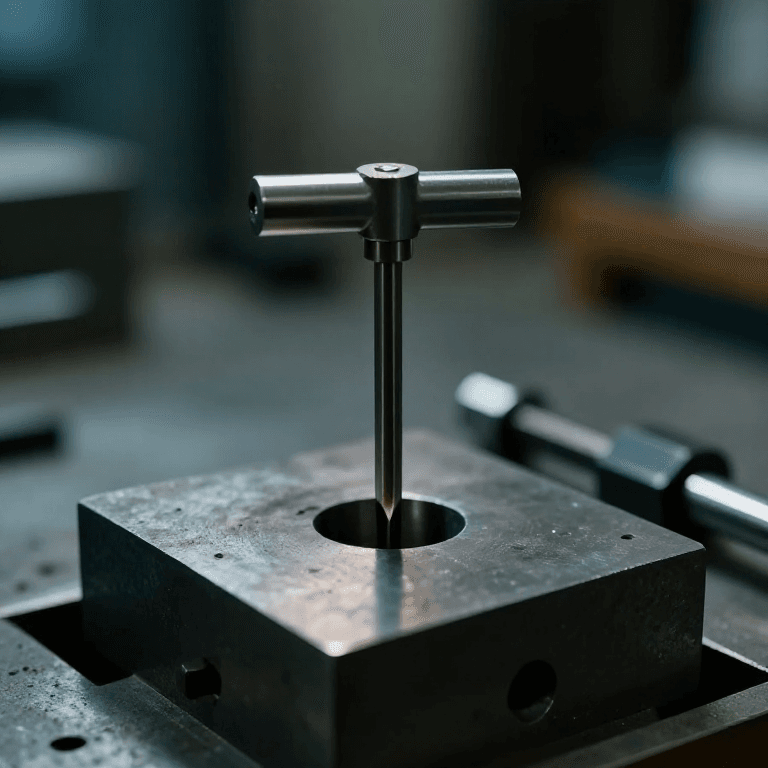

CC0 Domaine public
Ce blueprint est publié sous CC0. Vous êtes libre de copier, modifier, distribuer et utiliser ce travail pour tout usage, sans demander la permission.
Soutenez le Maker en achetant des produits via son Blueprint où il perçoit une Commission Maker définie par les Vendeurs, ou créez une nouvelle itération de ce Blueprint et incluez-le comme connexion dans votre propre Blueprint pour partager les revenus.