
Collaboration
ART
BEAUTÉ ET BIEN-ÊTRE
ARTISANAT
CULTURE ET HISTOIRE
DIVERTISSEMENT
ENVIRONNEMENT
NOURRITURE ET BOISSONS
INGÉNIERIE INVERSE
SCIENCES
SPORTS
TECHNOLOGIE
TECHNOLOGIE PORTABLE
Forge Blast Fan: Riveted Sheet-Iron Drum, Shrunk-Collar Spindle and Four Screwed Blades, Belt-Driven at 360 rpm (Edwinson, 1886)
Forge

Créé par

Forge

14. novembre 2026NO
9
0
0
0
0

Forge Blast Fan: Riveted Sheet-Iron Drum, Shrunk-Collar Spindle and Four Screwed Blades, Belt-Driven at 360 rpm (Edwinson, 1886)

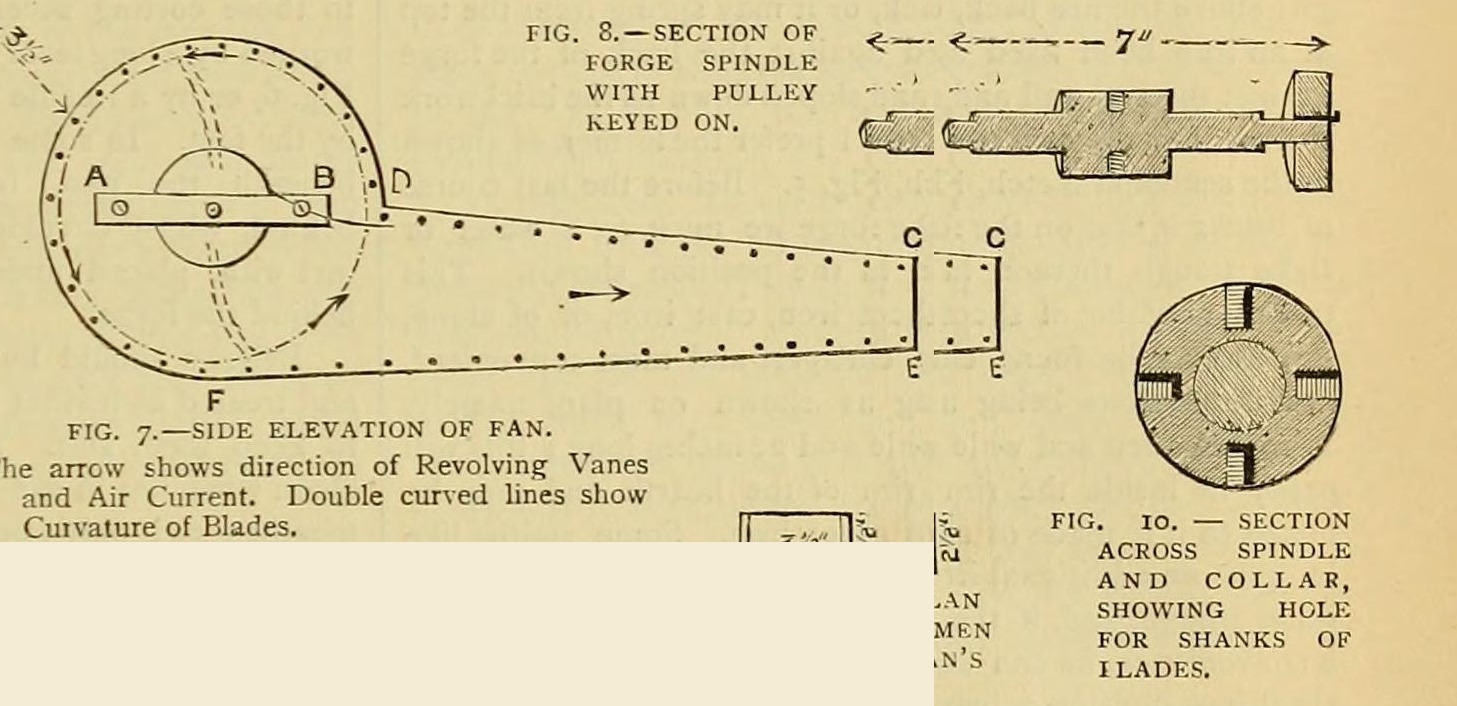
George Edwinson's home-made forge fan (Amateur Work, 1886), which he preferred to bellows: two 1/8 in. sheet-iron sides with a 3 1/2 in. intake, a riveted 1/16 in. casing, a turned 3/4 in. spindle with a shrunk-on collar holding four forged, slightly scooped blades, brass bearings, and a 2 in. pulley driven from a 2 ft hand wheel at 30 rpm for 360 rpm.
Avancé
Three to four days

Consignes

1

His sizes

Chargement du notebook Jupyter…
2

Read Edwinson

"Under no circumstances should I advise an amateur to make his own bellows, but he may be able to make a fan."
3

Cut the sides

Cut two sides from 1/8 in. sheet iron to his fig. 7: 9 in. across at the widest, 2 1/2 in. at the narrowest, 2 ft long. Cut a 3 1/2 in. hole in each for the spindle and air intake, drill two 3/8 in. holes for bolts A and B (filed square), and drill the rivet holes round the edge.

Matériaux pour cette étape :

Tôle d'acier douxTôle d'acier doux1 pièce

Outils nécessaires :

Cisaille à tôleCisaille à tôle
Perceuse à colonnePerceuse à colonne
Limes (lime à main)Limes (lime à main)
PointeauPointeau
4

Rivet the casing

Cut 5 in. strips of 1/16 in. sheet with 3/4 in. margins bent down (4 in. clear): 14 in. from C to D, 20 in. from E to F, and about 22 in. round the drum from D to F (measure it). Mark the rivet holes through the side holes, nick between holes so the drum strip bends without buckling, and rivet, backing each head with stout iron. Leave a foot of the drum strip open. (Easier: make the sides 2 in. larger with outward flanges and rivet the strips to them.)

Matériaux pour cette étape :

Tôle d'acier douxTôle d'acier doux1 pièce
Rivets en ferRivets en fer1 pièce

Outils nécessaires :

Cisaille à tôleCisaille à tôle
Perceuse à colonnePerceuse à colonne
Jeu à riverJeu à river
MarteauMarteau
Mètre rubanMètre ruban
5

Turn the spindle

Turn 7 in. of 3/4 in. round iron smooth. Turn one end to 1/2 in. for 5/8 in. and the other to 1/2 in. for 2 1/8 in., with sharp shoulders. Bore a 2 x 2 in. collar a shade under size, heat it red and slip it on 1 in. in from a shoulder, then cool it in water to shrink it tight.

Matériaux pour cette étape :

Barre de fer forgéBarre de fer forgé1 pièce
EauEau1 pièce

Outils nécessaires :

Tour à métauxTour à métaux
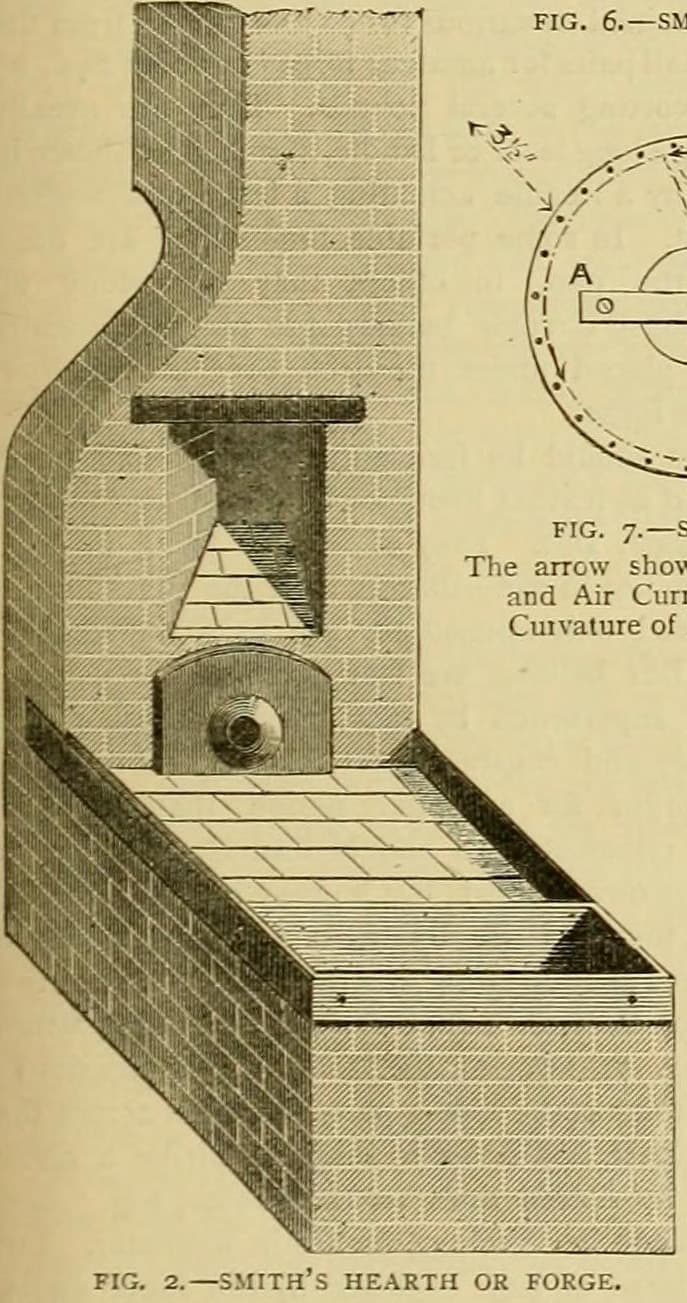
Forge de forgeronForge de forgeron
Pinces de forgeronPinces de forgeron
6

Drill the collar

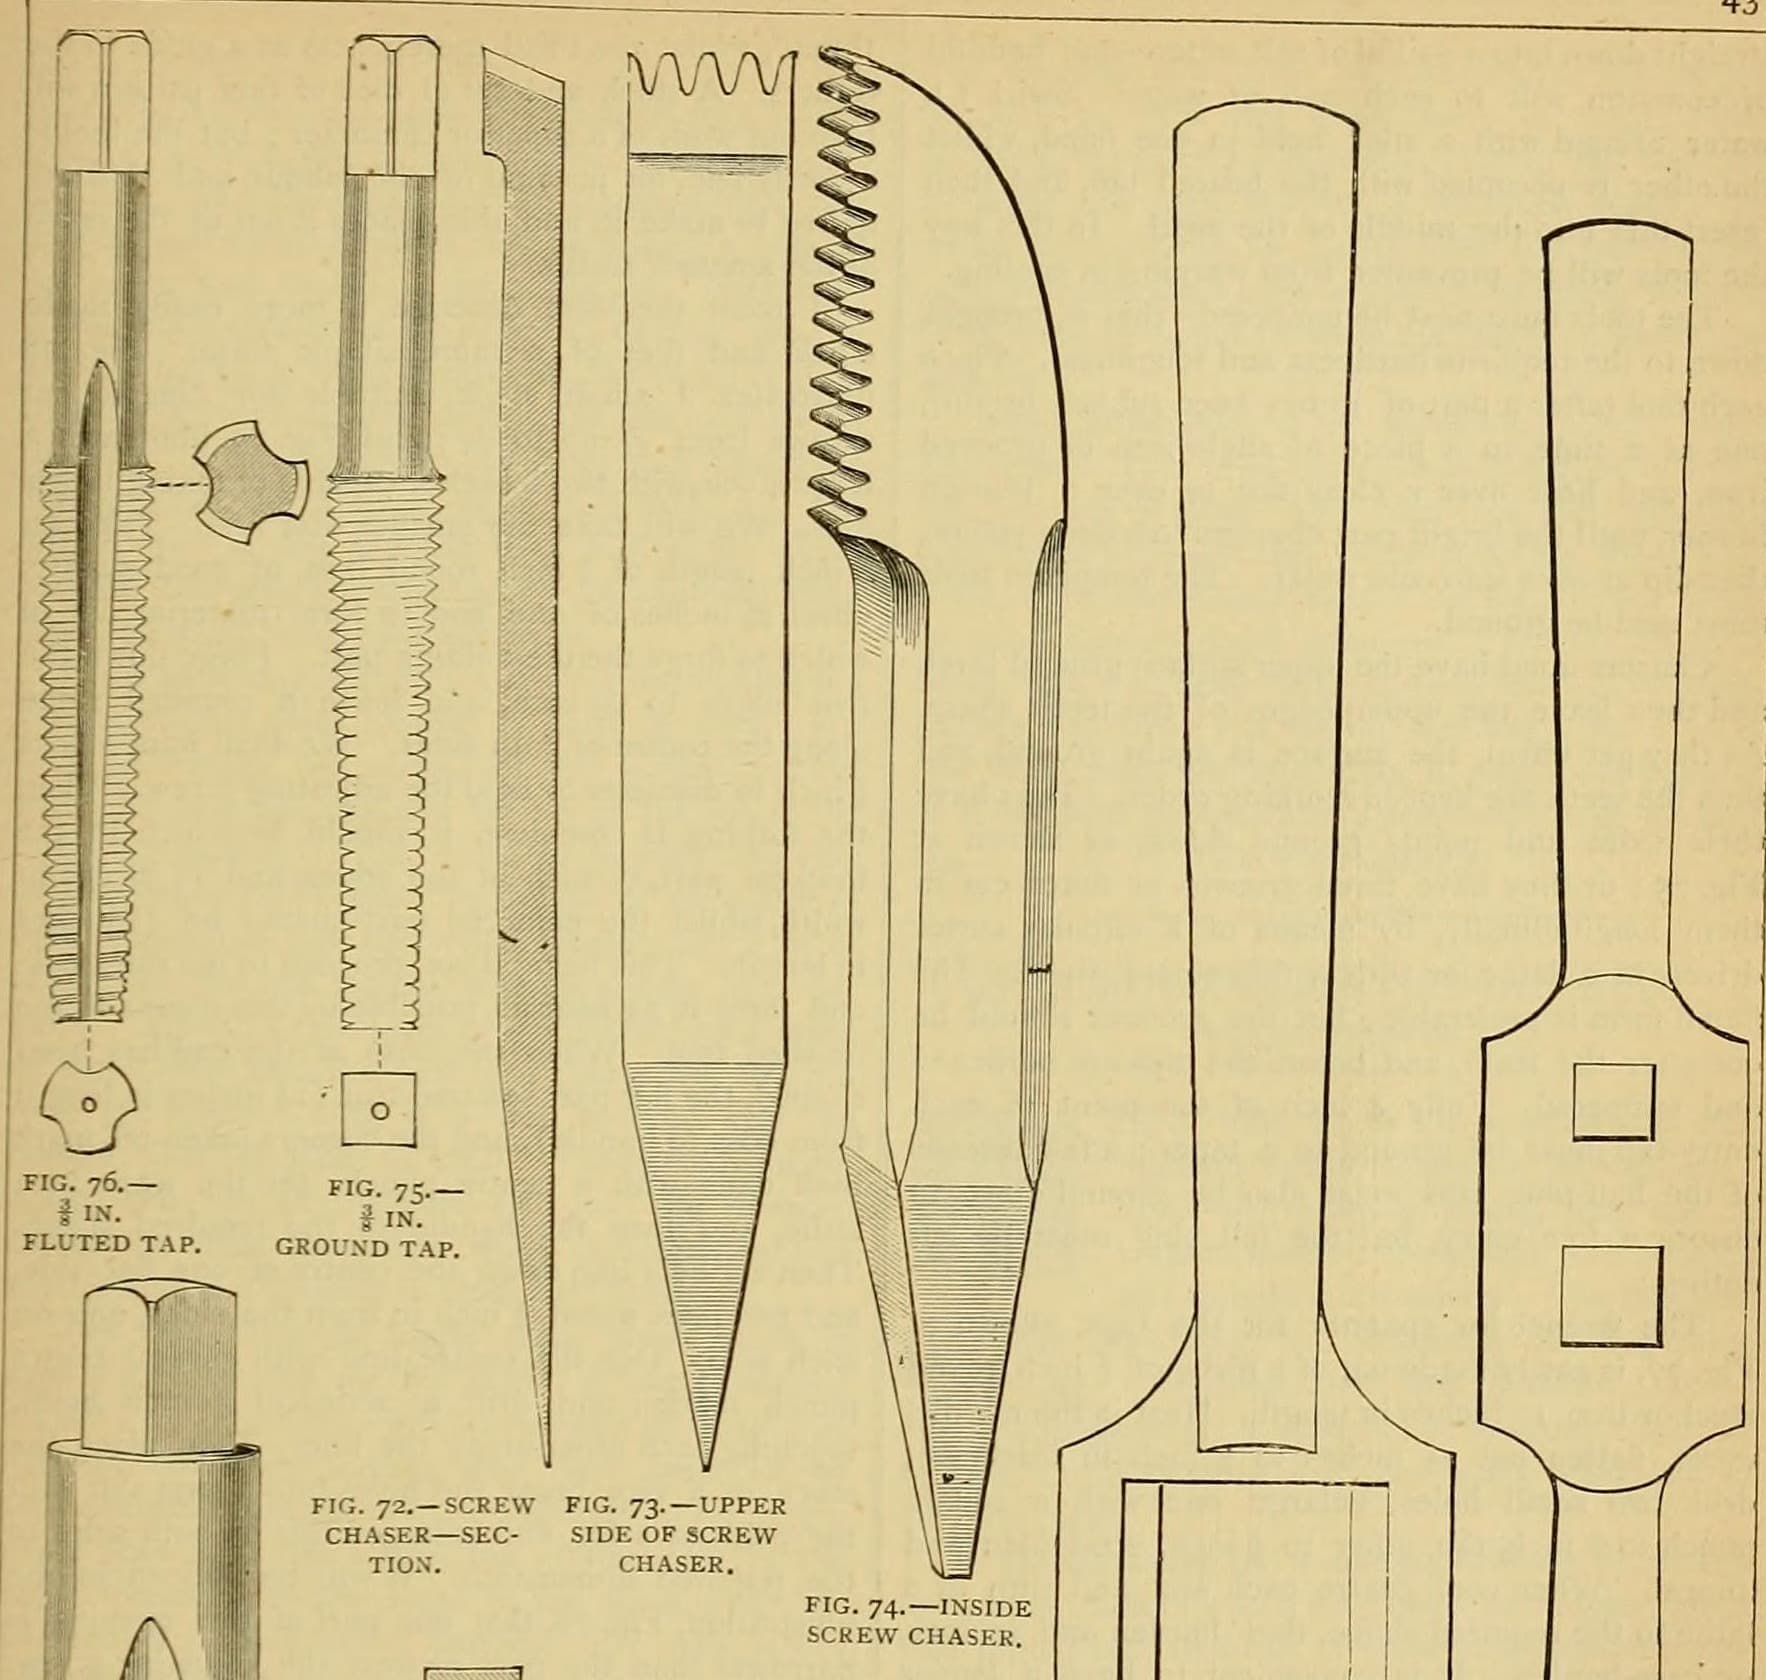
Drill four 5/16 in. holes 5/8 in. deep at quarters round the middle of the collar and tap them 3/8 in. (fig. 10).

Outils nécessaires :

Perceuse à colonnePerceuse à colonne
Tarauds à mainTarauds à main
Tourne-à-gaucheTourne-à-gauche
7

Forge the blades

Forge four blades (fig. 9) from 5/8 or 3/4 in. round iron, upsetting and flattening the ends to 1/16 in. thick (or weld 1/4 in. plate to 5/8 in. arms and thin it). Thread the arm ends to fit the collar, curve the blades slightly into a scoop, and bend the arms a little off concentric for a steadier blast.

Matériaux pour cette étape :

Barre de fer forgéBarre de fer forgé1 pièce

Outils nécessaires :

Forge de forgeronForge de forgeron
EnclumeEnclume
MarteauMarteau
Tarauds à mainTarauds à main
8

Bearings and assembly

Bolt a 1/2 in. brass bar at least 1 1/4 in. wide across each intake hole (A-B) and bore it true for the spindle. Fit one bearing, pass the spindle in, fit the other and bolt up. Screw the blades in through the open part of the drum, each slightly askew, check they turn without touching, and close the drum with thin-headed bolts, nuts outside.

Matériaux pour cette étape :

Barre de laitonBarre de laiton1 pièce
Assortiment de boulons à tête hexagonaleAssortiment de boulons à tête hexagonale1 pièce

Outils nécessaires :

Perceuse à colonnePerceuse à colonne
Tour à métauxTour à métaux
Limes (lime à main)Limes (lime à main)
9

Drive it

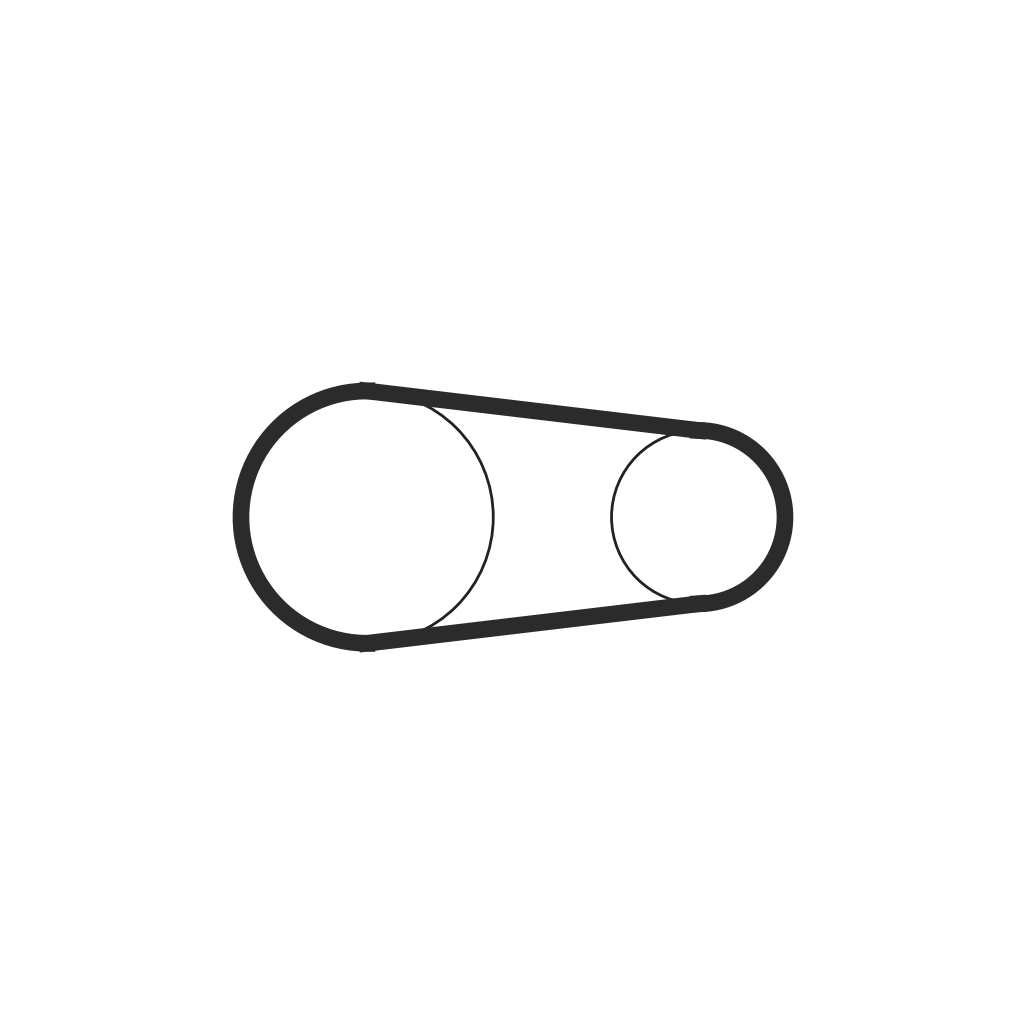
File a flat on the 1 1/2 in. of spindle that stands out on the pulley side and key a 2 in. pulley with a 1 1/2 in. face to it. Belt it from a 2 ft wheel turned at 30 rpm: the fan runs at 360 rpm. Put the crank by the forge head, worked by hand or a foot lever (ours: details left to the reader in the source), and pipe the 3 1/2 x 2 1/2 in. mouth to the tuyere.

Matériaux pour cette étape :

PouliePoulie1 pièce
Courroie de transmissionCourroie de transmission1 pièce

Outils nécessaires :

Limes (lime à main)Limes (lime à main)
MarteauMarteau
10

Troubleshooting

Fan troubleshooting.

Flow

Loading...
11

History and honest limits

From George Edwinson, "Smithing and Forging" I, **Amateur Work, Illustrated**, vol. V (1886), pp. 162-164 and figs. 7-11 (checked on the archive.org scan amateurworkillus05lond). He leaves the crank, wheel frame and pipe to the reader; the metric figures and tools are ours.

Matériaux

8

Outils requis

13

CC0 Domaine public

Ce blueprint est publié sous CC0. Vous êtes libre de copier, modifier, distribuer et utiliser ce travail pour tout usage, sans demander la permission.

Soutenez le Maker en achetant des produits via son Blueprint où il perçoit une Commission Maker définie par les Vendeurs, ou créez une nouvelle itération de ce Blueprint et incluez-le comme connexion dans votre propre Blueprint pour partager les revenus.

Commentaires

(0)

Se connecter pour participer à la discussion

Chargement des commentaires...