Collaboration
ART
BEAUTÉ ET BIEN-ÊTRE
ARTISANAT
CULTURE ET HISTOIRE
DIVERTISSEMENT
ENVIRONNEMENT
NOURRITURE ET BOISSONS
INGÉNIERIE INVERSE
SCIENCES
SPORTS
TECHNOLOGIE
TECHNOLOGIE PORTABLE
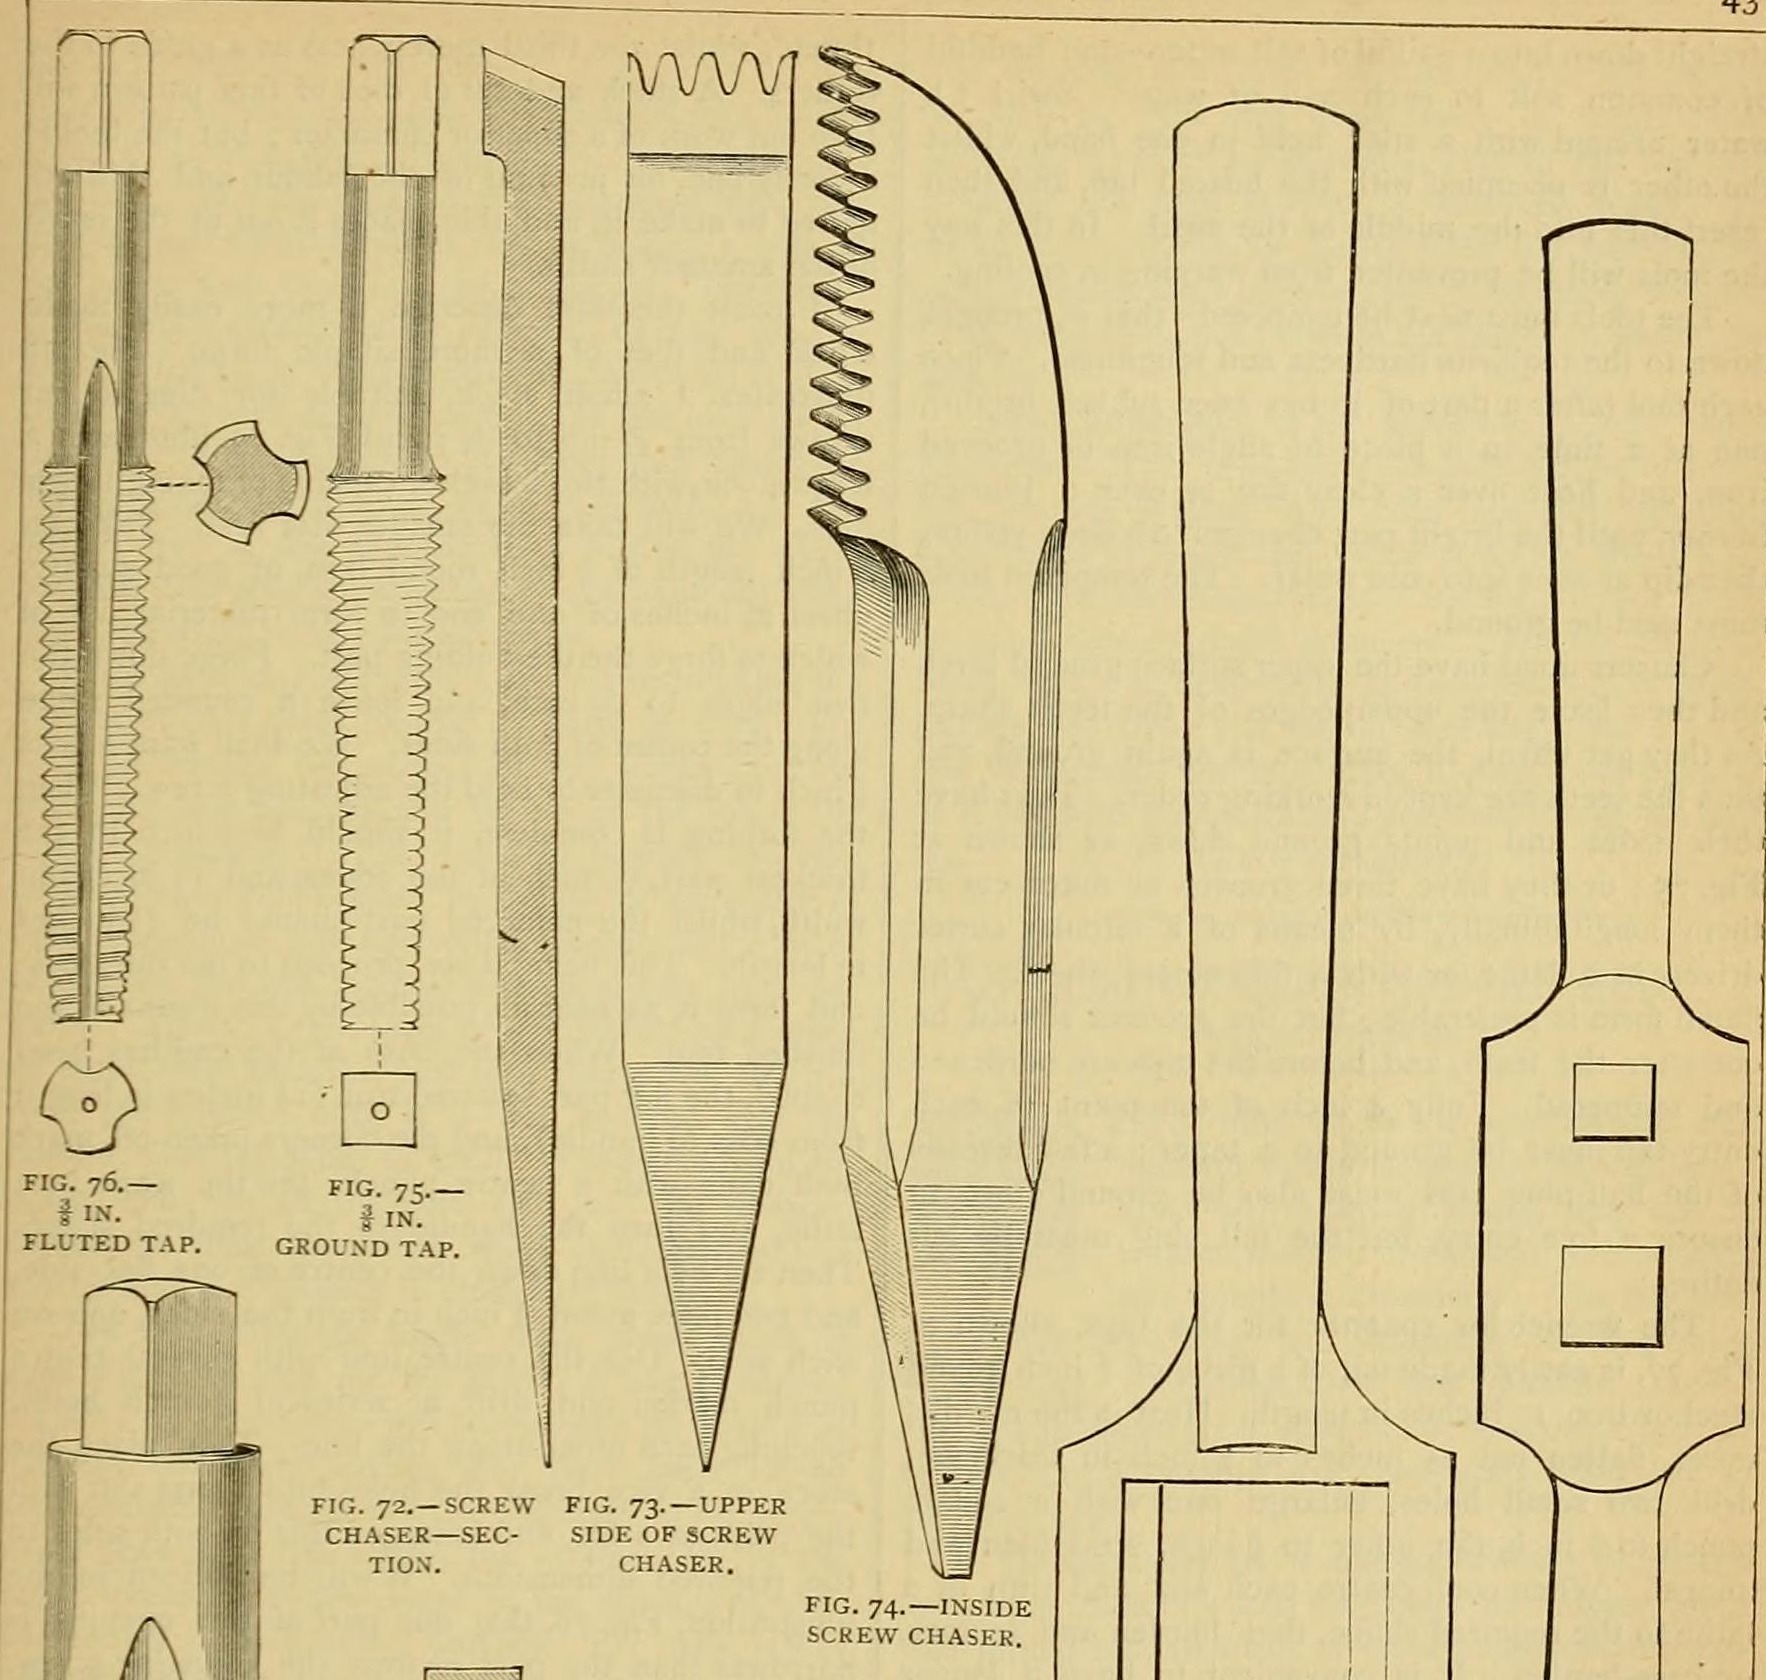


Whitworth Taps from Cast Tool Steel: Turned, Chased, Fluted and Hardened in Salt Water, with Their Wrench (Edwinson, 1886)
George Edwinson's instructions (Amateur Work, 1886) for a home-made set of Whitworth taps, 3/16 to 1 inch, in entry, half-plug and full-plug form: cast tool steel annealed, turned, roughed with a single-point tool and finished with home-made chasers in a screw-cutting lathe, fluted, hardened in swirled salt water and tempered deep yellow; plus the two-hole tap wrench. The dies and stock are in the companion blueprint.
Avancé
Several days for a set of thirty
Consignes
1
1
His tables
His tables
Chargement du notebook Jupyter…
2
2
Read Edwinson
Read Edwinson
"There is only one perfect method of making a good tap, and that is by turning the metal ... and cutting the thread in a screw-cutting lathe."
3
3
Cut and anneal the blanks
Cut and anneal the blanks
Cut the best 1 in. square cast tool steel into 3 1/2 in. lengths for the large taps, and 1/2 in. steel into 3 in. lengths for the small ones (a full set takes 5 ft 6 in. of the first and 3 ft of the second). Anneal: blood red, cooled slowly in hot ashes. File the ends square, centre-punch, and drill the centres 1/16 in. (small) or 1/8 in. (large) deep.
Matériaux pour cette étape :
 Barre d'acier à outils1 pièce
Outils nécessaires :
 Tranche à chaud
 Forge de forgeron
 Limes (lime à main)
 Pointeau
 Perceuse à colonne
4
4
Rough out the taps
Rough out the taps
Turn the corners off. Mark each tap: entry 1/2 in. head, 3/4 in. shank; half plug 1/2 in. head, 1 in. shank; full plug 1/2 in. head, 1 1/4 in. shank; the rest is thread (for the 1 in. set; 7/8 the same, smaller sets in proportion with shanks turned down for clearance). Below 1/2 in. make the square heads 3/8 or 3/16 in. to fit the wrench. Anneal again, turn true and smooth, and finish with a fine file.
Outils nécessaires :
 Tour à métauxLimes (lime à main)Forge de forgeron
5
5
Make the chasers
Make the chasers
From flat tool steel forge one chaser per size, the largest 1 in. wide, 1/4 in. thick and 5 in. long, the rest a little smaller, with 3 1/2 or 4 1/2 teeth across the width and a tang for a wooden handle (fig. 72). Upset the point, grind, anneal, file the teeth, and finish them by running the chaser against a full plug tap or hub of that pitch in the lathe. Inside chasers: against a left-handed hub, or file off the lower leading edge of each tooth (fig. 74).
Matériaux pour cette étape :
Barre d'acier à outils1 pièceOutils nécessaires :
Forge de forgeron Enclume
 MarteauLimes (lime à main)Tour à métaux
6
6
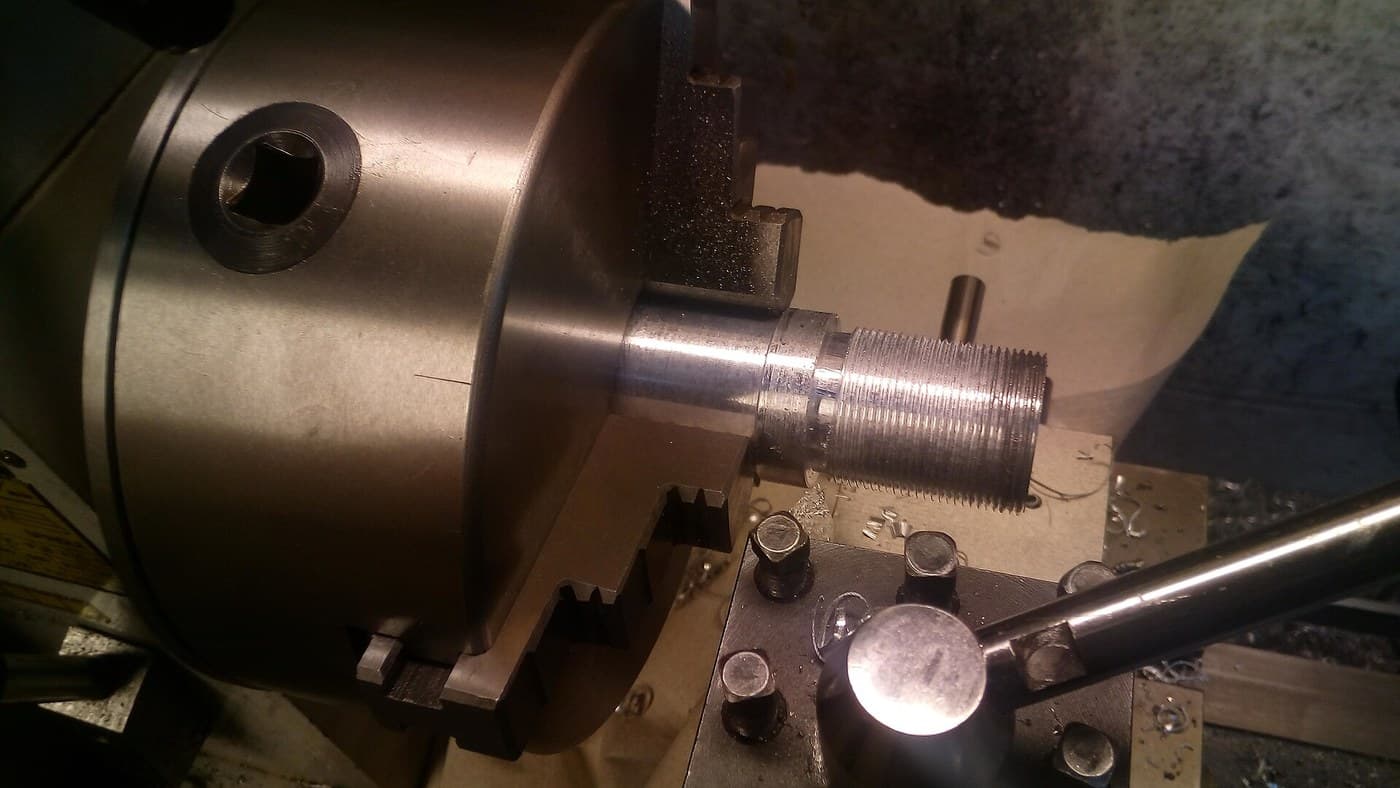
Cut the threads
Cut the threads
Rough each thread with a single fine-point tool in the slide rest of a screw-cutting lathe, set with the change wheels for its pitch (notebook), then finish with the chaser. Whitworth form: 55 degree angle, one-sixth rounded off top and bottom. Stamp each tap with its size and threads per inch.
Outils nécessaires :
Tour à métauxMarteau7
7
Flute and point
Flute and point
Cut three flutes along each tap with a circular cutter in the lathe or a thin emery wheel (before hardening), or grind the sides flat (fig. 75). Grind fully 1/2 in. of each entry tap to a taper and the first few threads of the half plug; leave the full plug entire.
Outils nécessaires :
Tour à métaux Touret à meuler
8
8
Harden and temper
Harden and temper
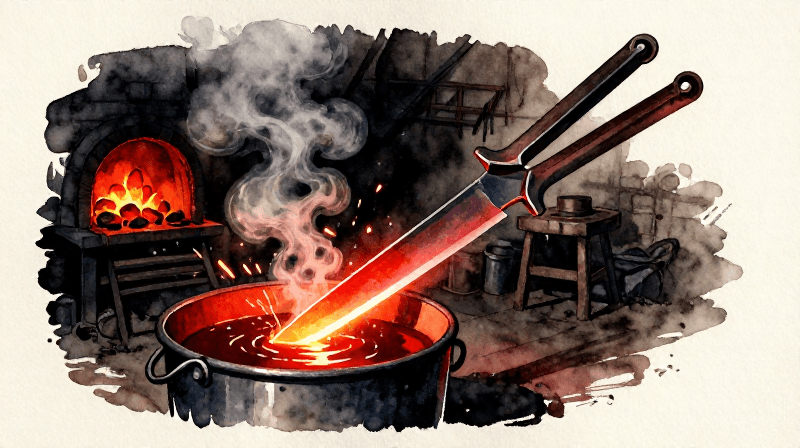
Heat each tap or chaser to blood red and plunge it straight down into a pail of water with a handful of common salt, swirled with a stick, into the middle of the swirl so it does not warp. Rub part bright, lay it in angle or grooved iron over a clear fire or a Bunsen burner until the bright part is deep yellow, then dip it in cold water. Grind the chaser tops level.
Matériaux pour cette étape :
 Sel1 pièce
 Eau1 pièce
Outils nécessaires :
Forge de forgeron Seau
 Bec BunsenTouret à meuler
9
9
Make the tap wrench
Make the tap wrench
Take 10 in. of 3/4 in. round steel or iron. Heat the middle, upset it and flatten 2 1/2 in. to 1/2 in. thick. Drill two small holes and open them with a square punch, one to 3/8 in. and one to 1/4 in. Straighten, anneal, centre the ends and turn them in the lathe, then harden and temper. A longer, heavier wrench with one 1/2 in. hole suits the big taps.
Matériaux pour cette étape :
Barre d'acier à outils1 pièceOutils nécessaires :
Forge de forgeronEnclume MassePerceuse à colonneTour à métaux
10
10
Troubleshooting
Troubleshooting
Tap troubleshooting.
Flow
Loading...
11
11
History and honest limits
History and honest limits
From George Edwinson, "Smithing and Forging" V, **Amateur Work, Illustrated**, vol. V (1886), pp. 434-438 and figs. 71-77 (checked on the archive.org scan amateurworkillus05lond). He himself advised buying Whitworth gear rather than making it. Metric conversions and the tools listed are ours.
Matériaux
3- 1 pièceEspace réservé
- 1 pièceEspace réservé
- 1 pièceEspace réservé
Outils requis
12- Espace réservé
- Espace réservé
- Espace réservé
- Espace réservé
- Espace réservé
- Espace réservé
- Espace réservé
- Espace réservé
- Espace réservé
- Espace réservé
- Espace réservé
- Espace réservé
Blueprints liés
Ces blueprints partagent des connaissances — techniques, matériaux ou principes
CC0 Domaine public
Ce blueprint est publié sous CC0. Vous êtes libre de copier, modifier, distribuer et utiliser ce travail pour tout usage, sans demander la permission.
Soutenez le Maker en achetant des produits via son Blueprint où il perçoit une Commission Maker définie par les Vendeurs, ou créez une nouvelle itération de ce Blueprint et incluez-le comme connexion dans votre propre Blueprint pour partager les revenus.