ART
BEAUTÉ ET BIEN-ÊTRE
ARTISANAT
CULTURE ET HISTOIRE
DIVERTISSEMENT
ENVIRONNEMENT
NOURRITURE ET BOISSONS
INGÉNIERIE INVERSE
SCIENCES
SPORTS
TECHNOLOGIE
TECHNOLOGIE PORTABLE
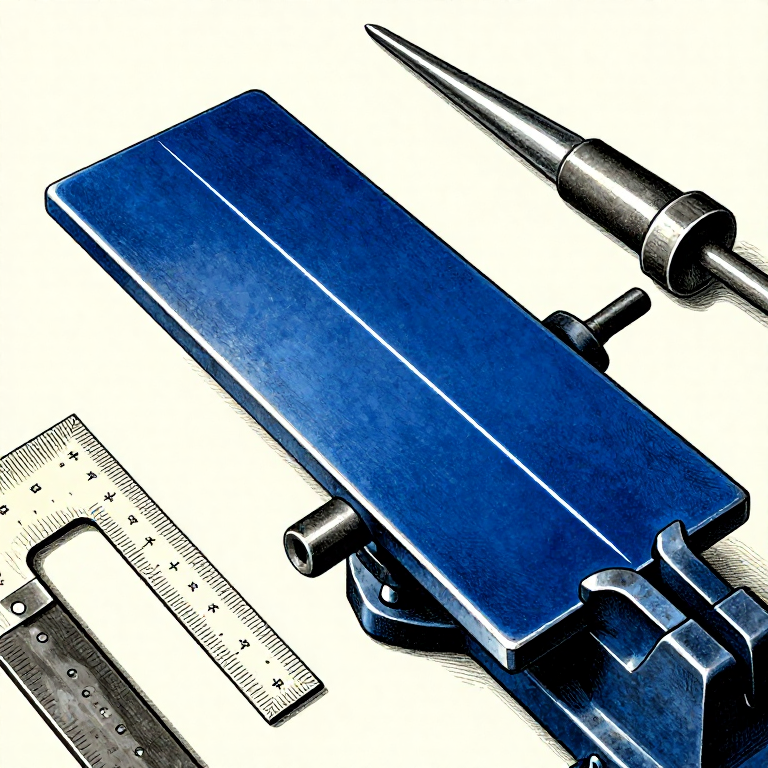


Filing to a Line: Marking Out, and Knowing When to Stop
A file does not know where to stop. That is the whole problem: the part is right until one stroke too many, and there is no way back.
So the work is done before any filing starts. A line scribed into the metal, not drawn on it; the line left visible rather than filed away; and the discipline of approaching it from the safe side, slowing down as you get close.
This is also where filing stops being a rough operation. A part filed to a scribed line by hand can hold a tenth of a millimetre, which is tighter than most people expect and quite good enough for most of what gets made.
Intermédiaire
3 hours
Consignes
1
1
Scribe a line — never draw one
Scribe a line — never draw one
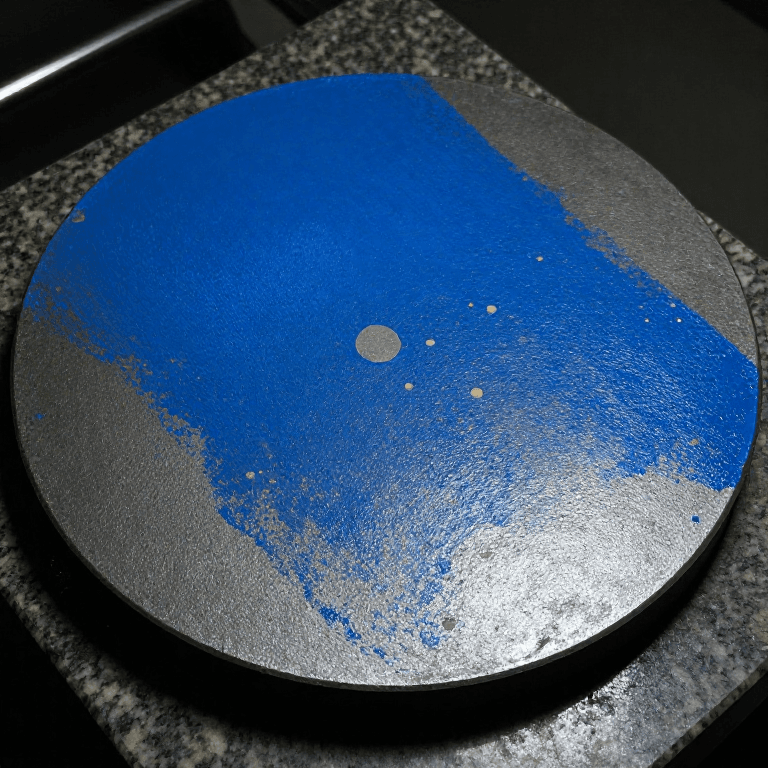
Coat the surface with marking blue, let it dry, then cut the line with a scriber held against a square or a rule. The scriber removes the blue and cuts a fine groove into the metal, so the line is bright, thin and permanent.
A pencil line is about 0.5 mm wide and rubs off; a marker line is wider still and dissolves in cutting oil. Neither can be filed to accurately, because half the width of the line is more than the tolerance you are working to.
Scribe once, firmly. Going over a line repeatedly produces two or three parallel grooves and then you have to decide which one you meant. On soft metal like aluminium or brass a scriber cuts deeply, so a lighter hand is needed.
Outils nécessaires :
 Pointe à tracer
 Équerre fixe
 Règle de contrôle
 Bleu de mécanicien
2
2
File to the line, not through it
File to the line, not through it
Work until the scribed groove is just being touched along its whole length, and stop there. The finished surface should still show the line, or half of it.
Which half is a decision made before you start. For a part that must fit INTO something, leave the line on — file up to it and no further. For one that something must fit into, take the line off. Deciding halfway through is how a part ends up a millimetre undersize.
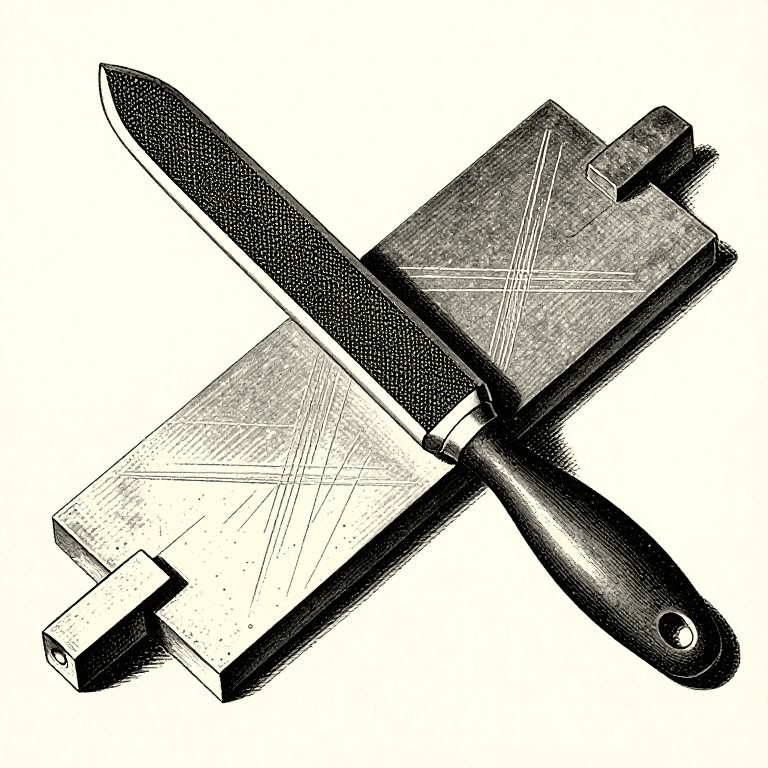
Getting the line to be touched evenly along its whole length is the real skill. If it is being reached at one end first, that end is low: ease off there and concentrate the stroke on the high end, which is the cross-filing diagnosis applied to a line instead of a surface.
Outils nécessaires :
 Limes (lime à main)
 Loupe de bijoutier
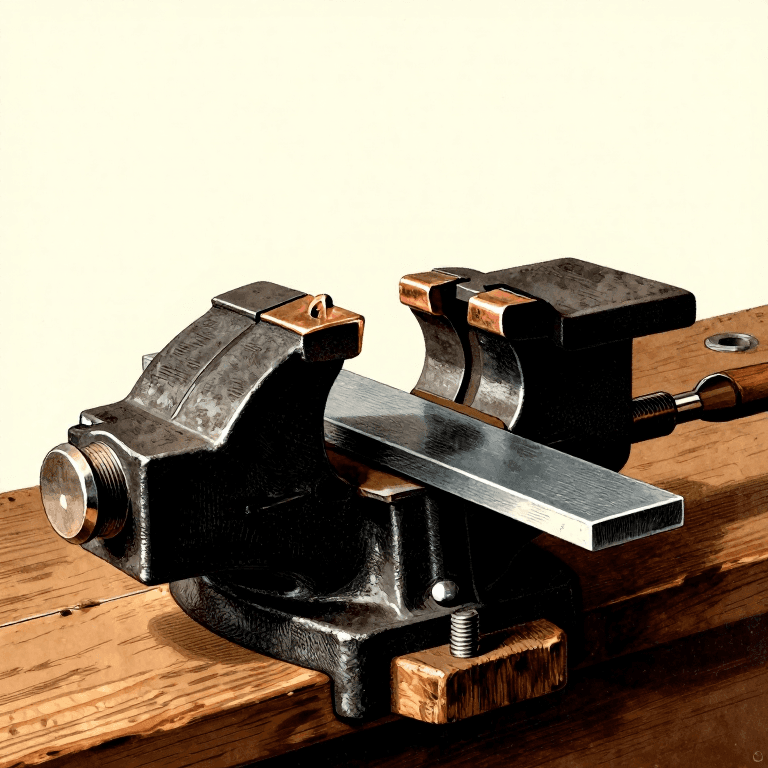
 Étau d'établi lourd
3
3
The tolerance a hand can actually hold
The tolerance a hand can actually hold
Chargement du notebook Jupyter…
Outils nécessaires :
Loupe de bijoutier Calculatrice
 Pied à coulisse
4
4
Saw first, file last
Saw first, file last
Cut close to the line with a hacksaw — about a millimetre outside it — and file only that last millimetre away.
The removal-rate figures in the cross-filing rung make the case: three millimetres off a small face is over an hour of filing, and a hacksaw takes it in under a minute. Filing exists to make a surface true, not to remove stock, and using it for bulk removal is the commonest reason a beginner decides hand tools are hopeless.
Leave enough to clean up the saw marks and the wander — a millimetre is comfortable, half is tight, and sawing exactly to the line means any wander cuts INTO the finished part with nothing left to correct it.
Matériaux pour cette étape :
 Plaque d'acier doux1 pièce
Outils nécessaires :
 Scie à métauxLimes (lime à main)Étau d'établi lourd
 Lunettes de sécurité transparentes
Matériaux
1- 1 pièceEspace réservé
Outils requis
11- Espace réservé
- Espace réservé
- Espace réservé
- Espace réservé
- Espace réservé
- Espace réservé
- Espace réservé
- Espace réservé
- Espace réservé
- Espace réservé
- Espace réservé
Blueprints liés
Ces blueprints partagent des connaissances — techniques, matériaux ou principes
CC0 Domaine public
Ce blueprint est publié sous CC0. Vous êtes libre de copier, modifier, distribuer et utiliser ce travail pour tout usage, sans demander la permission.
Soutenez le Maker en achetant des produits via son Blueprint où il perçoit une Commission Maker définie par les Vendeurs, ou créez une nouvelle itération de ce Blueprint et incluez-le comme connexion dans votre propre Blueprint pour partager les revenus.