Collaboration
ART
BEAUTÉ ET BIEN-ÊTRE
ARTISANAT
CULTURE ET HISTOIRE
DIVERTISSEMENT
ENVIRONNEMENT
NOURRITURE ET BOISSONS
INGÉNIERIE INVERSE
SCIENCES
SPORTS
TECHNOLOGIE
TECHNOLOGIE PORTABLE
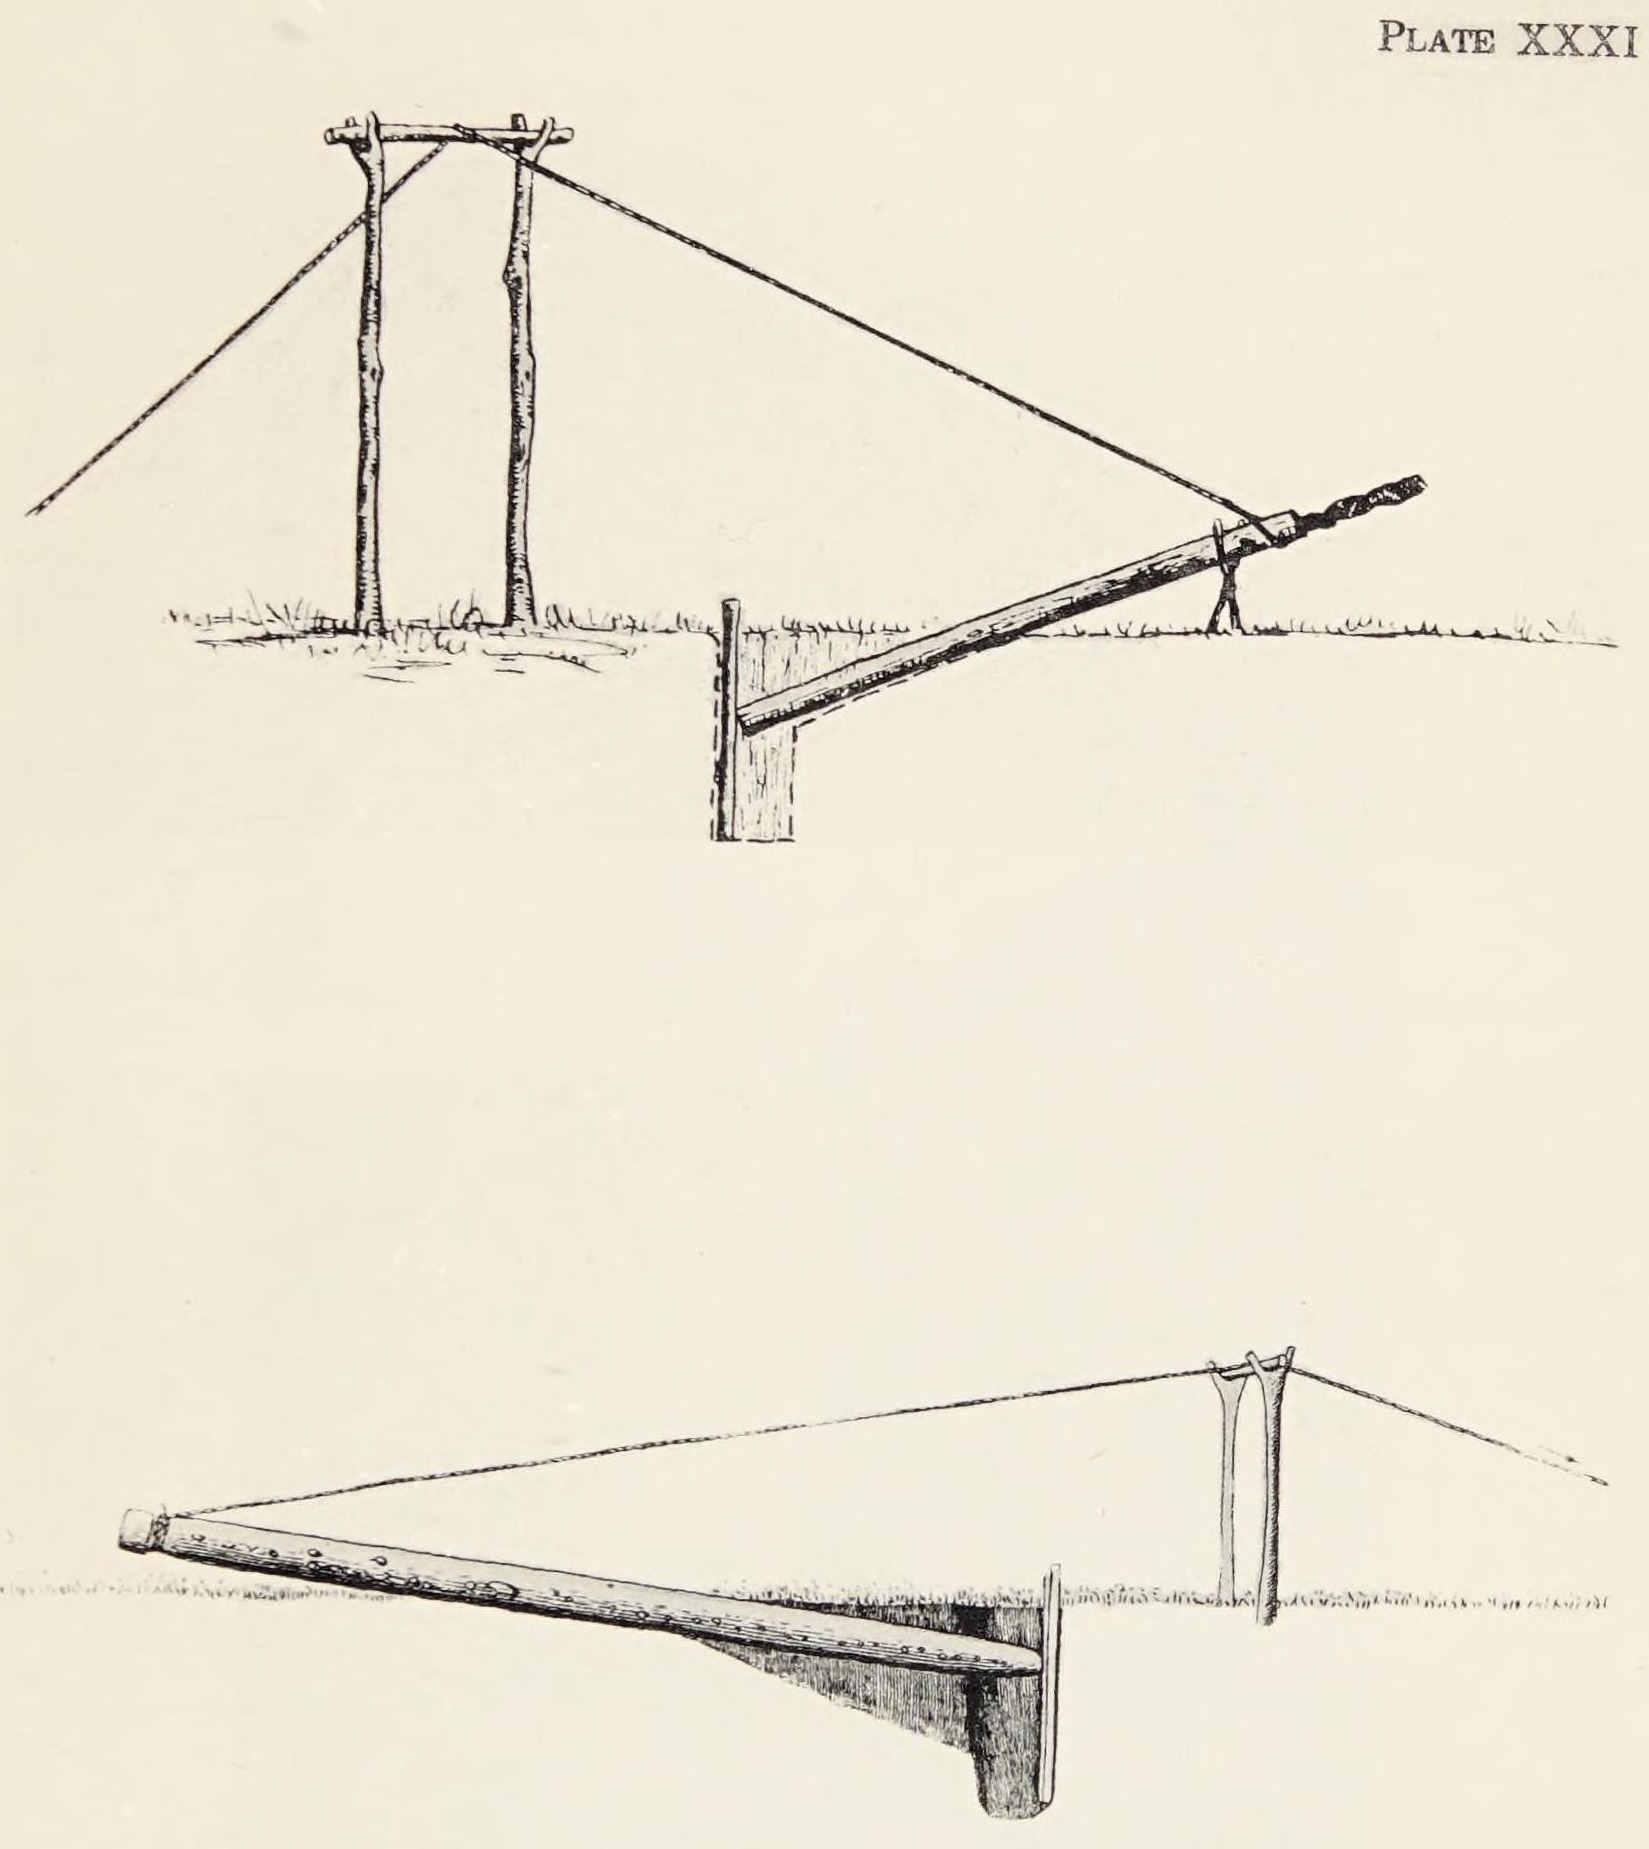


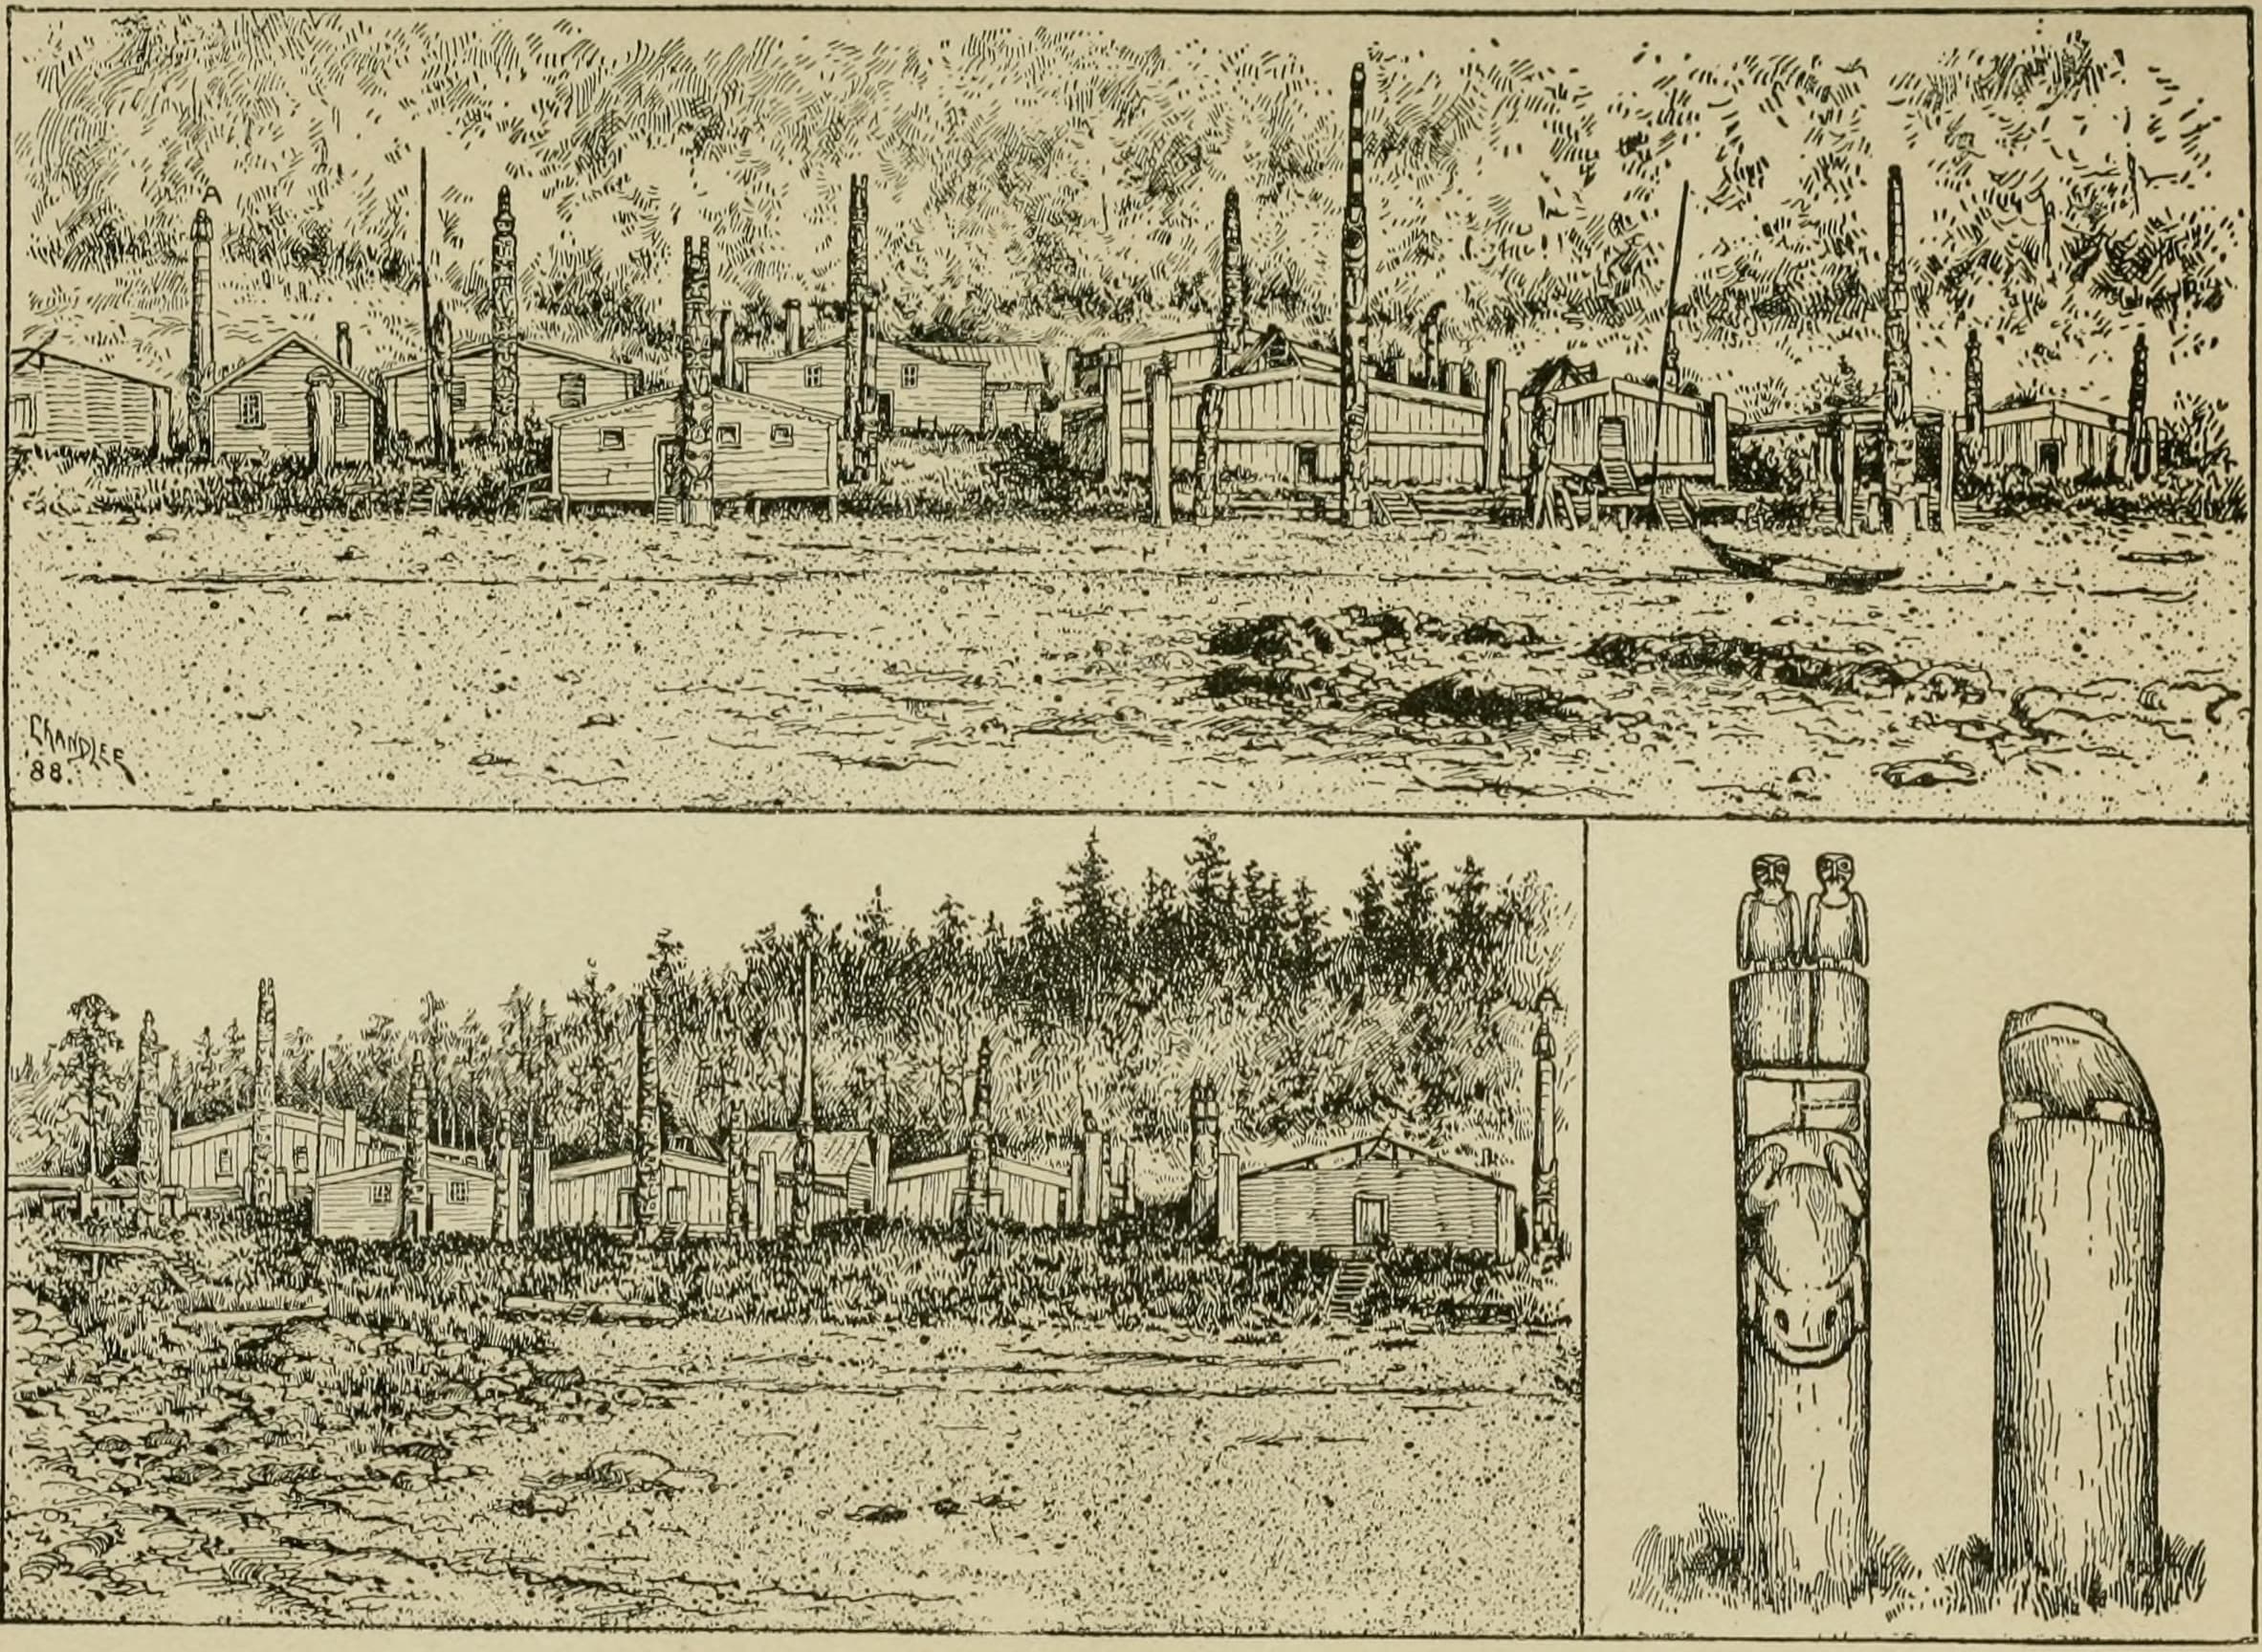
Gitksan Memorial Totem Pole: Red Cedar Carved Under Shelter, Butt Rolled into a Trench, Hauled Up over a Square Frame (Barbeau, 1929)
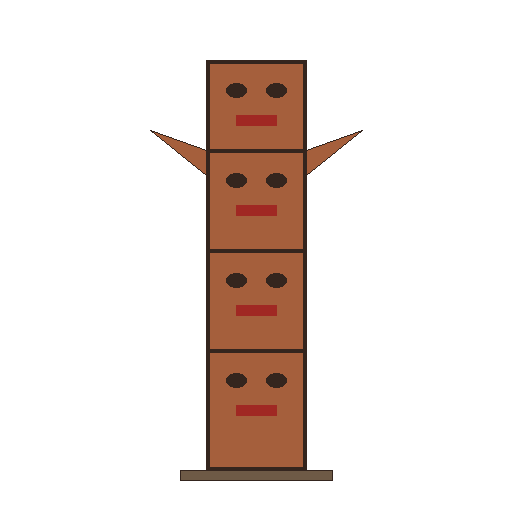
How the Gitksan of the upper Skeena made a memorial pole, as Marius Barbeau recorded it at Kitwanga: a red cedar 15 to 60 ft long felled and hauled by people of another clan group, carved under shelter with the owners' crests using ax, adze and curved knife, left mostly unpainted, and raised by rolling its butt into a trench to a hole 6 to 8 ft deep and hauling the top up with cedar-bark ropes over a square frame, in jerks, all together.
Avancé
Two years or more
Consignes
1
1
His measures
His measures
Chargement du notebook Jupyter…
2
2
Read Barbeau
Read Barbeau
"A hole was first dug in the ground, at least 6 feet deep. The butt was sunk in a trench leading to the hole, and the smaller end was raised gradually on wooden props."
3
3
Fell and haul the cedar
Fell and haul the cedar
Select a red cedar and fell it, then haul the trunk to where the pole will stand, sometimes many miles. Gitksan poles were 15 to 60 ft (4.6-18 m) long. Among the Gitksan this work fell to people of another phratry, fed and paid by the family. The log often lay a year or more before carving.
Matériaux pour cette étape :
 Grume de thuya géant1 pièce
Outils nécessaires :
 Hache
 Corde
 Perche en bois
4
4
Carve
Carve
Carve under shelter, out of sight, with ax, adze and curved knife (the tools whose arrival, Barbeau says, made tall poles possible). The figures are the owners' own crests, chosen by them. Kitwanga's old poles were left unpainted except for small touches.
Outils nécessaires :
Hache Herminette
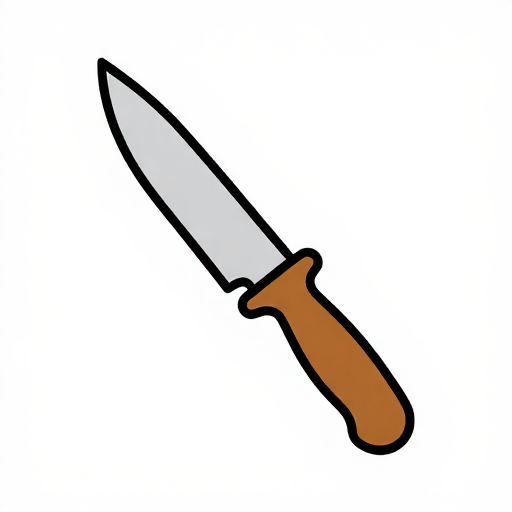 Couteau croche (pour sculpter les cuillères)
 Maillet en bois
5
5
Prepare the raising
Prepare the raising
Dig the hole 6 to 8 ft (1.8-2.4 m) deep with a short trench running into it. Put up a square frame (two posts and a crossbar, the 'chevalet') next to the hole. Roll the butt of the pole into the trench and fasten a large rope, of twisted cedar bark in his day, to the smaller end.
Matériaux pour cette étape :
Perche en bois1 pièceCorde1 pièceOutils nécessaires :
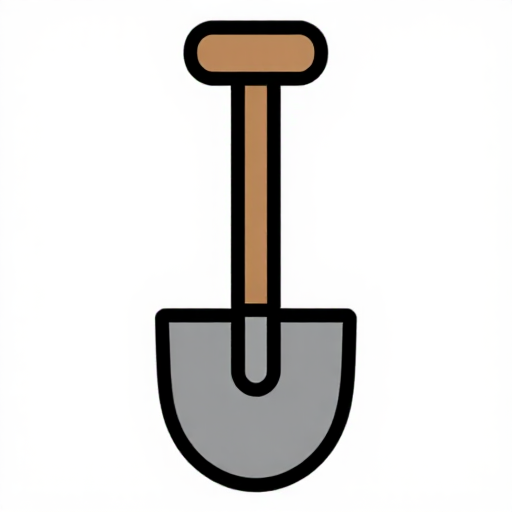 PelleHache
6
6
Raise the pole
Raise the pole
Throw the rope over the frame. Lift the top a little at a time and set wooden props under it, while many people haul on the rope together in jerks (they called the cadence 'haw, haw, haw'), until the pole stands in the hole. Ours: fill the hole and ram the earth hard round the butt before letting go of the rope.
Outils nécessaires :
CordePerche en boisPelle7
7
Troubleshooting
Troubleshooting
Raising troubleshooting.
Flow
Loading...
8
8
History and honest limits
History and honest limits
From Marius Barbeau, *Totem Poles of the Gitksan, Upper Skeena River, British Columbia*, **National Museum of Canada Bulletin 61** (1929), pp. 3, 7, 12, 27, 150 and Plate XXXI (checked on the archive.org scan totempolesofgitk0000barb); the raising method comes from chief Hlengwah of Kitwanga. A pole was put up about two years after a chief died, at the feast where his successor took his name, with dirge songs, drumming and gifts; a Making-dry feast followed two years later. The frame's size, filling the hole and metric are ours; the plate's two drawings are unlabelled, and we take the square-frame one as the Skeena method.
Matériaux
3- 1 pièceEspace réservé
- 1 pièceEspace réservé
- 1 pièceEspace réservé
Ce plan fabrique
Blueprints liés
Ces blueprints partagent des connaissances — techniques, matériaux ou principes
CC0 Domaine public
Ce blueprint est publié sous CC0. Vous êtes libre de copier, modifier, distribuer et utiliser ce travail pour tout usage, sans demander la permission.
Soutenez le Maker en achetant des produits via son Blueprint où il perçoit une Commission Maker définie par les Vendeurs, ou créez une nouvelle itération de ce Blueprint et incluez-le comme connexion dans votre propre Blueprint pour partager les revenus.