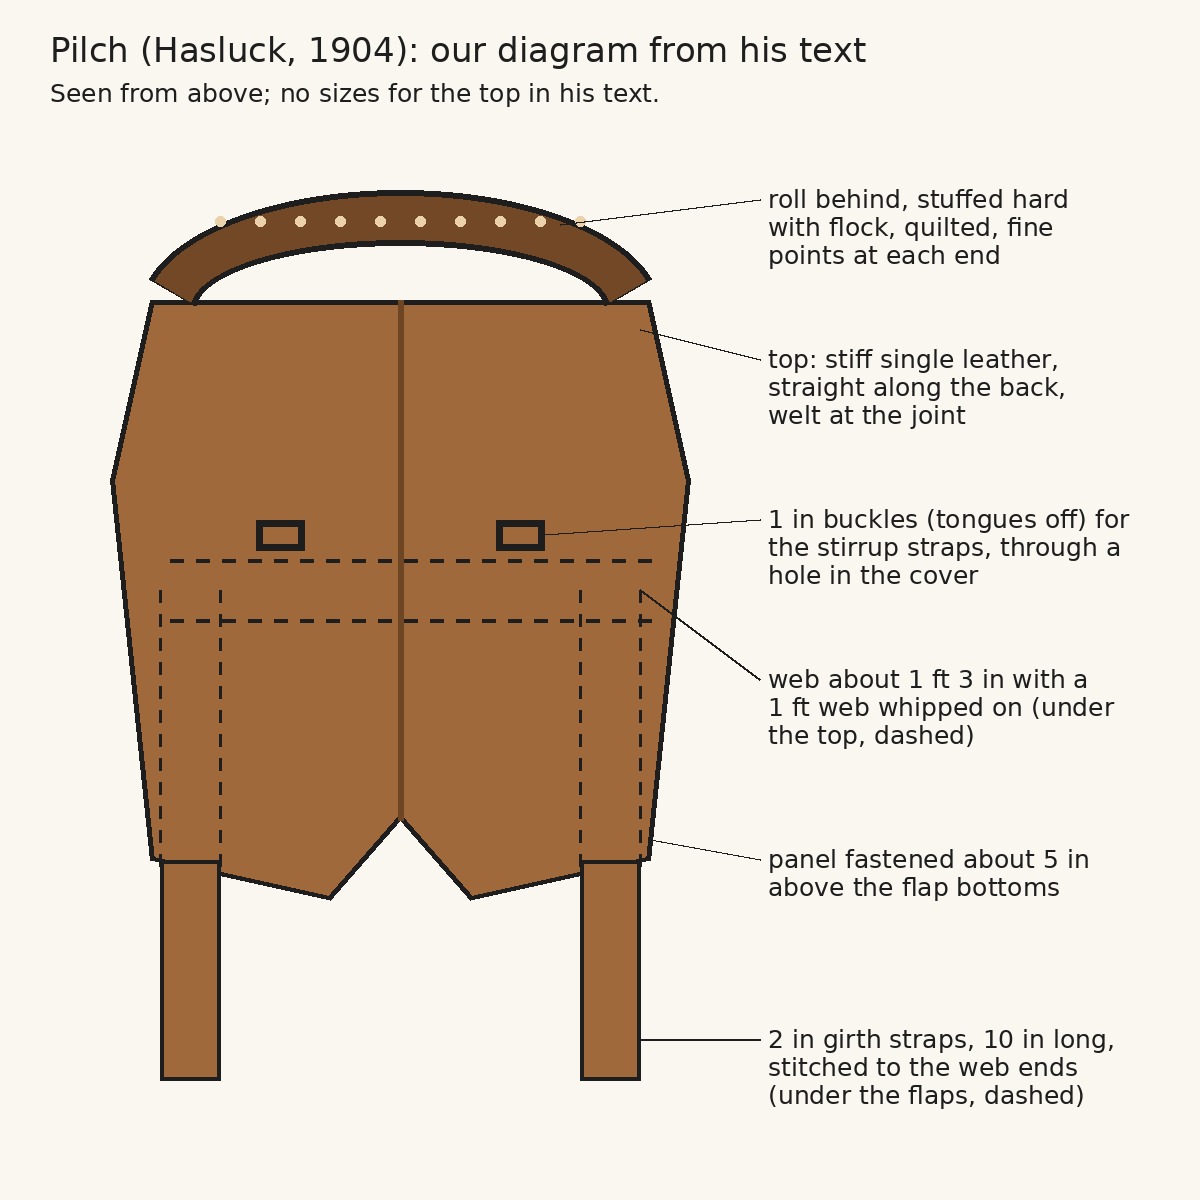

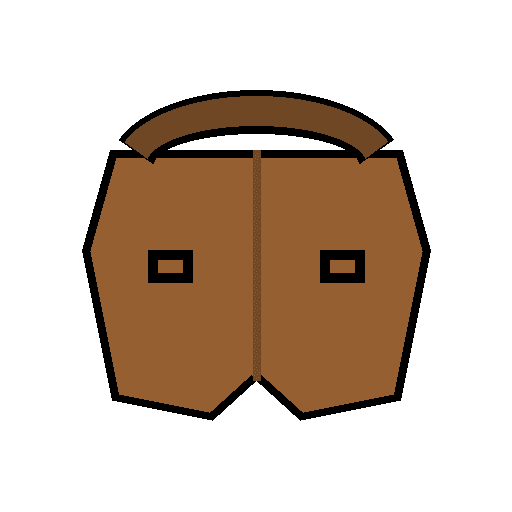
Child's Pilch: Treeless Saddle With Stuffed Roll, Web Girth Straps and Flock Panel (Hasluck, Saddlery, 1904)
Consignes
His sizes in centimetres
His sizes in centimetres
Read Saddlery, ch. IV
Read Saddlery, ch. IV
Cut the top
Cut the top
Matériaux pour cette étape :
 Cuir de harnais1 pièce
 Fil de lin1 pièce
 Cire d'abeille1 pièce
Outils nécessaires :
 Couteau à cuir
 Alêne
 Deux aiguilles de sellier
 Pince de sellier
 Mètre ruban
Make the web for the girth and stirrup straps
Make the web for the girth and stirrup straps
Matériaux pour cette étape :
 Sangle tissée1 pièceCuir de harnais1 pièce
 Boucle en fer à ardillon2 piècesFil de lin1 pièceCire d'abeille1 pièce
Outils nécessaires :
Couteau à cuir Tenailles
 Abat-carre
 Plioir
 Chalumeau à propaneAlêneDeux aiguilles de sellierPince de sellierMètre ruban
Make and fix the roll
Make and fix the roll
Matériaux pour cette étape :
 Toile de lin1 pièce
 Bourre de laine1 pièceFil de lin1 pièceCire d'abeille1 pièce
Outils nécessaires :
 CiseauxAlêneDeux aiguilles de sellier
Cover and quilt the roll
Cover and quilt the roll
Matériaux pour cette étape :
 Cuir de porc1 pièceBourre de laine1 pièceFil de lin1 pièceCire d'abeille1 pièce
Outils nécessaires :
Couteau à cuirAlêneDeux aiguilles de sellierMake and fasten the panel
Make and fasten the panel
Matériaux pour cette étape :
 Basane1 pièce
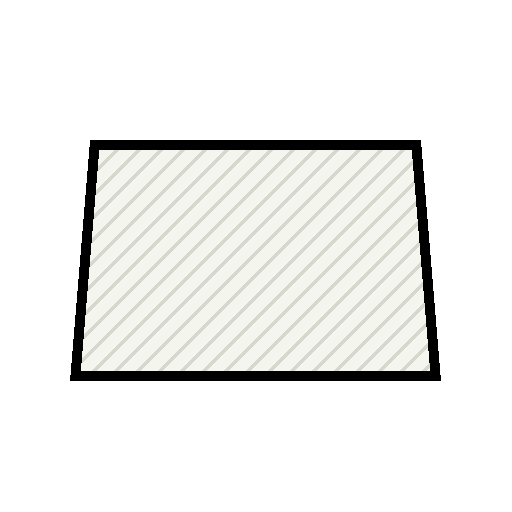 Serge de laine1 pièceBourre de laine1 pièceFil de lin1 pièceCire d'abeille1 pièce
Outils nécessaires :
Couteau à cuirAlêneDeux aiguilles de sellierMètre rubanStirrup straps, irons and girths
Stirrup straps, irons and girths
Matériaux pour cette étape :
Cuir de harnais1 pièce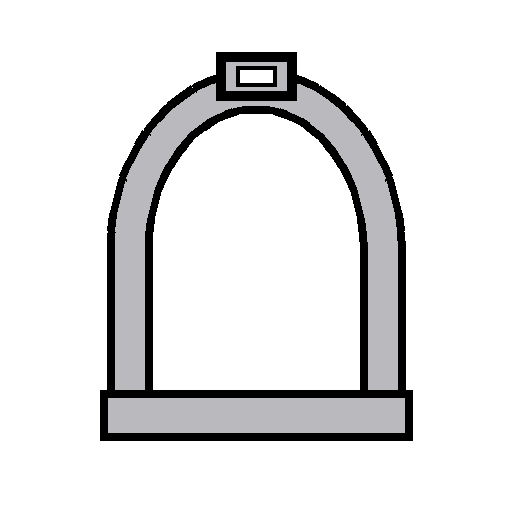 Étrier2 pièces
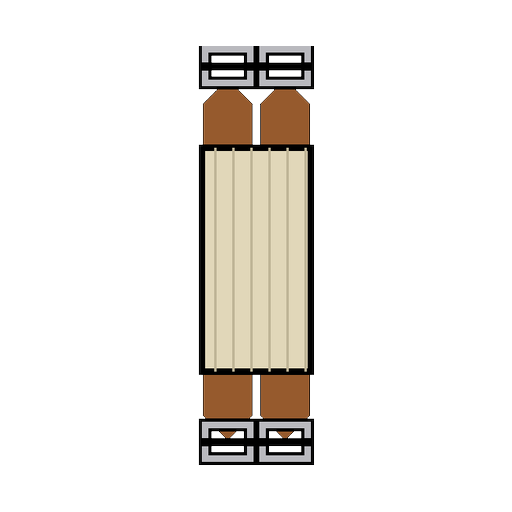 Sangle de selle2 pièces
Outils nécessaires :
Couteau à cuir Emporte-pièce pour cuirMètre ruban
Troubleshooting
Troubleshooting
Flow
History and honest limits
History and honest limits
Matériaux
12- 3 piècesEspace réservé
- 5 piècesEspace réservé
- 5 piècesEspace réservé
- 1 pièceEspace réservé
- 2 piècesEspace réservé
- 1 pièceEspace réservé
- 3 piècesEspace réservé
- 1 pièceEspace réservé
- 1 pièceEspace réservé
- 1 pièceEspace réservé
- 2 piècesEspace réservé
- 2 piècesEspace réservé
Outils requis
11- Espace réservé
- Espace réservé
- Espace réservé
- Espace réservé
- 1 vendor sell this, none ship to you yetEspace réservé
- Espace réservé
- Espace réservé
- Espace réservé
- Espace réservé
- Espace réservé
- Espace réservé
Ce plan fabrique
Blueprints liés
Ces blueprints partagent des connaissances — techniques, matériaux ou principes
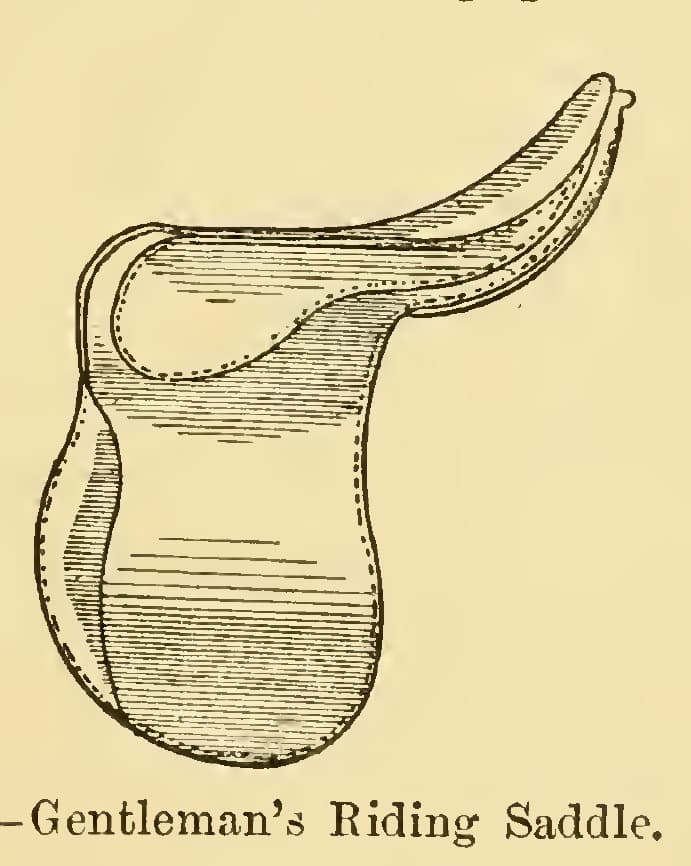
Riding Saddle: Web, Stuffed Seat, Hogskin Skirts, Knee-Pad Flaps and Quilted Panel on a Bought Tree (Hasluck, Saddlery, 1904)
par Tex
Textile et Cuir
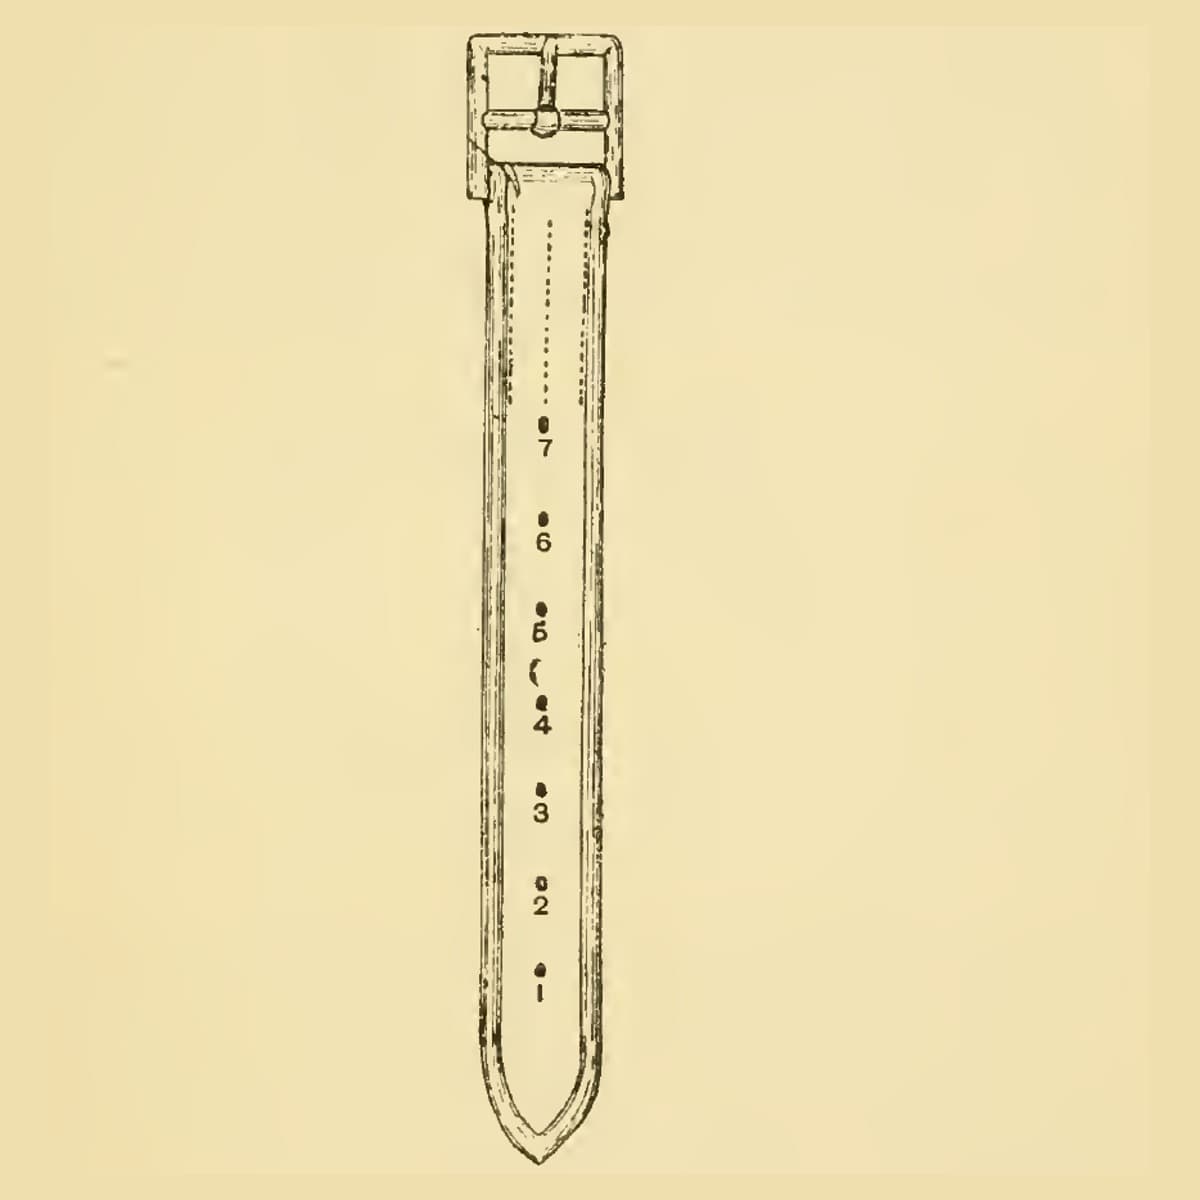
Stirrup Leathers: Middlings Straps Stitched to Stirrup Buckles, Creased on the Flesh Side (Hasluck, Saddlery, 1904)
par Tex
Textile et Cuir
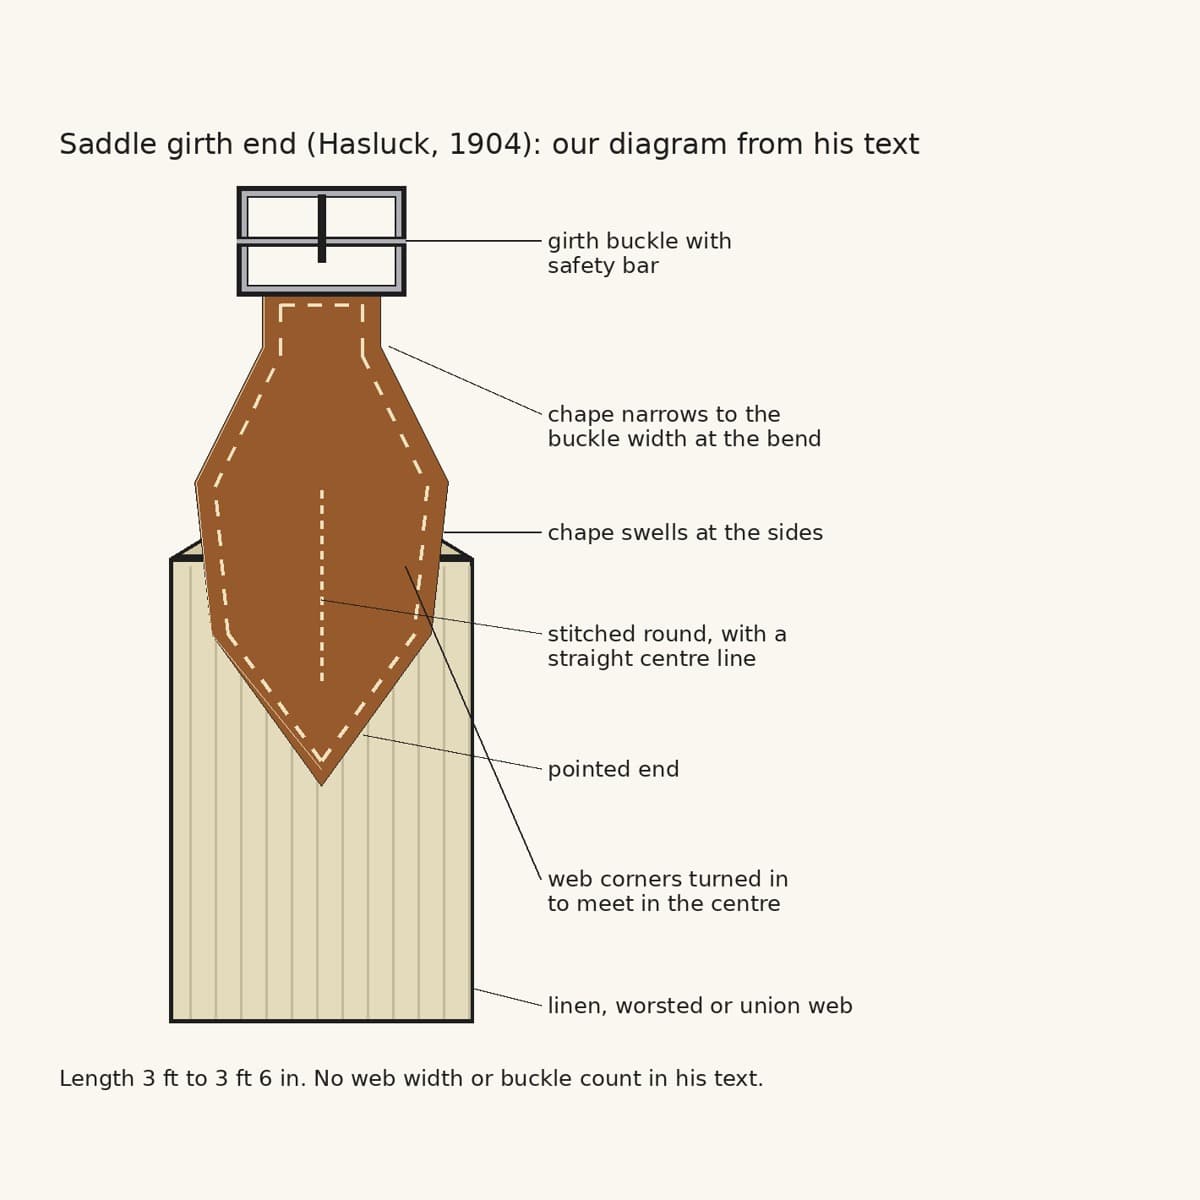
Web Saddle Girth: Pointed Leather Chapes and Safety-Bar Buckles (Hasluck, Saddlery, 1904)
par Tex
Textile et Cuir
CC0 Domaine public
Ce blueprint est publié sous CC0. Vous êtes libre de copier, modifier, distribuer et utiliser ce travail pour tout usage, sans demander la permission.
Soutenez le Maker en achetant des produits via son Blueprint où il perçoit une Commission Maker définie par les Vendeurs, ou créez une nouvelle itération de ce Blueprint et incluez-le comme connexion dans votre propre Blueprint pour partager les revenus.