ART
BEAUTÉ ET BIEN-ÊTRE
ARTISANAT
CULTURE ET HISTOIRE
DIVERTISSEMENT
ENVIRONNEMENT
NOURRITURE ET BOISSONS
INGÉNIERIE INVERSE
SCIENCES
SPORTS
TECHNOLOGIE
TECHNOLOGIE PORTABLE
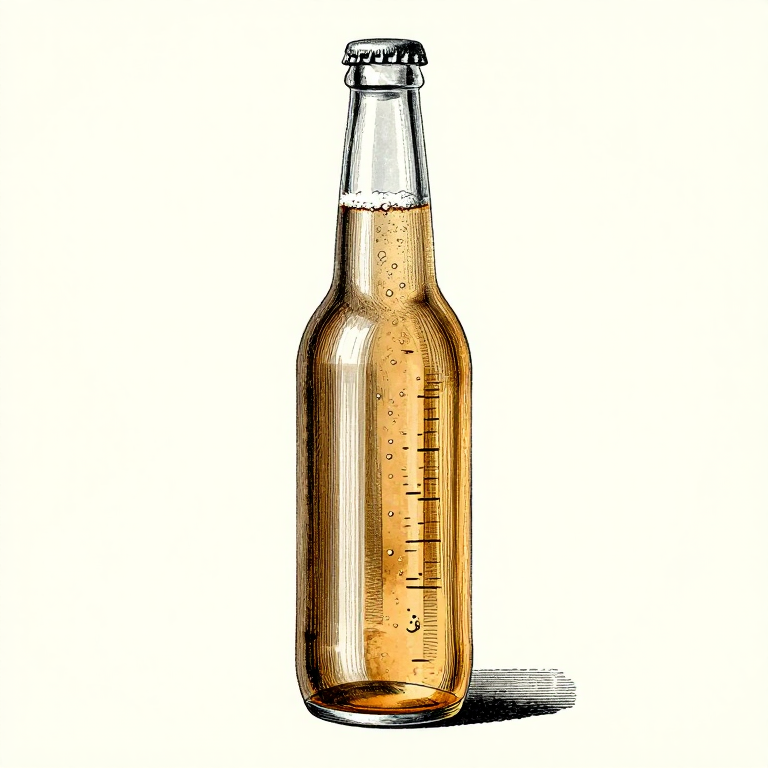


Packaging: Priming Sugar, Headspace, and the Bottle Bomb
Bottle conditioning works by giving the surviving yeast a measured amount of sugar in a sealed container. It ferments, the CO2 cannot escape, and the drink carbonates.
The danger is that the yeast does not know when to stop. Give it too much sugar — or bottle before fermentation finished, which is the same thing — and the pressure keeps rising until the bottle fails. A glass bottle failing under pressure is genuinely dangerous, and it is the one real hazard in home brewing.
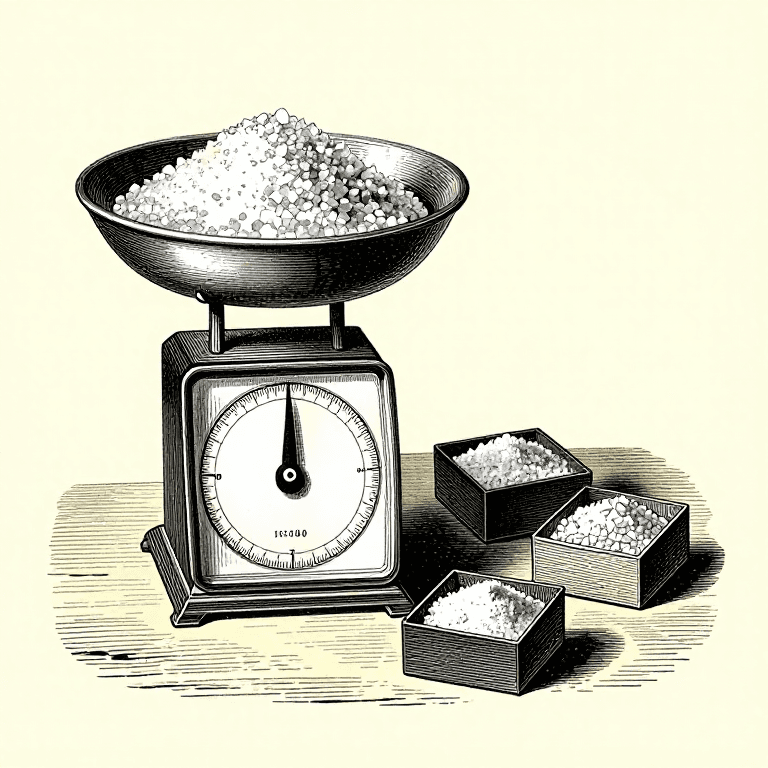
The arithmetic that prevents it is simple and worth doing every single time: a weight of sugar, calculated from the volume and the carbonation wanted, and a final gravity that has been stable for days.
Avancé
3 hours
Consignes
1
1
Priming sugar, calculated not guessed
Priming sugar, calculated not guessed
Chargement du notebook Jupyter…
Matériaux pour cette étape :
 Miel1 pièce
 Eau1 litre
Outils nécessaires :
 Balance de précision
 Ordinateur de bureau
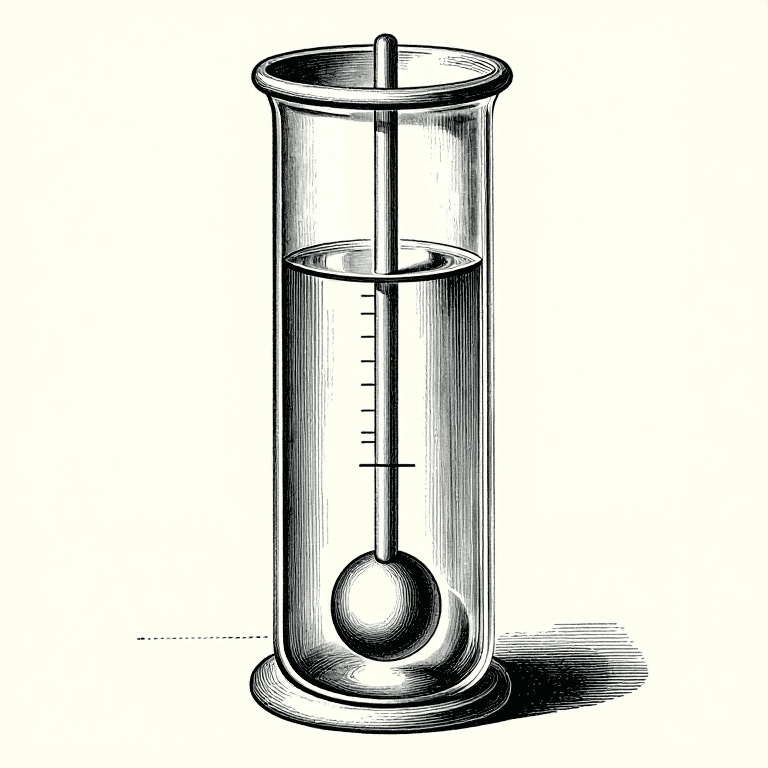
 Densimètre et éprouvette de brassage
2
2
Mix the sugar into the batch, not into the bottles
Mix the sugar into the batch, not into the bottles
Dissolve the weighed sugar in a little boiled water, cool it, put it in the bottling vessel, and rack the beer gently onto it. The racking mixes it without splashing.
Priming each bottle individually is where inconsistent carbonation comes from, and inconsistent means some bottles are flat and some are over-pressure. A measured tablet or drop per bottle is more consistent than a spoon and still less consistent than batch priming.
Stir gently once, if at all. Vigorous stirring at this stage is oxygen introduction at the very last moment, which the oxygen rung says is when the beer is most vulnerable — it will be sitting in the bottle for months.
Matériaux pour cette étape :
Miel1 pièceEau1 litreOutils nécessaires :
 Siphon automatiqueBalance de précision
 Cuve de fermentation (dame-jeanne en verre)
3
3
Fill low, cap high, and leave the right headspace
Fill low, cap high, and leave the right headspace
Fill from the bottom of the bottle with the tube all the way down, and let the level rise. Leave about 25 mm of headspace — enough for the cap to seat and for the liquid to expand, and no more than that.
Too little headspace risks the cap being pushed off; too much is a reservoir of air that will oxidise the beer over the months it is stored. Consistent fill height is also what makes the carbonation consistent between bottles.
Cap immediately after filling. A row of open filled bottles waiting to be capped is a row of bottles taking on oxygen and whatever is in the air, which is the sanitation rung arriving at the very last step.
Outils nécessaires :
 Capsuleuse de bouteilles
 Capsules couronneSiphon automatique
 Ensemble de nettoyage et de désinfection pour le brassage
4
4
Condition warm, then cold, and test one
Condition warm, then cold, and test one
Leave the bottles at fermentation temperature for two weeks. The yeast needs warmth to work through the priming sugar, and bottles put straight into a cold store stay flat until they are warmed again.
Then open one. That is a real measurement: if it is under-carbonated, the rest need longer; if it gushes, move the whole batch somewhere cool and drink it quickly. Testing one bottle at two weeks is how a problem is found while it can still be managed.
After conditioning, cold storage slows everything and keeps it stable. And record what went into the batch — the priming weight, the volume, the temperature, the date — because a carbonation that came out exactly right is worth being able to repeat.
Outils nécessaires :
 Thermomètre à lecture instantanéeBalance de précision
Outils requis
9- Espace réservé
- Espace réservé
- Densimètre et éprouvette de brassage10 % de commissionEspace réservé
- Espace réservé
- Espace réservé
- Espace réservé
- Espace réservé
- Ensemble de nettoyage et de désinfection pour le brassage10 % de commissionEspace réservé
- Espace réservé
Blueprints liés
Ces blueprints partagent des connaissances — techniques, matériaux ou principes

CC0 Domaine public
Ce blueprint est publié sous CC0. Vous êtes libre de copier, modifier, distribuer et utiliser ce travail pour tout usage, sans demander la permission.
Soutenez le Maker en achetant des produits via son Blueprint où il perçoit une Commission Maker définie par les Vendeurs, ou créez une nouvelle itération de ce Blueprint et incluez-le comme connexion dans votre propre Blueprint pour partager les revenus.