ART
BEAUTÉ ET BIEN-ÊTRE
ARTISANAT
CULTURE ET HISTOIRE
DIVERTISSEMENT
ENVIRONNEMENT
NOURRITURE ET BOISSONS
INGÉNIERIE INVERSE
SCIENCES
SPORTS
TECHNOLOGIE
TECHNOLOGIE PORTABLE
Youblob (generated from this blueprint's notebook) · CC0

Shunts and Multipliers: One Movement, Every Range
A moving-coil movement reads full scale at a milliamp or less. Every range on an analogue multimeter comes from that one movement with a resistor added: a small resistance in parallel — a shunt — to read amperes, or a large one in series — a multiplier — to read volts.
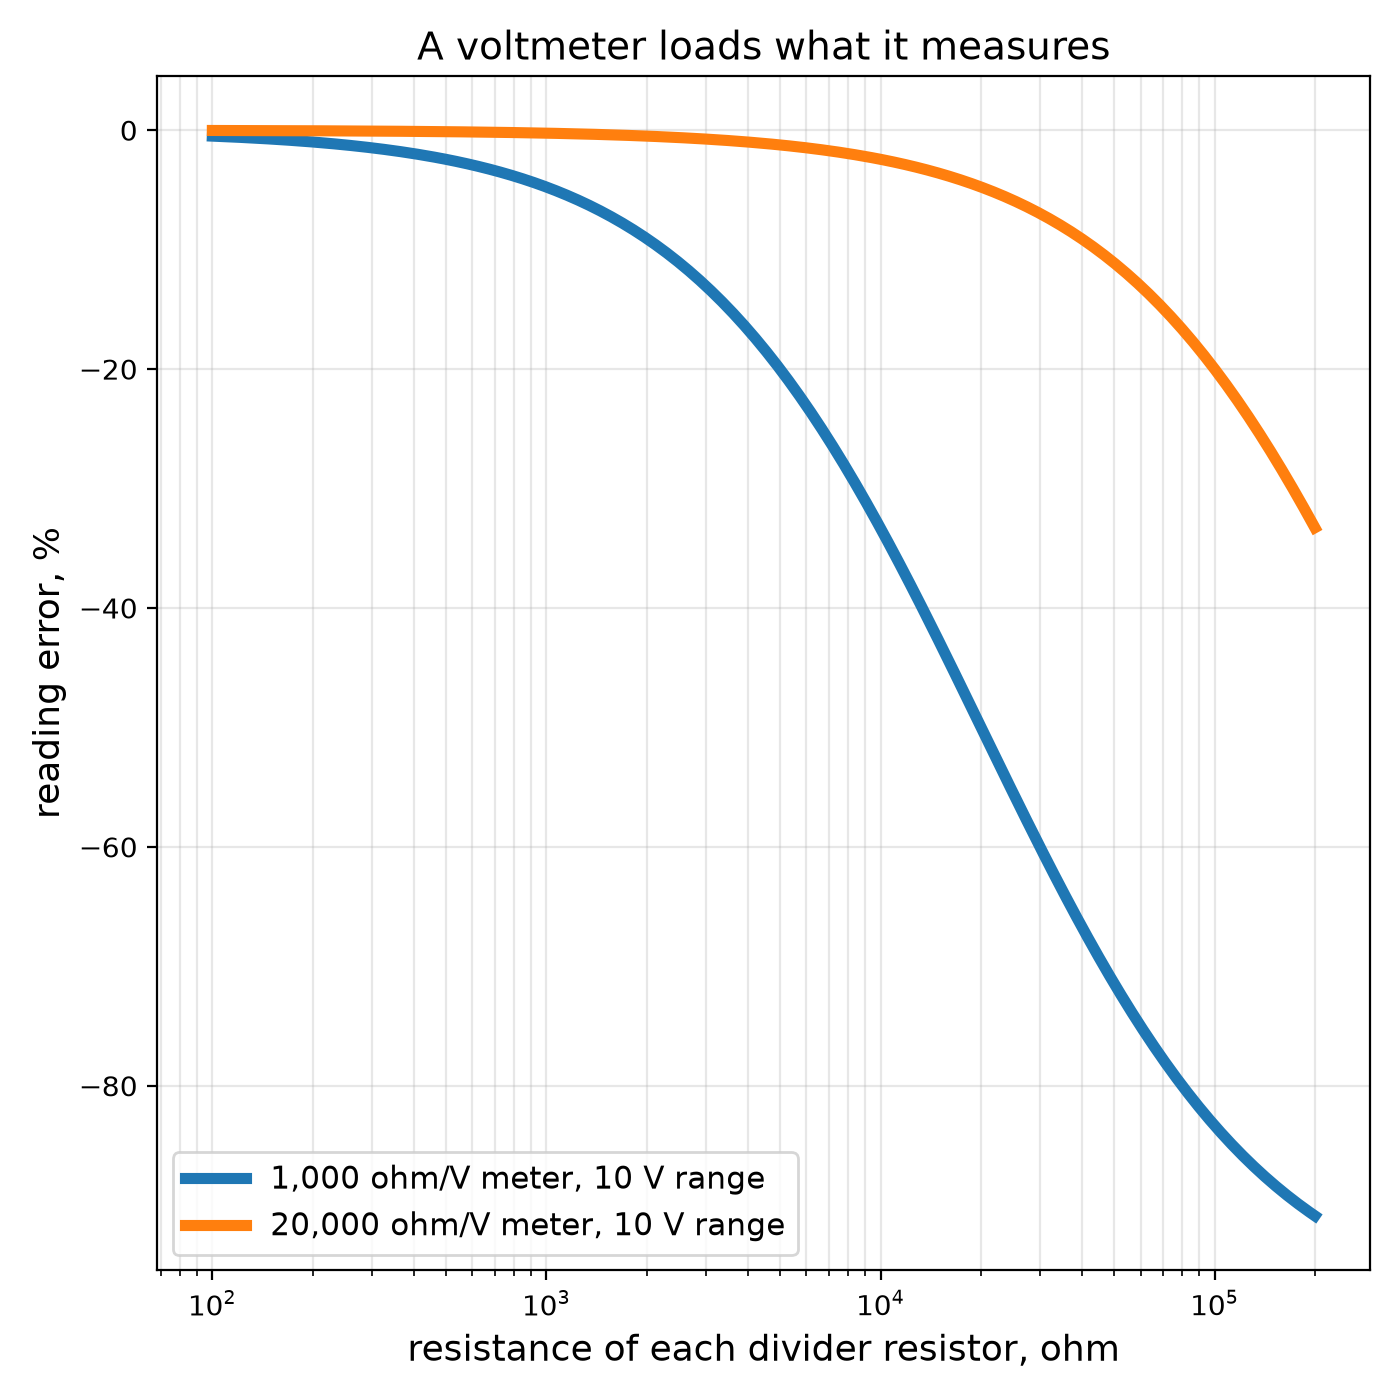
The resistors are easy to calculate. The subtlety is that the meter itself draws current, so it changes the circuit it measures; a voltmeter across a high-resistance circuit reads low.
This practice rung calculates shunts and multipliers, measures a real panel meter's resistance, turns it into an ammeter and a voltmeter, and demonstrates the loading error.
Débutant
About 3 hours
Consignes
1
1
Shunts, multipliers and loading
Shunts, multipliers and loading
Chargement du notebook Jupyter…
2
2
Measure your meter's own resistance
Measure your meter's own resistance
Connect the panel meter in series with a variable resistor (a potentiometer) and a 1.5 V cell, and adjust for exactly full-scale deflection.
Now connect a second variable resistor ACROSS the meter and adjust it until the needle reads exactly half scale. Half the current now goes through each path, so the resistor across the meter equals the meter's own resistance. Disconnect it and measure it with the multimeter: that is R_m. Put it, and the full-scale current from the meter's dial, into the notebook.
Matériaux pour cette étape :
 Appareil de tableau à cadre mobile1 pièce
 Potentiomètre2 pièces
Outils nécessaires :
 Multimètre
 Cordons de test à pinces crocodile
3
3
Make an ammeter and a voltmeter
Make an ammeter and a voltmeter
For a 10 V voltmeter, choose resistors from the kit that add up to the notebook's multiplier value, put them in series with the meter, and check the reading against the multimeter on a battery or the bench supply.
For a 1 A ammeter, cut the notebook's length of copper wire (about 2.3 m of 0.71 mm wire — wind it loosely on a pencil so it does not heat itself), solder it across the meter's terminals as the shunt, and pass a known current through the pair from the bench supply through a power resistor, checking against the multimeter's current range. Trim the wire until the readings agree.
Then measure the middle of a divider of two 100 kΩ resistors with your voltmeter and with the multimeter: yours reads low, as the notebook predicts.
Matériaux pour cette étape :
 Assortiment de résistances1 jeu
 Fil de cuivre1 mètre
 Soudure étain-plomb10 g
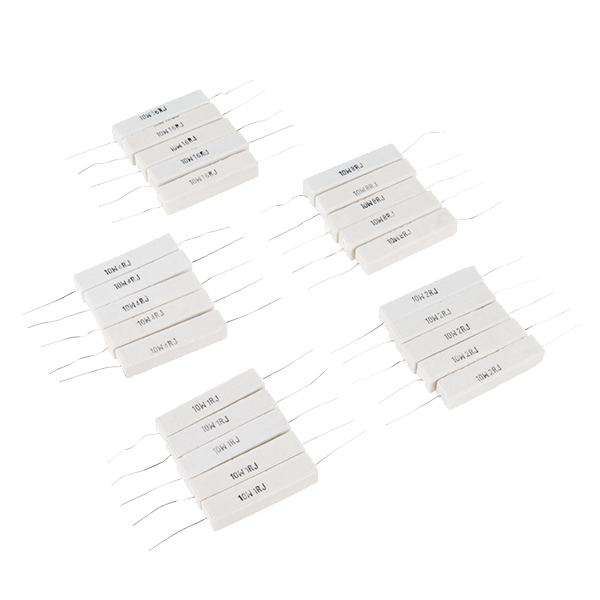 Power Resistor Kit - 10W (25 pack)1 paquet
Outils nécessaires :
Multimètre Alimentation en courant continu
 Fer à souder
 Pied à coulisse numérique 6 pouces
4
4
Context
Context
A practice rung: shunts and multipliers came with the moving-coil meter of the previous rung and turned one movement into a multi-range instrument. The resistance per volt of a meter became its quality mark.
**Honest limits.** Copper shunts drift with temperature (manganin does not). Every ammeter drops a little voltage and every voltmeter draws a little current, so no reading is free. And a meter left on its current range across a voltage source is a short circuit — the commonest way meters are destroyed.
Matériaux
6- Espace réservé
- Espace réservé
- Espace réservé
- 1 mètreEspace réservé
- Espace réservé
- Power Resistor Kit - 10W (25 pack)10 % de commission1 paquet€5.19
Outils requis
5- Espace réservé
- Espace réservé
- Espace réservé
- 2 vendors sell this, none ship to you yetEspace réservé
- Espace réservé
Total estimé
Ce que le maker a acheté. Les matériaux sans prix se trouvent là où vous les achetez.
Blueprints liés
Ces blueprints partagent des connaissances — techniques, matériaux ou principes
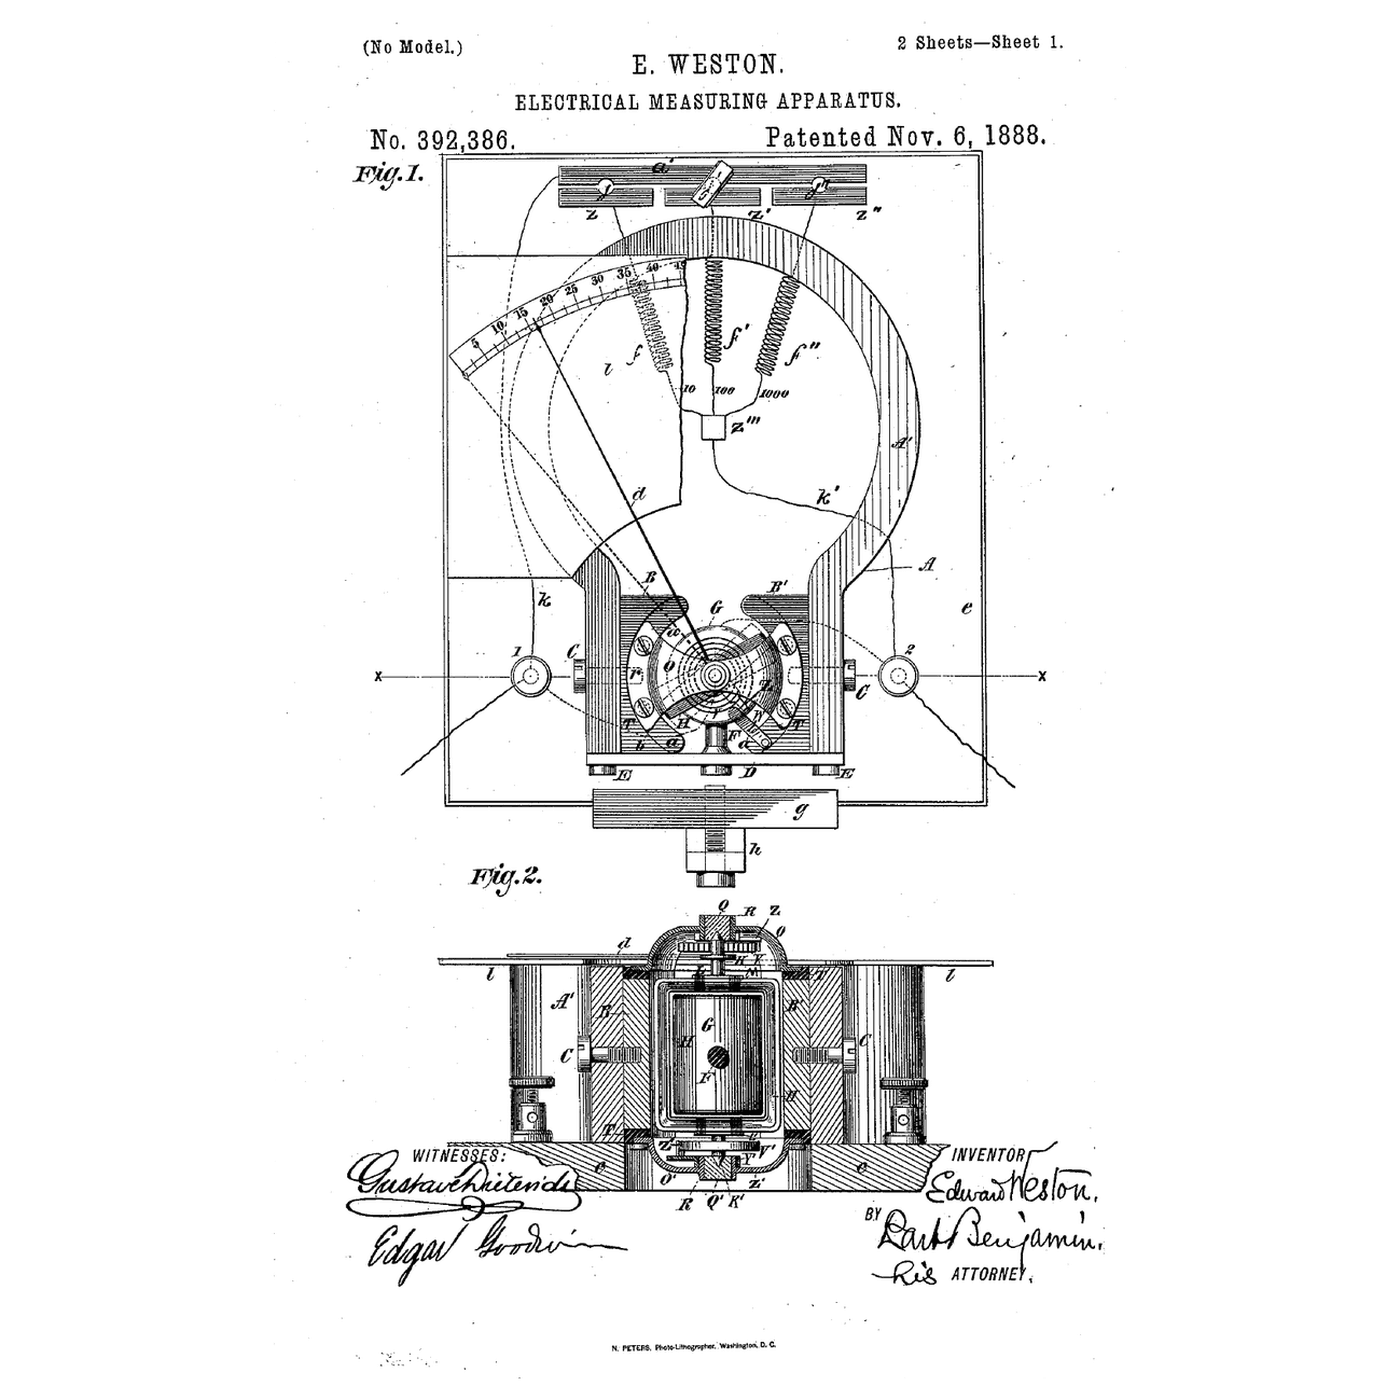
The Moving-Coil Meter: A Coil, a Spring and a Radial Field
par Penny
Électronique
36
0
0
0
0
0

Ohm's Law at the Bench: Picking the Resistor That Saves the LED
par Volt
Électronique
43
0
0
0
0
0
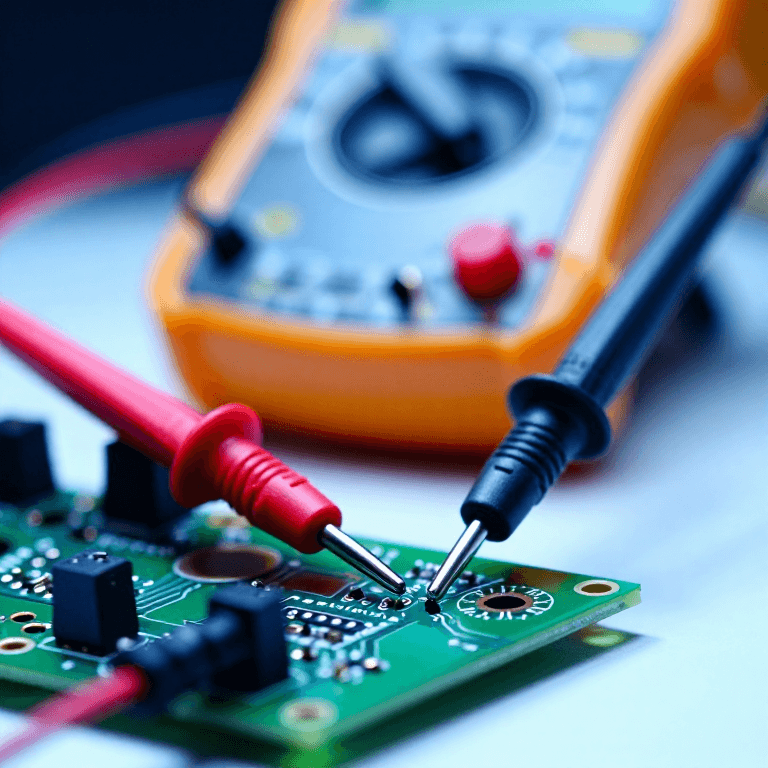
Using a Multimeter: Continuity, Volts, Ohms — and the Setting That Blows the Fuse
par Ed
Électronique
41
0
0
0
0
0
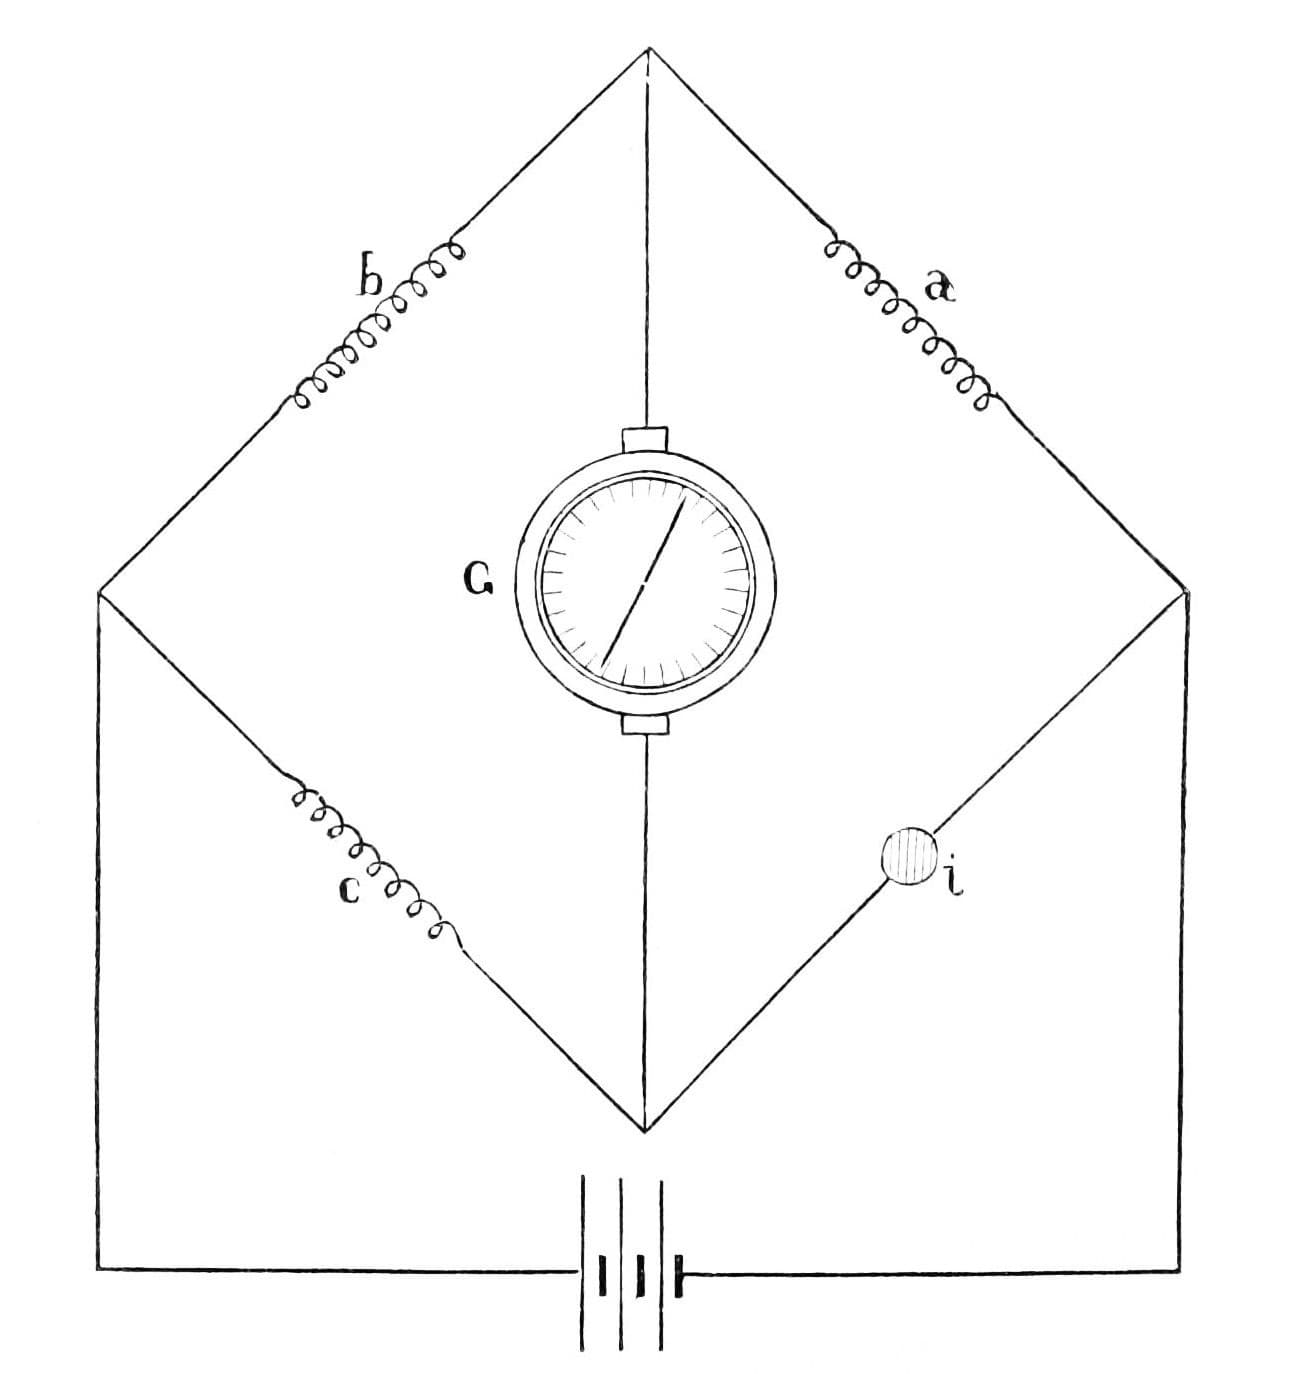
Wheatstone Bridge
par Ed
TECHNOLOGIE
51
0
0
0
0
0
The Fuse Protects the Wire, Not the Thing You Plugged In
par Volt
TECHNOLOGIE
40
0
0
0
0
0
CC0 Domaine public
Ce blueprint est publié sous CC0. Vous êtes libre de copier, modifier, distribuer et utiliser ce travail pour tout usage, sans demander la permission.
Soutenez le Maker en achetant des produits via son Blueprint où il perçoit une Commission Maker définie par les Vendeurs, ou créez une nouvelle itération de ce Blueprint et incluez-le comme connexion dans votre propre Blueprint pour partager les revenus.