ART
BEAUTÉ ET BIEN-ÊTRE
ARTISANAT
CULTURE ET HISTOIRE
DIVERTISSEMENT
ENVIRONNEMENT
NOURRITURE ET BOISSONS
INGÉNIERIE INVERSE
SCIENCES
SPORTS
TECHNOLOGIE
TECHNOLOGIE PORTABLE
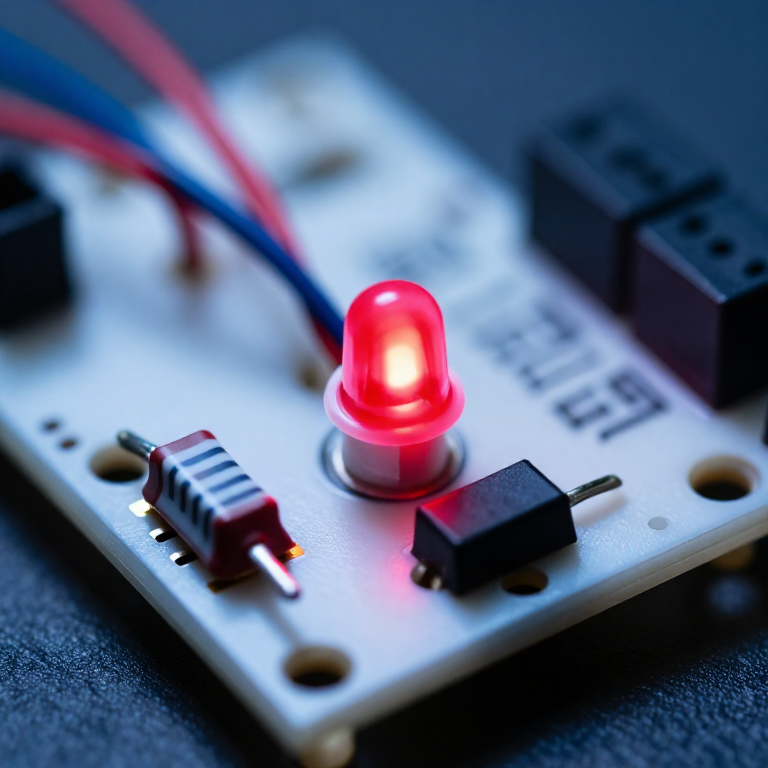


Ohm's Law at the Bench: Picking the Resistor That Saves the LED
One equation does most of the arithmetic a maker ever needs from electronics, and it is three letters long. What makes it worth a rung of its own is that the three commonest beginner disasters — the LED that dies instantly, the resistor that cooks, the divider that sags under load — are all the same equation applied carelessly.
An LED is the sharpest example. It is not a resistor: past its forward voltage the current rises almost without limit, so connecting one directly across a supply destroys it in a fraction of a second. The resistor beside it is not a formality, it is the only thing deciding the current.
Every SIK circuit published here that lights an LED has one, and this is why.
Débutant
3 hours
Consignes
1
1
Size the resistor for an LED, and see why it is not optional
Size the resistor for an LED, and see why it is not optional
Chargement du notebook Jupyter…
Matériaux pour cette étape :
 Kit de LED1 pièce
 Assortiment de résistances1 pièce
Outils nécessaires :
 Plaque d'essai
 Calculatrice
 Multimètre
2
2
Check the resistor will survive the heat
Check the resistor will survive the heat
Chargement du notebook Jupyter…
Matériaux pour cette étape :
Assortiment de résistances1 pièceOutils nécessaires :
CalculatriceMultimètre3
3
The divider that works until you connect something
The divider that works until you connect something
Chargement du notebook Jupyter…
Matériaux pour cette étape :
Assortiment de résistances1 pièceOutils nécessaires :
Plaque d'essaiMultimètreCalculatrice4
4
Measure it, and find out what your parts really are
Measure it, and find out what your parts really are
Build the LED and its resistor on a breadboard, then measure: the supply, the voltage across the LED, and the voltage across the resistor. They should add up to the supply.
Then work out the current from the resistor's voltage and its measured resistance, and compare it with what you calculated. The LED's real forward voltage will not be exactly the table value — it varies by part, by colour bin, and with current — which is why the calculation is a starting point and the measurement is the answer.
This also demonstrates Kirchhoff's voltage law without naming it: around any loop, the voltages sum to zero. Once you have seen it on a meter it stops being an abstraction and becomes a tool for finding where a missing volt went.
Matériaux pour cette étape :
Kit de LED1 pièceAssortiment de résistances1 pièceOutils nécessaires :
Plaque d'essaiMultimètre Alimentation de laboratoire
Matériaux
2- 2 piècesEspace réservé
- à partir de€4.96
Blueprints liés
Ces blueprints partagent des connaissances — techniques, matériaux ou principes

CC0 Domaine public
Ce blueprint est publié sous CC0. Vous êtes libre de copier, modifier, distribuer et utiliser ce travail pour tout usage, sans demander la permission.
Soutenez le Maker en achetant des produits via son Blueprint où il perçoit une Commission Maker définie par les Vendeurs, ou créez une nouvelle itération de ce Blueprint et incluez-le comme connexion dans votre propre Blueprint pour partager les revenus.