ART
BEAUTÉ ET BIEN-ÊTRE
ARTISANAT
CULTURE ET HISTOIRE
DIVERTISSEMENT
ENVIRONNEMENT
NOURRITURE ET BOISSONS
INGÉNIERIE INVERSE
SCIENCES
SPORTS
TECHNOLOGIE
TECHNOLOGIE PORTABLE
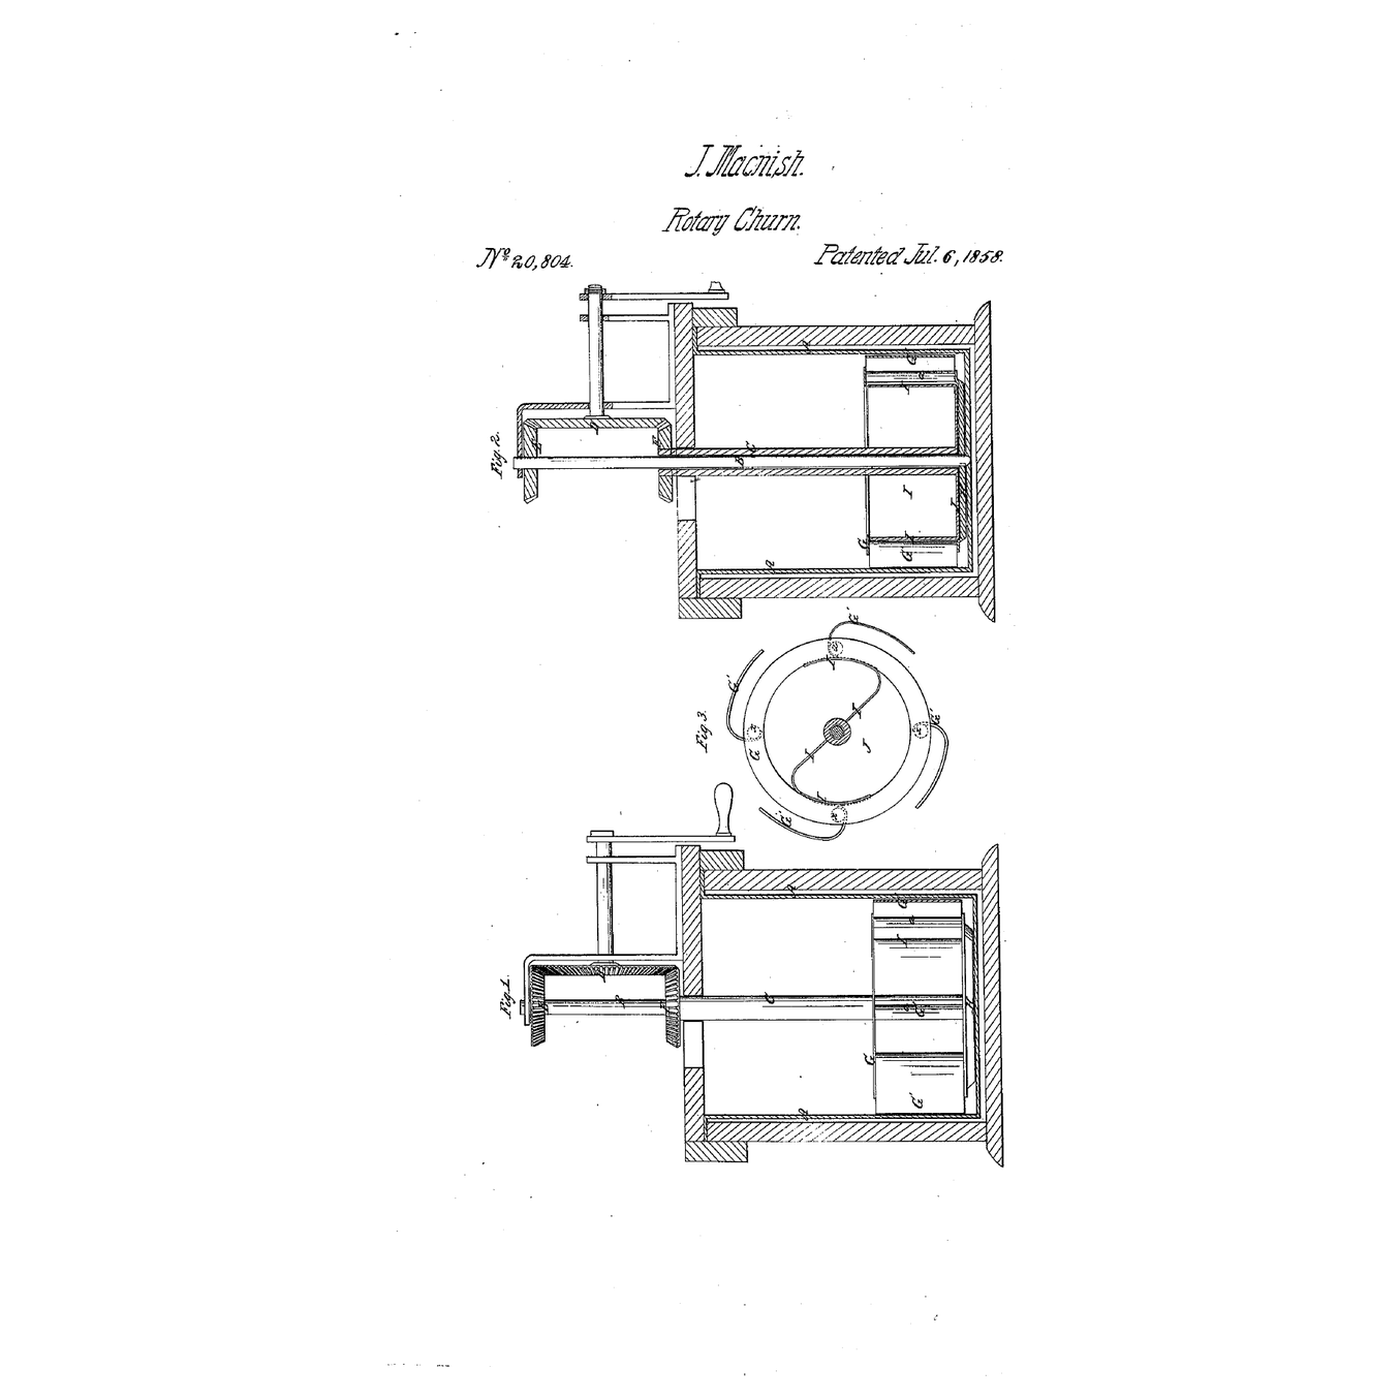


Spring-Wing Friction Churn: Sprung Wings Rub the Tub and Each Other, Two Plates Rub Below
James MacNish of Berlin, Wisconsin, received US 20,804, dated 6 July 1858, for a churn that makes butter by friction: an open cylinder of tangential spring wings rubbing the tub's wall, a second set inside turning the other way against its standards, and two friction plates rubbing the tub's bottom and each other.
This rung prints both dashers, thin PETG spring wings and the bevel gearing at tabletop scale, in a stock pot.
Avancé
About 6 hours, plus printing
Consignes
1
1
Gearing and rubbing speed
Gearing and rubbing speed
Chargement du notebook Jupyter…
2
2
Counter-turning churns, before it
Counter-turning churns, before it
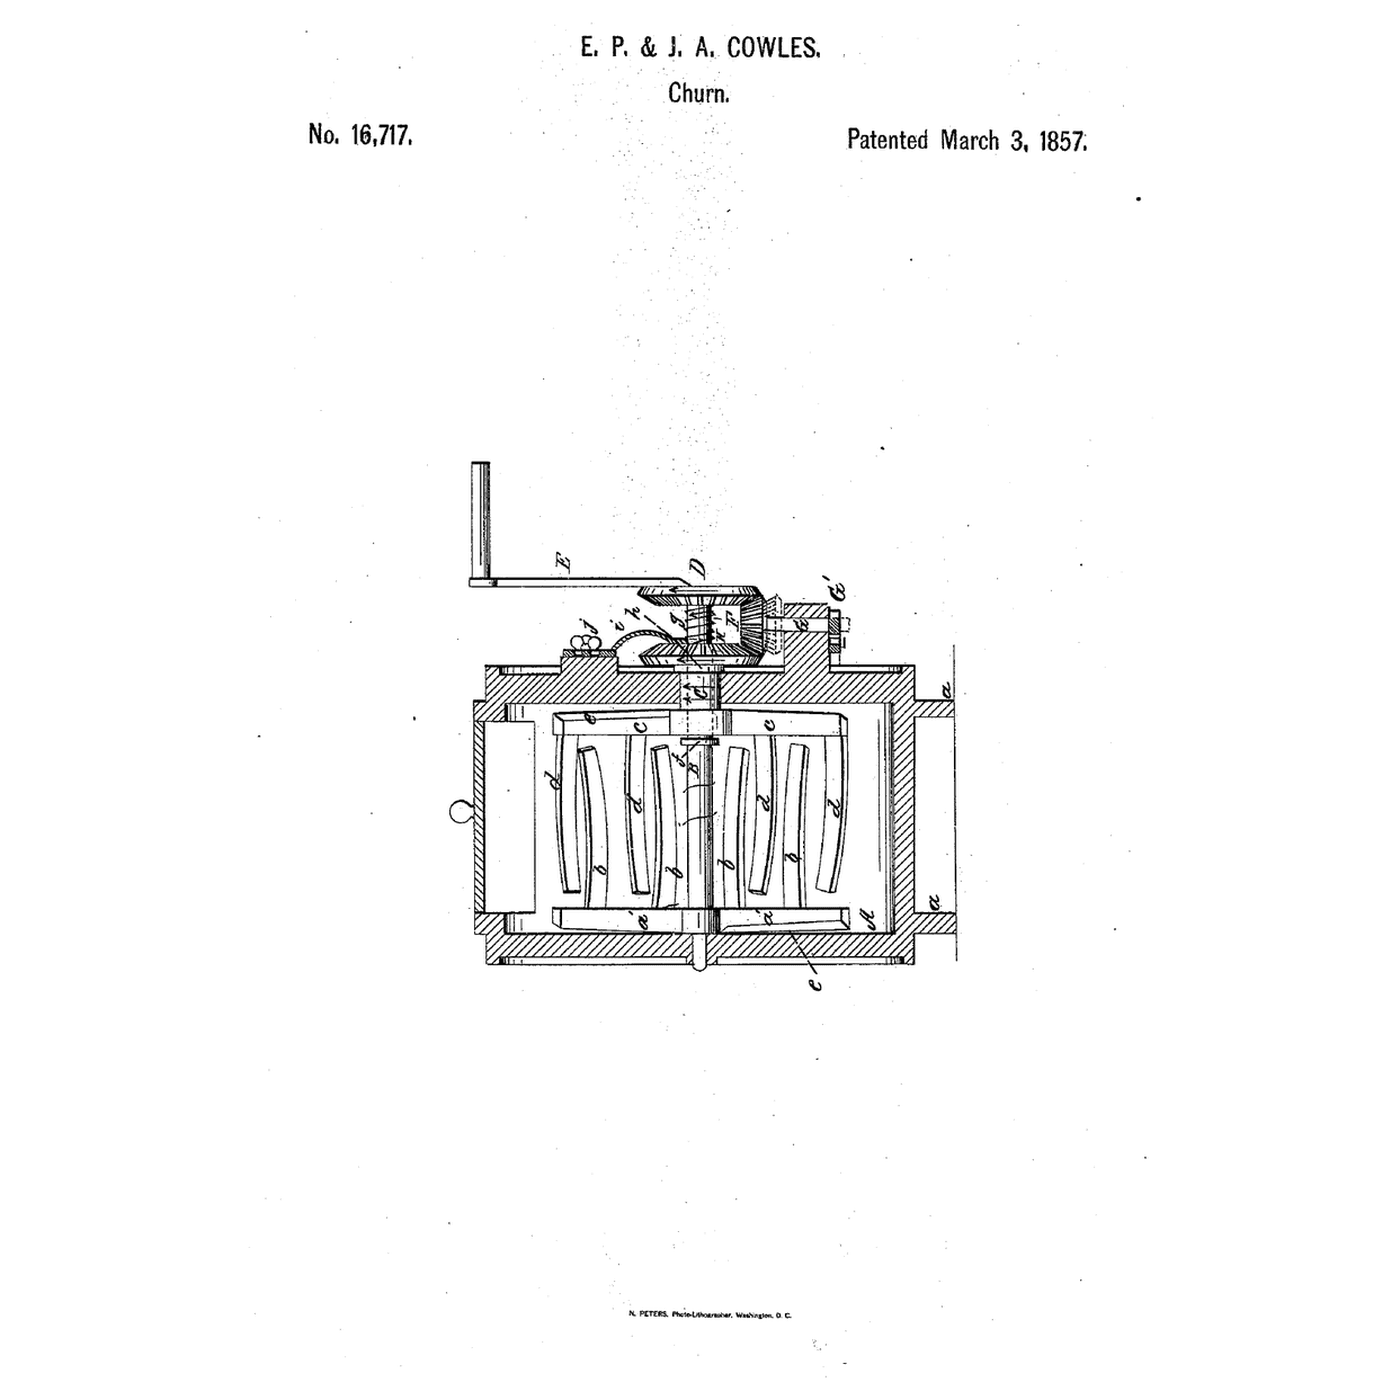
Those beaters cut through the cream; MacNish's sprung wings and plates rub it against the tub and each other.
3
3
Read US 20,804
Read US 20,804
"The wings serve for causing friction and expressing the cream or milk between themselves and the inner circumference of the churn tub, while the bottom plate H, serves for causing friction and expressing the cream or milk between itself and the bottom of the churn tub."
4
4
Print the parts
Print the parts
Print the skeleton (/uploads/blueprints/spring-wing-friction-churn-skeleton.stl), its top ring (/uploads/blueprints/spring-wing-friction-churn-top-ring.stl), four outer wings (/uploads/blueprints/spring-wing-friction-churn-outer-wing.stl), the inner dasher with its tube (/uploads/blueprints/spring-wing-friction-churn-inner-dasher.stl), four inner wings (/uploads/blueprints/spring-wing-friction-churn-inner-wing.stl), pinions D (/uploads/blueprints/spring-wing-friction-churn-pinion-d.stl) and E (/uploads/blueprints/spring-wing-friction-churn-pinion-e.stl), wheel F (/uploads/blueprints/spring-wing-friction-churn-wheel-f.stl), the step (/uploads/blueprints/spring-wing-friction-churn-step.stl), the cover (/uploads/blueprints/spring-wing-friction-churn-cover.stl), the standard (/uploads/blueprints/spring-wing-friction-churn-standard.stl) and the crank (/uploads/blueprints/spring-wing-friction-churn-crank.stl). Print the wings standing up: their 1.2 mm walls are the springs. Print in PETG at 0.2 mm layers, 30 % infill, 4 walls; wash before first use.
Matériaux pour cette étape :
 Filament PETG1 pièce
Outils nécessaires :
 Imprimante 3D à filament (FDM)
5
5
Dashers
Dashers
Cut a 10 mm square hardwood strip 325 mm long as the solid shaft and sand it. Slide the skeleton on, plate down, its plate 7 mm above the shaft's foot, and fix it with an M3 screw drilled through the boss and the shaft. Screw an outer wing to each standard with two M3 screws, all curving the same way, and an inner wing to each post of the inner dasher, curving the other way.
Matériaux pour cette étape :
 Baguette de bois dur1 pièce
 Vis à métaux1 pièce
Outils nécessaires :
 Scie égoïne
 Papier abrasif
 Chignole à main
 Jeu de tournevis
6
6
Into the pot, gears on
Into the pot, gears on
Set the step in the pot and lower the skeleton in, the shaft's foot in the step and the wings springing against the wall. Lower the inner dasher's tube over the shaft, easing its wings past the standards, and screw the top ring onto the standards with four M3 screws. Lay the cover on with a washer over the tube, slide pinion D onto the tube's flat and fix pinion E on the shaft with an M3 screw drilled through it. Screw the standard to the cover from below with two M4 screws, push a 10 mm dowel through it, press wheel F tight on its inner end to mesh D below and E above, and fix the crank on its outer end with an M3 screw drilled through the dowel.
Matériaux pour cette étape :
 Marmite haute1 pièce
 Goujons de bois dur1 pièceVis à métaux1 pièce
 Rondelle plate1 pièce
Outils nécessaires :
Scie égoïneChignole à mainJeu de tournevis7
7
The build in 3D
The build in 3D
FreeCAD model of this build: the pot cut open, the step, the solid shaft with the skeleton, its friction plate, standards, top ring and outer spring wings, the inner dasher on its tube with its plate and inner spring wings, the cover, bevel pinions D and E driven opposite ways by wheel F, the standard and the crank.
8
8
Churn
Churn
Pour in 3 litres of heavy cream at about 15 °C, checked with the thermometer. Turn the crank steadily and time it with the stopwatch. When the butter comes, lift out the cover and dashers, pour off the buttermilk, wash the butter in cold water until it runs clear, work in a pinch of salt and weigh it.
Matériaux pour cette étape :
 Crème liquide entière3 l
 Gros sel marin1 pièce
 Eau1 pièce
Outils nécessaires :
 Thermomètre à sonde à demeure
 Chronomètre
 Balance de cuisine numérique
 Grand cul-de-poule en acier inoxydable
9
9
Troubleshooting
Troubleshooting
Spring-wing friction churn troubleshooting.
Flow
Loading...
10
10
History and honest limits
History and honest limits
**James MacNish** of Berlin, Marquette County, Wisconsin, US 20,804, 6 July 1858, for churns "for making butter by friction". The two shafts and bevel wheels, he wrote, were like churns in common use. He claimed the inner set of tangential spring wings with the outer set, and the friction plates H and J with both sets and the tub. His plate H worked close on the tub's bottom; ours runs 8 mm over it, above a flat step. Our pot, sizes, gear counts and printed spring wings are ours. FDM prints hold food in their layer lines, so wash well and replace when worn.
Matériaux
9- 1 pièceEspace réservé
- 1 pièceEspace réservé
- 2 piècesEspace réservé
- 1 pièceEspace réservé
- 1 pièceEspace réservé
- 1 pièceEspace réservé
- Espace réservé
- 1 pièceEspace réservé
- 1 pièceEspace réservé
Outils requis
9- Espace réservé
- Espace réservé
- Espace réservé
- Espace réservé
- Espace réservé
- Espace réservé
- Espace réservé
- Espace réservé
- Espace réservé
Fichiers de conception
1Blueprints liés
Ces blueprints partagent des connaissances — techniques, matériaux ou principes



CC0 Domaine public
Ce blueprint est publié sous CC0. Vous êtes libre de copier, modifier, distribuer et utiliser ce travail pour tout usage, sans demander la permission.
Soutenez le Maker en achetant des produits via son Blueprint où il perçoit une Commission Maker définie par les Vendeurs, ou créez une nouvelle itération de ce Blueprint et incluez-le comme connexion dans votre propre Blueprint pour partager les revenus.