ART
BEAUTÉ ET BIEN-ÊTRE
ARTISANAT
CULTURE ET HISTOIRE
DIVERTISSEMENT
ENVIRONNEMENT
NOURRITURE ET BOISSONS
INGÉNIERIE INVERSE
SCIENCES
SPORTS
TECHNOLOGIE
TECHNOLOGIE PORTABLE
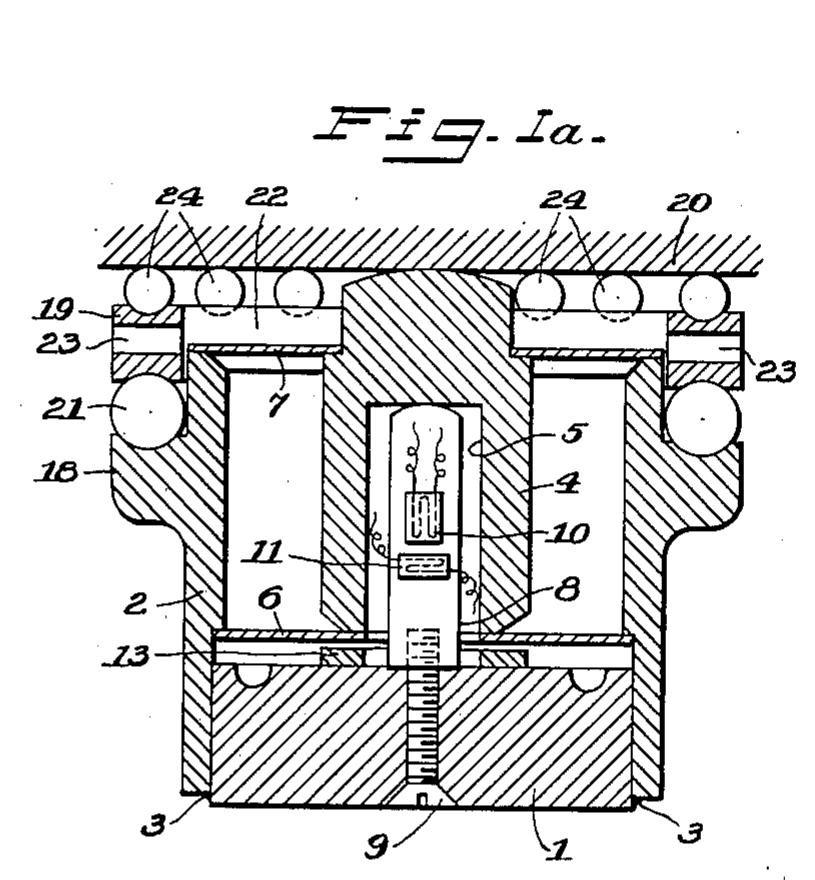


Strain-Gauge Load Cell with Floating Piston: Ruge, 1949
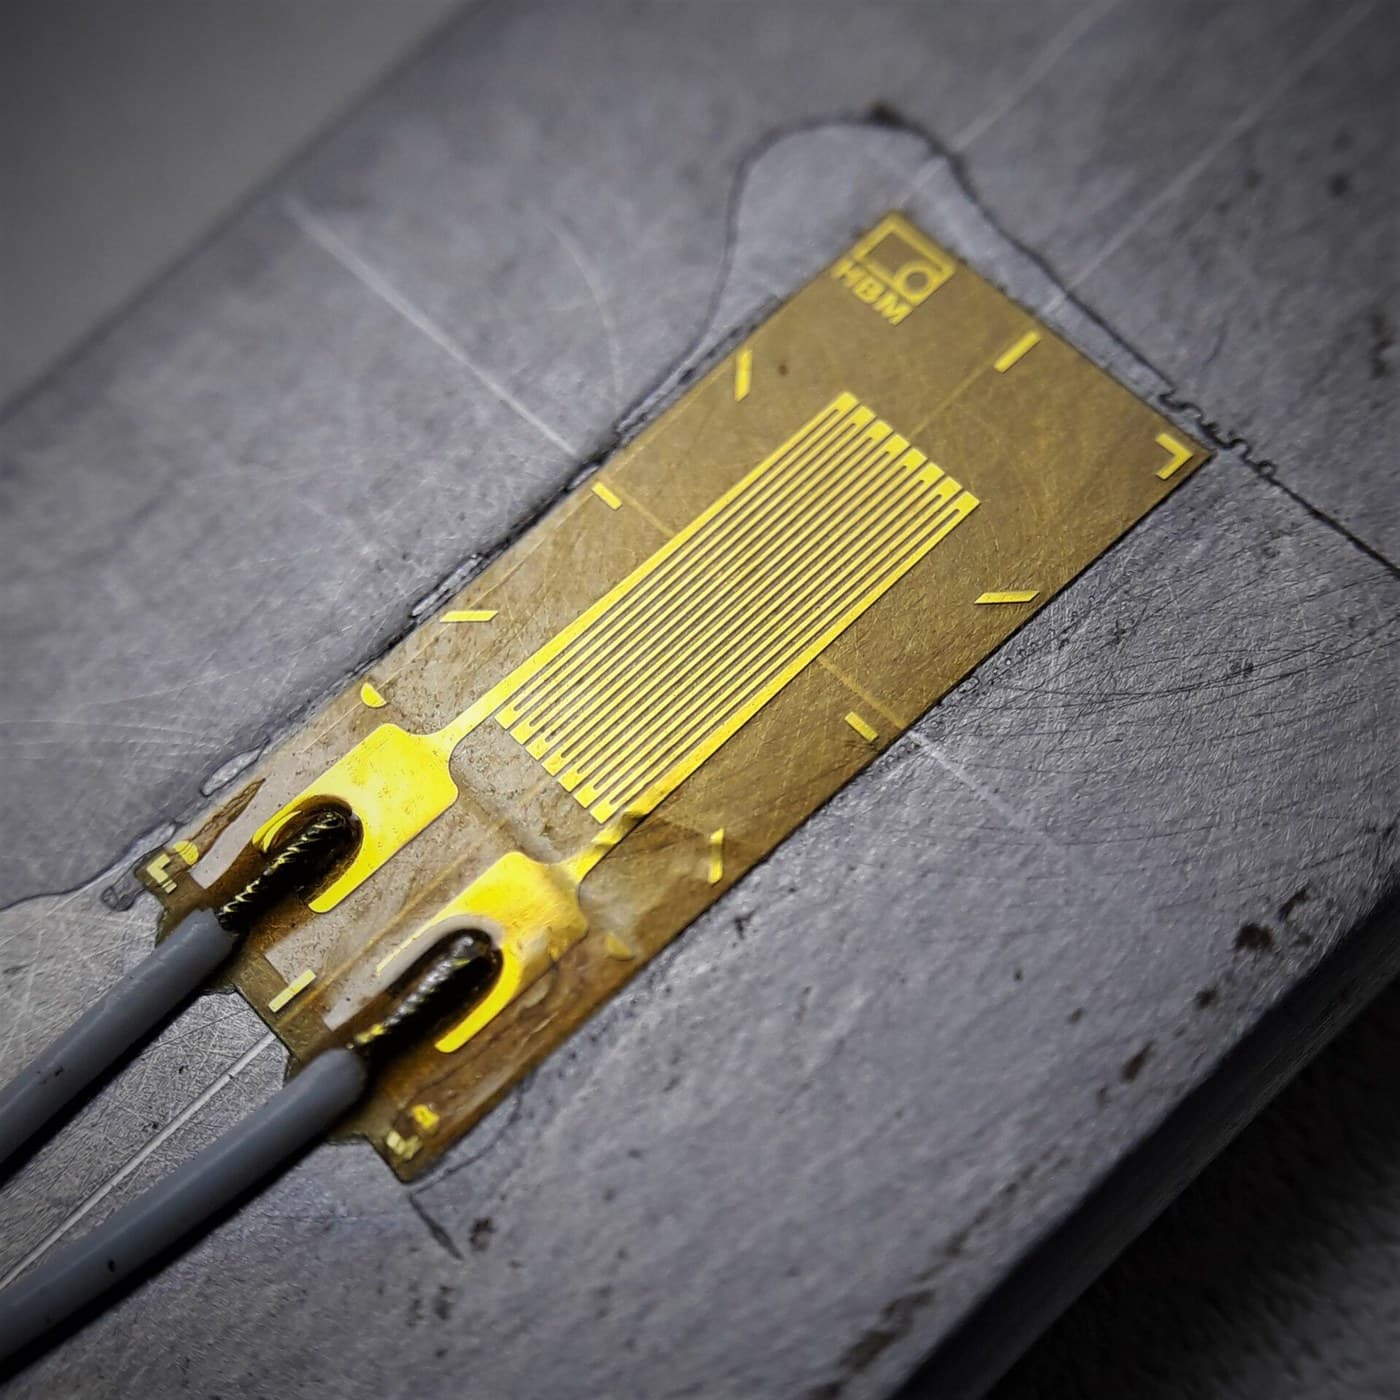
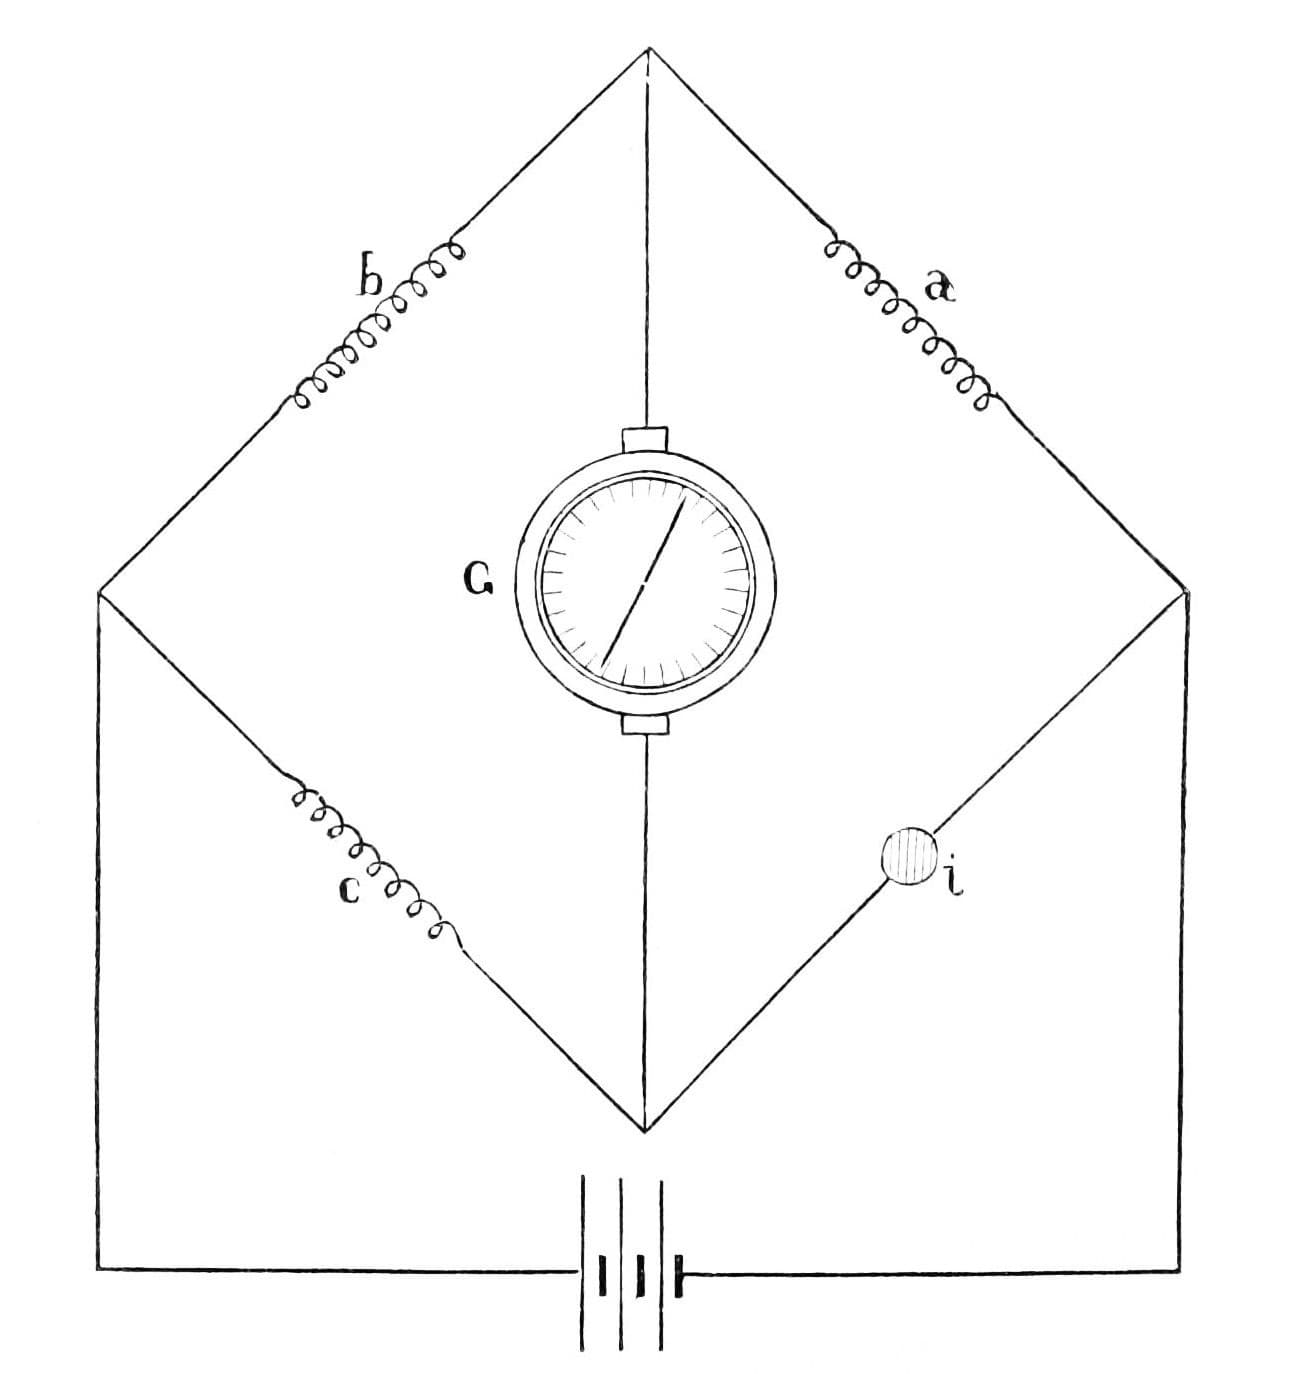
Arthur C. Ruge of Cambridge, Massachusetts, one of the two inventors of the bonded wire strain gauge, patented this load weighing cell in 1949, US 2,472,047 (filed 1946). Tanks, bins and scales rest on such cells so the weight of their contents can be read at any time. A floating piston, held in a heavy shell by two diaphragms, passes the load straight down onto a column carrying bonded strain gauges, so tilted, off-centre and twisting loads barely affect the reading. The gauges' change of resistance can be read on a Wheatstone bridge.
Avancé
Workshop process
Consignes
1
1
Base and shell
Base and shell
Weld a rigid, preferably cylindrical shell to a relatively heavy base, or secure it some other way.
Matériaux pour cette étape :
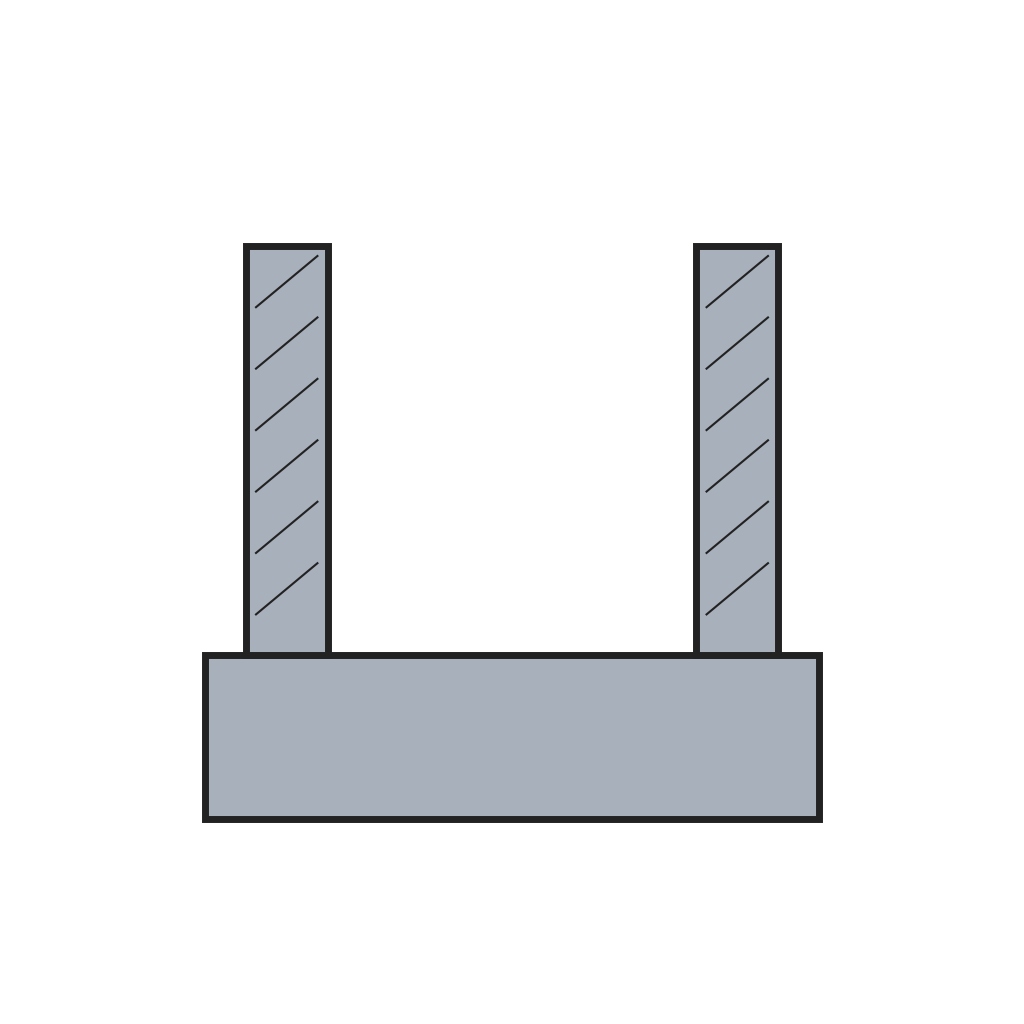 Socle et corps cylindrique de capteur de force1 pièce
Outils nécessaires :
 Poste à souder à l'arc
2
2
Load column and gauges
Load column and gauges
Screw the lower end of the load-sensitive column rigidly to the base; round its upper end to a half-sphere. Bond wire strain gauges to its surface at several points around it, so bending cancels out, and mount gauges of the same type crosswise for temperature compensation. The column may be round, but square, solid or hollow, makes the gauges easier to apply. Its capacity is set by its cross-section and the stiffness of its material.
Matériaux pour cette étape :
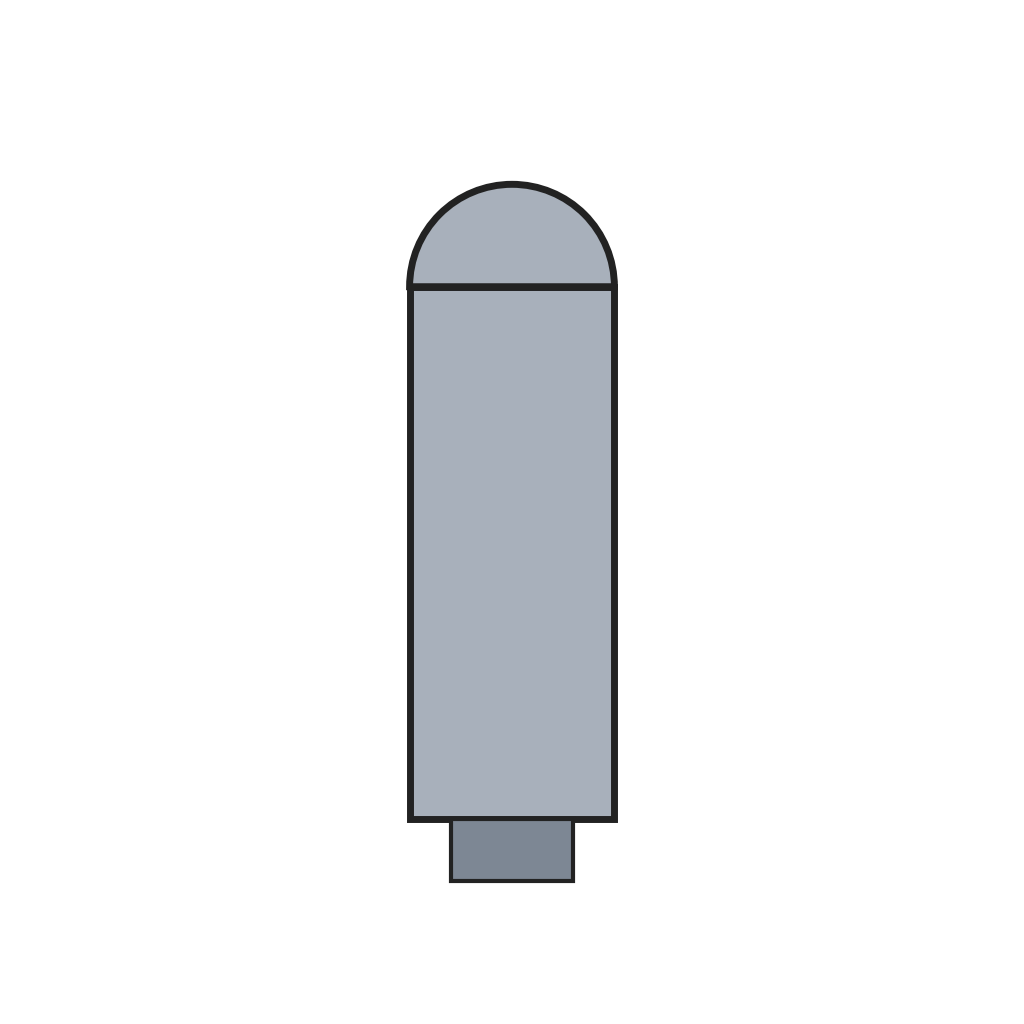 Colonne sensible à la charge1 pièce
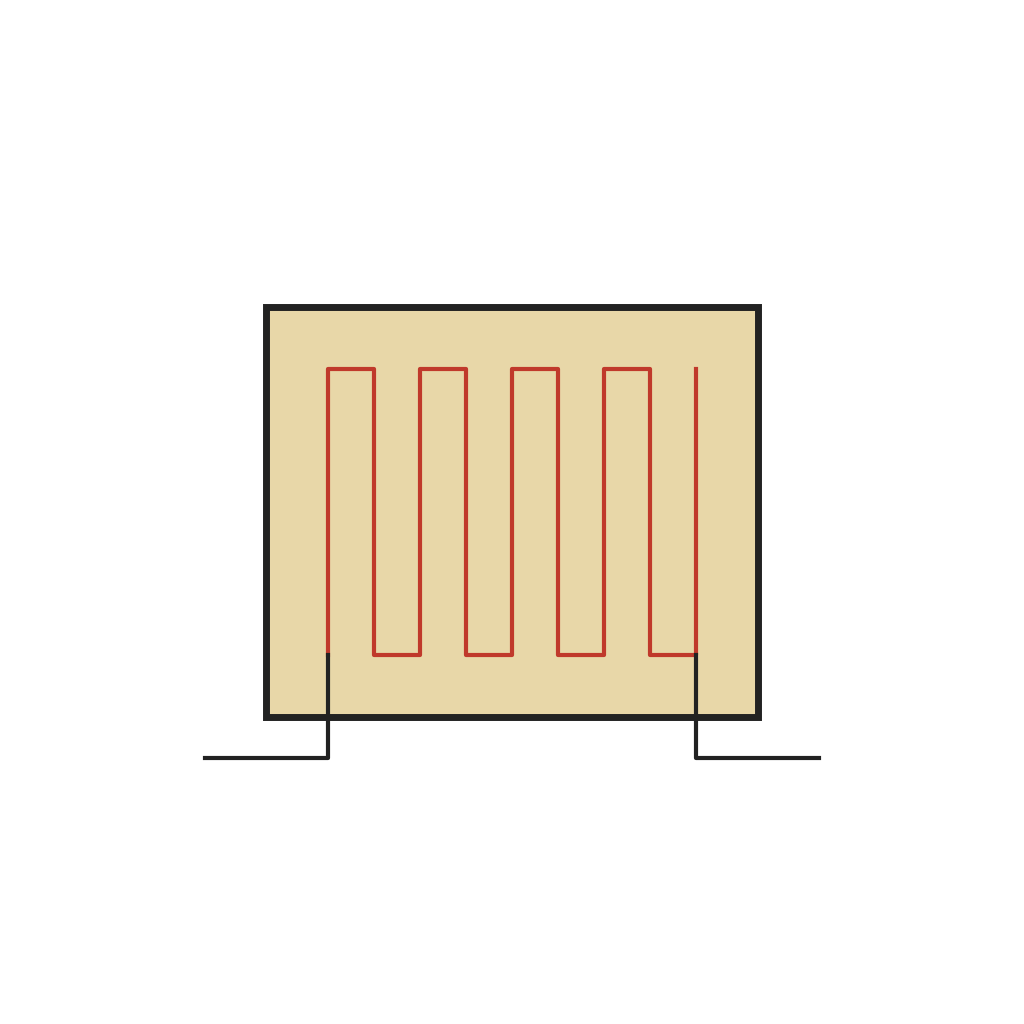 Jauge de contrainte à fil collé1 jeu
Outils nécessaires :
 Jeu de tournevis
3
3
Floating piston
Floating piston
Bore the piston so the column reaches up inside it and its rounded end bears on the end of the bore. Centre the piston in the shell with two annular diaphragms, upper and lower, welded or brazed to piston and shell: widely spaced, they let it move freely up and down but resist side loads and off-centre loads.
Matériaux pour cette étape :
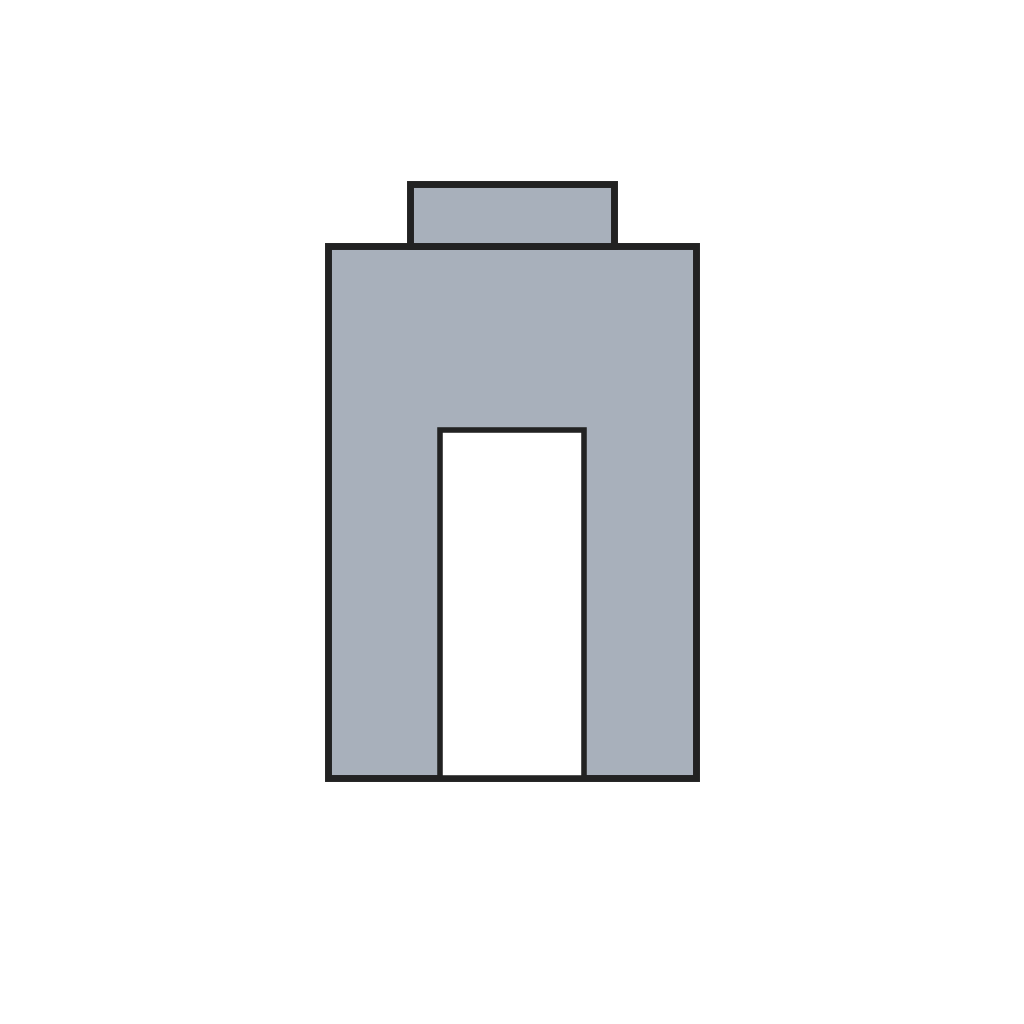 Piston de charge flottant1 pièce
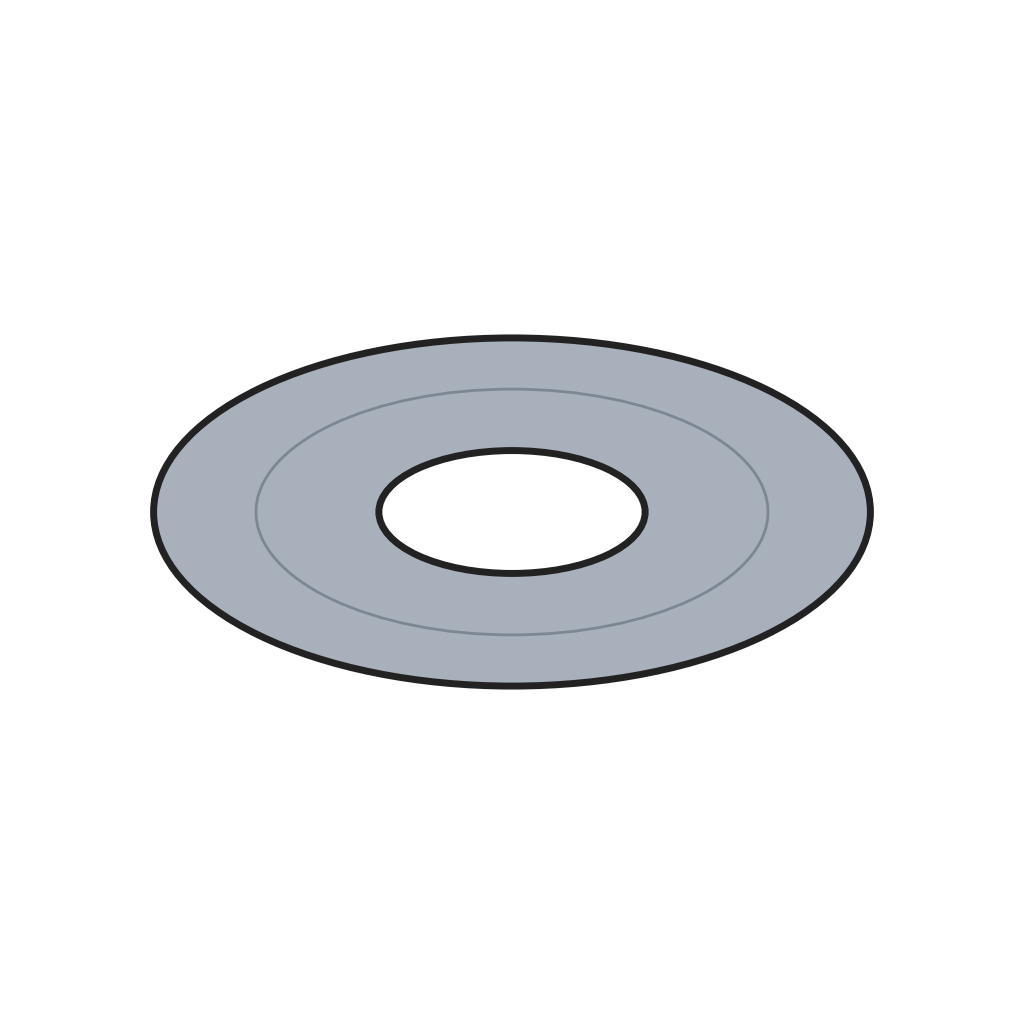 Membrane de guidage annulaire2 pièces
Outils nécessaires :
 Tour à métauxPoste à souder à l'arc
4
4
Overload ring and leads
Overload ring and leads
Set a safety ring under the piston with a small clearance: past a safe load, the piston lands on it and the excess goes straight to the base. Bring the gauge leads down through a hole in the ring and out through the lower diaphragm to an external cable. The gauges may be wired as a Wheatstone bridge. The cell can be sealed all round by brazing, or potted.
Matériaux pour cette étape :
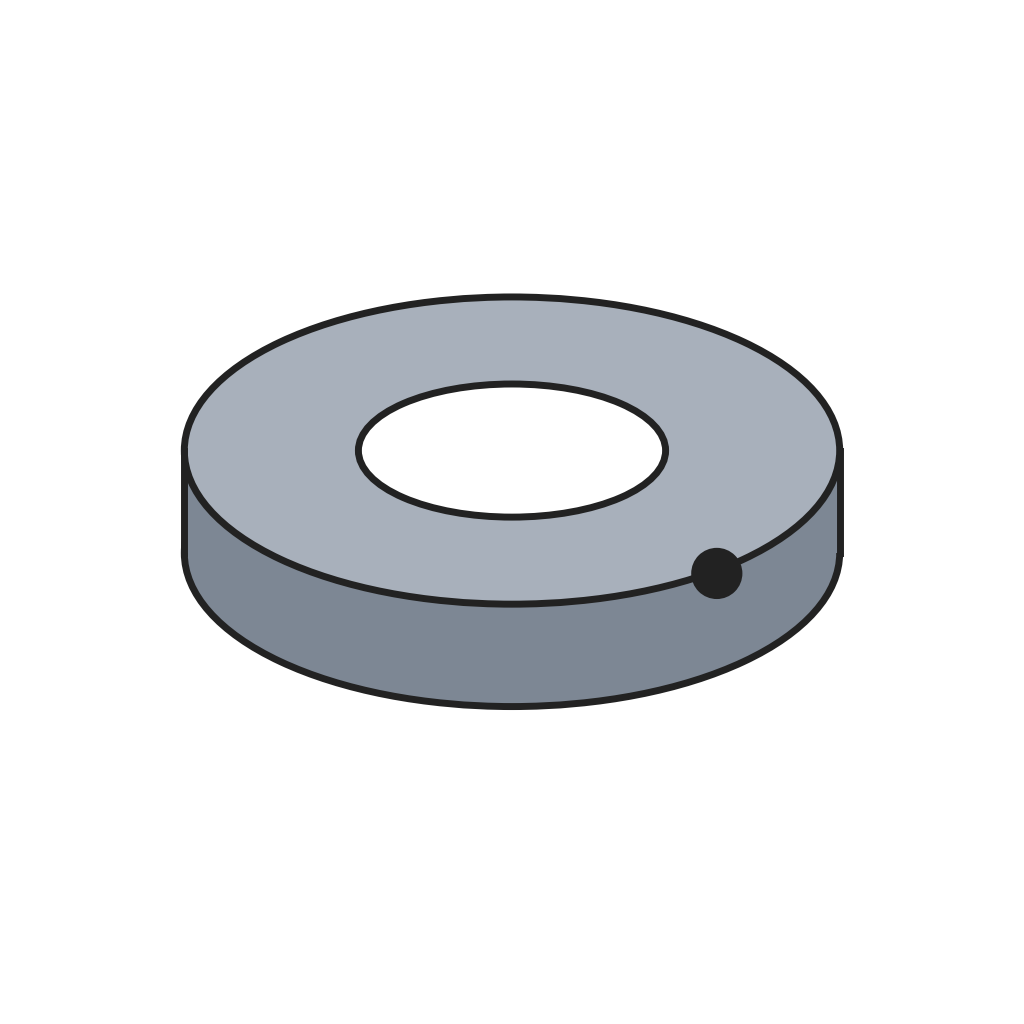 Anneau de sécurité de surcharge1 pièce
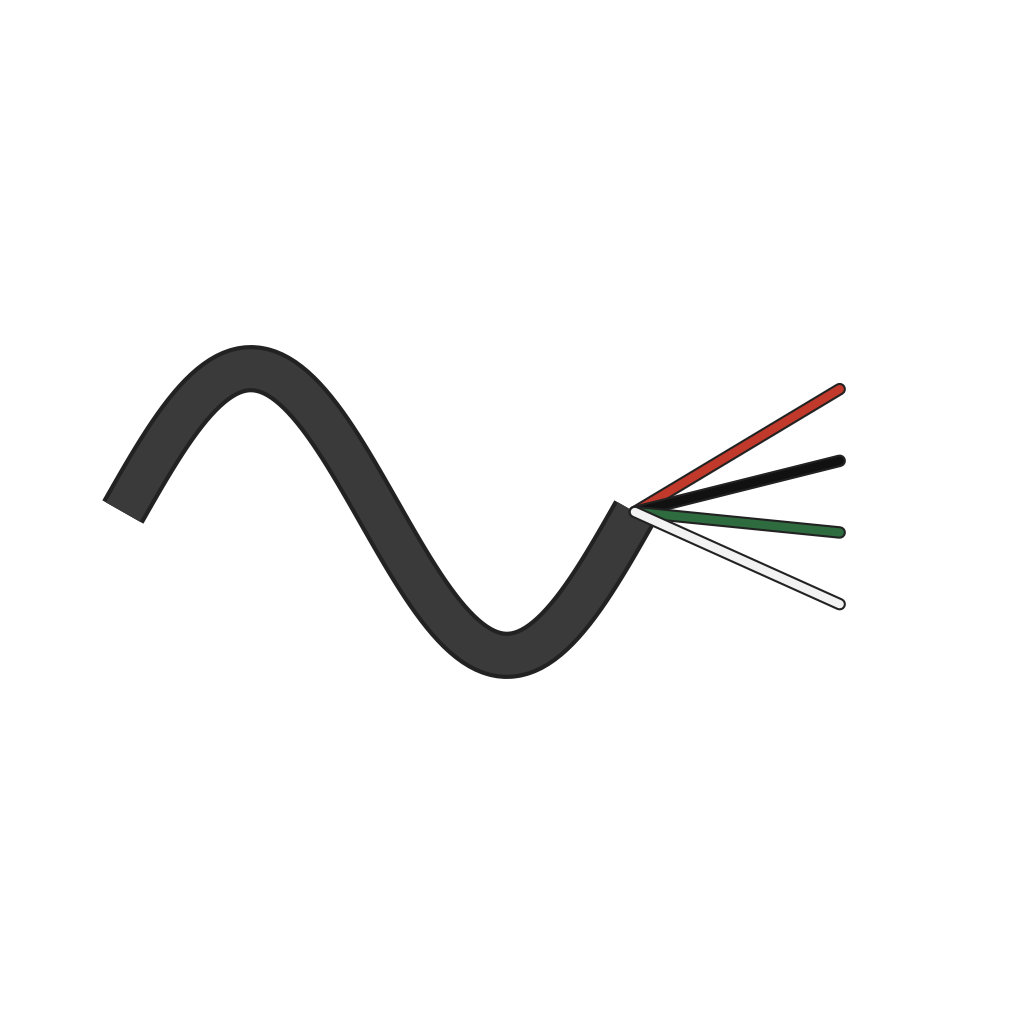 Câble multiconducteur1 pièce
 Fil de soudure1 as required
Outils nécessaires :
 Fer à souder électrique
 Pince à dénuder
5
5
Zero check
Zero check
To read the zero without moving the tank, seat a fixed ball race on top of the shell and a turning race above it, with balls between on a slightly inclined cam surface and a second row of balls under the loaded surface. Turning the upper race with a bar or spanner lifts the load a few thousandths of an inch off the piston; read the bridge, then turn it back.
Matériaux pour cette étape :
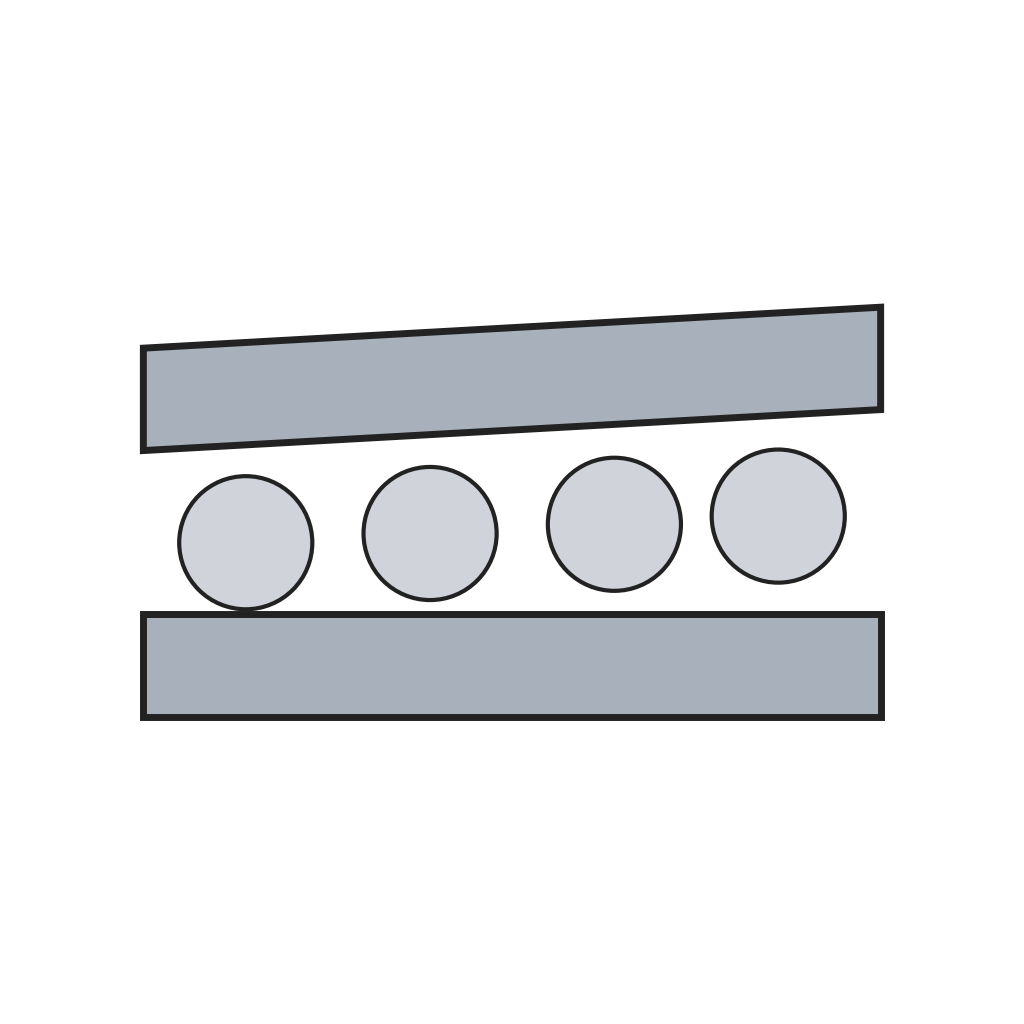 Paire de chemins de billes à came1 pièce
 Roulements à billes en acier1 jeu
Outils nécessaires :
 Clé à molette
Matériaux
10- Espace réservé
- 1 pièceEspace réservé
- Espace réservé
- 1 pièceEspace réservé
- 2 piècesEspace réservé
- Espace réservé
- 1 pièceEspace réservé
- 1 as requiredEspace réservé
- Espace réservé
- Espace réservé
Outils requis
6- Espace réservé
- Espace réservé
- Espace réservé
- Espace réservé
- Espace réservé
- Espace réservé
Ce plan fabrique
Blueprints liés
Ces blueprints partagent des connaissances — techniques, matériaux ou principes

CC0 Domaine public
Ce blueprint est publié sous CC0. Vous êtes libre de copier, modifier, distribuer et utiliser ce travail pour tout usage, sans demander la permission.
Soutenez le Maker en achetant des produits via son Blueprint où il perçoit une Commission Maker définie par les Vendeurs, ou créez une nouvelle itération de ce Blueprint et incluez-le comme connexion dans votre propre Blueprint pour partager les revenus.