Making Tallow Candles by Repeated Dipping — The Chandler's Craft
Before paraffin wax, most of Europe lit its homes with tallow candles — rendered animal fat (beef or mutton suet) cast or dipped around a cotton or rush wick. The dipping method produces the smoothest, most even candles: a wick is dipped into a tall pot of melted tallow, withdrawn to cool, and dipped again, building up thin layers until the candle reaches the desired thickness. A skilled chandler could dip dozens of candles at once using a dipping frame. This was the everyday light source from the medieval period through the 19th century.
Consignes
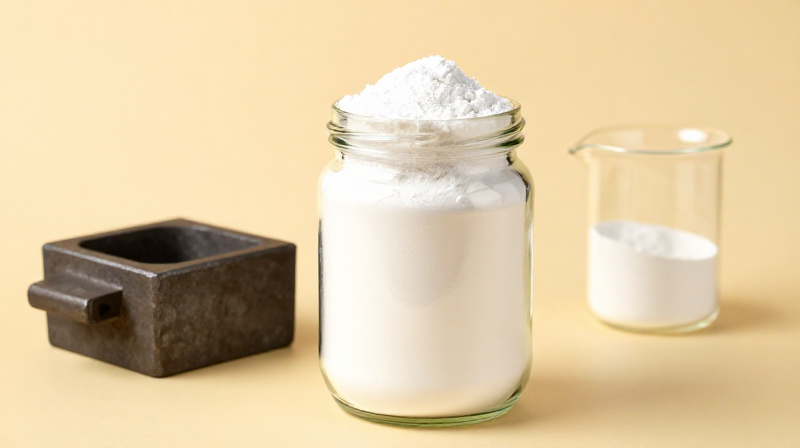
Render the tallow
Render the tallow
Matériaux pour cette étape :
 Beef Suet1 kg
Purify the tallow
Purify the tallow
Prepare the wicks
Prepare the wicks
Matériaux pour cette étape :
 Cotton Candle Wick5 mètres
Set up the dipping station
Set up the dipping station
Prime the wicks
Prime the wicks
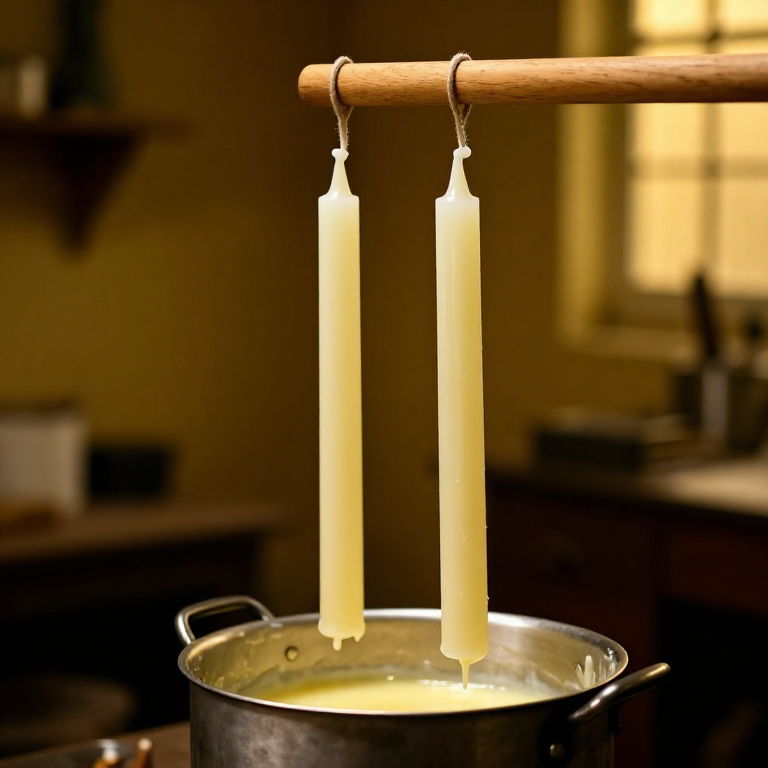
Begin the dipping cycle
Begin the dipping cycle
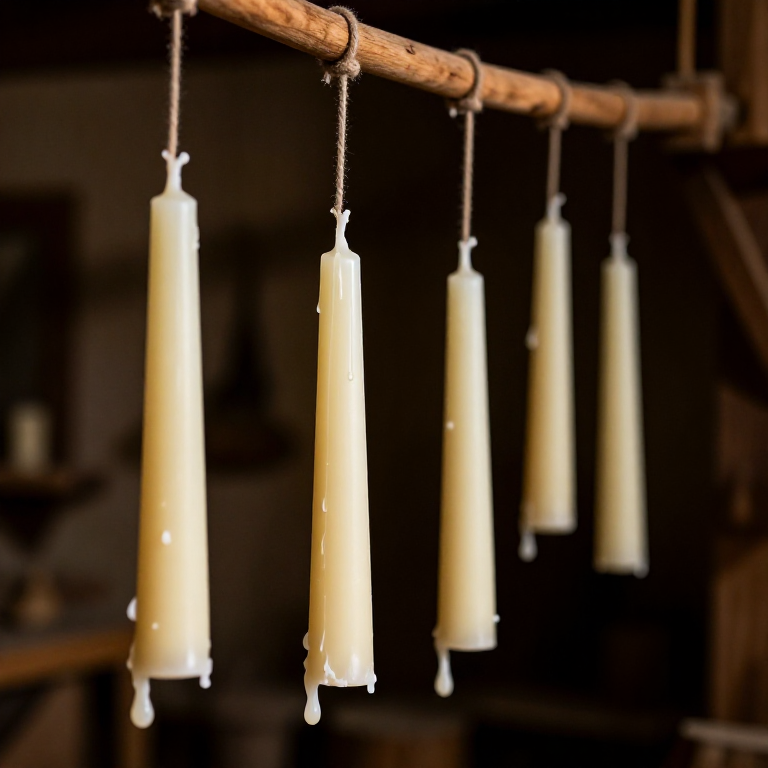
Build up layers
Build up layers
Shape during dipping
Shape during dipping
Final dips for a smooth finish
Final dips for a smooth finish
Cut and flatten the base
Cut and flatten the base
Cure the candles
Cure the candles
Matériaux des Blueprints connectés
Blueprints liés
Ces blueprints partagent des connaissances — techniques, matériaux ou principes
Related blueprints
Other builds that share materials, tools, or techniques with this one.
CC0 Domaine public
Ce blueprint est publié sous CC0. Vous êtes libre de copier, modifier, distribuer et utiliser ce travail pour tout usage, sans demander la permission.
Soutenez le Maker en achetant des produits via son Blueprint où il perçoit une Commission Maker définie par les Vendeurs, ou créez une nouvelle itération de ce Blueprint et incluez-le comme connexion dans votre propre Blueprint pour partager les revenus.