ART
BEAUTÉ ET BIEN-ÊTRE
ARTISANAT
CULTURE ET HISTOIRE
DIVERTISSEMENT
ENVIRONNEMENT
NOURRITURE ET BOISSONS
INGÉNIERIE INVERSE
SCIENCES
SPORTS
TECHNOLOGIE
TECHNOLOGIE PORTABLE
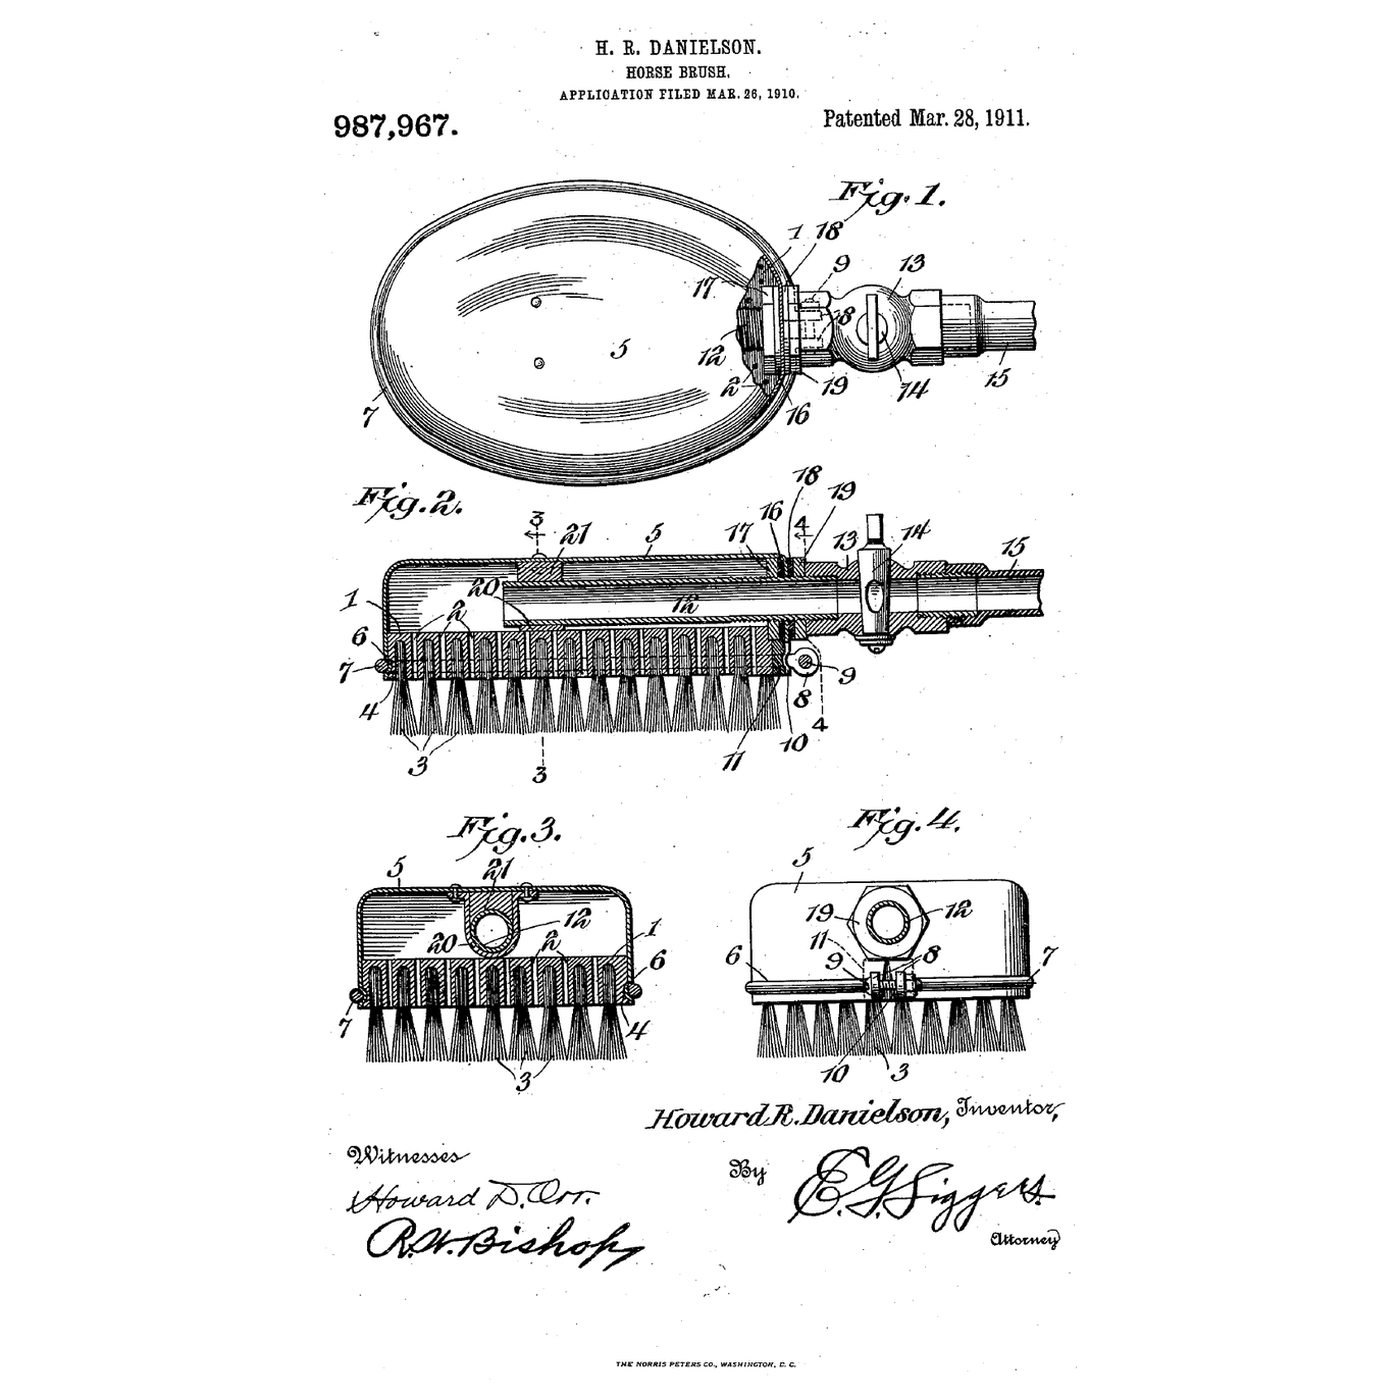


The Capped Fountain Horse Brush: Water Out Only Through the Bristles
A horse caked in mud is slow to clean with a dry brush, and a hose alone soaks the handler.
Howard R. Danielson of Crookston, Minnesota, received US 987,967, patented 28 March 1911, for a horse brush "so constructed as to avoid leakage, and to provide no outlet for the water except through the bristles": a perforated wooden back under a steel cap whose bead sits in a groove round the back, held by a clamping wire and bolt, with a pipe clamped through the cap by washers and nuts; loosening the wire lets a worn brush be replaced.
This rung shows why the valve sets the water use, then caps a scrub brush in aluminium, plumbs it and measures the water a grooming takes.
Intermédiaire
About 4 hours
Consignes
1
1
Water per grooming
Water per grooming
Chargement du notebook Jupyter…
2
2
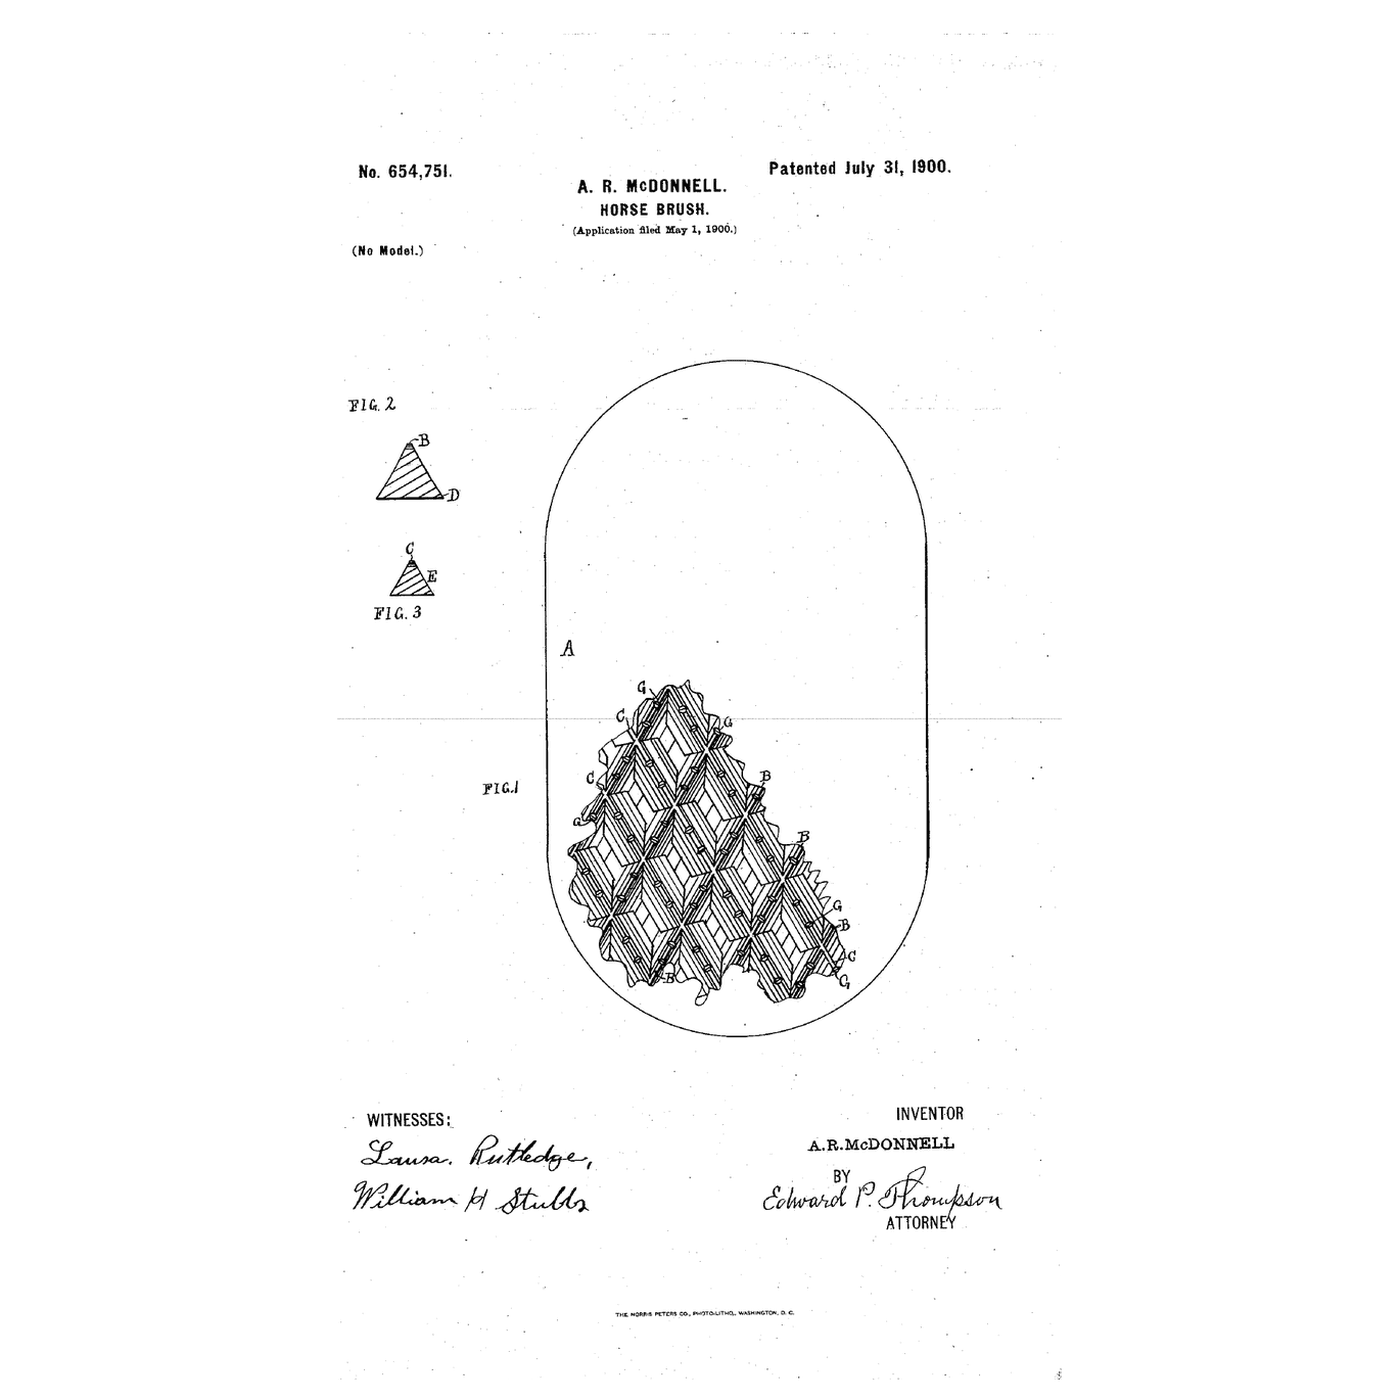
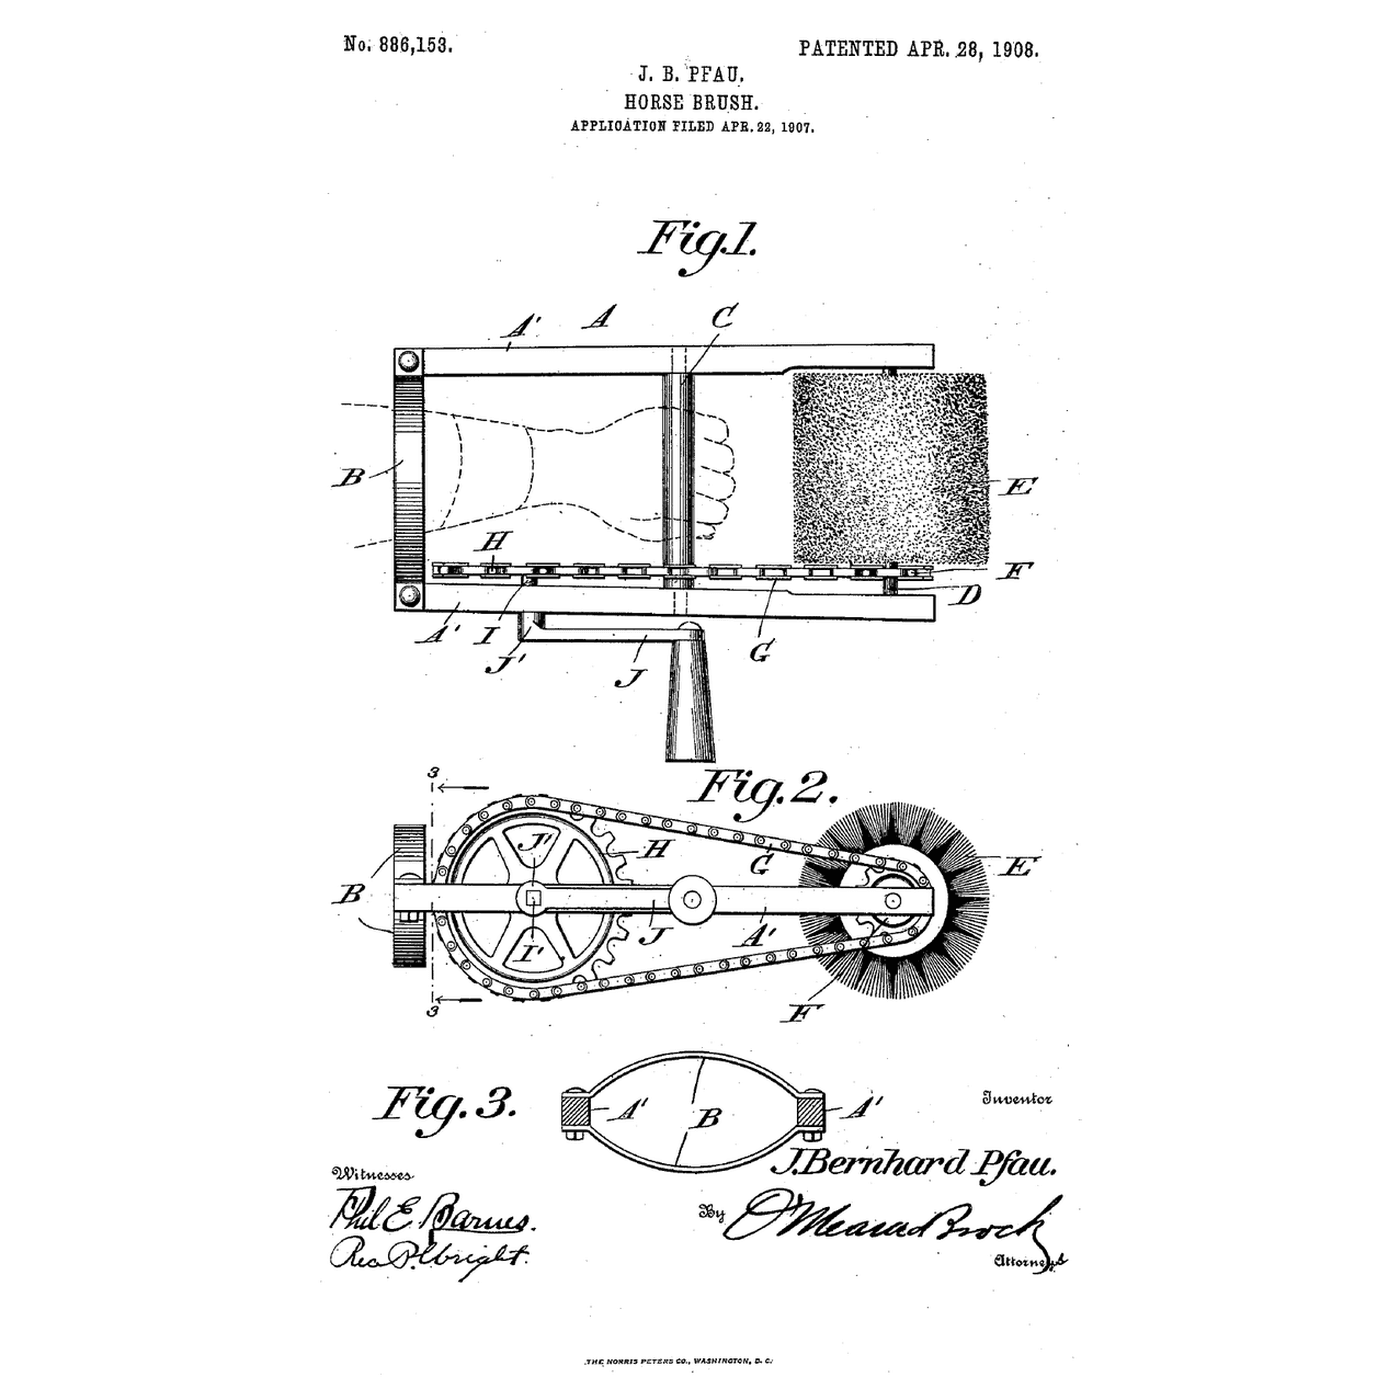
A horse brush before it
A horse brush before it
The embedded blueprint cleans the coat dry with rubber ridges. Danielson brings water to the bristles and lets it out nowhere else.
3
3
Read US 987,967
Read US 987,967
"A clamping wire 7 is placed around the cap and body within the groove in the cap presented by the said bead 6, and the ends of this clamping wire are formed into perforated lugs or ears 8 through which a securing bolt or screw 9 is inserted."
"The brush is moved over the body of the horse and the water permitted to flow through the pipe to the interior of the cap, whence it will escape through the perforations in the body or back of the brush and escape through the bristles to the animal. The flow of water may be regulated according to the condition of the animal's skin so that mud or other matter may be quickly and easily removed and the horse quickly cleaned."
4
4
Perforate the back
Perforate the back
Drill ten 4 mm holes through the scrub brush's back between the tufts, from the top.
Matériaux pour cette étape :
 Brosse à récurer1 pièce
Outils nécessaires :
 Étau d'établi
 Perceuse sans fil
 Jeu de forets
 Marqueur permanent
 Lunettes de sécurité transparentes
5
5
Groove the edge
Groove the edge
Rout a 3 mm groove 3 mm deep round the back's edge, 8 mm above the bristle face.
Outils nécessaires :
 Défonceuse
 Coffret de fraises de défonceuseLunettes de sécurité transparentes
6
6
Shape the cap
Shape the cap
Cut aluminium sheet to the back's outline plus 25 mm all round. Snip the margin into 15 mm tabs, fold them down over the sides, and press their edges into the groove. Seal the tab gaps with silicone.
Matériaux pour cette étape :
 Tôle d'aluminium1 pièce
 Mastic silicone1 pièce
Outils nécessaires :
 Cisaille à tôle
 Pince plate
 Marteau
 Gants de travail en cuir
7
7
Wire it on
Wire it on
Lay a strip of rubber sheet across the cap's joint. Lay galvanised wire in the groove over the tabs, bend its ends into eyes, and draw them together with an M4 screw and nut.
Matériaux pour cette étape :
 Plaque de caoutchouc1 pièce
 Fil d'acier galvanisé1 pièce
 Vis à métaux1 pièce
 Écrou hexagonal1 pièce
Outils nécessaires :
Pince plate Jeu de tournevis
 Clé à molette
8
8
Plumb the cap
Plumb the cap
Drill the cap's end for a threaded brass connector from the fittings. Clamp it with a flat washer, a rubber washer and a nut each side. Fit the ball valve and a hose connector to it.
Matériaux pour cette étape :
 Raccords en laiton1 pièce
 Rondelle plate1 piècePlaque de caoutchouc1 pièce
 Vanne à boisseau sphérique1 pièce
 Ruban PTFE d'étanchéité pour filetage1 pièce
Outils nécessaires :
Perceuse sans filJeu de foretsClé à molette9
9
The build in 3D
The build in 3D
FreeCAD model of this build, not of the patent: a 190 × 90 × 24 mm elliptical back with ten 4 mm holes and a groove, the cap and clamping wire, and the connector, valve and hose tail.
10
10
Test it
Test it
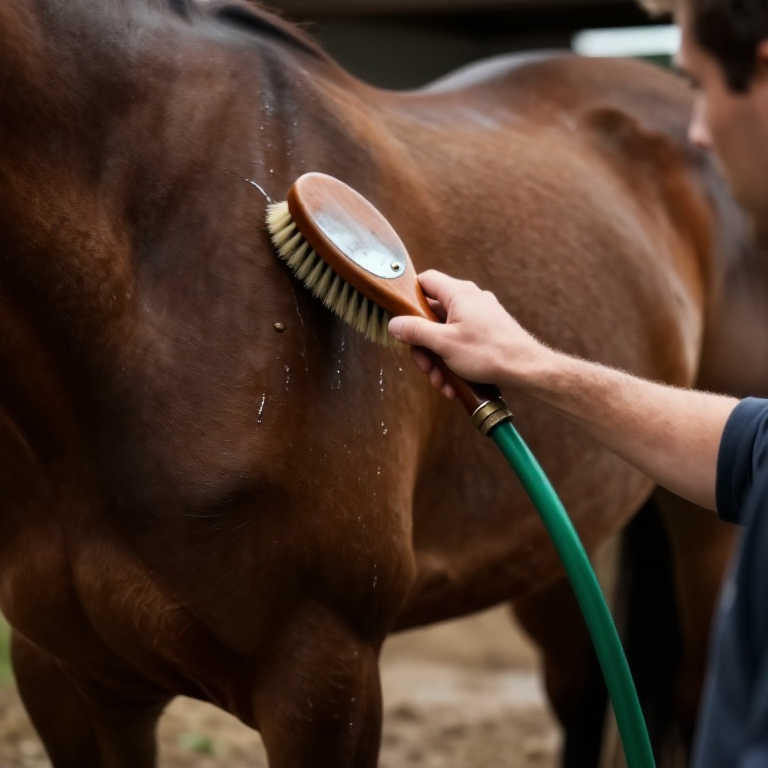
Connect the garden hose. Set the valve to fill the jug in one minute and note the litres; look for water anywhere but the bristles. Time how long it takes to loosen the wire and lift the cap off.
Matériaux pour cette étape :
 Tuyau d'arrosage1 pièce
 Eau1 pièce
Outils nécessaires :
 Verre doseur
 Chronomètre
11
11
A brush that leaks, floods or will not come apart
A brush that leaks, floods or will not come apart
Capped fountain horse brush troubleshooting.
Flow
Loading...
12
12
History and honest limits
History and honest limits
**Howard R. Danielson** of Crookston, Minnesota, filed US 987,967 on 26 March 1910; it was patented 28 March 1911. The back is preferably a wooden block of elliptical outline; the cap preferably a single piece of steel. A slit lets the cap spring over the back, sealed by a rubber block behind it. Inside, a clamping band riveted to the cap supports the pipe's inner end. He wrote that its life "is practically limitless, as the wear will all be on the bristles."
**Honest limits.** Our tabbed aluminium cap needs silicone where his pressed steel cap did not, and a bought scrub brush stands in for his. Your water use is the result.
Matériaux
13- 1 pièceEspace réservé
- 1 pièceEspace réservé
- 1 pièceEspace réservé
- 1 pièceEspace réservé
- 1 pièceEspace réservé
- 1 pièceEspace réservé
- 1 pièceEspace réservé
- 1 pièceEspace réservé
- 1 pièceEspace réservé
- 1 pièceEspace réservé
- Espace réservé
- Tuyau d'arrosage10 % de commission1 pièceEspace réservé
- 1 pièceEspace réservé
Outils requis
15- Espace réservé
- 1 vendor sell this, none ship to you yetEspace réservé
- Espace réservé
- Espace réservé
- Espace réservé
- Espace réservé
- 1 vendor sell this, none ship to you yetEspace réservé
- Espace réservé
- Espace réservé
- Espace réservé
- Espace réservé
- Espace réservé
- Espace réservé
- Espace réservé
- Espace réservé
Fichiers de conception
1Blueprints liés
Ces blueprints partagent des connaissances — techniques, matériaux ou principes


CC0 Domaine public
Ce blueprint est publié sous CC0. Vous êtes libre de copier, modifier, distribuer et utiliser ce travail pour tout usage, sans demander la permission.
Soutenez le Maker en achetant des produits via son Blueprint où il perçoit une Commission Maker définie par les Vendeurs, ou créez une nouvelle itération de ce Blueprint et incluez-le comme connexion dans votre propre Blueprint pour partager les revenus.