ART
BEAUTÉ ET BIEN-ÊTRE
ARTISANAT
CULTURE ET HISTOIRE
DIVERTISSEMENT
ENVIRONNEMENT
NOURRITURE ET BOISSONS
INGÉNIERIE INVERSE
SCIENCES
SPORTS
TECHNOLOGIE
TECHNOLOGIE PORTABLE



The Knife Line: A Mark You Can Put a Chisel Into
A pencil line is about half a millimetre wide and sits on top of the wood. A knife line is a fraction of that, it is cut INTO the surface, and it does two jobs a pencil line cannot.
It severs the surface fibres, so a saw or chisel crossing it cannot tear them out. And it is a physical groove, so a chisel dropped into it registers there by itself — the tool finds the line instead of you aiming at it.
That second property is why hand-cut joinery is accurate at all. You are not trying to cut TO a line; you are cutting FROM one.
Débutant
2 hours
Consignes
1
1
Knife where it matters, pencil where it does not
Knife where it matters, pencil where it does not
Use a knife for anything that will be cut to: shoulder lines, joint boundaries, the exact end of a piece. Use a pencil for everything else: which side is waste, part numbers, rough positions, notes to yourself.
The reason for the split is that a knife line is permanent. It is cut into the wood and it can only be removed by planing the surface away, so putting one in the wrong place is a real problem — while a pencil line rubs off.
So: measure and mark in pencil, check it, then commit with the knife. The two-step habit costs seconds and prevents the one mistake a knife makes worse.
Matériaux pour cette étape :
 Planche de bois dur1 pièce
Outils nécessaires :
 Couteau à tracer
 Équerre fixe
2
2
Bevel out, flat against the square
Bevel out, flat against the square
A marking knife has a bevel on one side and is flat on the other. Hold the FLAT face tight against the square's blade, so the bevel pushes the waste side away and the cut sits exactly where the square is.
Turn it round and the bevel wedges the knife away from the blade, so the line ends up a fraction into the good side. That fraction is the difference between a joint that closes and one with a visible gap.
This is also why marking knives are made in handed pairs, or with a single bevel that you flip depending on which side of the line the waste is. Work out which side is waste before you cut — the sawing rung makes the same point about the kerf.
Matériaux pour cette étape :
Planche de bois dur1 pièceOutils nécessaires :
Couteau à tracerÉquerre fixe Loupe de bijoutier
3
3
Light passes, and carry it round the piece
Light passes, and carry it round the piece
Cut the line in two or three light passes rather than one deep one. A heavy first pass follows the grain and wanders off the square; a light scoring pass creates the groove, and subsequent passes deepen it exactly where it is.
Carry the line all the way round the workpiece, working from the face side and face edge each time. When you come back to where you started, the two ends must meet. If they do not, the stock is not square or the square is not — and you have found that out before cutting anything.
That check is free and it is the reason marking out is done all the way round rather than just on the face you are about to saw.
Matériaux pour cette étape :
Planche de bois dur1 pièceOutils nécessaires :
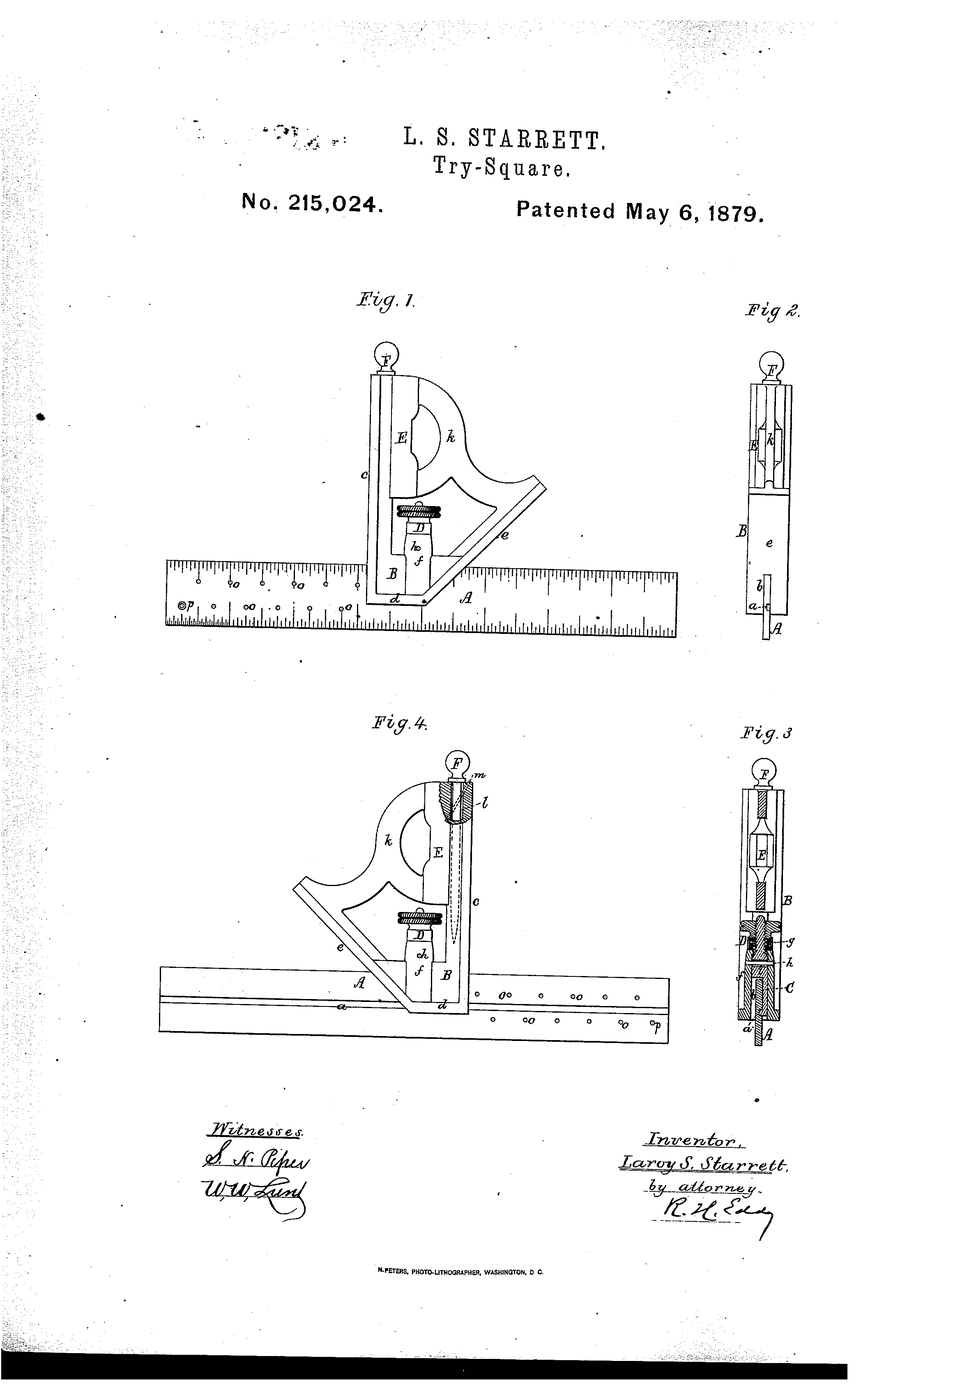
Couteau à tracerÉquerre fixe Équerre combinée
4
4
Deepen it into a chisel wall
Deepen it into a chisel wall
For a shoulder that must be crisp, pare a shallow sloping trench on the WASTE side of the knife line with a chisel. That leaves a vertical wall exactly on the line for the chisel or saw to register against.
Now the tool cannot wander into the good side: it is physically stopped. A chisel dropped into that groove finds the line by itself, which is what makes the difference between a shoulder that is nearly right and one that is exactly right.
Keep the trench entirely in the waste. Its only purpose is to give the tool a reference, so it should never touch the finished side of the line — and it disappears entirely when the waste is removed.
Matériaux pour cette étape :
Planche de bois dur1 pièceOutils nécessaires :
 Jeu de ciseaux à bois - à biseauCouteau à tracer
 Crochet d'établi
Outils requis
6- Espace réservé
- Espace réservé
- Espace réservé
- Espace réservé
- Espace réservé
- Espace réservé
Blueprints liés
Ces blueprints partagent des connaissances — techniques, matériaux ou principes

CC0 Domaine public
Ce blueprint est publié sous CC0. Vous êtes libre de copier, modifier, distribuer et utiliser ce travail pour tout usage, sans demander la permission.
Soutenez le Maker en achetant des produits via son Blueprint où il perçoit une Commission Maker définie par les Vendeurs, ou créez une nouvelle itération de ce Blueprint et incluez-le comme connexion dans votre propre Blueprint pour partager les revenus.