ART
BEAUTÉ ET BIEN-ÊTRE
ARTISANAT
CULTURE ET HISTOIRE
DIVERTISSEMENT
ENVIRONNEMENT
NOURRITURE ET BOISSONS
INGÉNIERIE INVERSE
SCIENCES
SPORTS
TECHNOLOGIE
TECHNOLOGIE PORTABLE

The Screw Lamp Socket: Fitting a Bulb Makes the Circuit
An electric lamp burns out and must be replaced — by anyone, quickly, without tools and without touching bare wires. Its base has to hold it, connect it and let it go again.
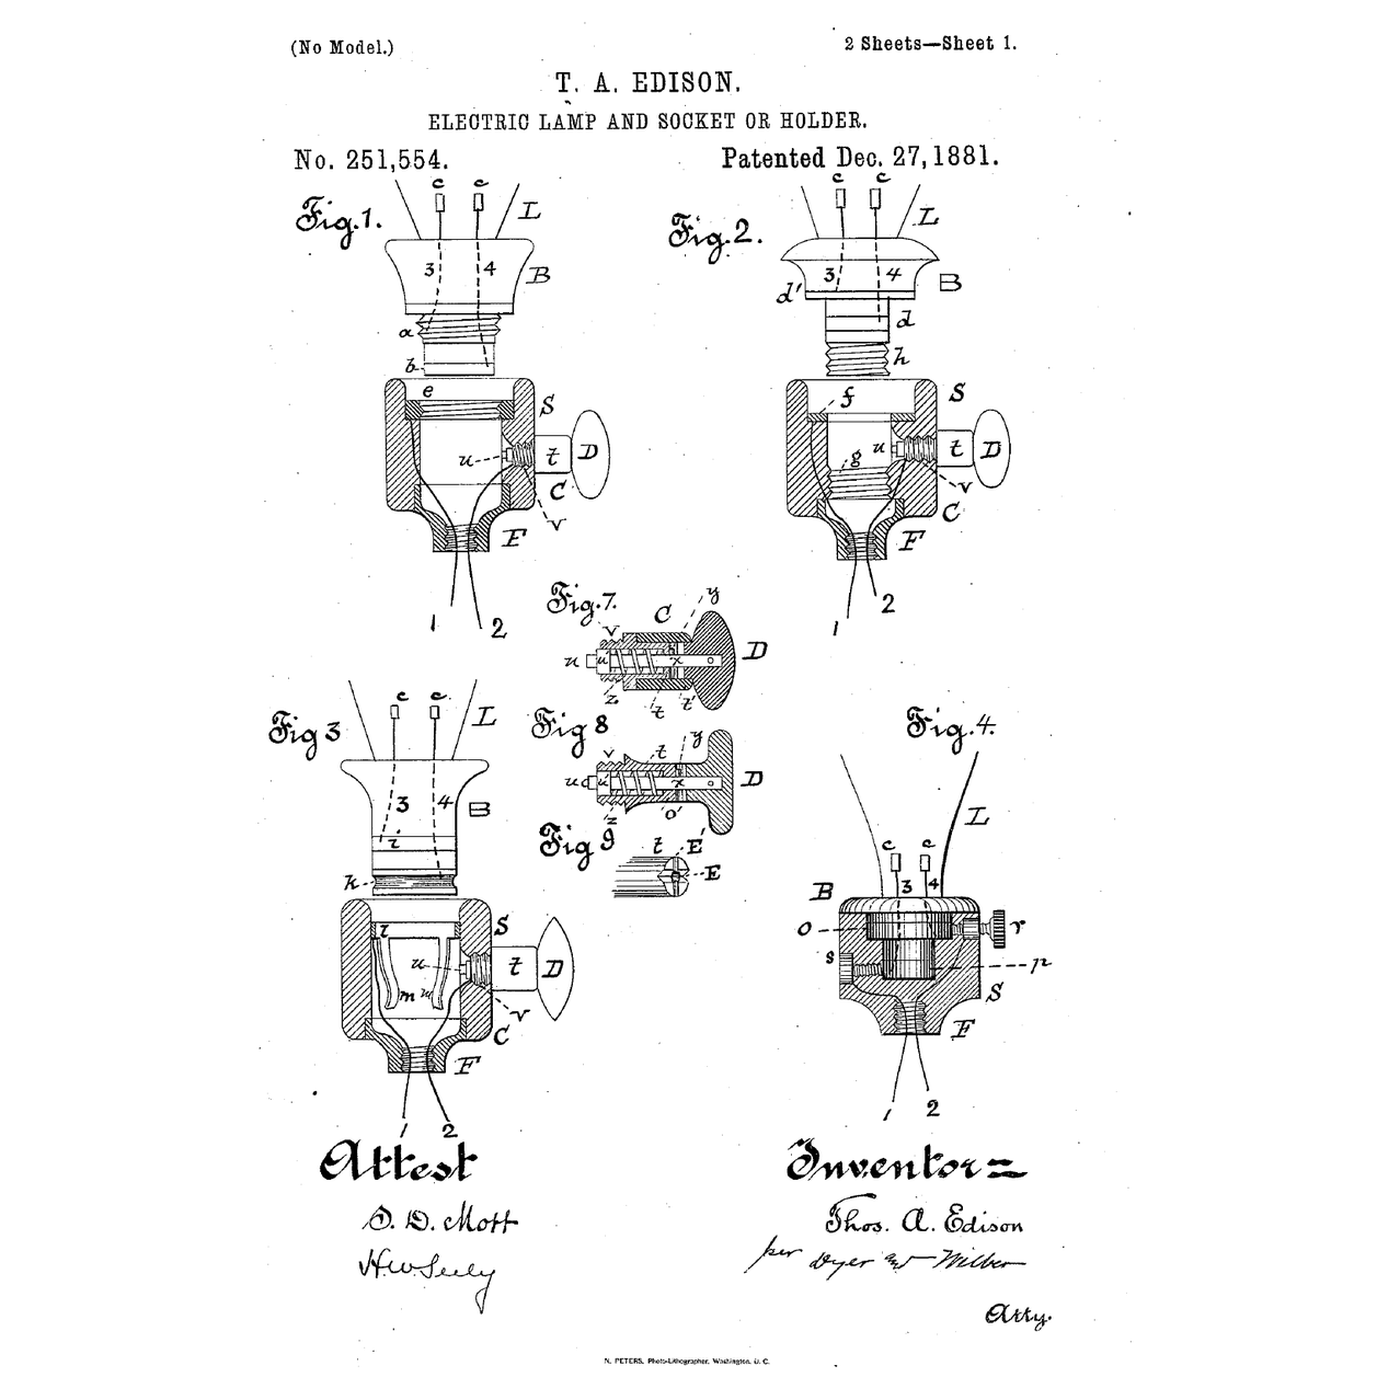
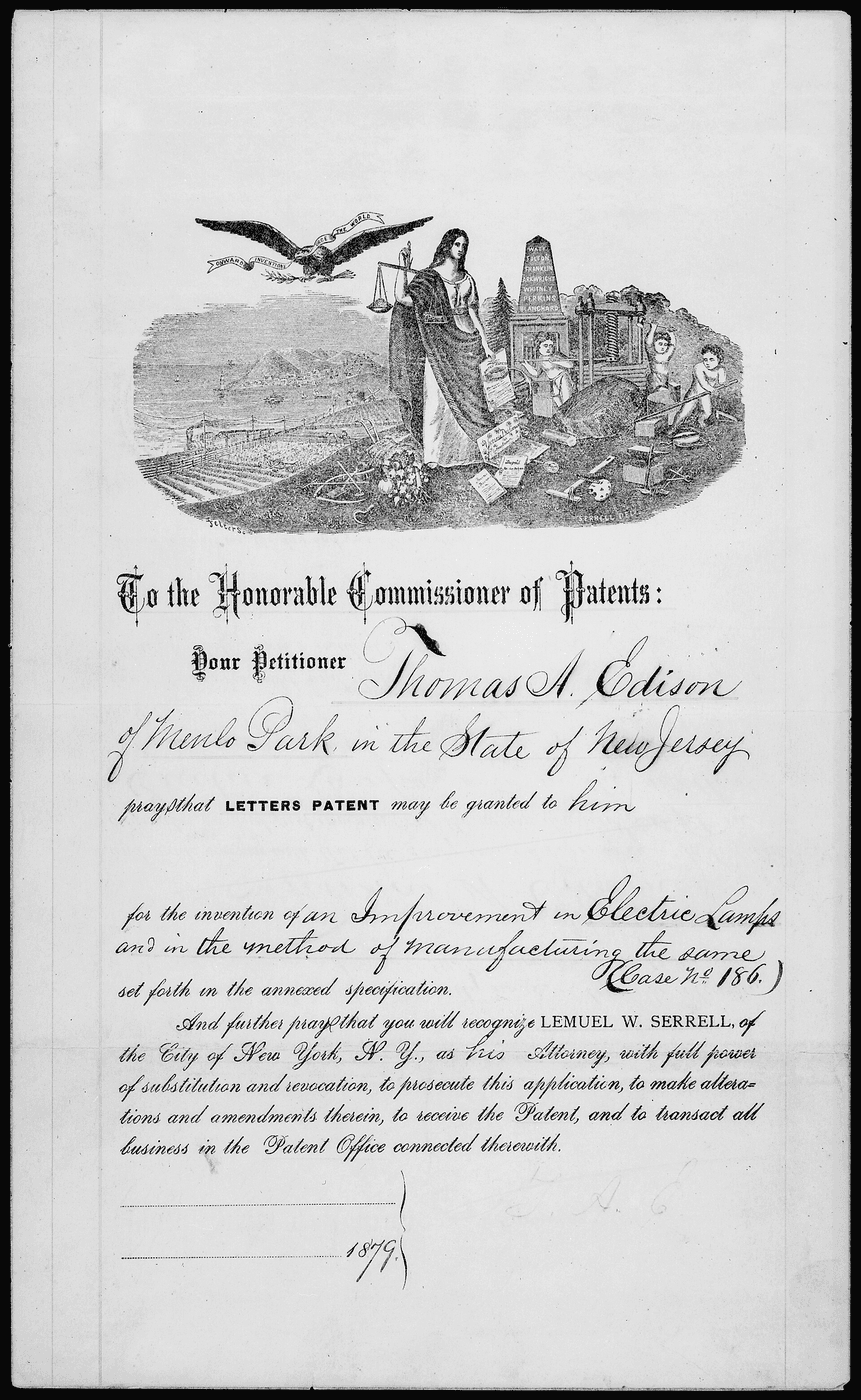
Thomas A. Edison of Menlo Park, assignor to the Edison Electric Light Company, filed US 251,554 on 26 March 1881; it is dated 27 December 1881, for an "Electric Lamp and Socket or Holder". The lamp's neck carries two metal bands, one formed as a screw thread; the socket has a matching threaded band inside and a circuit-controller, and screws itself onto an ordinary gas fixture. Screwing the lamp in makes both connections at once; the controller switches the current.
This rung works out how the thread presses the contacts and why a loose one heats, and wires a low-voltage socket.
Débutant
About 2 hours
Consignes
1
1
Seating force and contact heating
Seating force and contact heating
Chargement du notebook Jupyter…
2
2
The lamp the socket holds
The lamp the socket holds
The socket was made for the carbon-filament lamp. The embedded blueprint covers it.
3
3
Read US 251,554
Read US 251,554
"In a system of electric lighting where the lamps used consist of an incandescing conductor hermetically sealed in a glass inclosing globe it is desirable that the lamp and its supporting-socket should be so constructed that the lamp may be readily removed from or placed in the socket, and that at the same time by the act of placing in or removing the lamp from the socket the appropriate circuit connections to the conductor be formed, subject, however, and only, to the control of a suitable circuit-controller".
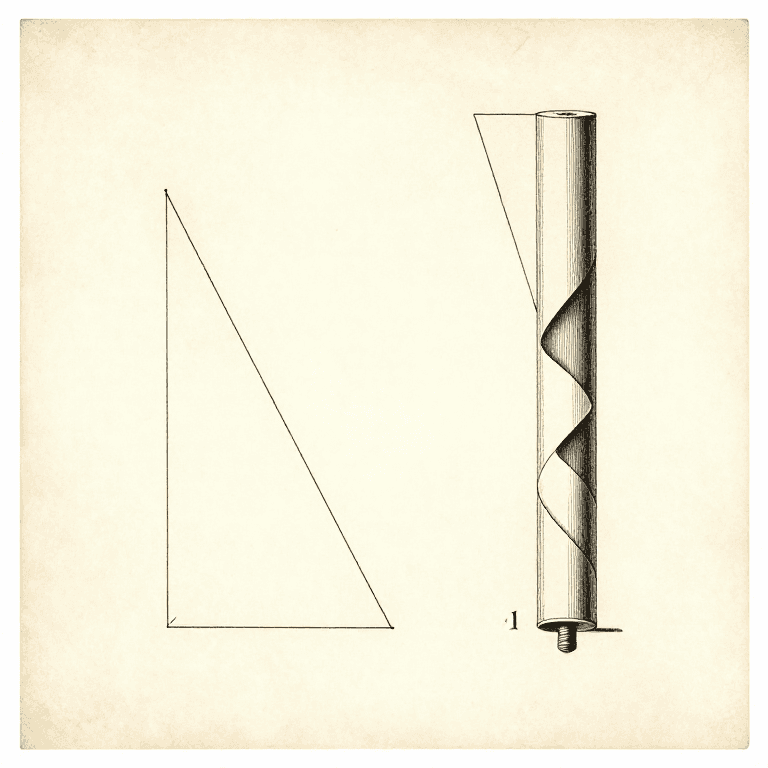
The socket is of insulating material, hollowed to receive the neck at one end and "formed with a screw-thread at the other end, by which it may be attached to any ordinary gas-fixture, chandelier, or bracket." "Upon the interior of the socket is a metal band, which may be formed into a female screw-thread", joined to one conductor; "One or two turns of the screw-thread is sufficient". When the lamp is in place one neck band touches the socket's band, and the other is in position to be touched by the circuit-controller. Instead of a thread, a concave band held by curved spring fingers is also described.
4
4
Twist in, circuit made
Twist in, circuit made
Espace de travail Blockly
Loading Blockly workspace...
5
5
Wire a low-voltage socket
Wire a low-voltage socket
Use only low voltage: a screw-base 12 V lamp and socket, a 12 V battery or power supply, and a switch. With the multimeter, trace which of the socket's two terminals goes to the threaded shell and which to the centre contact. Wire the switch into the centre-contact lead, fit the lamp and switch it on.
Loosen the lamp half a turn until it flickers; measure the voltage across the loose contact while it is lit and compare with the notebook's heating. Never do this on mains wiring.
Matériaux pour cette étape :
 Fils de liaison1 pièce
 Bouton-poussoir1 pièce
Outils nécessaires :
 Multimètre
 Alimentation en courant continu
 Tournevis plat
 Douille de lampe
6
6
A socket that flickers
A socket that flickers
Lamp socket troubleshooting.
Flow
Loading...
7
7
History and honest limits
History and honest limits
**Thomas A. Edison** of Menlo Park, New Jersey, assignor to the **Edison Electric Light Company**, filed US 251,554 on 26 March 1881; it is dated 27 December 1881.
**Honest limits.** Thread size, friction, lamp current and contact resistances in the notebook are examples; the patent gives no dimensions.
Matériaux
2- Espace réservé
- Espace réservé
Outils requis
4- Espace réservé
- Espace réservé
- Espace réservé
- Espace réservé
Ce plan fabrique
Blueprints liés
Ces blueprints partagent des connaissances — techniques, matériaux ou principes

CC0 Domaine public
Ce blueprint est publié sous CC0. Vous êtes libre de copier, modifier, distribuer et utiliser ce travail pour tout usage, sans demander la permission.
Soutenez le Maker en achetant des produits via son Blueprint où il perçoit une Commission Maker définie par les Vendeurs, ou créez une nouvelle itération de ce Blueprint et incluez-le comme connexion dans votre propre Blueprint pour partager les revenus.