Kolaborasi
SENI
KECANTIKAN & KESEHATAN
KERAJINAN
BUDAYA & SEJARAH
HIBURAN
LINGKUNGAN
MAKANAN & MINUMAN
REKAYASA BALIK
ILMU PENGETAHUAN
OLAHRAGA
TEKNOLOGI
PERANGKAT PAKAI
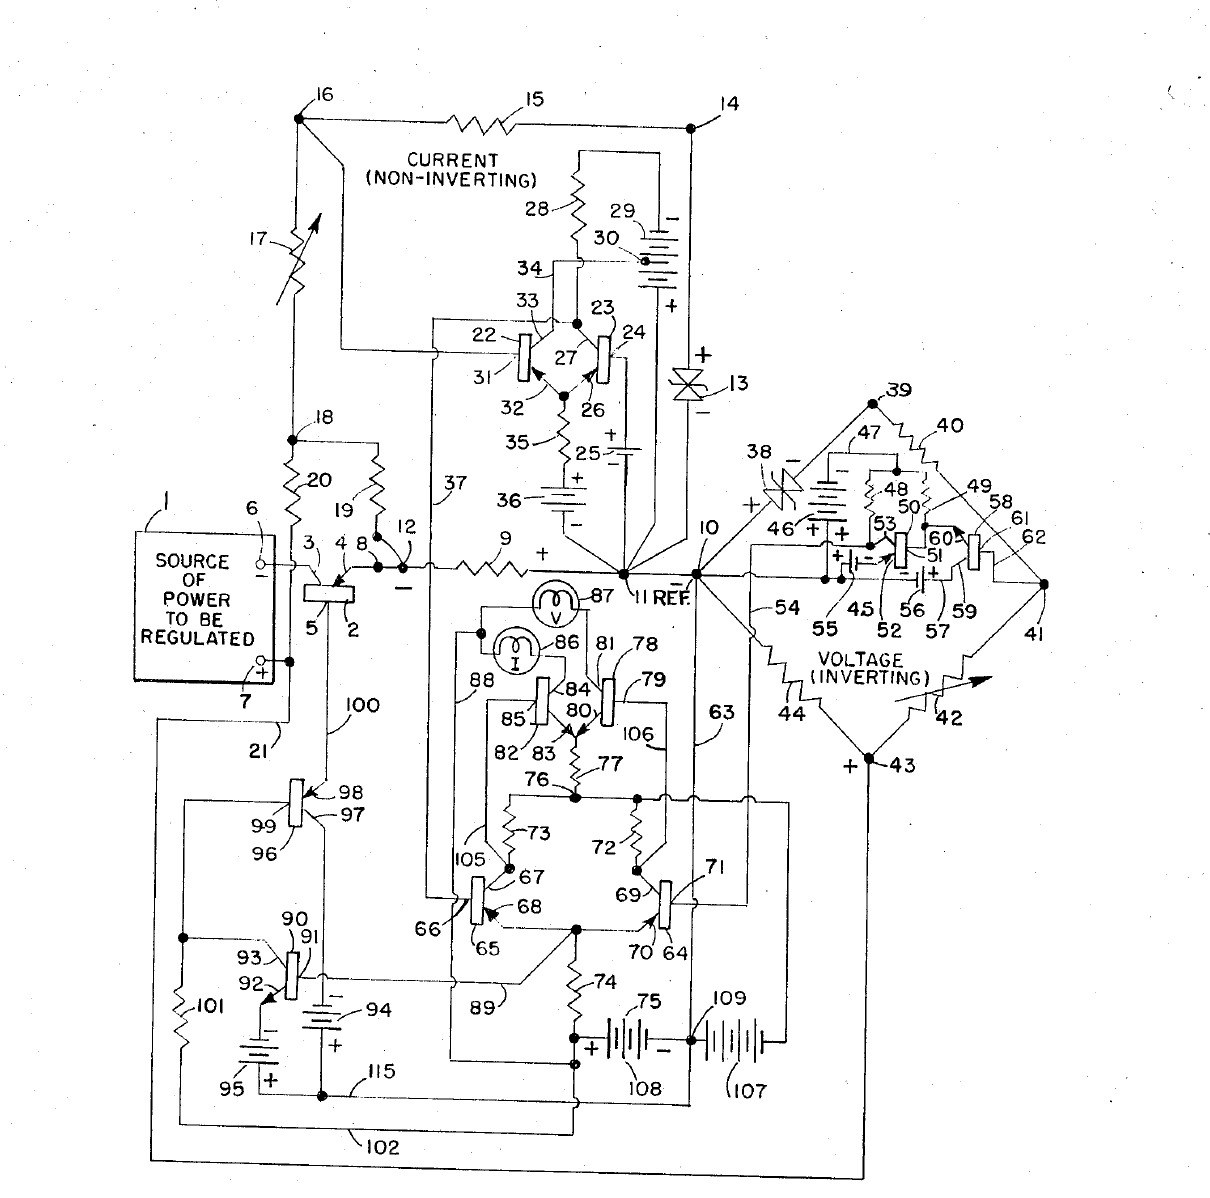


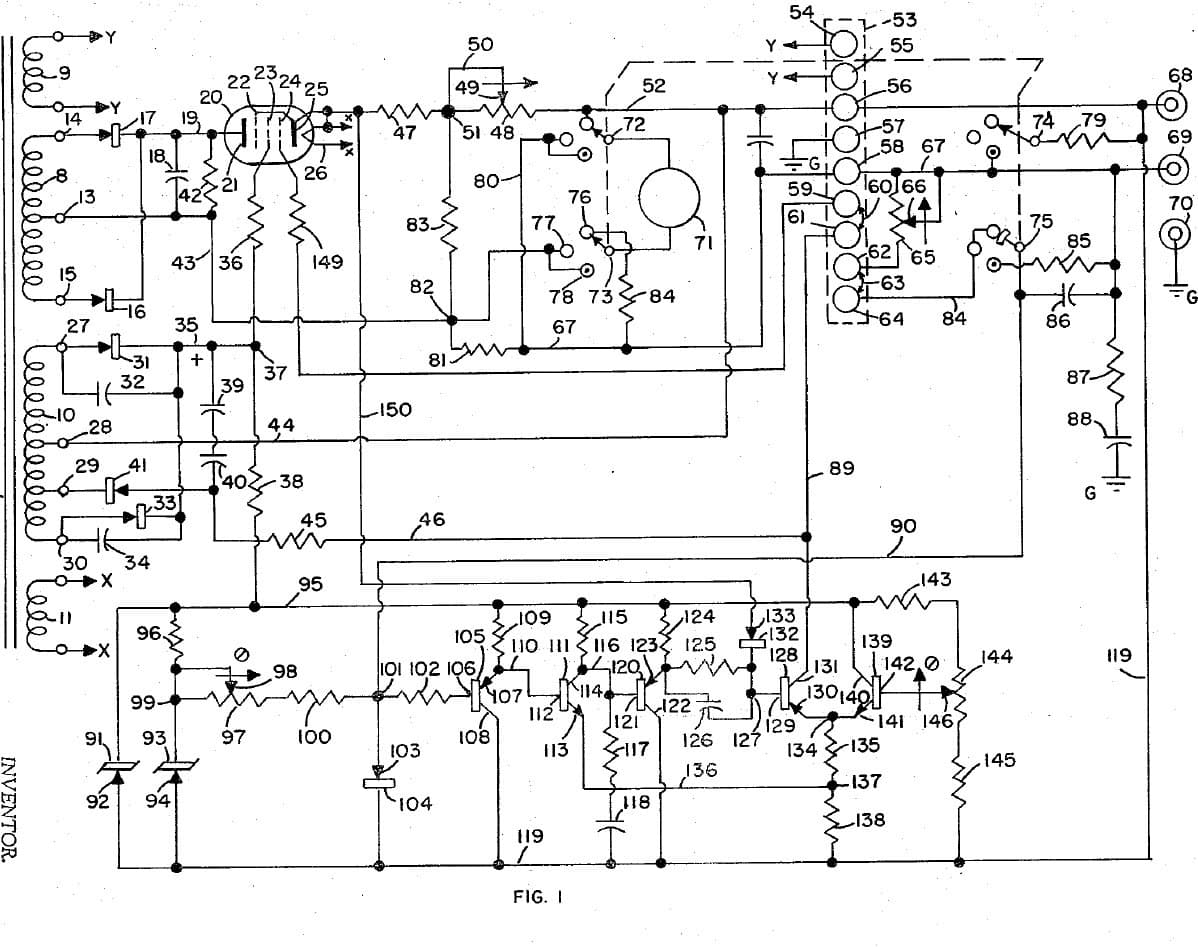
Adjustable Bench Power Supply: Constant Voltage / Constant Current with Cross-Over Lamps (Gately, Forbro, US 3,303,411, 1967)
An all-transistor bench supply with two knobs: one sets the voltage, the other the current. It holds the set voltage until the load tries to draw more than the set current, then switches at once to holding the current, and back again, with no in-between state. Two lamps show which mode is in control.
Result: an adjustable constant-voltage / constant-current DC supply with mode lamps.
Source: J. R. Gately (Forbro Design), US 3,303,411 (1967). Unknown: all component values and ratings. Builds on the same inventor's 1966 current-limited supply. Picture: the patent drawing.
Lanjutan
Unknown
Instruksi
1
1
Build the raw supplies
Build the raw supplies
In a case, wire the cord through a switch and fuse to two power transformers, each with rectifiers and a filter: one gives the main power to be regulated, the other the bias supplies, held steady by Zener diodes. Not given: the voltages. Ours: the case, switch and fuse.
Material untuk langkah ini:
 Kotak pelindung aluminium1 buah
 Kabel lentur bersteker1 buah
 Sakelar tuas1 buah
 Sekring1 buah
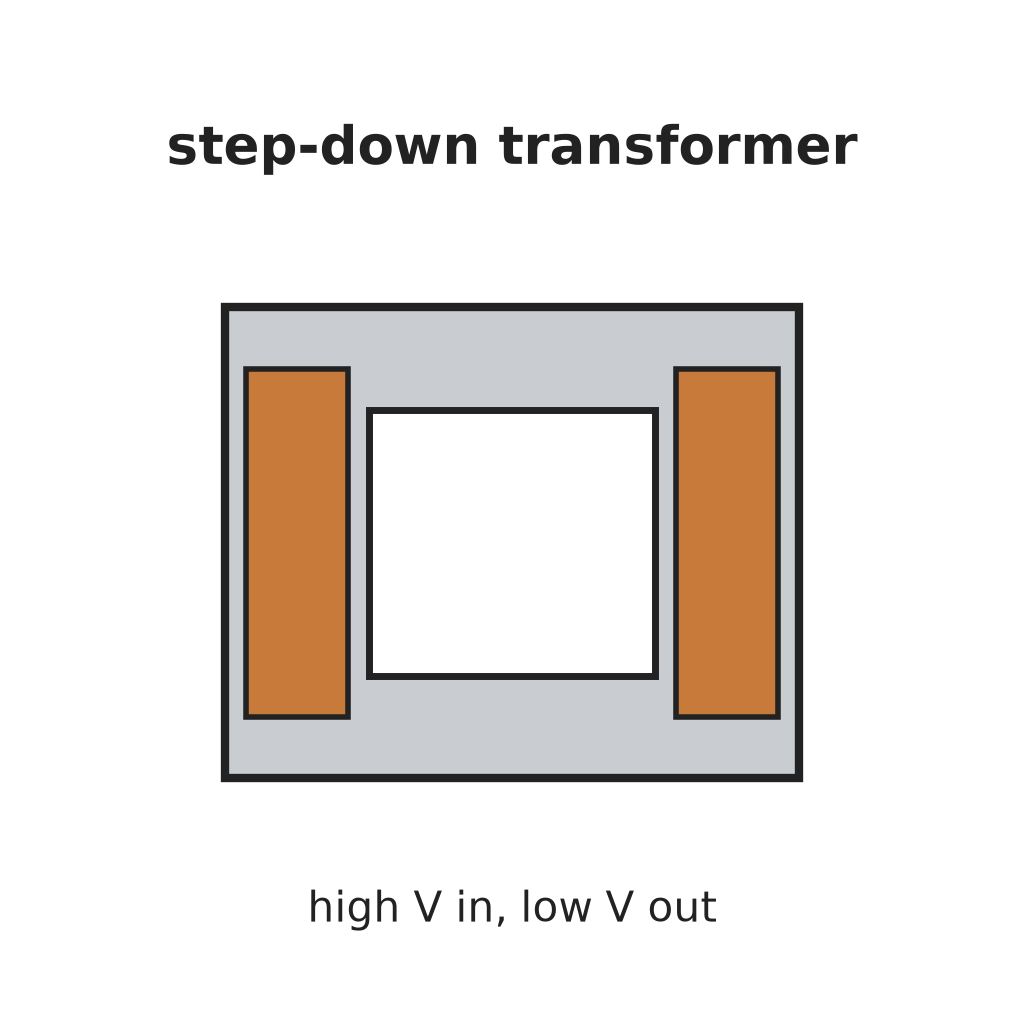 Trafo Penurun Tegangan2 buah
 Dioda6 rectifiers
 Kapasitor elektrolit3 filters
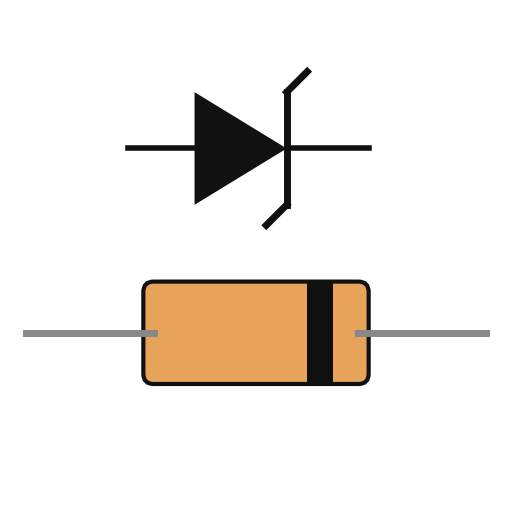 Dioda Zener2 bias
Alat yang dibutuhkan:
 Bor tangan
 Set obeng
2
2
Fit the pass transistor and current bridge
Fit the pass transistor and current bridge
Put a power transistor on a heat sink in series with the output: collector to the negative supply, emitter through a current-sensing resistor to the negative output terminal. Make the current bridge from the sensing resistor, a reference Zener, a reference resistor and the adjustable current-control resistor: the output current is proportional to its setting. A small trimming resistor sets the maximum current. Not given: the values.
Material untuk langkah ini:
 Transistor daya1 series pass
 Pendingin panas1 buahDioda Zener1 current reference
 Reostat1 current control
 Hambatan1 sensing, reference, trim set
 Terminal panel2 output + and -
Alat yang dibutuhkan:
 Solder
3
3
Build the voltage bridge
Build the voltage bridge
Make the voltage bridge from a reference Zener, a reference resistor, the adjustable voltage-control resistor and the load itself across the output. A small trimming resistor sets the maximum voltage. Add two resistors that feed the current bridge enough extra to cover the voltage bridge's own current and any voltmeter across the output, so low currents are still held exactly.
Material untuk langkah ini:
Dioda Zener1 voltage referenceReostat1 voltage controlHambatan1 reference, trim, compensation setAlat yang dibutuhkan:
Solder4
4
Build the amplifiers and cross-over
Build the amplifiers and cross-over
Give each bridge an error amplifier. Feed the two amplified errors to the bases of a pair of transistors sharing one emitter resistor: whichever base is the more negative takes control and cuts the other off, so the supply is always cleanly in voltage mode or current mode. Amplify the shared emitter signal through two more transistors to drive the pass transistor's base. Add an emitter-follower clamp on the bias line. Not given: the transistor types.
Material untuk langkah ini:
 Papan sirkuit cetak1 buah
 Aneka transistor1 error amplifiers, cross-over pair, drivers, clampHambatan1 set
 Potensiometer1 clamp divider
 Kawat Timah Solder1 as needed
Alat yang dibutuhkan:
Solder5
5
Fit the mode lamps and use it
Fit the mode lamps and use it
From the cross-over pair, drive two lamp transistors, each lighting one lamp: one for voltage mode, one for current mode. In use, set the voltage and the current limit. With a light load the voltage lamp is lit and the voltage holds; if the load tries to draw more than the set current, the supply switches to holding the current and the current lamp lights.
Material untuk langkah ini:
Aneka transistor1 two lamp drivers Fiting lampu2 buah
 Bola lampu2 buah
Alat yang dibutuhkan:
Set obengBahan
19- Placeholder
- 1 buahPlaceholder
- Placeholder
- 1 buahPlaceholder
- 2 buahPlaceholder
- 6 rectifiersPlaceholder
- 3 filtersPlaceholder
- 1 voltage referencePlaceholder
- 1 series passPlaceholder
- 1 buahPlaceholder
- 1 voltage controlPlaceholder
- 1 setPlaceholder
- Placeholder
- 1 buahPlaceholder
- 1 two lamp driversPlaceholder
- Placeholder
- 1 as neededPlaceholder
- 2 buahPlaceholder
- 2 buahPlaceholder
Cetak biru ini membuat

Blueprint terkait
Blueprint ini berbagi pengetahuan — teknik, bahan, atau prinsip
CC0 Domain Publik
Cetak biru ini dirilis di bawah CC0. Anda bebas untuk menyalin, memodifikasi, mendistribusikan, dan menggunakan karya ini untuk tujuan apa pun, termasuk komersial, tanpa meminta izin.
Dukung Maker dengan membeli produk melalui Cetak Biru mereka di mana mereka mendapatkan Komisi Pembuat yang ditetapkan oleh Penjual, atau buat iterasi baru dari Cetak Biru ini dan masukkan sebagai koneksi di milik Anda sendiri.