Kolaborasi
SENI
KECANTIKAN & KESEHATAN
KERAJINAN
BUDAYA & SEJARAH
HIBURAN
LINGKUNGAN
MAKANAN & MINUMAN
REKAYASA BALIK
ILMU PENGETAHUAN
OLAHRAGA
TEKNOLOGI
PERANGKAT PAKAI
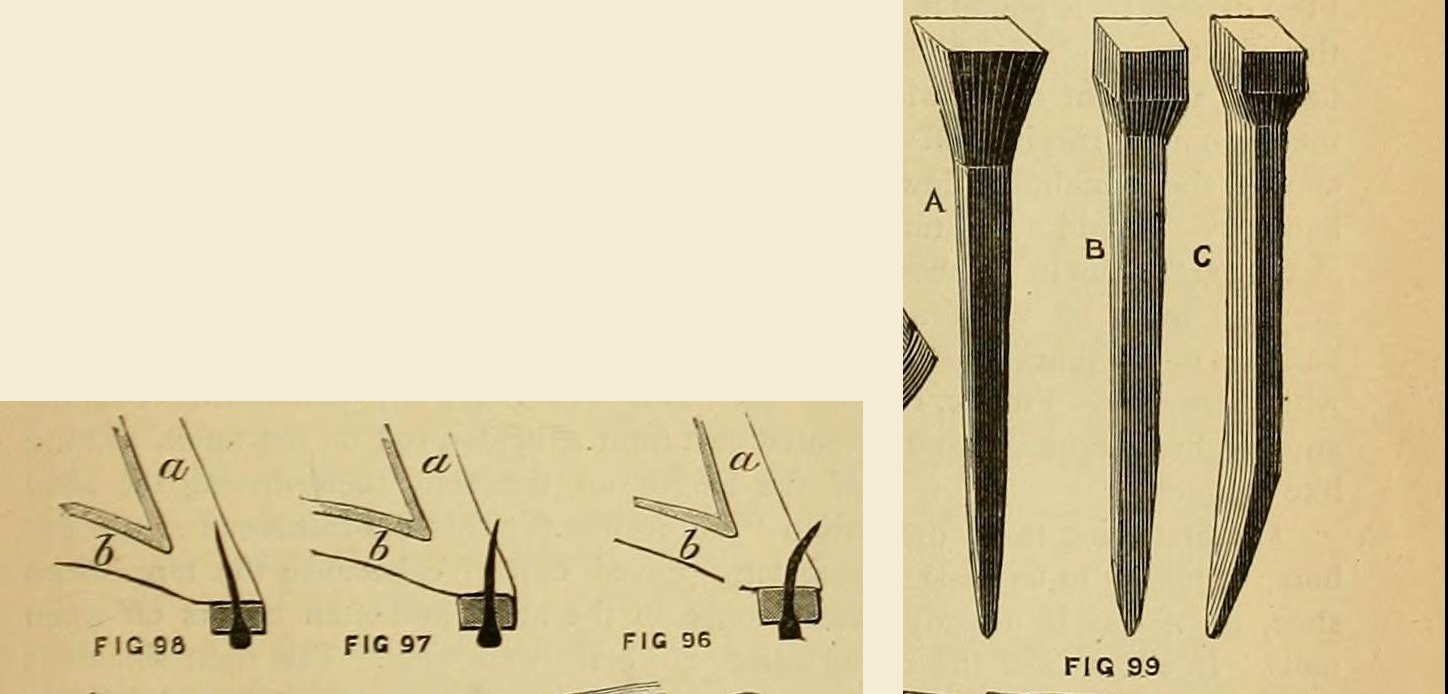


Hand-Forged Horseshoe Nails: Drawn from Nail Rod, Cut on the Sett, Headed in a Nail-Former, Point Set Cold (Edwinson, 1886)
How country smiths made their own horseshoe nails, from George Edwinson's farriery chapter in Amateur Work (1886): the best nail rod (or rod welded up from old nails) drawn to a point, cut off on the sett, headed in a nail-former with a shallow countersink, cooled slowly in the scale, then finished cold with the point bent slightly so it clenches in the right place.
Menengah
A few minutes per nail once practised
Instruksi
1
1
His lengths
His lengths
Memuat notebook Jupyter…
2
2
Read Edwinson
Read Edwinson
"The worthy smiths used to make their own horse-shoe nails, either from the very best nailing rods ... or from nail rods made by themselves."
3
3
Get nail rod
Get nail rod
Use the best nail rod, sized to the upper part of the nail head. Or make it: faggot old horseshoe nails with scraps of nail rod, bound with iron wire, weld the faggot in the forge and draw it out into rod.
Material untuk langkah ini:
 Tongkat besi tempa1 buah
 Kawat besi1 buah
Alat yang dibutuhkan:
 Perapian pandai besi
 Landasan Tempa
 Palu
 Tang pandai besi
4
4
Draw and cut
Draw and cut
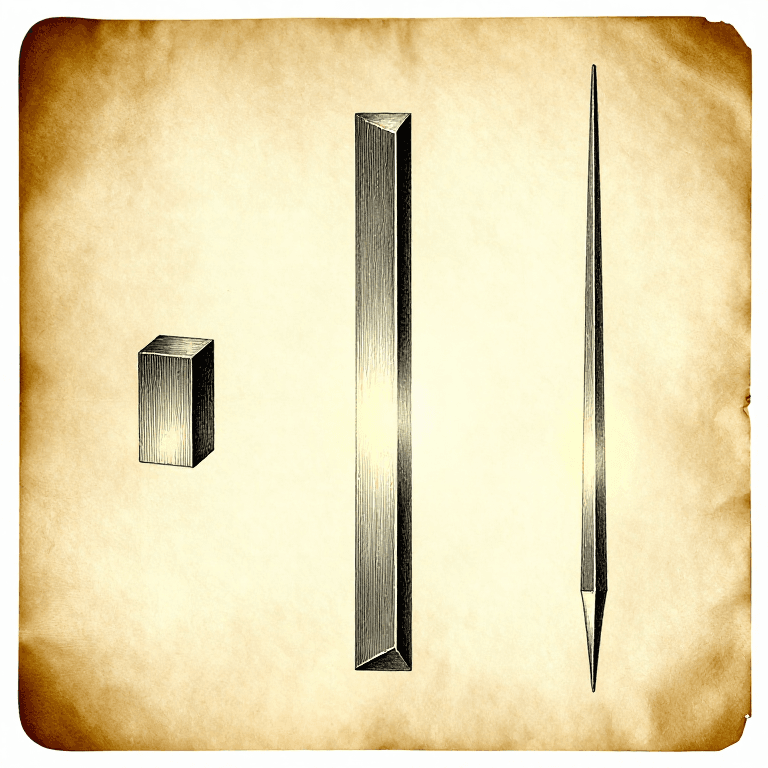
Heat the rod and draw the nail shank to shape on the anvil. Hold it on the sett and cut it off with one blow, nicking off just enough metal above the shank to form the head. Usual lengths 1 1/2, 1 3/4, 1 7/8, 2 and 2 1/2 in. (38-64 mm).
Alat yang dibutuhkan:
Perapian pandai besiLandasan TempaPalu Pahat potong landasan
5
5
Head it
Head it
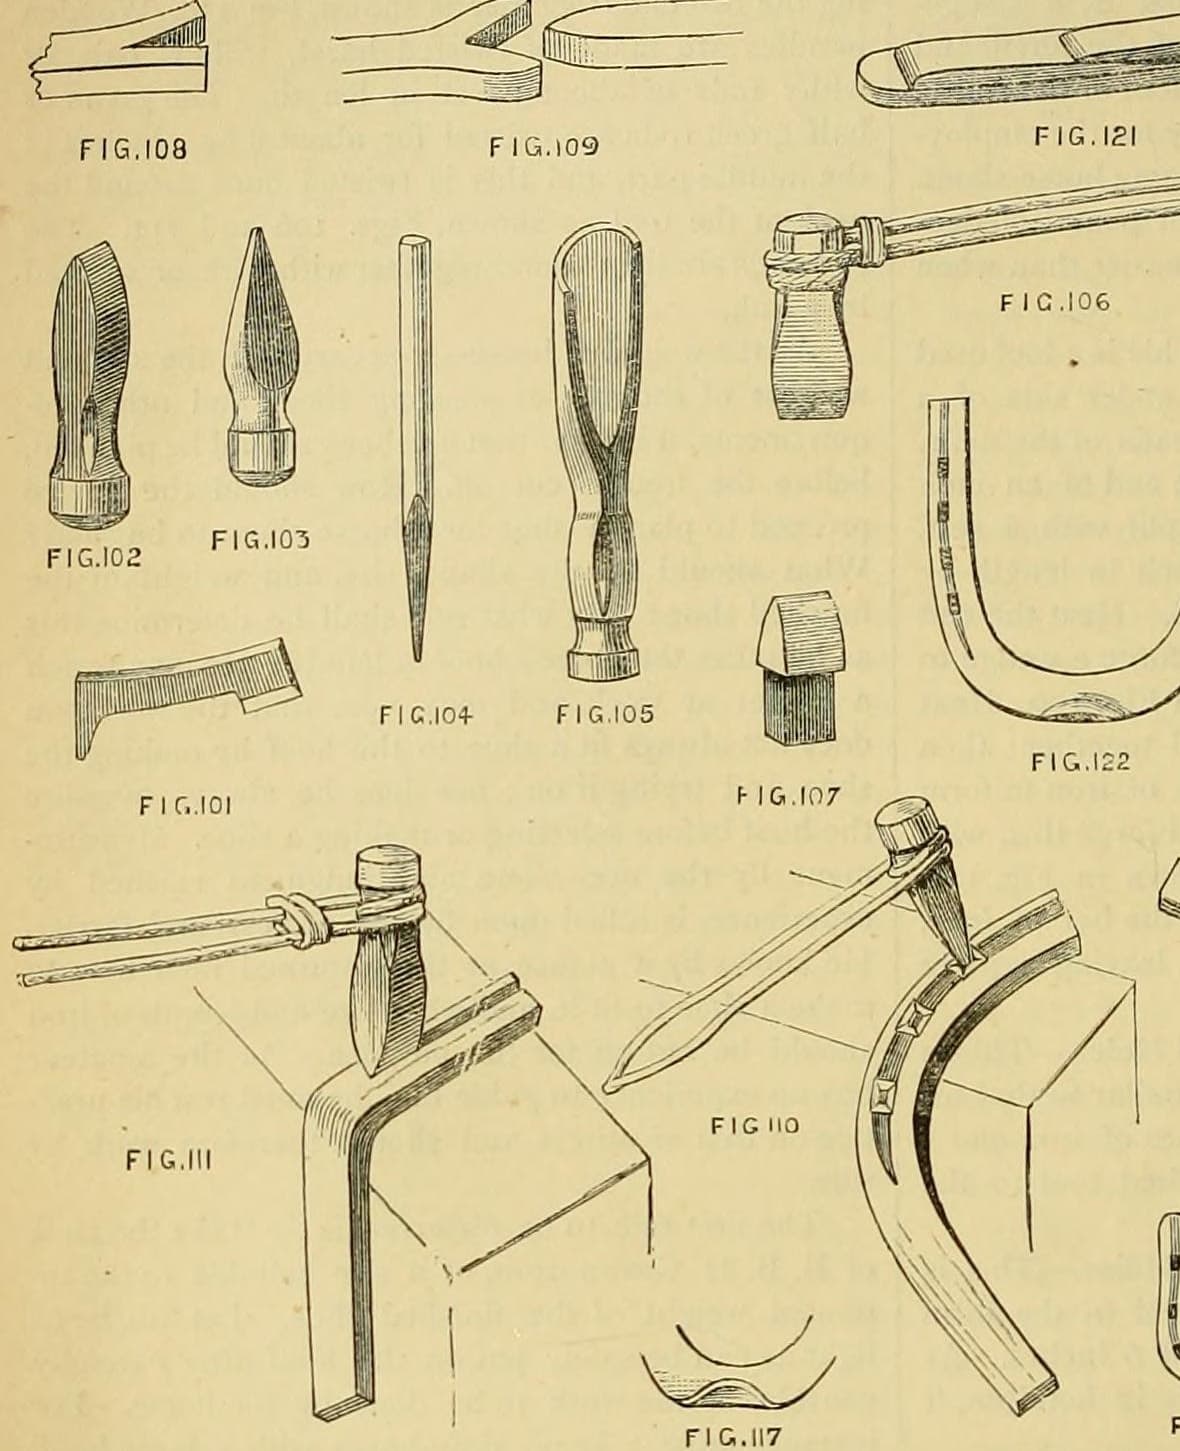
Drive the head into a nail-former with a shallow countersink, not a steep one: a tapered head wears loose and breaks off (his fig. 99, A old style, B right). Expert smiths shape the shoulders with the hammer and sett alone.
Alat yang dibutuhkan:
 Landasan kepala pakuPalu
6
6
Cool slowly
Cool slowly
Let each nail fall among the scale at the foot of the anvil block and scatter them on scale or ashes. Never let them fall on iron or cool in a heap: they turn brittle.
Alat yang dibutuhkan:
Landasan Tempa7
7
Finish cold
Finish cold
On a small anvil held in the vice, touch the heads into shape with a light hammer, sharpen the points by hammering, and bend each point a little (fig. 99 C) so it comes out at the right height on the hoof wall for the clench (fig. 100).
Alat yang dibutuhkan:
 Ragum MejaLandasan TempaPalu
8
8
Troubleshooting
Troubleshooting
Horseshoe nail troubleshooting.
Flow
Loading...
9
9
History and honest limits
History and honest limits
From George Edwinson, "Smithing and Forging" VI, **Amateur Work, Illustrated**, vol. V (1886), pp. 509-511 and figs. 96-100 (checked on the archive.org scan amateurworkillus05lond), drawing in part on W. J. E. Crane, The Smithy and Forge. He gives no nail rod section; the metric figures and tools are ours.
Bahan
2- 1 buahPlaceholder
- 1 buahPlaceholder
Cetak biru ini membuat
Blueprint terkait
Blueprint ini berbagi pengetahuan — teknik, bahan, atau prinsip
CC0 Domain Publik
Cetak biru ini dirilis di bawah CC0. Anda bebas untuk menyalin, memodifikasi, mendistribusikan, dan menggunakan karya ini untuk tujuan apa pun, termasuk komersial, tanpa meminta izin.
Dukung Maker dengan membeli produk melalui Cetak Biru mereka di mana mereka mendapatkan Komisi Pembuat yang ditetapkan oleh Penjual, atau buat iterasi baru dari Cetak Biru ini dan masukkan sebagai koneksi di milik Anda sendiri.