
Weaving a Rush Tatami Mat Cover — Igusa Rush Weaving
निर्देश
Prepare the Igusa Rush
Prepare the Igusa Rush
Sort dried igusa rush stalks by length and diameter, discarding any that are broken, discoloured, or too thin. Traditionally, igusa is harvested in midsummer when the stalks are at their longest (100-150cm) and most uniform. After harvest, the stalks are dried in the sun and optionally coated with a thin clay mud (doro-zome) that gives them the characteristic blue-green colour and pleasant earthy fragrance. Before weaving, soak the dried igusa in water for 30-60 minutes to restore flexibility — dry rush snaps when bent. Drain and keep the stalks wrapped in a damp cloth during weaving. Each stalk is used whole, not split, laid side by side to form the mat surface.
इस चरण के लिए सामग्री:
 Cotton50-80m m
आवश्यक उपकरण:
 Shuttle or large needle
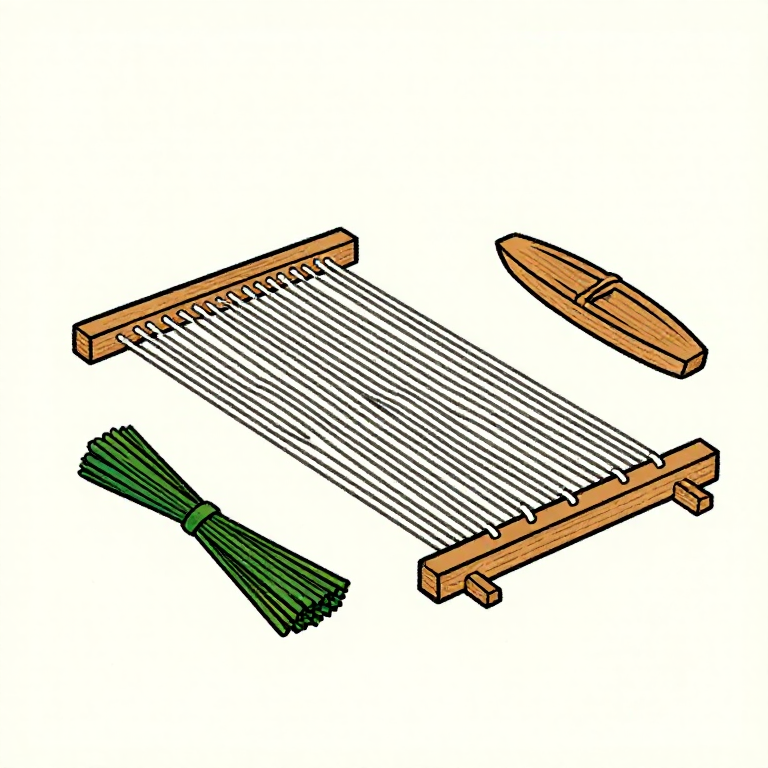
Set Up the Warp Threads
Set Up the Warp Threads
String cotton or hemp warp threads lengthwise on the weaving frame, spacing them 3-4cm apart across the full width of the intended mat cover (approximately 90cm for a standard tatami). The warp threads are what hold the igusa in place — they run the length of the mat and are hidden between the rush stalks in the finished product. Tension the warp threads evenly. Traditional tatami looms have a mechanism to lift alternate warp threads (creating a shed) for faster weaving, but a simple frame loom with manual thread lifting works for a single mat cover.
Weave the Rush Rows
Weave the Rush Rows
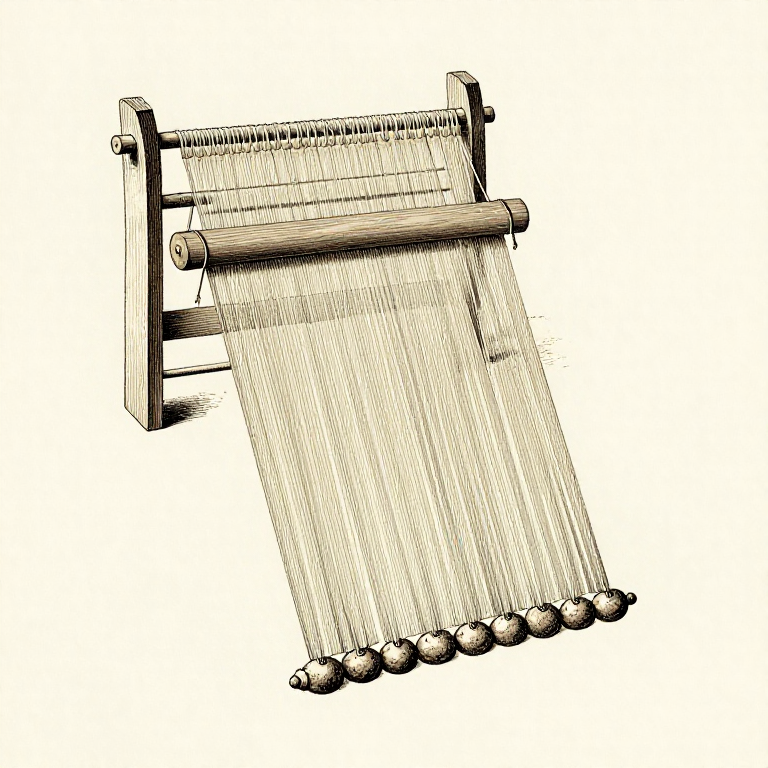
Lay the first igusa stalk across the warp threads, perpendicular to them. Lift alternate warp threads and pass the stalk through the shed. Beat the stalk down firmly against the starting edge of the frame using a flat reed beater. Lay the next stalk, lifting the opposite set of warp threads, and beat down. Continue row by row, alternating the shed with each stalk. Each stalk must lie perfectly straight and parallel to its neighbours — even small angles become visible as wavy lines in the finished mat surface. Pack the stalks tightly together so no warp thread is visible between them. Use stalks of consistent diameter in each area for a uniform appearance.
Maintain Even Density and Trim Edges
Maintain Even Density and Trim Edges
As you weave, check the density by pressing down on the surface — it should feel firm and uniform with no soft spots or ridges. Periodically measure the width to ensure the mat is not narrowing or widening as you work. If the rush varies in diameter, alternate thick and thin stalks to maintain even surface thickness. At each side edge, the igusa stalks should extend 1-2cm beyond the outermost warp thread. After the weaving is complete, these protruding ends are trimmed flush with sharp scissors. The trimmed edges will be covered by the binding strip (tatami-beri) in the final assembly.
Remove and Finish the Mat Cover
Remove and Finish the Mat Cover
Cut the warp threads from the frame, leaving enough length at each end to tie off or fold under. Tie adjacent warp threads together at both ends to prevent the weave from loosening. Trim any uneven stalk ends along the sides. The finished mat cover (tatami-omote) is the visible face of the tatami mat. In traditional assembly, it is stretched over a compressed rice straw core (tatami-doko) approximately 5-6cm thick and bound with a decorative fabric strip (tatami-beri) along the long edges. Fresh igusa has a sweet, grassy fragrance that is one of the defining sensory experiences of a Japanese room. The colour gradually changes from green to golden yellow over months of use and sun exposure. A well-woven tatami cover lasts 5-10 years before it needs replacing.
सामग्री
3- 200 g टुकड़ाप्लेसहोल्डर
- large supply टुकड़ाप्लेसहोल्डर
आवश्यक उपकरण
4- प्लेसहोल्डर
- प्लेसहोल्डर
- प्लेसहोल्डर
Related blueprints
Other builds that share materials, tools, or techniques with this one.
CC0 पब्लिक डोमेन
यह ब्लूप्रिंट CC0 के तहत जारी किया गया है। आप बिना अनुमति माँगे इस कार्य को किसी भी उद्देश्य के लिए कॉपी, संशोधित, वितरित और उपयोग करने के लिए स्वतंत्र हैं।
उनके ब्लूप्रिंट के माध्यम से उत्पाद खरीदकर मेकर का समर्थन करें जहाँ वे मेकर कमीशन कमाते हैं जो विक्रेताओं द्वारा निर्धारित होता है, या इस ब्लूप्रिंट का नया संस्करण बनाएँ और राजस्व साझा करने के लिए इसे अपने ब्लूप्रिंट में कनेक्शन के रूप में शामिल करें।