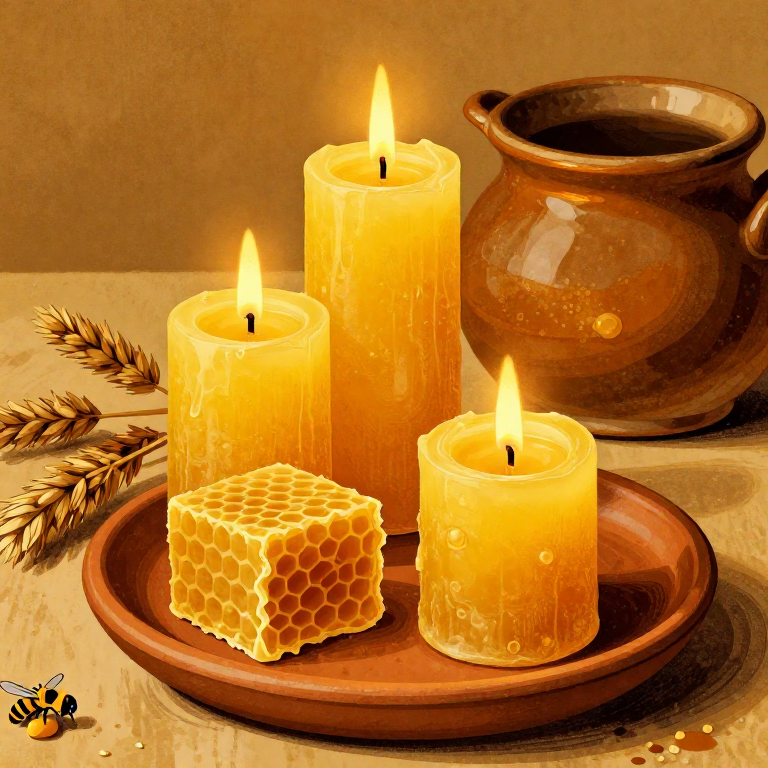
Egyptian Beeswax Candle — Making Beeswax Candles with Rush Wicks
निर्देश
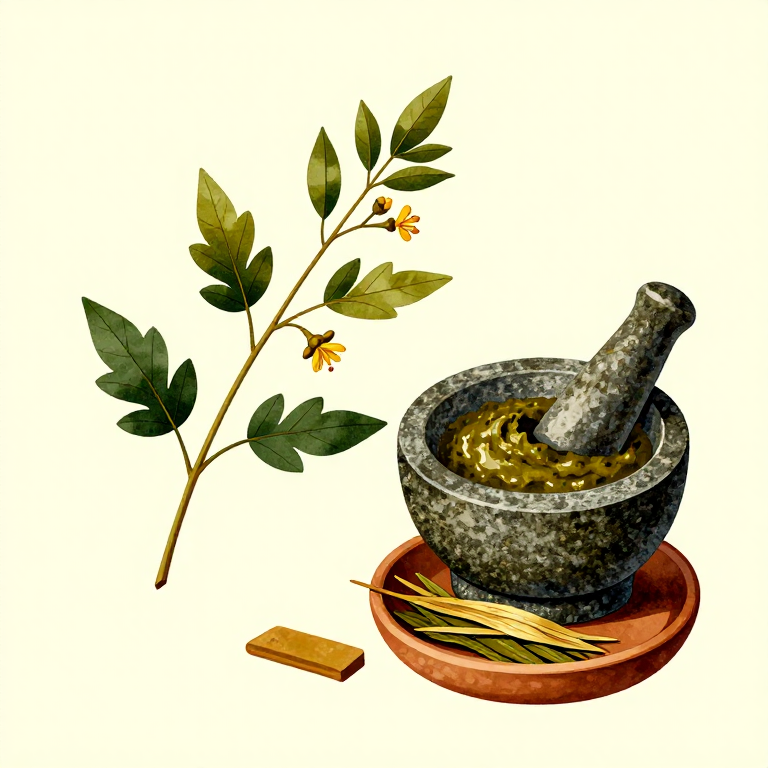
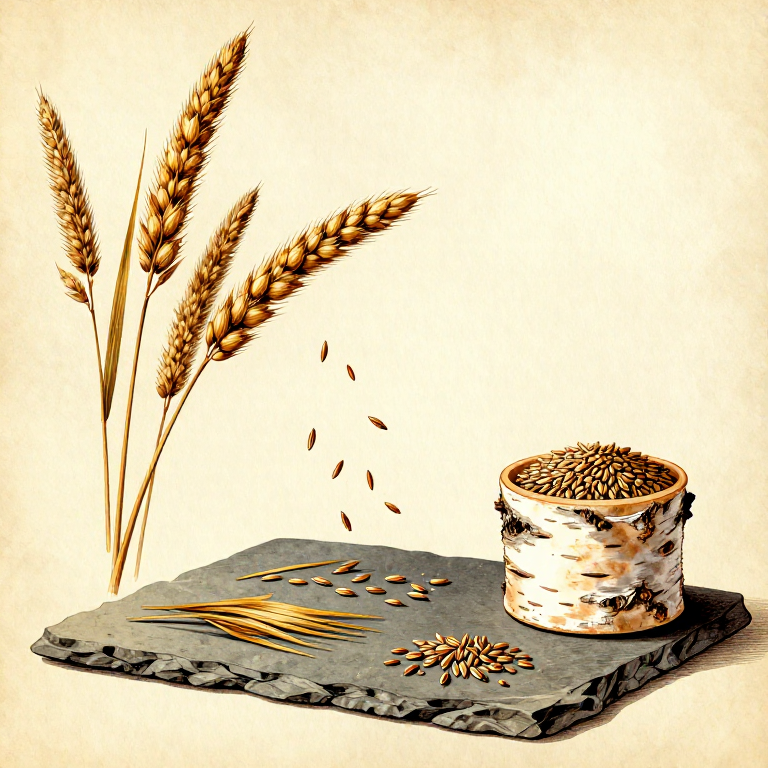
Prepare the Rush Wicks
Prepare the Rush Wicks
Select dried rush stems (Juncus effusus or similar) approximately 20-30 cm long. Carefully peel away the outer green skin to expose the white, spongy pith core. Leave a thin strip of outer skin attached along one side as a support spine to prevent the delicate pith from breaking during dipping. Rush pith is an excellent wick material because its open cellular structure draws melted wax upward by capillary action while burning slowly and evenly. Rush wicks (rushlights) were among the earliest artificial lighting technologies, predating cotton wicks by millennia. If rush is unavailable, twisted cotton string soaked in wax makes a suitable substitute.
इस चरण के लिए सामग्री:
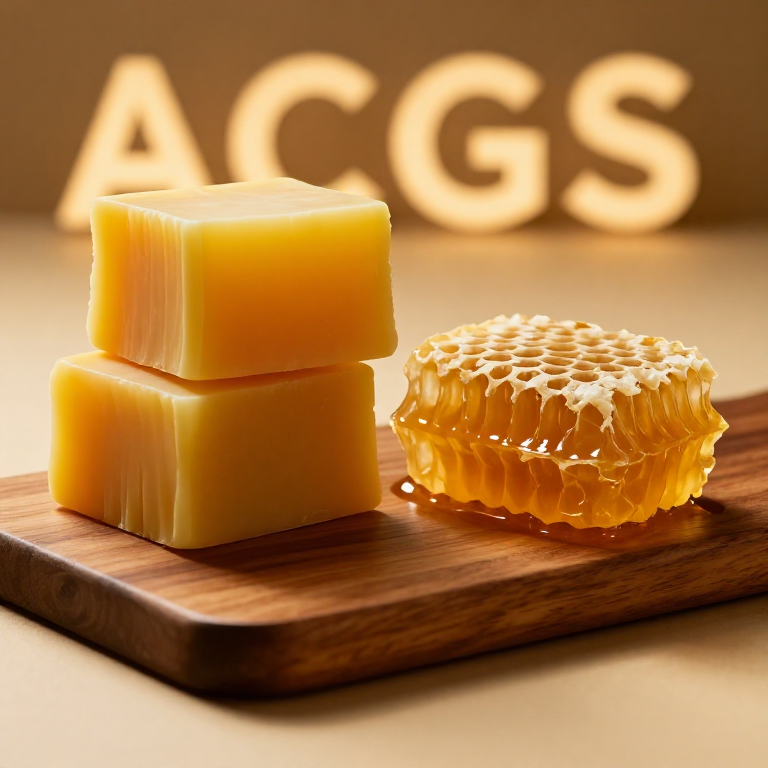
 Beeswax (Optional)300-500 g ग्रा
आवश्यक उपकरण:
 Oven Thermometer
Melt the Beeswax
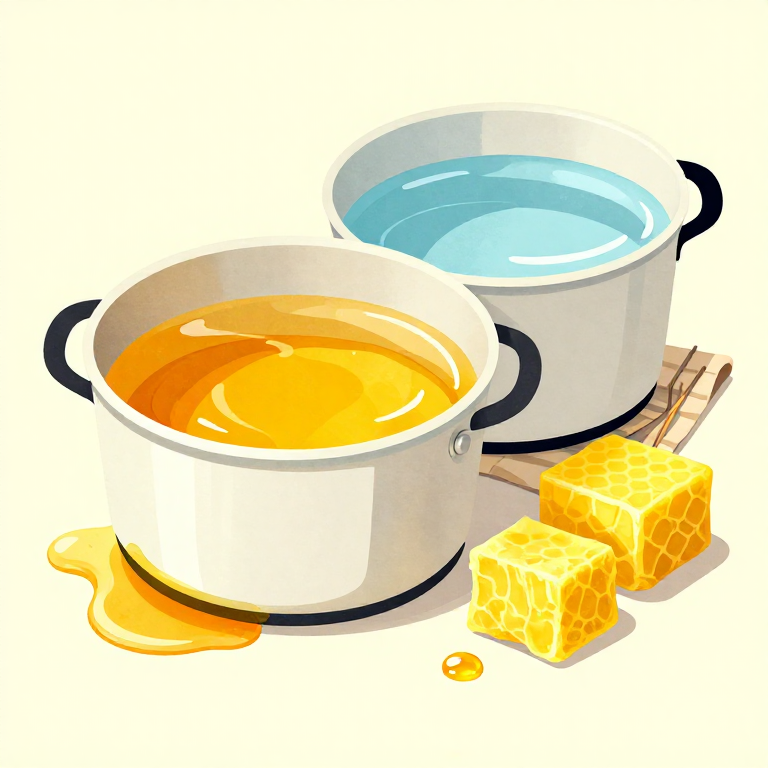
Melt the Beeswax
Set up a double boiler by placing a tall, narrow pot inside a larger pot of simmering water. Break beeswax into small chunks in the inner pot. Heat gently until fully melted — beeswax melts at approximately 62-64 degrees Celsius. NEVER heat beeswax over a direct flame, as it is flammable with a flash point of approximately 204 degrees Celsius. The melted wax should be clear golden-amber liquid. Ancient Egyptian beekeepers maintained hives in cylindrical clay tubes stacked in rows, a design still used in parts of Egypt. Beeswax was valuable for candles, mold-making, adhesive, cosmetics, and sealing vessels.
Dip the Wicks Repeatedly
Dip the Wicks Repeatedly
Hold a prepared rush wick by one end and lower it smoothly into the melted wax for 2-3 seconds. Lift out slowly and hold in air for 15-20 seconds for the coating to cool and solidify. Repeat, building wax layer with each pass — each dip adds approximately 0.5-1 mm thickness. For a standard taper, 15-25 dips build the body to approximately 1.5-2 cm diameter. Keep wax at consistent temperature — too hot melts off previous layers; too cool creates thick, lumpy coatings. Allow 20-30 seconds between dips for cooling. The candle gradually takes on the characteristic warm golden color of natural beeswax.
Shape and Straighten the Candles
Shape and Straighten the Candles
While still slightly warm after the final dip, roll gently on a smooth flat surface to smooth and straighten any curves. If bent, hold near warmth to soften slightly, then straighten and hold until cool. Trim the base flat with a warm knife so the candle stands upright. The finished candle should have smooth, even surface without drips or lumps. Beeswax candles burn longer and cleaner than tallow, producing less smoke and a pleasant honey fragrance. A 2 cm diameter beeswax candle approximately 20 cm tall burns for approximately 4-6 hours.

Trim the Wick and Test
Trim the Wick and Test
Trim the wick to approximately 1 cm above the wax surface. Too long produces a smoky flame; too short drowns in melted wax. Light and observe — the flame should burn steadily with bright, warm yellow-white light and minimal smoke. Beeswax burns at slightly higher temperature than tallow, producing brighter light. If the flame gutters or smokes, the wick may be too thick — use thinner rush pith next time. Ancient Egyptians used candles and oil lamps to light homes, workshops, and tombs. Workers carving royal tombs in the Valley of the Kings worked by wicked lamps burning sesame oil or animal fat, and soot from these lamps remains visible on unfinished tomb ceilings.
सामग्री
2- 6-10 stems or 2 m of wick टुकड़ाप्लेसहोल्डर
आवश्यक उपकरण
4- प्लेसहोल्डर
- प्लेसहोल्डर
- प्लेसहोल्डर
- प्लेसहोल्डर
Related blueprints
Other builds that share materials, tools, or techniques with this one.
CC0 पब्लिक डोमेन
यह ब्लूप्रिंट CC0 के तहत जारी किया गया है। आप बिना अनुमति माँगे इस कार्य को किसी भी उद्देश्य के लिए कॉपी, संशोधित, वितरित और उपयोग करने के लिए स्वतंत्र हैं।
उनके ब्लूप्रिंट के माध्यम से उत्पाद खरीदकर मेकर का समर्थन करें जहाँ वे मेकर कमीशन कमाते हैं जो विक्रेताओं द्वारा निर्धारित होता है, या इस ब्लूप्रिंट का नया संस्करण बनाएँ और राजस्व साझा करने के लिए इसे अपने ब्लूप्रिंट में कनेक्शन के रूप में शामिल करें।