Greek Chiton Sewing — Sewing a Linen Chiton Garment
निर्देश
Measure and Cut the Fabric
Measure and Cut the Fabric
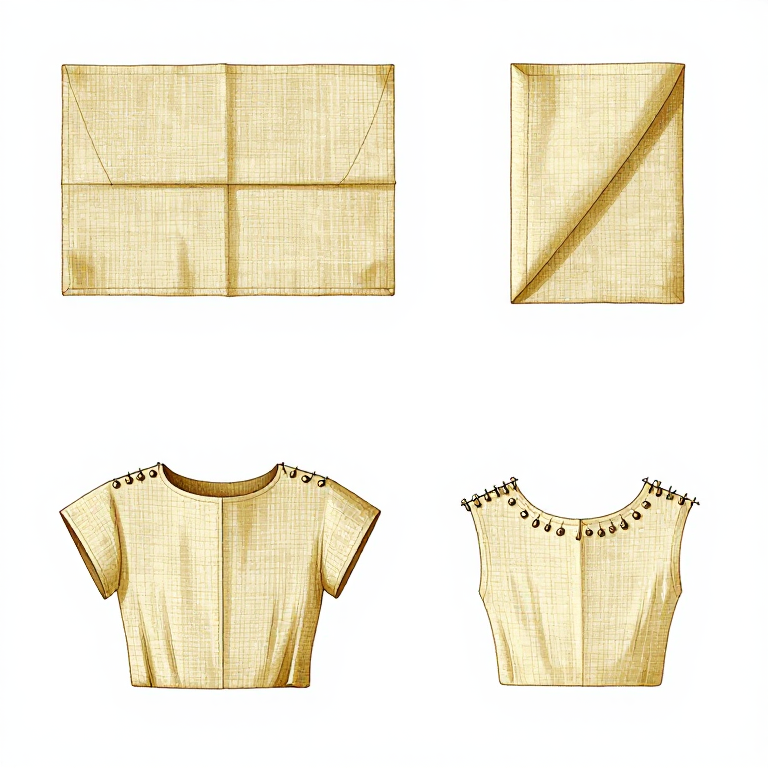
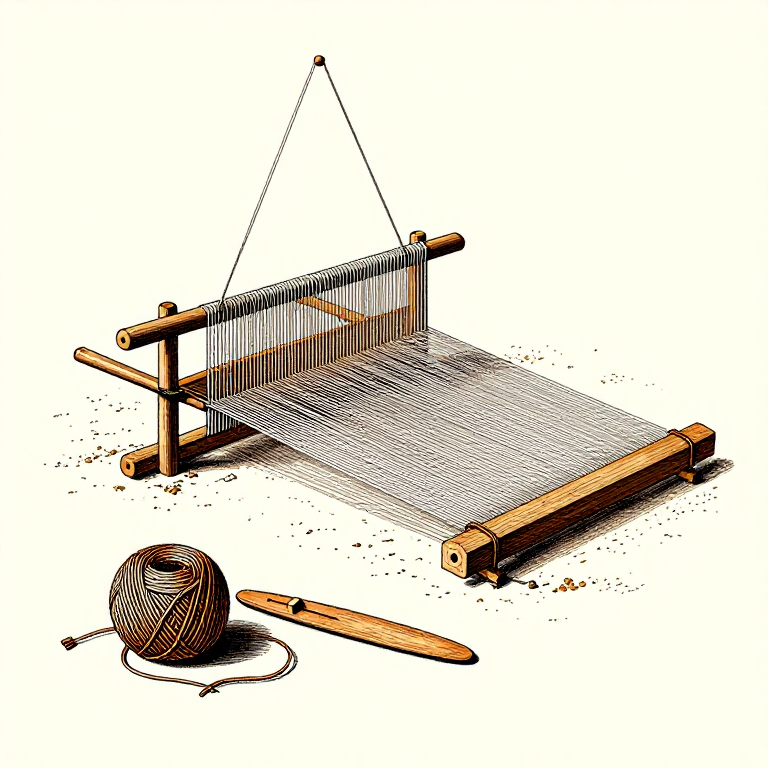
Measure a rectangle of linen fabric with the width equal to your full arm span plus 20-30 cm (to create the characteristic draped sleeve effect), and the length equal to twice the distance from shoulder to desired hem (ankle for women, knee for men, plus 10-15 cm for the fold-over at the top called the apoptygma). For a standard Ionic chiton, you need a single wide rectangle; for a Doric chiton, a slightly narrower piece with a deeper fold-over at the top. Cut the fabric cleanly with sharp shears. Ancient Greek chitons were typically woven to size on the loom rather than cut from larger cloth, as cutting wasted expensive hand-woven fabric. The fabric edges (selvages) from the loom served as finished edges that needed no hemming.
इस चरण के लिए सामग्री:
 Linen Fabric2-3 meters (width should be armspan plus 30 cm) सेमी
 Linen Trousers Sewing Kitsmall amount टुकड़ा
आवश्यक उपकरण:
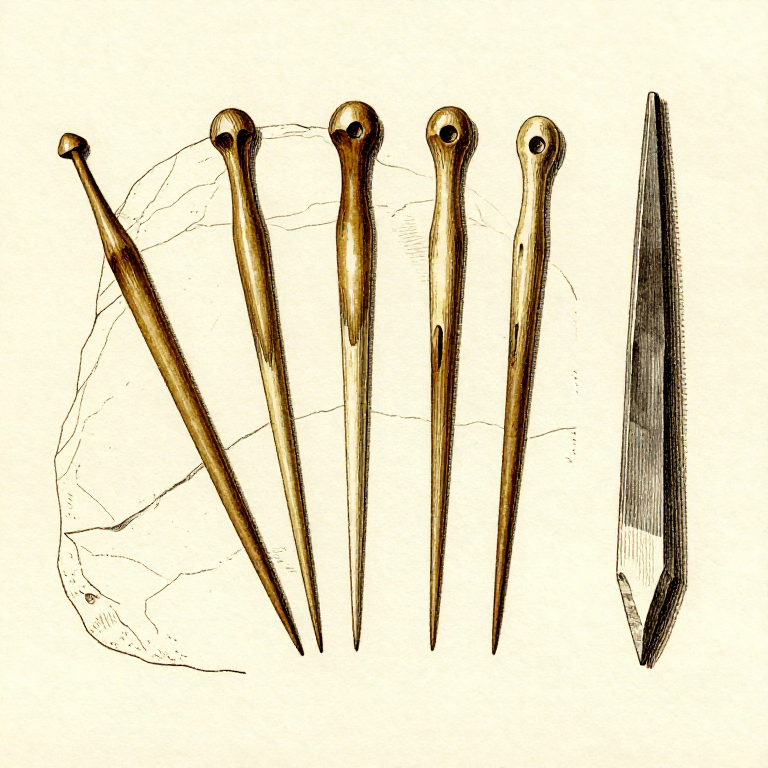
 Sewing Needle Set
 Measuring Tape Set (Fiberglass, 50m + 100m)
Fold and Pin at the Shoulders
Fold and Pin at the Shoulders
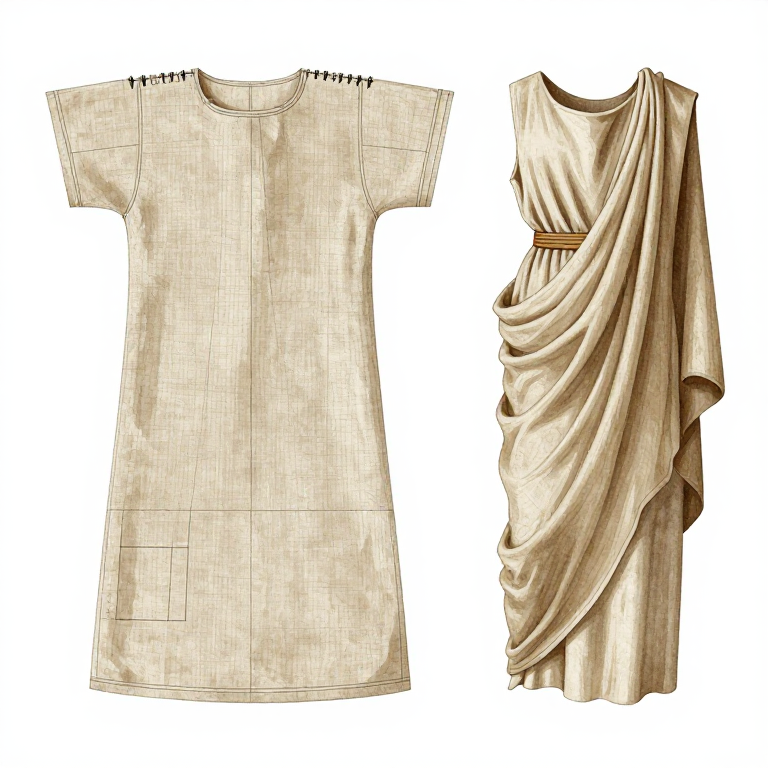
Fold the fabric in half widthwise so the top edges meet. If making a Doric chiton, fold the top 15-30 cm of fabric outward before the main fold to create the apoptygma (a decorative overfold that drapes over the chest). With the fabric folded, bring the two top edges together at the shoulder points and fasten with fibulae (bronze pins or brooches). For a Doric chiton, pin at two shoulder points only, leaving the arms bare. For an Ionic chiton, pin or sew at intervals along the entire top edge from shoulder to wrist, creating a series of small openings through which the arms emerge, giving the appearance of gathered sleeves. The excess fabric width creates the characteristic soft folds and draping of Greek dress.
Sew the Side Seam
Sew the Side Seam
With the chiton pinned at the shoulders, sew the open side (the side opposite the fold) from the underarm down to the hem using a simple running stitch or backstitch with linen thread. Leave the top 20-25 cm open for the arm hole. The seam should be neat and strong, as it bears the weight of the draped fabric during movement. Some chitons were left open on one side (especially the Spartan woman's peplos, called the phainomerides or thigh-shower, which scandalized other Greeks). For a fully enclosed chiton, sew the entire side seam except for the arm opening.
Belt and Adjust the Draping
Belt and Adjust the Draping
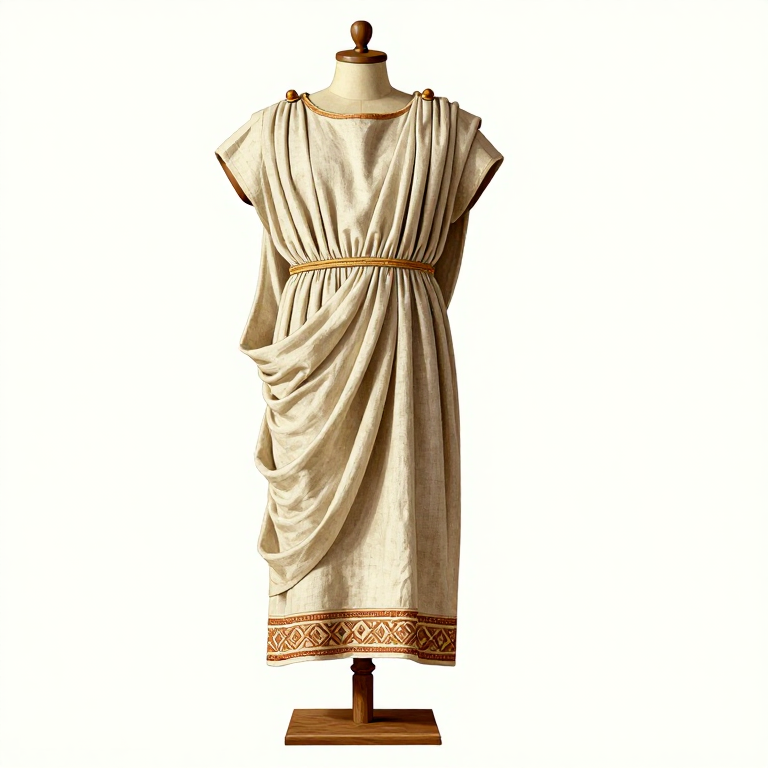
Put on the chiton and secure it with a belt (zone) tied around the waist. Pull the fabric up over the belt to create a bloused effect (kolpos) that adjusts the hemline to the desired length. Greek women typically wore floor-length chitons with a generous kolpos, while men wore knee-length versions, and workers or soldiers might hitch them even shorter for freedom of movement. The way the belt is positioned and the amount of blousing dramatically changes the garment's appearance. A second belt worn just below the bust (a high-waisted style) creates the characteristic columnar silhouette seen in Archaic and Classical Greek sculpture of women.
Finish with Hem and Decorative Border
Finish with Hem and Decorative Border
If the fabric edges are raw (not selvage), hem the bottom and arm openings with a narrow rolled hem sewn with small stitches. Greek garments often featured decorative borders woven into the fabric at the loom — geometric patterns, meander (Greek key) designs, or colored stripes along the edges. If your fabric lacks a woven border, you can stitch a decorative trim or ribbon along the hem and neckline. The finished chiton should drape in elegant vertical folds when standing, with the fabric weight creating the characteristic columnar silhouette of Greek dress. The chiton was the foundation garment over which other items like the himation (cloak) or chlamys (short military cloak) were draped for outdoor wear or formal occasions.
सामग्री
4- 4 टुकड़ेप्लेसहोल्डर
- 3 m टुकड़ाप्लेसहोल्डर
- 5 m टुकड़ाप्लेसहोल्डर
आवश्यक उपकरण
3- प्लेसहोल्डर
- प्लेसहोल्डर
Related blueprints
Other builds that share materials, tools, or techniques with this one.

CC0 पब्लिक डोमेन
यह ब्लूप्रिंट CC0 के तहत जारी किया गया है। आप बिना अनुमति माँगे इस कार्य को किसी भी उद्देश्य के लिए कॉपी, संशोधित, वितरित और उपयोग करने के लिए स्वतंत्र हैं।
उनके ब्लूप्रिंट के माध्यम से उत्पाद खरीदकर मेकर का समर्थन करें जहाँ वे मेकर कमीशन कमाते हैं जो विक्रेताओं द्वारा निर्धारित होता है, या इस ब्लूप्रिंट का नया संस्करण बनाएँ और राजस्व साझा करने के लिए इसे अपने ब्लूप्रिंट में कनेक्शन के रूप में शामिल करें।