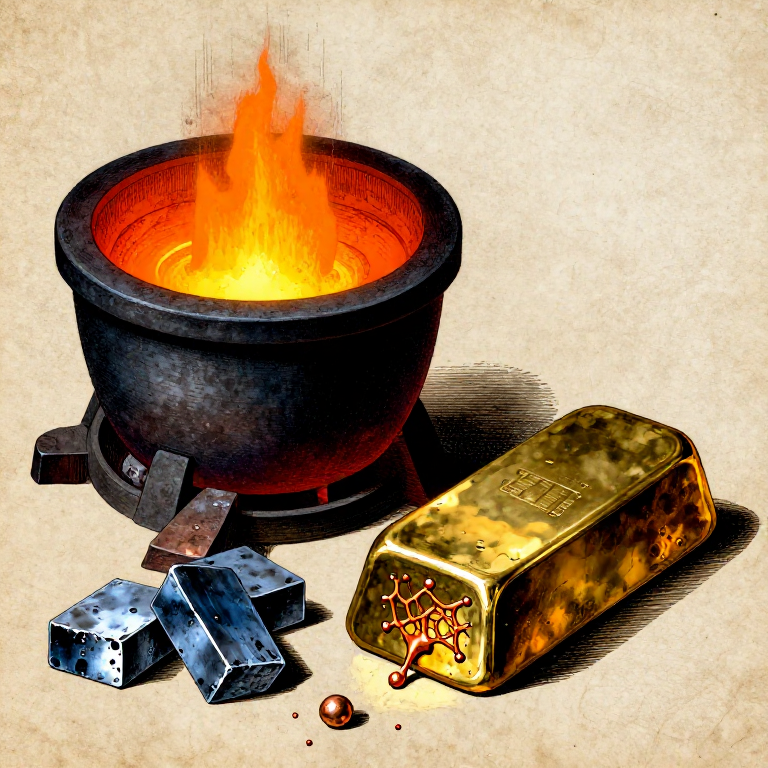


Alloying Brass from Copper and Zinc — The Golden Metal That Is Neither Gold Nor Bronze
Brass is an alloy of copper and zinc — and one of the most useful materials in human history. It is harder and more corrosion-resistant than pure copper, easier to cast and machine than bronze, and its golden color made it the preferred metal for decorative work, coinage, and scientific instruments for over two thousand years. Cartridge cases, ship fittings, musical instruments, plumbing valves, clock gears, and door hardware are all traditionally brass.
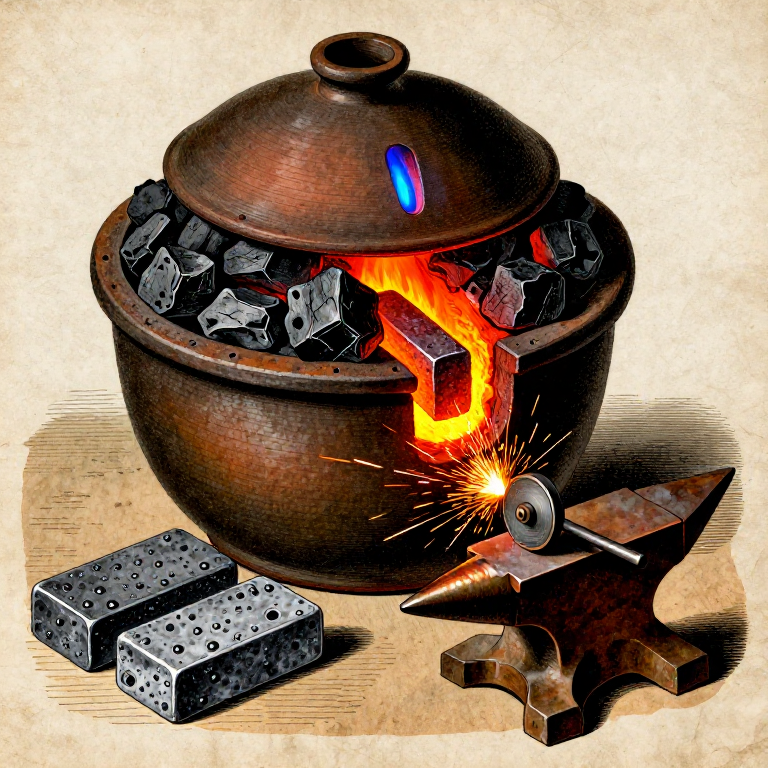
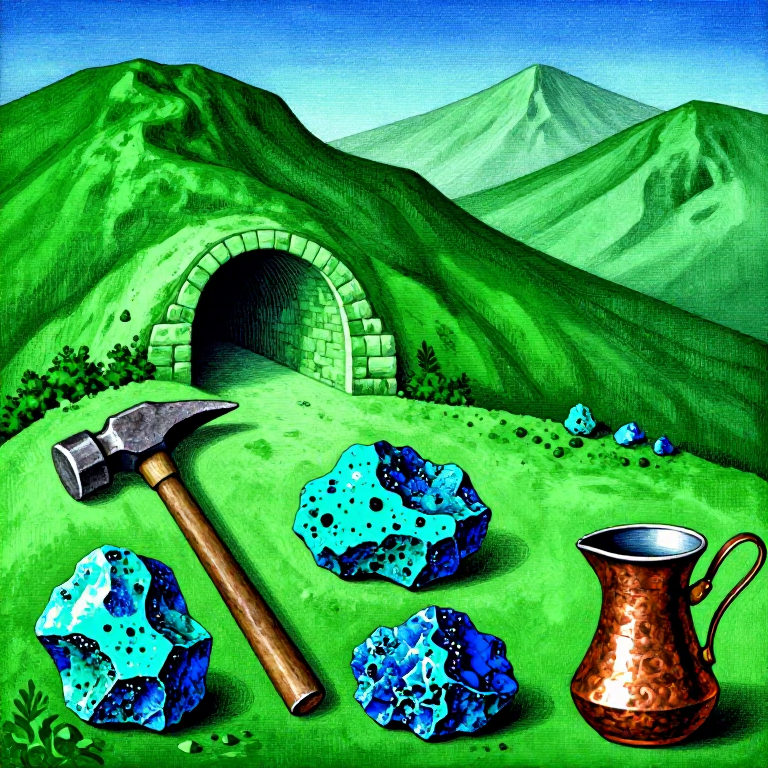
The alloying of brass was a significant metallurgical challenge because zinc metal was unknown to ancient metalworkers. Zinc boils at 907 °C — well below copper's melting point of 1085 °C. If you simply mix zinc metal into molten copper, the zinc vaporizes and burns before it alloys. The ancient solution was cementation: heating copper with zinc ore (calamine, a zinc carbonate/silicate mineral) and charcoal in a sealed crucible. The zinc reduced from the ore at high temperature, and because the crucible was sealed, the zinc vapor had nowhere to go but into the copper, dissolving into it to form brass. This process was used from Roman times through the 18th century.
Direct alloying — melting copper first and then adding metallic zinc below the surface of the melt — became possible only after zinc was isolated as a metal (in India by the 13th century, in Europe by the 18th century). This blueprint covers the direct alloying method using metallic copper and zinc, producing standard yellow brass (approximately 70% copper, 30% zinc by weight).
HAZARD: Molten metals cause severe burns. Zinc fumes are toxic — inhaling zinc oxide fumes causes 'metal fume fever,' a flu-like illness with fever, chills, and muscle pain. Work outdoors or under strong ventilation. Wear a P100 respirator, safety goggles, leather gauntlet gloves, and a leather apron. Never add zinc to copper that is hotter than necessary — higher temperatures increase zinc vaporization and fume production.
Instructions
Understand brass metallurgy and the copper-zinc phase diagram
Understand brass metallurgy and the copper-zinc phase diagram
Brass is a substitutional solid solution: zinc atoms replace copper atoms in the face-centered cubic crystal lattice. Up to approximately 35% zinc dissolves in copper to form alpha (α) brass — a single-phase alloy that is ductile, easily cold-worked, and golden yellow. Above 35% zinc, a second phase (beta, β) forms: harder and more brittle. Standard yellow brass (C26000, 'cartridge brass') is 70% Cu / 30% Zn — near the limit of the alpha phase, maximizing hardness while retaining ductility.
The key challenge in brass making is zinc's low boiling point (907 °C) compared to copper's melting point (1085 °C). When copper is fully molten, any zinc added to the surface immediately vaporizes. The solution: melt the copper, let it cool slightly to just above its melting point, and add zinc pieces below the surface of the melt where they dissolve before they can boil off. Working at the lowest possible temperature minimizes zinc loss to vaporization.
Every 1% of zinc lost to vaporization changes the alloy composition and properties. Careful temperature control and rapid zinc addition are essential for hitting the target composition.
Calculate the charge weight and prepare copper
Calculate the charge weight and prepare copper
For a target composition of 70% copper / 30% zinc, start with 70 grams of copper and 35–38 grams of zinc. The extra zinc (5–8 grams above the theoretical 30 grams) compensates for losses to oxidation and vaporization during melting — expect to lose 15–20% of the zinc charged. The exact loss depends on temperature control and speed of alloying.
Cut or break the copper into small pieces (under 2 cm) to speed melting. Copper ingot, scrap copper pipe, or copper sheet all work — the purer the copper, the more predictable the alloy. Avoid brass-coated or plated materials. Weigh the copper precisely on a scale.
Materials for this step:
 Copper Ingot 99.9% Pure 1 lb1 piece
Tools needed:
 Precision Scale (0.01g)
Prepare the zinc charge
Prepare the zinc charge
Cut or break zinc into small pieces (under 1 cm). Smaller pieces dissolve faster in the copper melt, reducing the time zinc is exposed to high temperature and minimizing vaporization losses. Zinc is soft and brittle — it snaps easily with pliers or a hammer. Weigh out 35–38 grams.
Pre-warm the zinc pieces to approximately 100–150 °C (place near the furnace, not in it). Adding cold zinc to molten copper causes localized freezing of the melt around each piece, slowing dissolution. Warm zinc dissolves faster and more evenly. Keep the zinc covered until the moment of addition to prevent surface oxidation.
Materials for this step:
 Zinc Ingot 99.9% Pure 1 lb1 piece
Prepare the crucible and furnace
Prepare the crucible and furnace
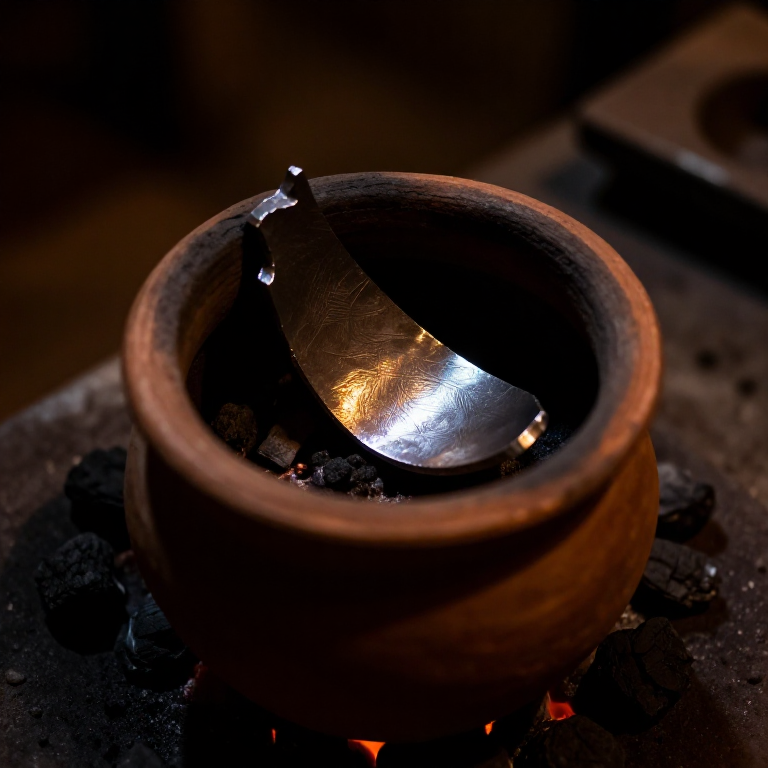
Use a deep clay or graphite crucible — graphite crucibles are preferred for copper alloys because they withstand the required temperatures better and do not react with the melt. The crucible must be large enough that the combined charge fills it no more than two-thirds full, leaving room for stirring and for the melt to be covered.
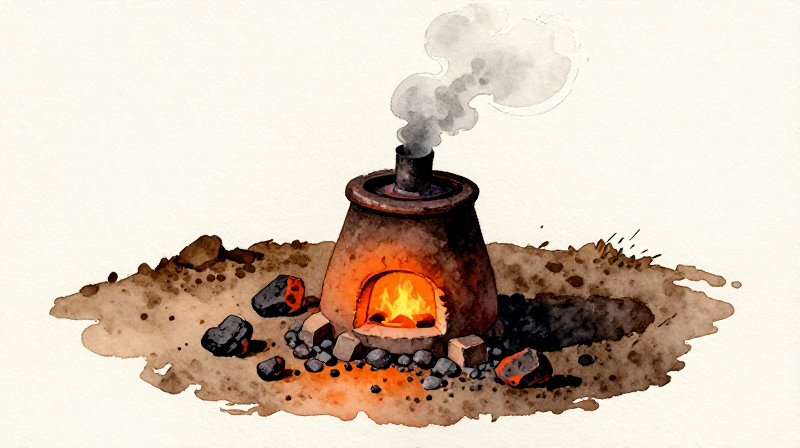
Place the crucible in a charcoal furnace with bellows, or a propane furnace. Pre-heat the empty crucible gradually to avoid thermal shock cracking. Copper melts at 1085 °C — you need to sustain approximately 1100–1150 °C. This is achievable with a well-built charcoal furnace and bellows, or easily with a propane burner.
Materials for this step:
 Charcoal5 kg
Tools needed:
 Clay Crucible (deep)
 Bellows
 Firebricks
Melt the copper
Melt the copper
Add the copper pieces to the hot crucible and bring to full melt. With a charcoal furnace and bellows, this takes 30–60 minutes depending on the charge weight and furnace efficiency. The copper first glows red, then brightens to orange-yellow as it approaches melting. Fully molten copper is a brilliant, mirror-smooth liquid with an orange-yellow surface.
Cover the crucible loosely with a lid or firebrick piece to retain heat and reduce oxidation. A layer of charcoal dust or powdered borax on the melt surface acts as a flux, reducing oxide formation. Copper oxide (Cu₂O) dissolves in the melt and causes porosity (gas holes) in the casting — minimizing oxidation produces a denser, sounder alloy.
Tools needed:
 Crucible Tongs (long-handled)
 Leather Gauntlet Gloves
 Safety Goggles
Reduce the temperature slightly before adding zinc
Reduce the temperature slightly before adding zinc
Once the copper is fully molten, reduce the heat slightly. The goal is to hold the melt just above copper's melting point — approximately 1100 °C, not 1200+ °C. Higher temperatures dramatically increase zinc vaporization losses: at 1100 °C approximately 15% of zinc is lost; at 1200 °C losses can exceed 30%.
Reduce bellows intensity or partially close the furnace air inlet. Let the melt sit for 2–3 minutes at reduced heat. The surface should remain liquid but the glow should dim from bright yellow to deep orange. If a thin skin starts to form on the surface, the temperature is too low — increase heat briefly.
Add zinc below the melt surface
Add zinc below the melt surface
Work quickly and wear a P100 respirator — zinc fumes are toxic. Using long-handled tongs, plunge the pre-warmed zinc pieces below the surface of the molten copper. Do not drop zinc onto the surface — it will vaporize instantly, producing a flare of white zinc oxide smoke and wasting material. Push each piece to the bottom of the crucible and hold it submerged until it dissolves (5–15 seconds per piece).
Add all the zinc within 2–3 minutes. Speed is critical: every second the melt sits at high temperature, more zinc vaporizes from the alloy. Some white smoke (zinc oxide fumes) is inevitable even with good technique — this is why respiratory protection and outdoor work are mandatory. The melt color shifts from the orange of pure copper toward a brighter, more yellow tone as zinc dissolves.
Tools needed:
 Long-Handled Tongs
 P100 RespiratorLeather Gauntlet Gloves
 Leather Apron
Stir the melt to homogenize
Stir the melt to homogenize
Stir the alloy gently with a preheated steel or graphite rod for 30–60 seconds. Stirring ensures the zinc is uniformly distributed throughout the melt — without stirring, the alloy may have zinc-rich and zinc-poor zones that produce uneven color and mechanical properties in the casting.
After stirring, skim any dross (oxide scum) from the surface with a flat metal skimmer or the edge of the stirring rod. The dross is a dark, crusty layer of copper oxide and zinc oxide. Removing it before pouring produces a cleaner casting with better surface finish.
Tools needed:
 Steel Stirring Rod
Pour the brass into an ingot mold
Pour the brass into an ingot mold
Using crucible tongs, lift the crucible from the furnace and pour the molten brass into a preheated ingot mold (steel, cast iron, or sandstone) in a single steady stream. The brass should flow easily — if it is sluggish or pasty, the temperature has dropped too low. Pour quickly before the melt cools further. Do not stop and restart the pour — this creates cold-shut defects (visible seams where partially solidified metal fails to fuse).
Molten brass is a brilliant golden-yellow liquid, distinctly different from the reddish-orange of pure copper. The color is your confirmation that zinc has alloyed with the copper. As the brass cools in the mold, the surface transitions from yellow-white glow to a dull red, then to the characteristic golden-yellow color of solid brass.
Tools needed:
Crucible Tongs (long-handled) Sandstone Ingot Mold
Cool and demold the ingot
Cool and demold the ingot
Allow the brass to cool in the mold until it has fully solidified — approximately 10–15 minutes for a 100-gram ingot. Do not quench (plunge into water) while still glowing: rapid cooling of brass can trap internal stresses that cause cracking. Let it air-cool until the glow has completely faded, then it can be safely quenched to speed the final cooling if desired.
Turn the mold upside down and tap the ingot out. If it sticks, let it cool further — the thermal contraction of the metal will eventually release it. The ingot should have a smooth bottom surface (contact with the mold) and a slightly rough or concave top surface (the free surface that solidified last, with shrinkage).
Verify the alloy by color and properties
Verify the alloy by color and properties
Examine the brass ingot. Standard 70/30 yellow brass (C26000) has a warm, rich golden-yellow color — distinctly yellower than bronze (which has a reddish tinge from tin) and distinctly redder than pure zinc (which is blue-grey). If the color is reddish or coppery, the zinc content is low (too much zinc was lost to vaporization); if very pale or almost white-yellow, there may be excess zinc.
Test the mechanical properties: brass should be significantly harder than pure copper. It rings with a clear tone when struck — the 'bell metal' quality that makes brass ideal for musical instruments. File a small area: brass files to a bright golden surface with fine, even chips. It should be workable — bendable without cracking — confirming you are in the ductile alpha-brass range (under 35% zinc).
Clean up safely and document the alloy
Clean up safely and document the alloy
All surfaces near the furnace where zinc fumes condensed will have a thin white coating of zinc oxide powder. Wipe these surfaces with a damp cloth and dispose of the cloths. Zinc oxide is not acutely toxic but should not be inhaled — wear a dust mask during cleanup. The crucible and stirring tools will have a thin layer of brass residue and dross that can be cleaned with a wire brush once cool.
Weigh the finished ingot and calculate the actual zinc content. If you started with 70 grams of copper and 37 grams of zinc (107 grams total) and the ingot weighs 95 grams, you lost 12 grams — mostly zinc vapor. The actual composition is approximately 70/95 = 73.7% copper, 25/95 = 26.3% zinc. This is still within the useful yellow brass range (65–70% Cu). Record the weights and composition for future batches — adjusting the zinc excess to compensate for your specific furnace and technique.
Materials
3- 1 piecePlaceholder
- 1 piecePlaceholder
Tools Required
12- Placeholder
- Placeholder
- Placeholder
- Placeholder
- Placeholder
- Placeholder
- Placeholder
- Placeholder
- Placeholder
- Placeholder
- Placeholder
Connected Blueprint Materials
Related Blueprints
These blueprints share knowledge with this one — techniques, materials, or principles that connect them in the learning graph.
Related blueprints
Other builds that share materials, tools, or techniques with this one.
CC0 Public Domain
This blueprint is released under CC0. You are free to copy, modify, distribute, and use this work for any purpose, without asking permission.
Support the Maker by purchasing products through their Blueprint where they earn a Maker Commission set by Vendors, or create a new iteration of this Blueprint and include it as a connection in your own Blueprint to share revenue.