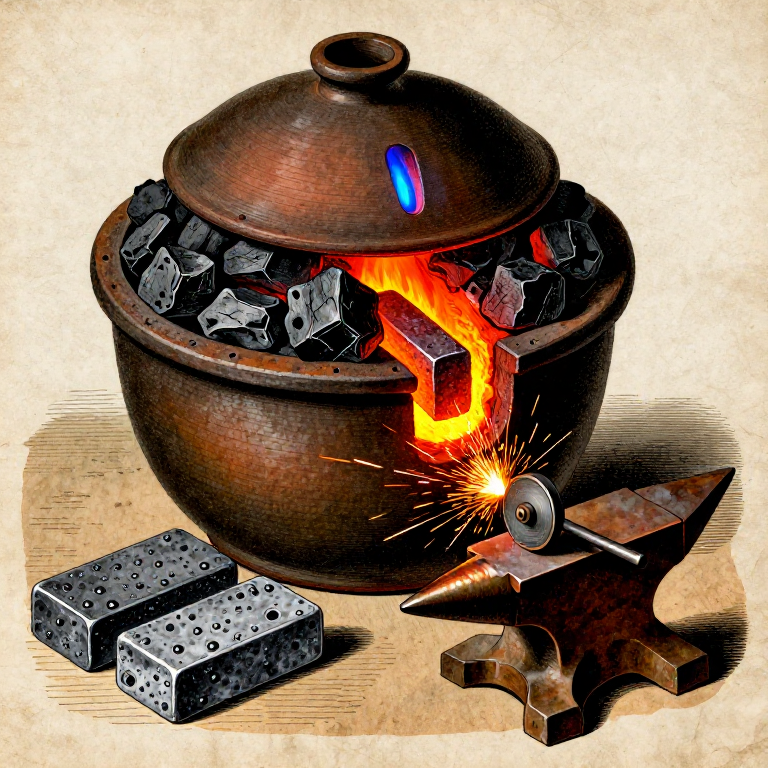


Alloying Steel from Iron and Carbon — The Metal That Built the Modern World
Steel is an alloy of iron and carbon, typically containing between 0.2% and 2.1% carbon by weight. This narrow band of composition transforms soft, malleable wrought iron into a material that can be hardened, tempered, and spring-loaded — properties that made steel the backbone of civilization from swords and springs to bridges and skyscrapers.
The difference between iron and steel is invisible to the eye but transformative in behavior. Pure iron (ferrite) is soft — a nail made of pure iron bends easily. Add just 0.8% carbon and the iron becomes pearlite: a microscopic layered structure of ferrite and iron carbide (cementite, Fe₃C) that is dramatically harder and stronger. Above 0.8% carbon the alloy becomes hypereutectoid, with excess cementite making it harder still but increasingly brittle. The entire science of steel metallurgy revolves around controlling this tiny percentage of carbon and the rate at which the alloy cools.
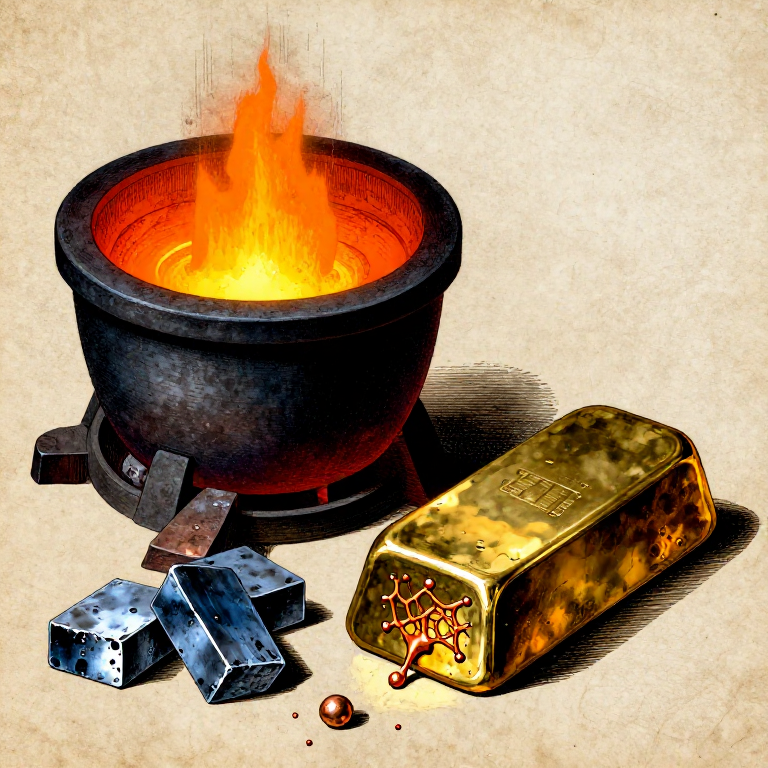
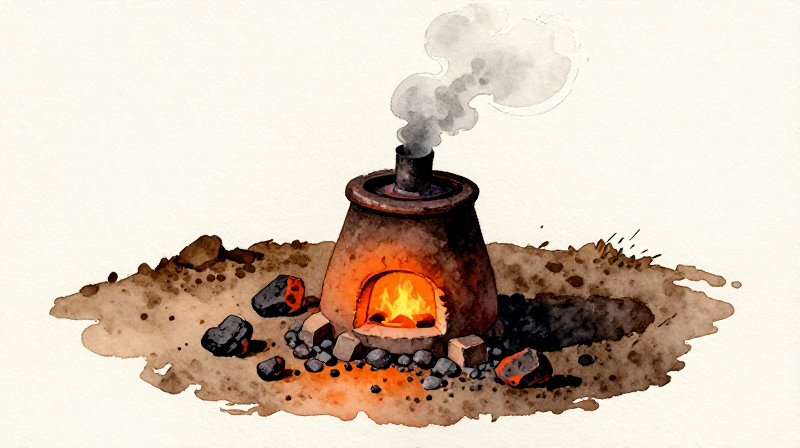
Historically, steelmaking was achieved by two paths: carburization (adding carbon to wrought iron by heating it in contact with charcoal) and decarburization (removing excess carbon from cast iron by oxidation). This blueprint covers the carburization method — also called cementation — which was the dominant steelmaking process from antiquity through the 18th century. You will pack wrought iron bars in charcoal inside a sealed clay crucible and heat the assembly to approximately 900–950 °C for several hours. Carbon atoms from the charcoal diffuse into the iron's crystal lattice, converting the surface layers to steel. The result is called blister steel, named for the blisters that form on the surface from trapped gas.
HAZARD: This process requires sustained temperatures above 900 °C. Molten scale, hot metal, and carbon monoxide gas are all present. Work outdoors or under strong forced ventilation. Wear a P100 respirator, safety goggles, leather gauntlet gloves, and a leather apron. Never open the crucible while it is at temperature — the rush of air can cause a flare of burning carbon monoxide.
Instructions
Understand the iron-carbon phase diagram
Understand the iron-carbon phase diagram
The iron-carbon phase diagram is the most important diagram in metallurgy. At room temperature, iron exists as ferrite (α-iron): body-centered cubic, soft, magnetic. When heated above 727 °C (the eutectoid temperature), iron transforms to austenite (γ-iron): face-centered cubic, non-magnetic, and critically — able to dissolve far more carbon than ferrite. Ferrite dissolves only 0.022% carbon; austenite dissolves up to 2.14%.
This is why cementation works: at 900–950 °C the iron surface is austenite, which absorbs carbon from the surrounding charcoal. When the steel cools slowly, the austenite transforms back to ferrite plus cementite (Fe₃C), arranged in the layered pearlite structure. If cooled rapidly (quenched), the austenite is trapped as martensite — an extremely hard, brittle, body-centered tetragonal structure. All heat treatment of steel — hardening, tempering, annealing — manipulates these phase transformations.
Select and prepare the wrought iron
Select and prepare the wrought iron
Start with wrought iron — low-carbon iron (under 0.08% carbon) that has been bloom-smelted and hammer-forged to consolidate the metal and expel slag. The iron should be clean, free of heavy rust or scale, and ideally in flat bar form approximately 5–10 mm thick and 20–30 mm wide. Thinner bars carburize faster because carbon must diffuse inward from the surface — a 10 mm bar takes roughly 8 hours to carburize through to the center at 925 °C.
If starting from a bloom or rough iron, forge it into flat bars first. Clean the surface with a wire brush or file to remove scale (iron oxide), which acts as a barrier to carbon diffusion. Weigh the bars — you will weigh again after cementation to calculate the carbon absorbed (steel is heavier by the weight of carbon added).
Materials for this step:
 Iron Ore (Bog Iron / Hematite / Magnetite)1 piece
Tools needed:
 Metal File
 Precision Scale (0.01g)
Prepare the charcoal for the cementation pack
Prepare the charcoal for the cementation pack
Crush hardwood charcoal into pieces approximately 5–10 mm across — small enough to pack tightly around the iron bars, large enough to maintain air gaps that allow carbon monoxide gas to circulate. Charcoal is the carbon source: at high temperature it reacts with traces of oxygen and moisture to produce carbon monoxide (CO), which is the actual carburizing agent. The CO gas dissociates at the iron surface, depositing atomic carbon that diffuses into the metal.
You need approximately 3–4 times the weight of the iron in charcoal. For 500 grams of iron bars, prepare 1.5–2 kg of crushed charcoal. Some historical recipes added organic materials (bone meal, leather scraps, soot) to the pack — these decompose at temperature and contribute additional carbon and nitrogen. For this blueprint, pure hardwood charcoal is sufficient and produces the most predictable results.
Materials for this step:
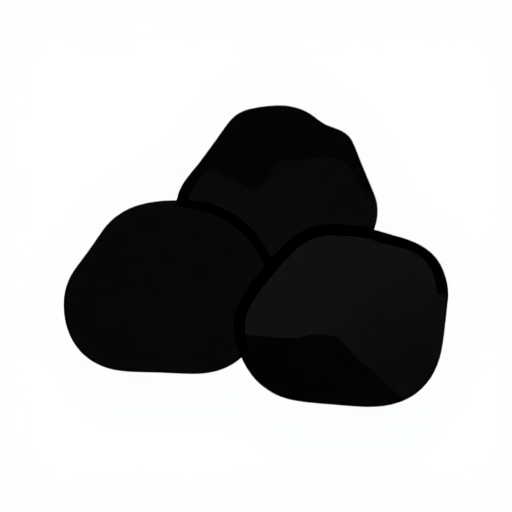 Charcoal2 kg
Tools needed:
 Hammer (2 kg)
Build or prepare the cementation crucible
Build or prepare the cementation crucible
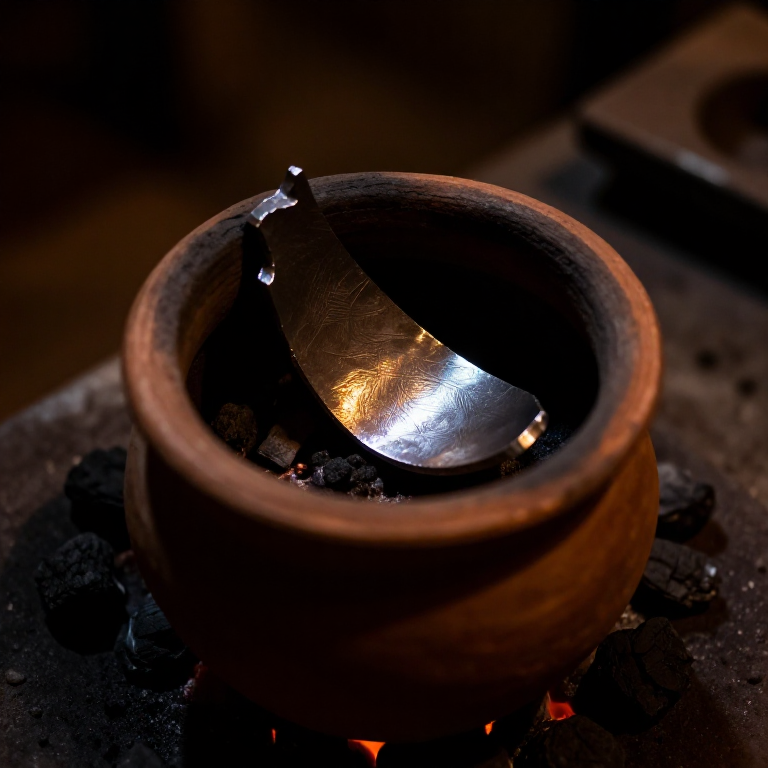
The crucible must be sealed to prevent the charcoal from simply burning away in the furnace atmosphere. Use a deep refractory clay crucible with a tight-fitting lid, or build a cementation box from firebricks and refractory clay. The vessel must withstand 950 °C for 8+ hours without cracking. A clay-graphite crucible is ideal — it is refractory, does not react with the contents, and can be sealed with a clay lute (a paste of fire clay and water applied around the lid joint).
The crucible must be large enough to hold all the iron bars with at least 25 mm of charcoal packing on all sides. There must be no direct path for air to reach the charcoal — any air leak will cause the charcoal to burn rather than carburize, wasting fuel and producing uneven results.
Tools needed:
 Clay Crucible (refractory)
 Firebricks
Pack the iron bars in charcoal inside the crucible
Pack the iron bars in charcoal inside the crucible
Place a 25 mm layer of crushed charcoal on the bottom of the crucible. Lay the first iron bar on this bed, ensuring it does not touch the crucible walls — at least 15 mm clearance on all sides. Cover with another 15–20 mm layer of charcoal, pressing it gently to eliminate large air pockets. Place the next bar, ensuring the bars do not touch each other (charcoal must completely surround each piece). Continue layering until all bars are packed.
Top with a final 25 mm charcoal layer. The bars must be fully embedded — any exposed iron will not carburize in that area. Seal the lid with a clay lute: mix fire clay with water to a thick paste, apply a 10 mm bead around the lid joint, and smooth it to form a continuous seal. Allow the lute to air-dry for at least 30 minutes before placing in the furnace. A small vent hole (2–3 mm) in the lid allows gas pressure to escape without cracking the seal.
Prepare the furnace and bring to cementation temperature
Prepare the furnace and bring to cementation temperature
Place the sealed crucible in a charcoal furnace with bellows, or a propane-fired furnace. The furnace must sustain 900–950 °C for the full duration of the cementation soak — typically 6–10 hours depending on the thickness of the iron bars. This is the critical temperature range where austenite forms and carbon diffusion proceeds at a useful rate. Below 850 °C, diffusion is too slow; above 1000 °C, the iron may begin to melt at grain boundaries (burning), ruining the steel.
Start the furnace slowly — bring the crucible up to temperature over 1–2 hours to avoid thermal shock. The lute seal may crack slightly as it dries and the crucible expands; this is normal. Watch for a small blue flame at the vent hole — this is carbon monoxide burning as it escapes, confirming that the cementation reaction is proceeding inside the crucible.
Materials for this step:
Charcoal10 kgTools needed:
 Bellows
 Safety Goggles
 Leather Gauntlet Gloves
 Leather Apron
Maintain the cementation soak
Maintain the cementation soak
Hold the furnace at 900–950 °C for 6–10 hours. The duration depends on bar thickness: carbon diffuses approximately 1 mm per hour at 925 °C in iron. A 5 mm thick bar (2.5 mm to the center) needs approximately 6 hours for full through-carburization; a 10 mm bar needs 10+ hours. Under-soaking produces case-hardened steel (hard surface, soft core) — useful for some applications but not a uniform alloy.
Monitor the furnace temperature by observing the color of the crucible: dull cherry red is approximately 750 °C (too low); bright cherry is 850 °C; orange is 950 °C; yellow-orange is 1050 °C (too high). Maintain the charcoal bed in the furnace, adding fuel as needed. Keep bellows operation steady — interruptions in air supply cause the temperature to drop, and reheating wastes time and fuel. The blue flame at the vent hole should burn steadily throughout the soak.
Tools needed:
Bellows P100 Respirator
 Long-Handled Tongs
Cool the crucible slowly in the furnace
Cool the crucible slowly in the furnace
After the full soak time, stop adding fuel and stop the bellows. Allow the crucible to cool in the furnace — this may take 6–12 hours depending on furnace mass. Slow cooling is essential: it allows the austenite to transform to pearlite (the equilibrium ferrite + cementite structure), producing steel that is hard but not brittle. Rapid cooling at this stage would produce martensite — extremely hard but too brittle for most uses without subsequent tempering.
Do not open or disturb the crucible while it is above a dull red heat. Opening the seal while the charcoal pack is still hot introduces oxygen, which burns the charcoal and oxidizes (decarburizes) the steel surface — undoing the carburization you just spent hours achieving. Patience is critical. The crucible is ready to open when it can be handled with heavy gloves (below approximately 200 °C).
Open the crucible and extract the blister steel
Open the crucible and extract the blister steel
Break the clay lute seal and remove the lid. The charcoal inside will be partially consumed — lighter and more fragite than the original pack. Carefully extract the iron bars, now steel bars, from the charcoal bed. The surface will show characteristic blisters — raised bumps caused by gas trapped beneath the surface scale during cementation. This is the origin of the term 'blister steel' and confirms successful carburization.
The bars will also be covered in a thin layer of scale (iron oxide) and may have charcoal fragments adhered to the surface. Wire-brush or file the surface clean to reveal the steel beneath. The color and surface texture are visibly different from the original wrought iron — the steel has a finer grain and often a slightly darker, more uniform grey appearance compared to the fibrous, lighter grey of wrought iron.
Tools needed:
 Crucible Tongs (long-handled)Leather Gauntlet GlovesMetal File
Test the steel by spark testing and hardening
Test the steel by spark testing and hardening
The simplest field test for carbon content is the spark test: touch the steel to a grinding wheel or coarse file and observe the sparks. Wrought iron (low carbon) produces long, smooth, orange-yellow spark streams with few forks. Medium-carbon steel (0.4–0.6%) produces shorter, brighter sparks with distinct branching forks. High-carbon steel (0.8%+) produces very short, brilliant white sparks with explosive bursts at the tips. Compare your blister steel sparks against a known piece of wrought iron — the difference should be dramatic.
For a definitive test, heat a small piece to bright cherry red (approximately 800 °C) and quench in water. Wrought iron remains soft after quenching; steel that has absorbed sufficient carbon will become glass-hard. Try to file the quenched piece — if the file skates across the surface without cutting, the steel has been successfully hardened. This confirms carbon content above approximately 0.3%.
Tools needed:
Metal File Quench Bucket
 Forge Tongs
Forge-consolidate the blister steel (optional: shear steel)
Forge-consolidate the blister steel (optional: shear steel)
Blister steel from a single cementation pass may have uneven carbon distribution — higher at the surface, lower at the center. For a more uniform alloy, the steel can be folded and forge-welded. Heat the bar to bright yellow-white (approximately 1100 °C), fold it over on itself, and hammer-weld the fold shut. Repeat this fold-and-weld cycle 3–4 times. Each fold halves the distance carbon must diffuse, and the mechanical working redistributes the carbon more evenly throughout the cross-section.
This folded and consolidated product is called shear steel (historically used for shears and cutting tools). It is more uniform and reliable than raw blister steel. Further refinement — melting the blister steel in a crucible at approximately 1500 °C — produces crucible steel (wootz steel), the highest quality steel available before the Bessemer process. Crucible steel melting requires temperatures beyond what most small-scale setups can achieve, but cementation followed by folding produces excellent working steel.
Tools needed:
 Forge Hammer (Cross-Peen)Forge Tongs
 AnvilBellows
Document the cementation results
Document the cementation results
Weigh the finished steel bars and compare against the starting weight. The weight gain is the carbon absorbed — for a target of 0.8% carbon, 500 grams of iron should gain approximately 4 grams. Actual gain will vary with soak time, temperature, and bar thickness. Record the cementation parameters: bar dimensions, charcoal type and quantity, soak time, estimated temperature, and the spark test results.
Store the blister steel in a dry location to prevent rust. Steel rusts faster than wrought iron because the carbon inclusions create electrochemical cells that accelerate corrosion. For long-term storage, coat with oil or wax. The steel is now ready for forging into tools, blades, or any application requiring a hard, strong material. Heat treatment (hardening and tempering) tailors the final properties to the specific use — a topic that builds directly on the metallurgical foundations of this blueprint.
Tools needed:
Precision Scale (0.01g)Materials
2- Placeholder
Tools Required
16- Placeholder
- Placeholder
- Placeholder
- Placeholder
- Placeholder
- Placeholder
- Placeholder
- Placeholder
- Placeholder
- Placeholder
- Placeholder
- Placeholder
- Placeholder
- Placeholder
Connected Blueprint Materials
Related Blueprints
These blueprints share knowledge with this one — techniques, materials, or principles that connect them in the learning graph.
Related blueprints
Other builds that share materials, tools, or techniques with this one.
CC0 Public Domain
This blueprint is released under CC0. You are free to copy, modify, distribute, and use this work for any purpose, without asking permission.
Support the Maker by purchasing products through their Blueprint where they earn a Maker Commission set by Vendors, or create a new iteration of this Blueprint and include it as a connection in your own Blueprint to share revenue.