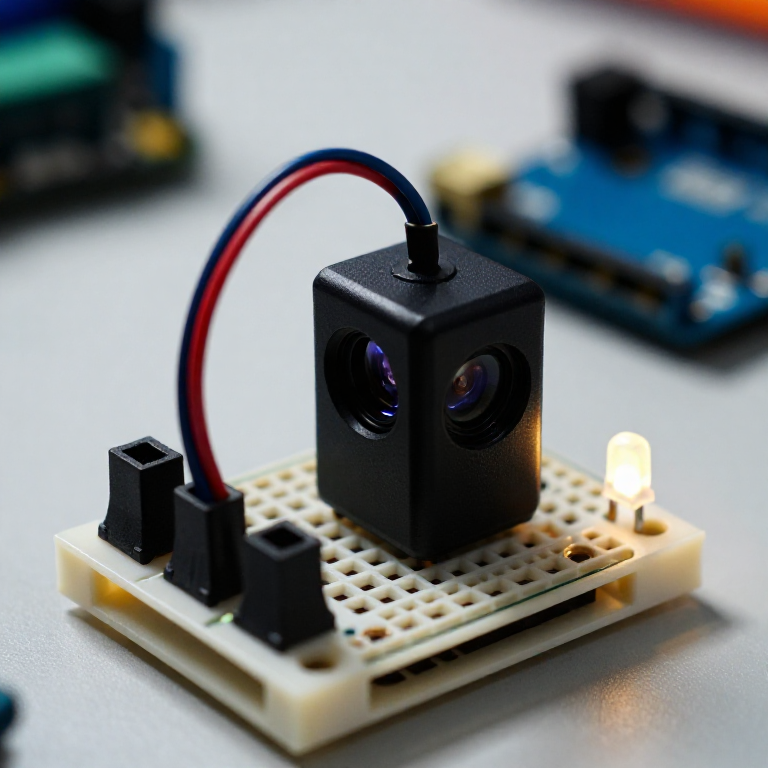


Building an Infrared Distance Sensor
Measure distance with light. A Sharp infrared sensor bounces a beam off an object and reports, as a voltage, the angle it returns at — closer objects give a higher reading. The Arduino turns that into an approximate distance and lights an LED when something comes near: a touchless switch, a hand-wave trigger, or a robot's eyes. Unlike the ultrasonic sensor, this uses infrared light, works at short range, and makes no sound.
دستورالعملها
Wire the sensor and LED
Wire the sensor and LED
The Sharp sensor has a 3-wire cable: VCC (red) to Arduino 5V, GND (black) to GND, and signal (white or yellow) to A0. On the breadboard, wire an LED from pin 7 through a 330 Ω resistor to GND (long leg to the pin).
مواد مورد نیاز این مرحله:
 Arduino Uno R31 قطعه
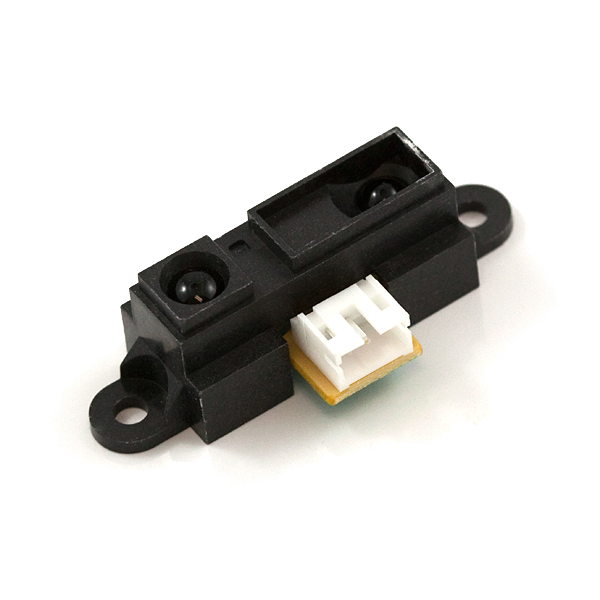 Infrared Proximity Sensor - Sharp GP2Y0A21YK1 قطعه
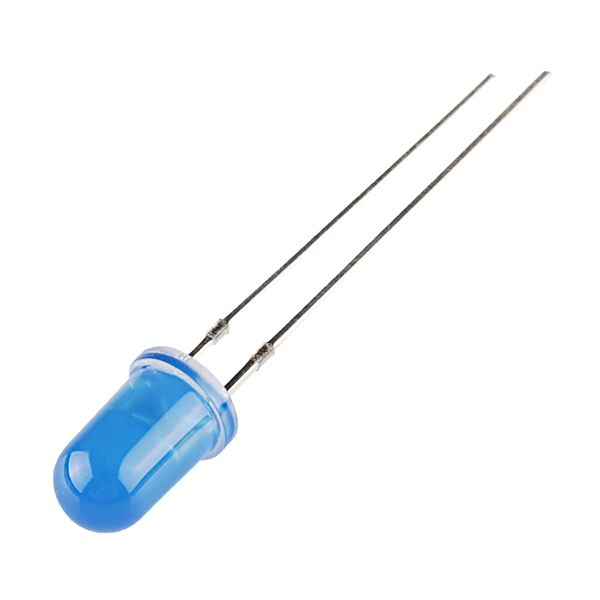 LED - Basic 5mm1 قطعه
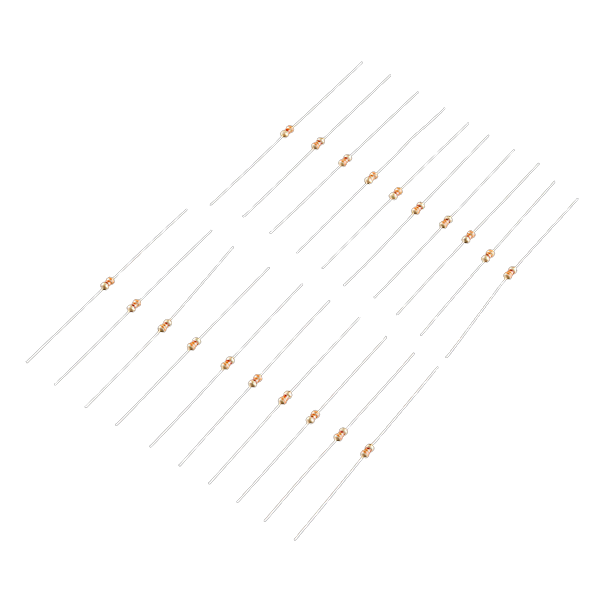 Resistor 330 Ohm 1/6 Watt PTH - 20 pack1 بسته
 Breadboard1 قطعه
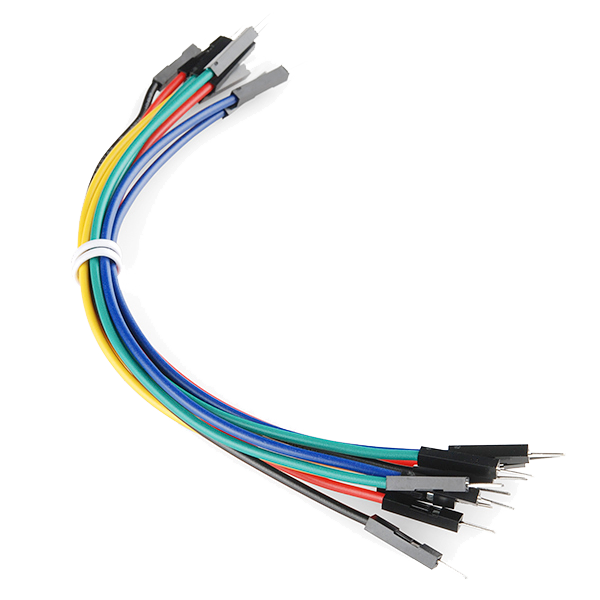 Jumper Wires (Male-to-Male)1 بسته
Connect and open the IDE
Connect and open the IDE
Plug the Arduino into your computer with the USB cable, open the Arduino IDE, and select Arduino Uno and its serial port.
مواد مورد نیاز این مرحله:
 USB-B Cable1 قطعه
ابزارهای مورد نیاز:
 رایانه با Arduino IDE
Upload the distance sketch
Upload the distance sketch
Paste this sketch and upload, then open the Serial Monitor. It reads the sensor, estimates the distance, and lights the LED when something is within 20 cm.
Test and understand the curve
Test and understand the curve
Open the Serial Monitor and move your hand between about 10 and 80 cm — the printed distance should track it, and the LED lights inside 20 cm. Two things to know: below ~10 cm the reading becomes ambiguous (the sensor's curve folds back), and the output is non-linear, so for real accuracy note the raw value at a few known distances and fit your own curve.
Put it to work
Put it to work
Use it as a touchless switch (wave to trigger), a shelf or drawer 'is-it-open' sensor, or an obstacle detector for a small robot. Change NEAR_CM to set the trigger distance, or swap in the short-range (4–30 cm) or long-range (20–150 cm) Sharp sensor for a different span.
مواد
7- Arduino Uno R3 SMD10% کمیسیون1 قطعه$27.06
- Infrared Proximity Sensor - Sharp GP2Y0A21YK10% کمیسیون1 قطعه$13.24
- LED - Basic 5mm10% کمیسیون1 قطعه$0.77
- Resistor 330 Ohm 1/6 Watt PTH - 20 pack10% کمیسیون1 بسته$1.19
- Breadboard - Classic10% کمیسیون1 قطعه$9.50
- 1 بسته$5.01
- SparkFun Cerberus USB Cable - 1.8 meter10% کمیسیون1 قطعه$5.69
ابزارهای لازم
2- جایگزین
- Breadboard - Classic10% کمیسیون$9.50
نقشههای مرتبط
این نقشهها دانش مشترکی دارند — تکنیکها، مواد یا اصول


CC0 مالکیت عمومی
این نقشه تحت مجوز CC0 منتشر شده است. شما آزاد هستید آن را کپی، ویرایش، توزیع و برای هر هدفی بدون نیاز به اجازه استفاده کنید.
با خرید محصولات از طریق نقشه از سازنده حمایت کنید و او کمیسیون سازنده تعیین شده توسط فروشندگان، دریافت میکند یا یک نسخه جدید از این نقشه ایجاد کنید و آن را به عنوان اتصال در نقشه خود قرار دهید تا درآمد به اشتراک گذاشته شود.