هنر
زیبایی و سلامت
صنایع دستی
فرهنگ و تاریخ
سرگرمی
محیط زیست
غذا و نوشیدنی
مهندسی معکوس
علوم
ورزش
فناوری
پوشیدنیها
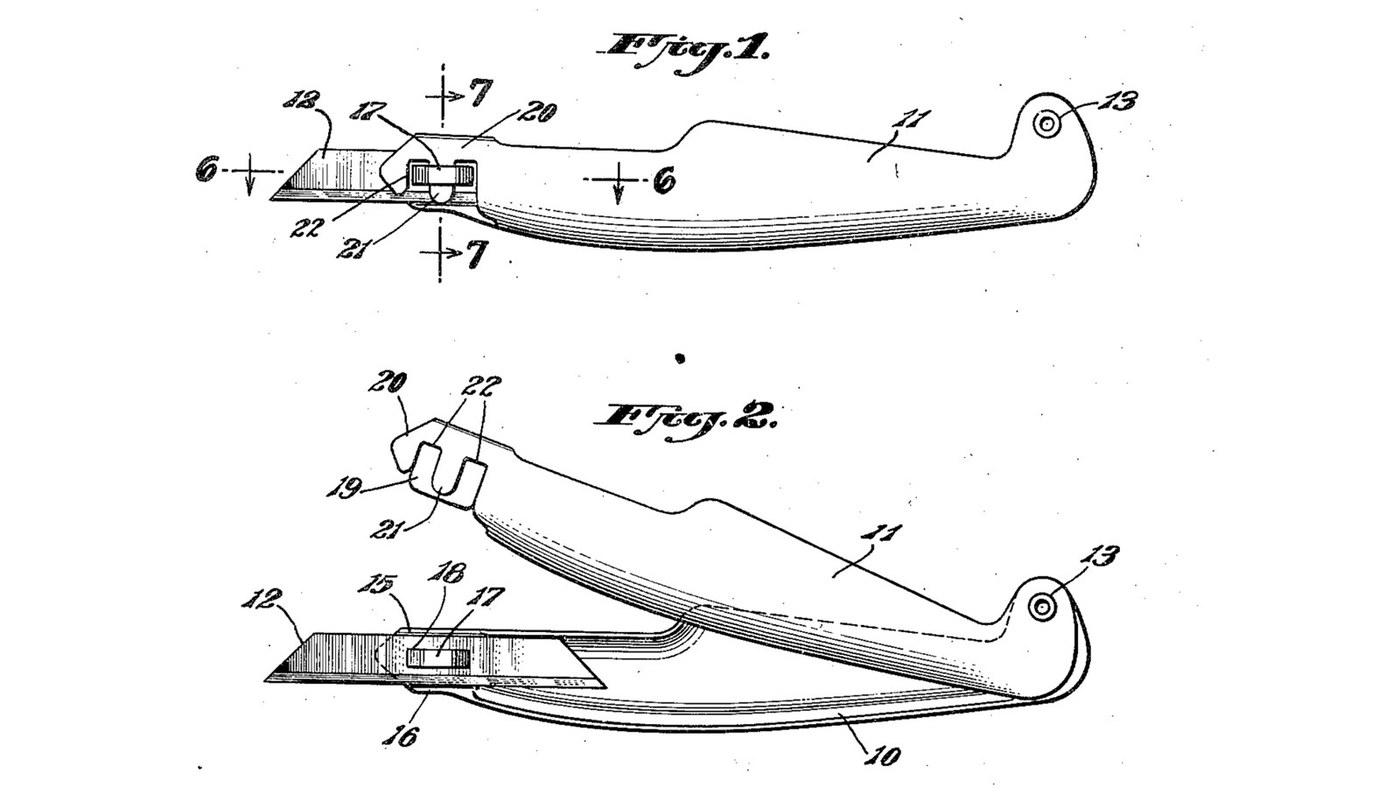


Craft Knife: Doniger's Hinged Handle and Reversible Blade
A knife for model carving and fine cutting, by Sundel Doniger of New York, founder of X-Acto (US 2,463,682, filed 1945, granted 1949). The handle is two shell-like metal halves pivoted at the rear. A thin blade with a slot in its middle drops over a small 'staple' pressed out of one half; closing the other half pushes a tongue into the staple and locks the blade solid. Swing it open to change the blade or turn it end for end: the spare end rests inside the handle.
The patent gives no sizes or metals. Mild steel sheet, the rivet, the spring steel blade and the sizes are ours. The picture: Figs. 1 and 2 of the patent.
متوسط
1 day
دستورالعملها
1
1
Mark out the two handle halves
Mark out the two handle halves
Scribe two mirror-image halves, about 130 mm long, on mild steel sheet about 0.8 mm thick (ours). Give each a flat rear ear for the pivot and a nose at the blade end.
مواد مورد نیاز این مرحله:
 ورق فولاد نرم1 قطعه
ابزارهای مورد نیاز:
 سوزن خطانداز
 خطکش
2
2
Cut and file the halves
Cut and file the halves
Cut both halves out with tin snips and file the edges smooth.
ابزارهای مورد نیاز:
 قیچی ورقبری
 سوهان فلز
 گیرهٔ رومیزی
3
3
Dome the grip, keep the ends flat
Dome the grip, keep the ends flat
Hammer the middle of each half into a shallow bulge over a hollow in a hardwood block. Leave the pivot ends flat, so the pivot cannot wobble, and leave the noses flat.
ابزارهای مورد نیاز:
 چکش گِردسر
 قطعهٔ چوب سخت
4
4
Form the blade wall and its shoulders
Form the blade wall and its shoulders
On the mounting half (10), the nose is a flat wall (14) in the plane where the halves meet. Turn its top and bottom edges inward into shoulders (15, 16) just as far apart as the blade is wide.
ابزارهای مورد نیاز:
 انبردست تختچکش گِردسرگیرهٔ رومیزی
5
5
Press out the staple
Press out the staple
Slit the middle of the wall along two short parallel lines, lengthwise. Press the strip between the slits outward to form the staple (17).
ابزارهای مورد نیاز:
 قلم سرد
 سنبهٔ نشانهگذاریچکش گِردسر
 سندان
6
6
Bend the locking channel
Bend the locking channel
Bend the nose of the locking half (11) into a springy channel: a broad rear flange (19) about the size of the wall, and a front flange (20) with a tongue (21) and a cut-out (22) each side of it to clear the staple's legs.
ابزارهای مورد نیاز:
قیچی ورقبری مجموعه سوهان سوزنیانبردست تخت
7
7
Drill the pivot
Drill the pivot
Clamp the halves together, punch the centre of the rear ear and drill through both.
ابزارهای مورد نیاز:
سنبهٔ نشانهگذاری دریل دستیگیرهٔ رومیزی
8
8
Rivet the pivot
Rivet the pivot
Rivet the flat ends together (Doniger used an eyelet; ours: a steel rivet). Close it firmly: the friction of the flat ends must hold the halves wherever you swing them.
مواد مورد نیاز این مرحله:
 پرچ فولادی1 قطعه
ابزارهای مورد نیاز:
 چکش پرچکاریسندان
9
9
Anneal and cut the blade blank
Anneal and cut the blade blank
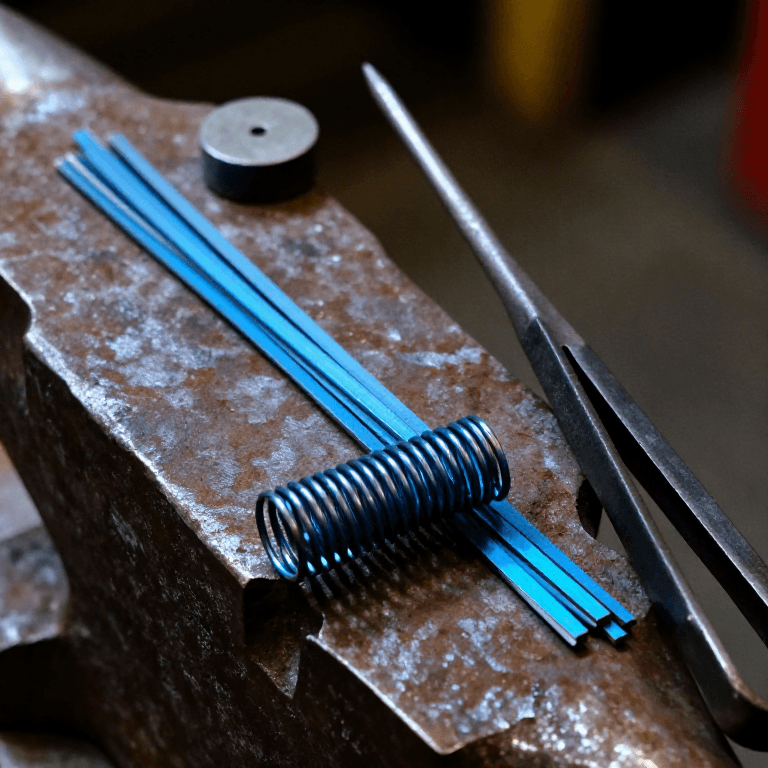
Soften a piece of spring steel strip about 0.4 mm thick (ours), as in the connected spring-steel blueprint. Cut a blank as wide as the gap between the shoulders.
مواد مورد نیاز این مرحله:
 نوار فولاد فنر1 قطعه
ابزارهای مورد نیاز:
 کورهٔ آهنگری
 انبر آهنگری
 خاکستر چوب سختقیچی ورقبری
 دستکش جوشکاری
10
10
Cut the centre slot
Cut the centre slot
Cut a slot (18) in the exact middle of the blank that fits closely over the staple. Drill its ends and file out between them.
ابزارهای مورد نیاز:
سنبهٔ نشانهگذاریدریل دستیمجموعه سوهان سوزنیگیرهٔ رومیزی11
11
Shape both points
Shape both points
Cut each end of the blank to a slanting point, as in Fig. 1, and grind a cutting bevel at both ends.
ابزارهای مورد نیاز:
قیچی ورقبری سنگ چرخان تیزکنیسوهان فلز
12
12
Harden and temper the blade
Harden and temper the blade
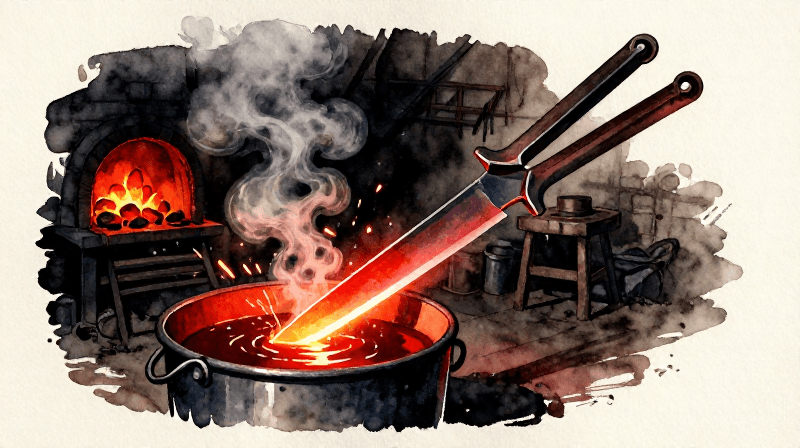
Harden the blade in oil as in the connected spring-steel blueprint. Temper it to the knife colour given in the connected heat-treatment blueprint, not to spring blue.
ابزارهای مورد نیاز:
کورهٔ آهنگریانبر آهنگری روغن کلزادستکش جوشکاری
13
13
Hone both edges
Hone both edges
Hone both ends keen on the sharpening stone.
ابزارهای مورد نیاز:
 سنگ تیزکنی
14
14
Fit and lock the blade
Fit and lock the blade
Swing the halves open. Lay the blade flat on the wall, its slot over the staple and its edges between the shoulders. Swing the locking half shut: the tongue enters the staple and the channel grips the blade. No tools needed.
15
15
Reverse or change the blade
Reverse or change the blade
Swing the locking half up, lift the blade off the staple and turn it end for end, or fit a new one. The spare end sits protected inside the handle.
16
16
What the patent says, and what is ours
What the patent says, and what is ours
The patent fixes the parts and how they lock: hinged shell halves, flat riveted pivot ends that hold by friction, a wall with shoulders and a pressed-out staple, a slotted double-ended blade, a springy channel with tongue and cut-outs. It gives no sizes, no metals and no blade making. All sizes, the mild steel, the rivet and the spring steel blade are our choices. Doniger's better-known X-Acto knives hold the blade in a round collet instead.
مواد
3- 1 قطعهجایگزین
- 1 قطعهجایگزین
- 1 قطعهجایگزین
ابزارهای لازم
21- جایگزین
- جایگزین
- جایگزین
- جایگزین
- جایگزین
- جایگزین
- جایگزین
- جایگزین
- جایگزین
- جایگزین
- جایگزین
- جایگزین
- جایگزین
- جایگزین
- جایگزین
- جایگزین
- جایگزین
- جایگزین
- جایگزین
- جایگزین
- جایگزین
این نقشه میسازد

نقشههای مرتبط
این نقشهها دانش مشترکی دارند — تکنیکها، مواد یا اصول

CC0 مالکیت عمومی
این نقشه تحت مجوز CC0 منتشر شده است. شما آزاد هستید آن را کپی، ویرایش، توزیع و برای هر هدفی بدون نیاز به اجازه استفاده کنید.
با خرید محصولات از طریق نقشه از سازنده حمایت کنید و او کمیسیون سازنده تعیین شده توسط فروشندگان، دریافت میکند یا یک نسخه جدید از این نقشه ایجاد کنید و آن را به عنوان اتصال در نقشه خود قرار دهید تا درآمد به اشتراک گذاشته شود.