

Smelting Tamahagane Steel in a Tatara Furnace — Traditional Japanese Steelmaking
دستورالعملها
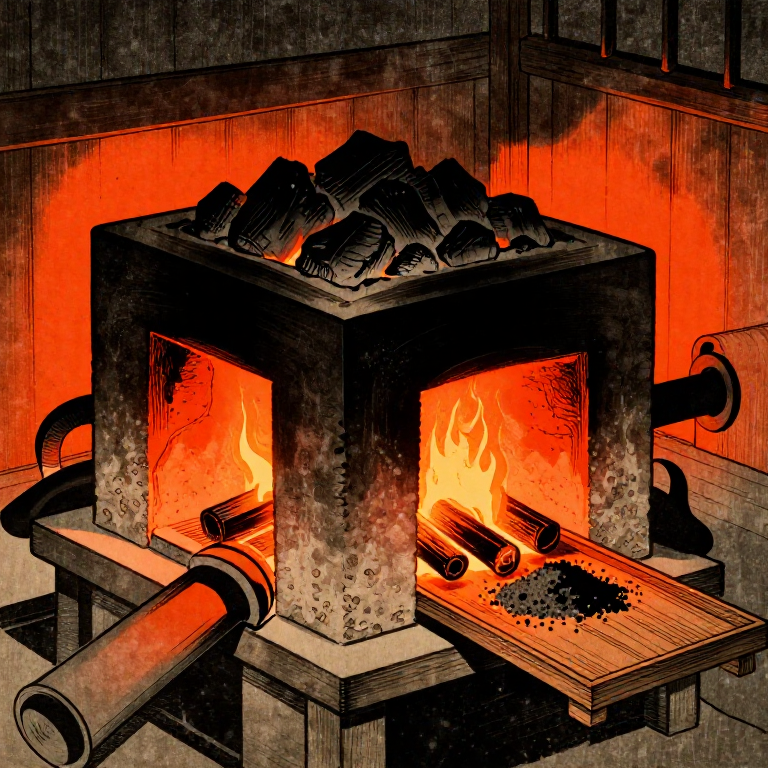
Construct the Tatara Furnace
Construct the Tatara Furnace
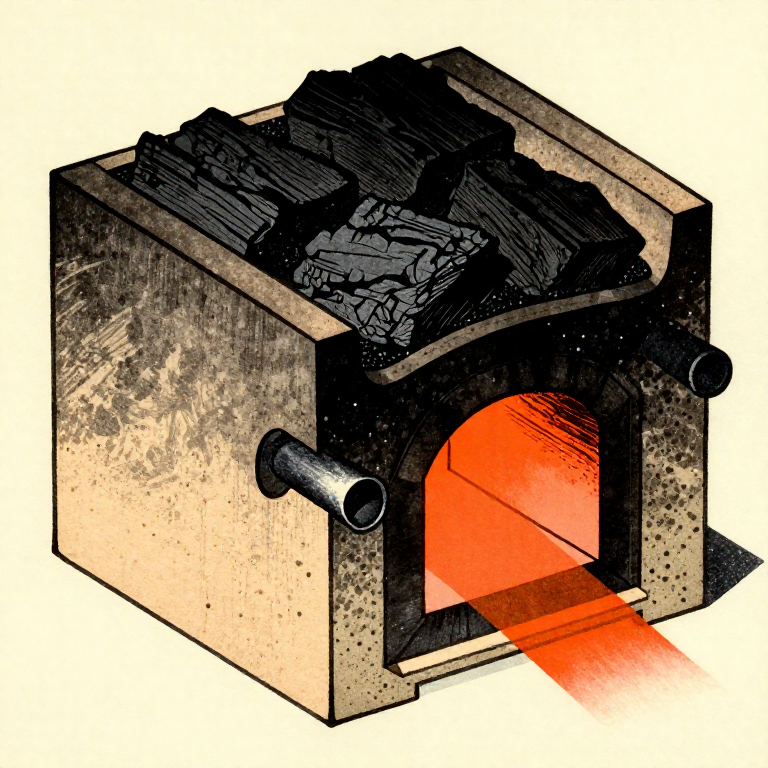
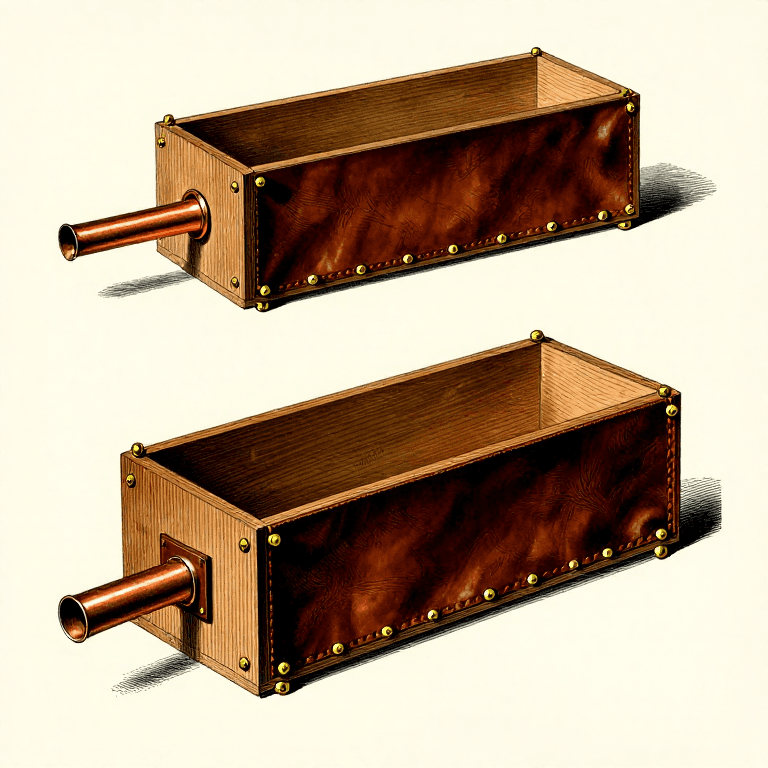
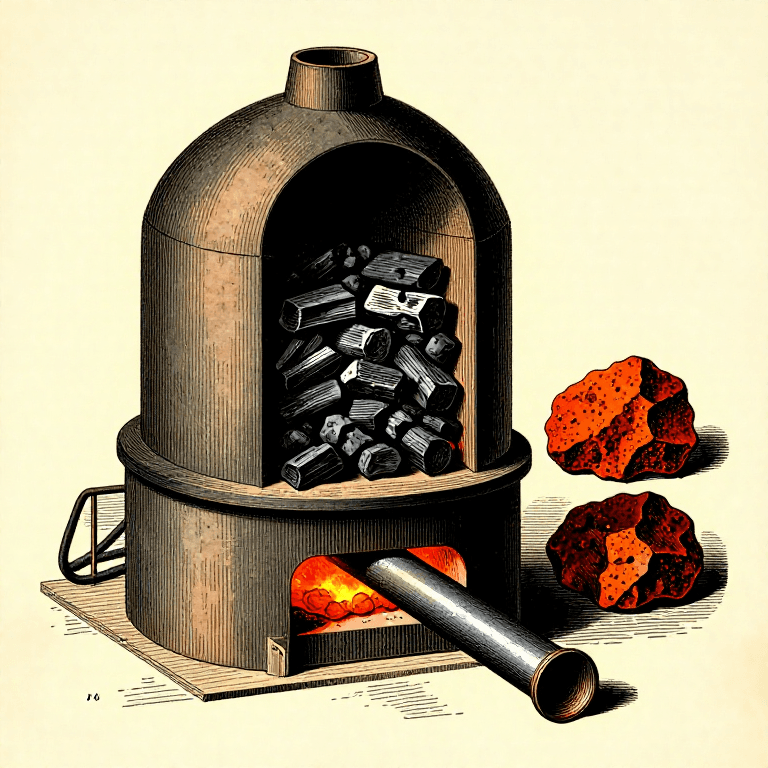
Build a rectangular box furnace approximately 120cm long, 40cm wide, and 120cm tall from refractory clay mixed with rice straw for thermal shock resistance. The walls should be 10-15cm thick. Construct the furnace on a raised sand bed that allows moisture to drain away, preventing steam explosions during firing. Install tuyere holes (air inlet ports) along both long sides at 15-20cm intervals, positioned 10-15cm above the base. These holes accept the nozzles from the fuigo bellows. Allow the furnace to dry thoroughly for at least one week before the first firing to prevent cracking from residual moisture.
مواد مورد نیاز این مرحله:
 زغال خردشده12-15 kg کیلوگرم
 گِل طبیعی50-60 kg for furnace construction کیلوگرم
 ماسهٔ ریز20 kg کیلوگرم
Preheat and Charge the Furnace
Preheat and Charge the Furnace
Fill the furnace with charcoal and ignite it. Operate the bellows continuously to bring the interior temperature above 1200 degrees C. The charcoal bed should be glowing white-hot before adding iron sand. Begin charging by alternating layers of crushed charcoal and satetsu iron sand through the open top. Add approximately 2-3 kg of iron sand per charge, followed by a layer of charcoal. Each charge cycle takes roughly 30 minutes. The carbon monoxide produced by the burning charcoal reduces the iron oxide (Fe2O3) in the sand to metallic iron, which absorbs carbon from the charcoal as it descends through the furnace.
Maintain the Smelt for Three Days
Maintain the Smelt for Three Days
Continue the charging cycle for approximately 72 hours without interruption, adding iron sand and charcoal every 30 minutes. The bellows must operate continuously to maintain temperature. Slag (a glassy iron silicate) pools at the base and must be periodically tapped through a hole at the bottom of the furnace. The colour of the slag indicates furnace conditions: dark fluid slag means good reduction, while thick pasty slag indicates the temperature is too low. As the smelt progresses, reduced iron and steel accumulate as a large mass called the kera at the bottom of the furnace.
Break Open the Furnace and Extract the Kera
Break Open the Furnace and Extract the Kera
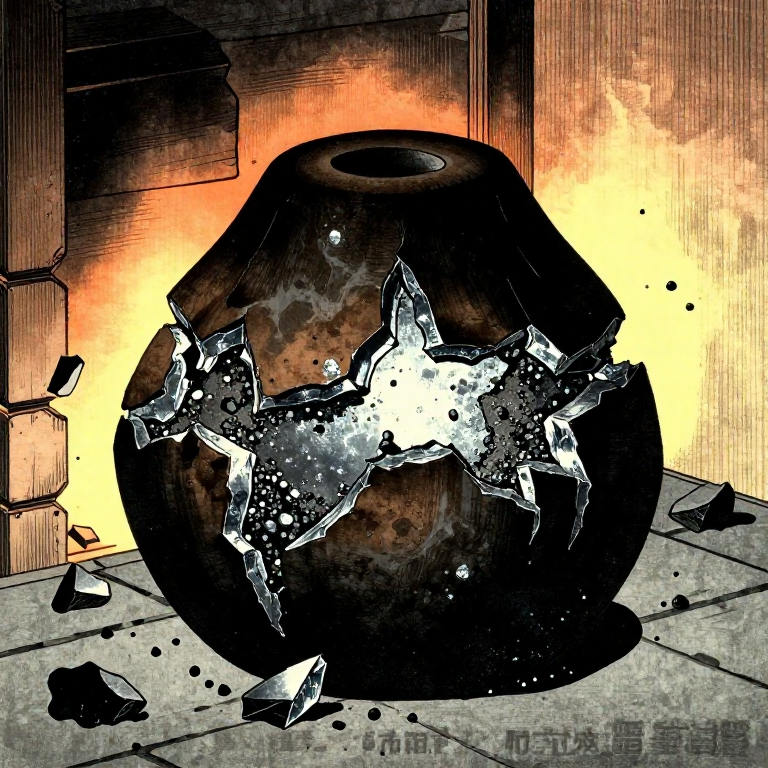
After the final charge, allow the furnace to cool for several hours. Then break apart the front wall with sledgehammers to extract the kera, which is a rough mass of mixed steel and iron weighing 2-3 kg from 8-10 kg of iron sand. The kera contains regions of different carbon content: the high-carbon tamahagane (1.0-1.5% C) is found in the upper portions where contact with charcoal was greatest, while low-carbon iron (hocho-tetsu) collects at the bottom. The kera is broken apart with sledgehammers to reveal the interior structure.
Sort and Grade the Steel
Sort and Grade the Steel
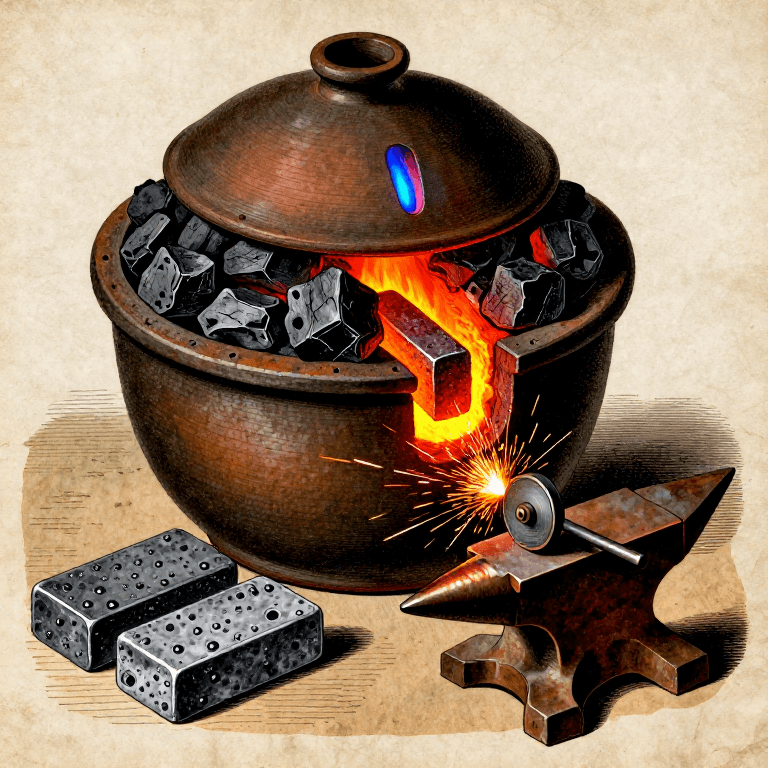
Break the kera into fist-sized pieces using a heavy sledgehammer. Examine the fracture surfaces to grade the steel by carbon content. High-carbon tamahagane has a bright, fine-grained crystalline fracture surface with a silvery-white colour. Low-carbon iron shows a more fibrous, grey fracture. Medium-carbon steel falls between these. Sort the pieces into separate piles by grade. High-carbon pieces (hagane) will form the cutting edge of blades, while low-carbon pieces (shingane) become the soft core. A typical tatara run yields roughly 1-2 kg of usable tamahagane from the original kera, representing the highest quality steel suitable for blade forging.
مواد
7- 12-15 kg کیلوگرمجایگزین
- 50-60 kg for furnace construction کیلوگرمجایگزین
- 20 kg کیلوگرمجایگزین
- 8-10 kg قطعهجایگزین
- 2-3 kg قطعهجایگزین
- 20 kg قطعهجایگزین
- 1 قطعهجایگزین
ابزارهای لازم
6- جایگزین
- جایگزین
- جایگزین
- جایگزین
- جایگزین
- جایگزین
مواد نقشههای متصل


CC0 مالکیت عمومی
این نقشه تحت مجوز CC0 منتشر شده است. شما آزاد هستید آن را کپی، ویرایش، توزیع و برای هر هدفی بدون نیاز به اجازه استفاده کنید.
با خرید محصولات از طریق نقشه از سازنده حمایت کنید و او کمیسیون سازنده تعیین شده توسط فروشندگان، دریافت میکند یا یک نسخه جدید از این نقشه ایجاد کنید و آن را به عنوان اتصال در نقشه خود قرار دهید تا درآمد به اشتراک گذاشته شود.