Forge Welding Iron — Joining Two Pieces into One
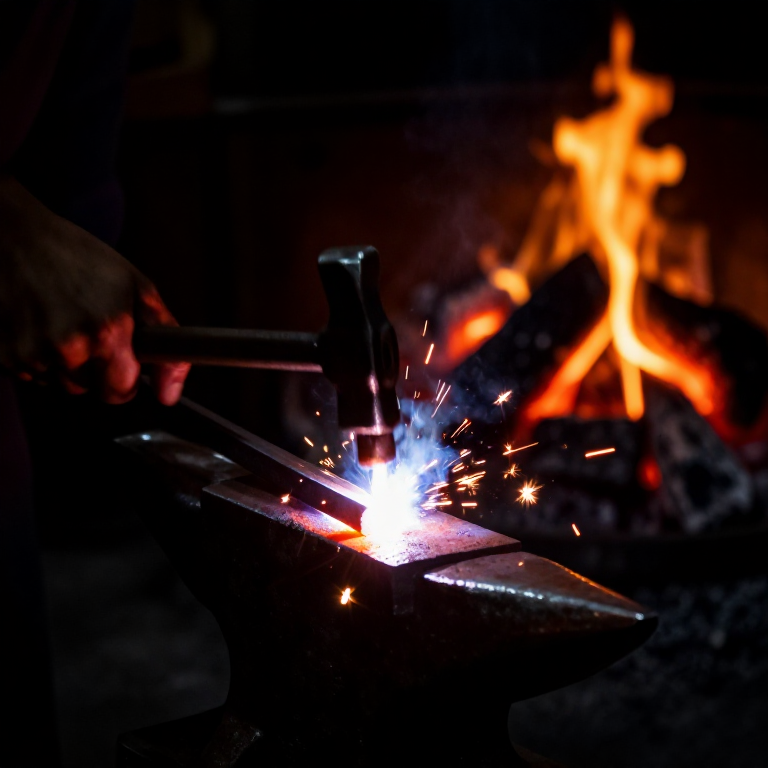
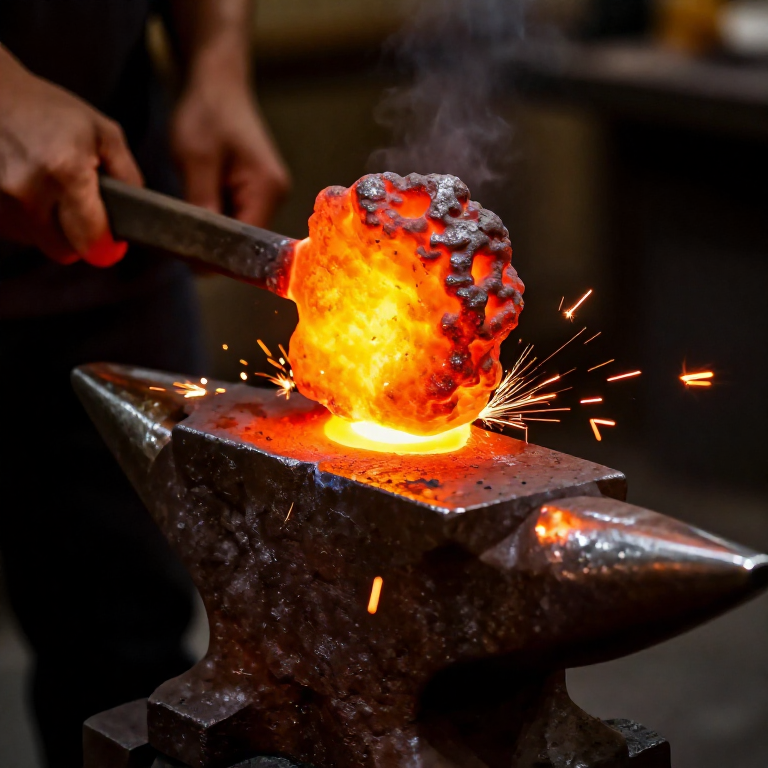
Forge welding is the oldest method of joining metals — predating riveting, brazing, and soldering. Two pieces of iron are heated to bright yellow-white heat (around 1,300 °C), then hammered together on the anvil. At this temperature the iron surfaces bond permanently at the atomic level, creating a joint that is as strong as the parent metal.
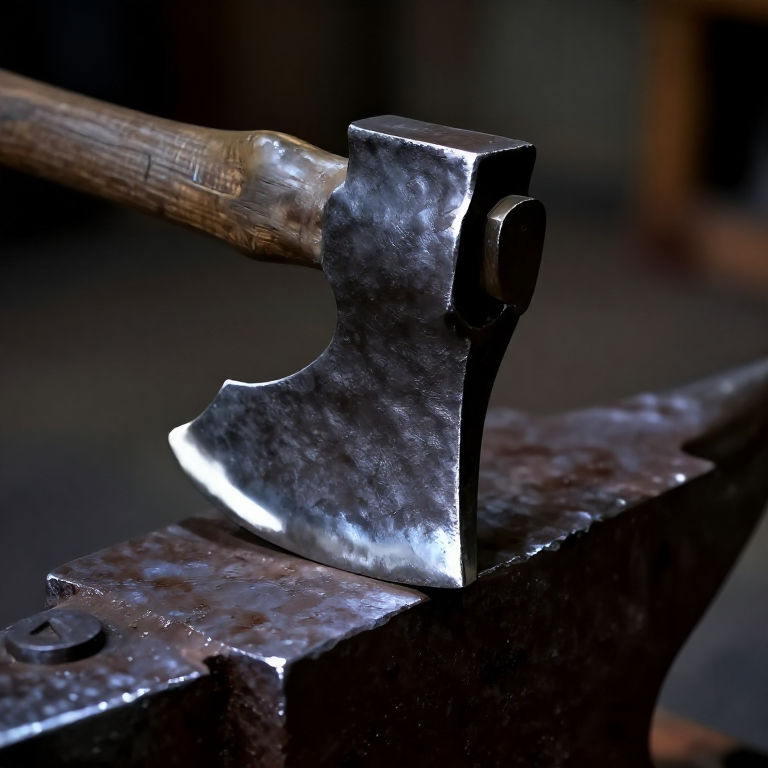
This single technique made possible every complex iron object of the pre-industrial world: chain links, gate hinges, plough shares, barrel hoops, and swords. Without forge welding, a blacksmith can only make objects from a single piece of iron. With it, the smith can build up any shape from simple stock by joining, scarfing, and folding.
The critical challenge is preventing oxide scale from forming on the surfaces during heating. A flux — traditionally clean sand or borax — is sprinkled on the joint surfaces. The flux melts at a lower temperature than the iron's welding heat, dissolving the oxide and floating it away as liquid slag when the hammer blows land.
دستورالعملها
Prepare the scarf joint
Prepare the scarf joint
ابزارهای مورد نیاز:
 Forge Hammer (Cross-Peen)
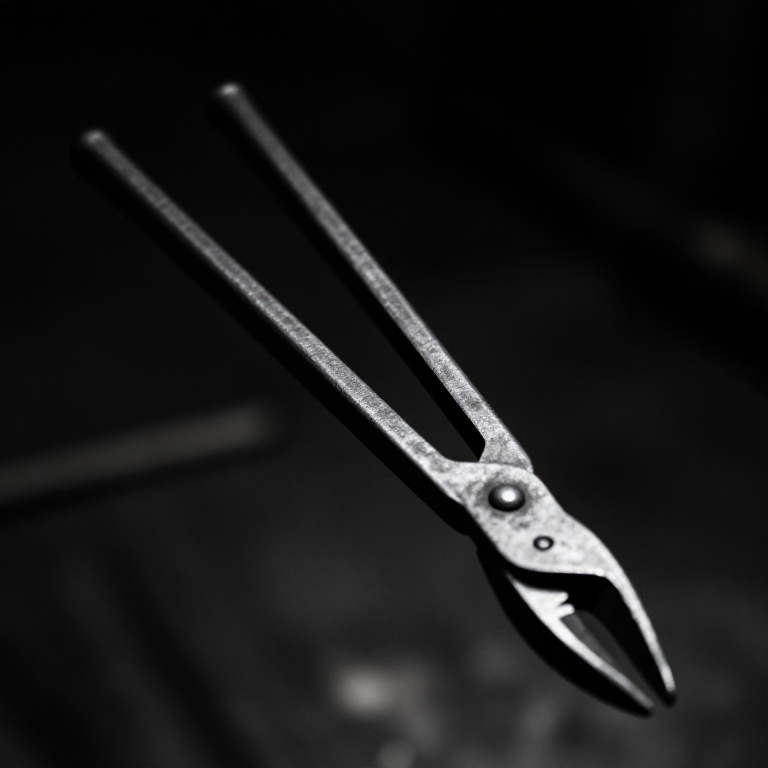
 Forge Tongs
 Hearth (Forge Fire)
Clean the forge fire
Clean the forge fire
مواد مورد نیاز این مرحله:
 Charcoal4 kg
Heat to initial welding temperature
Heat to initial welding temperature
Apply flux
Apply flux
مواد مورد نیاز این مرحله:
 Quartz Sand (clean)50 g
Reach welding heat
Reach welding heat
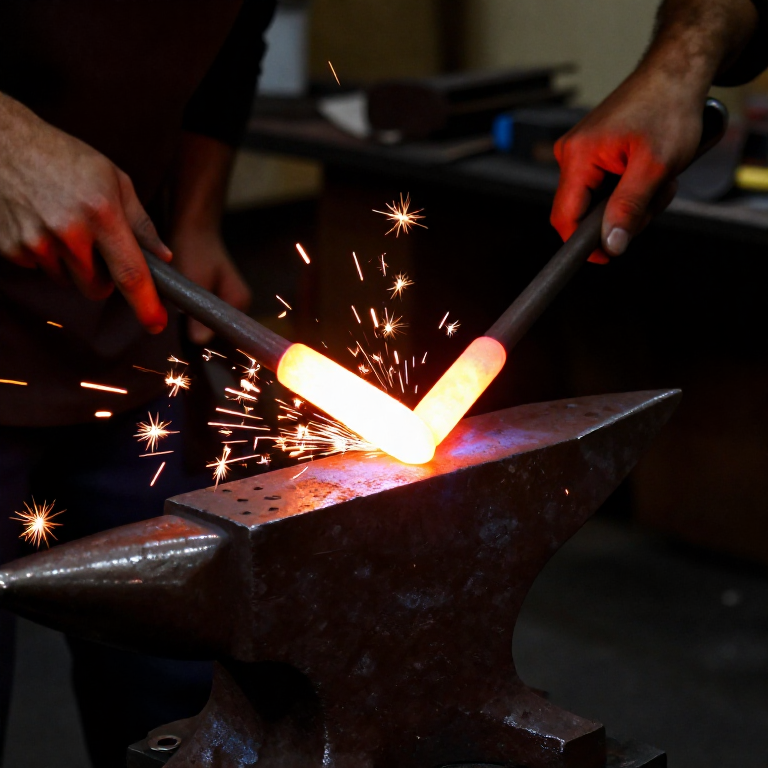
Weld the joint
Weld the joint
Refine the weld
Refine the weld
Test the weld
Test the weld
ابزارهای لازم
3- جایگزین
- جایگزین
مواد نقشههای متصل
نقشههای مرتبط
این نقشهها دانش مشترکی دارند — تکنیکها، مواد یا اصول
Related blueprints
Other builds that share materials, tools, or techniques with this one.


CC0 مالکیت عمومی
این نقشه تحت مجوز CC0 منتشر شده است. شما آزاد هستید آن را کپی، ویرایش، توزیع و برای هر هدفی بدون نیاز به اجازه استفاده کنید.
با خرید محصولات از طریق نقشه از سازنده حمایت کنید و او کمیسیون سازنده تعیین شده توسط فروشندگان، دریافت میکند یا یک نسخه جدید از این نقشه ایجاد کنید و آن را به عنوان اتصال در نقشه خود قرار دهید تا درآمد به اشتراک گذاشته شود.