همکاری
هنر
زیبایی و سلامت
صنایع دستی
فرهنگ و تاریخ
سرگرمی
محیط زیست
غذا و نوشیدنی
مهندسی معکوس
علوم
ورزش
فناوری
پوشیدنیها
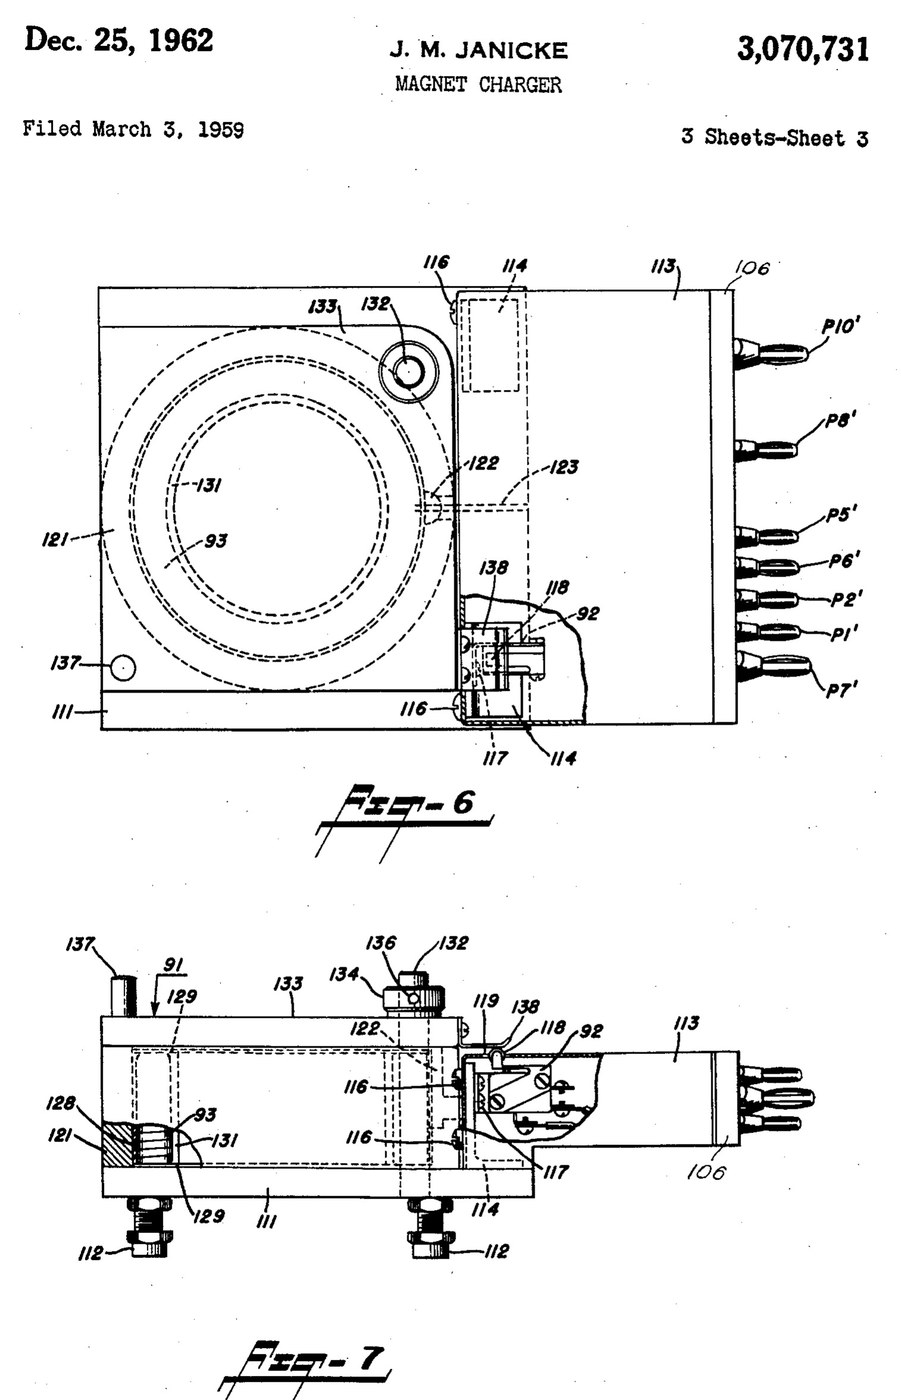


Magnetiser: Capacitor-Discharge Magnet Charger with a Wire-Wound Fixture (Janicke, US 3,070,731, 1962)
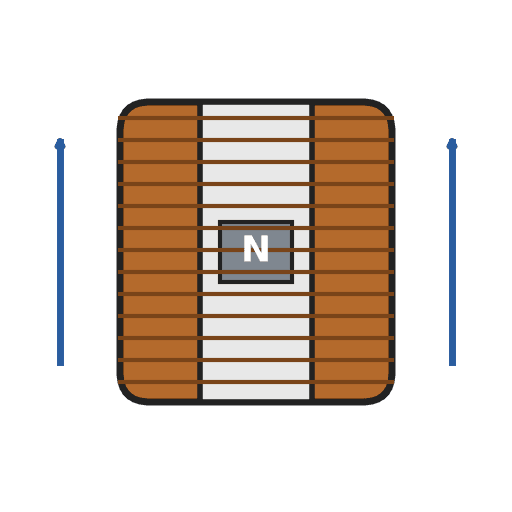
An impulse magnetiser. A capacitor is charged to a high voltage, then an ignitron dumps it all at once through a coil. The magnet sits inside the coil in a closed steel pot, so almost all of the flux goes through it.
Result: a magnet charger that magnetises rods, bars and blocks in one pulse, with an interlocked lid.
Source: J. M. Janicke, US 3,070,731 (1962). Unknown: voltages, capacitance, coil windings, field strength and sizes. Picture: the patent drawing.
متخصص
Unknown
دستورالعملها
1
1
Build the charging supply
Build the charging supply
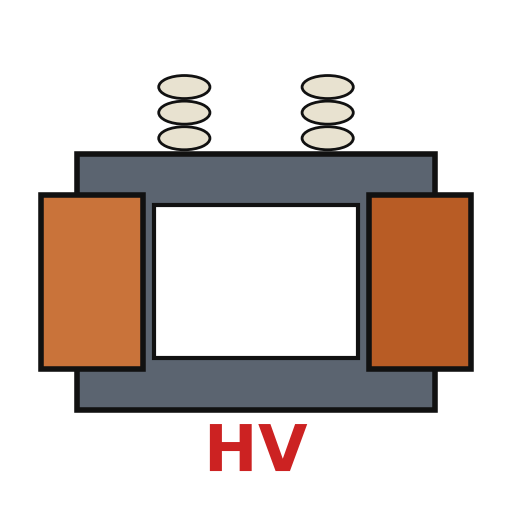
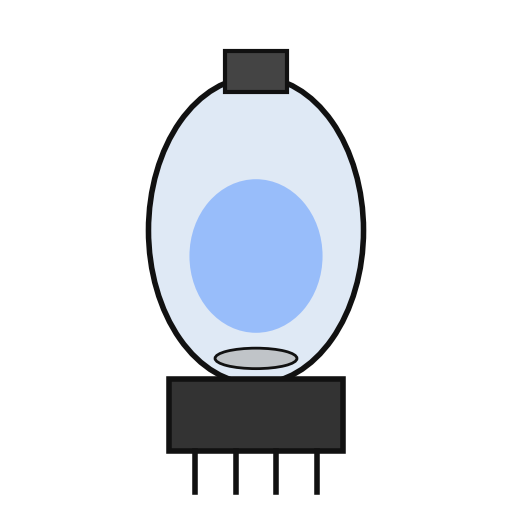
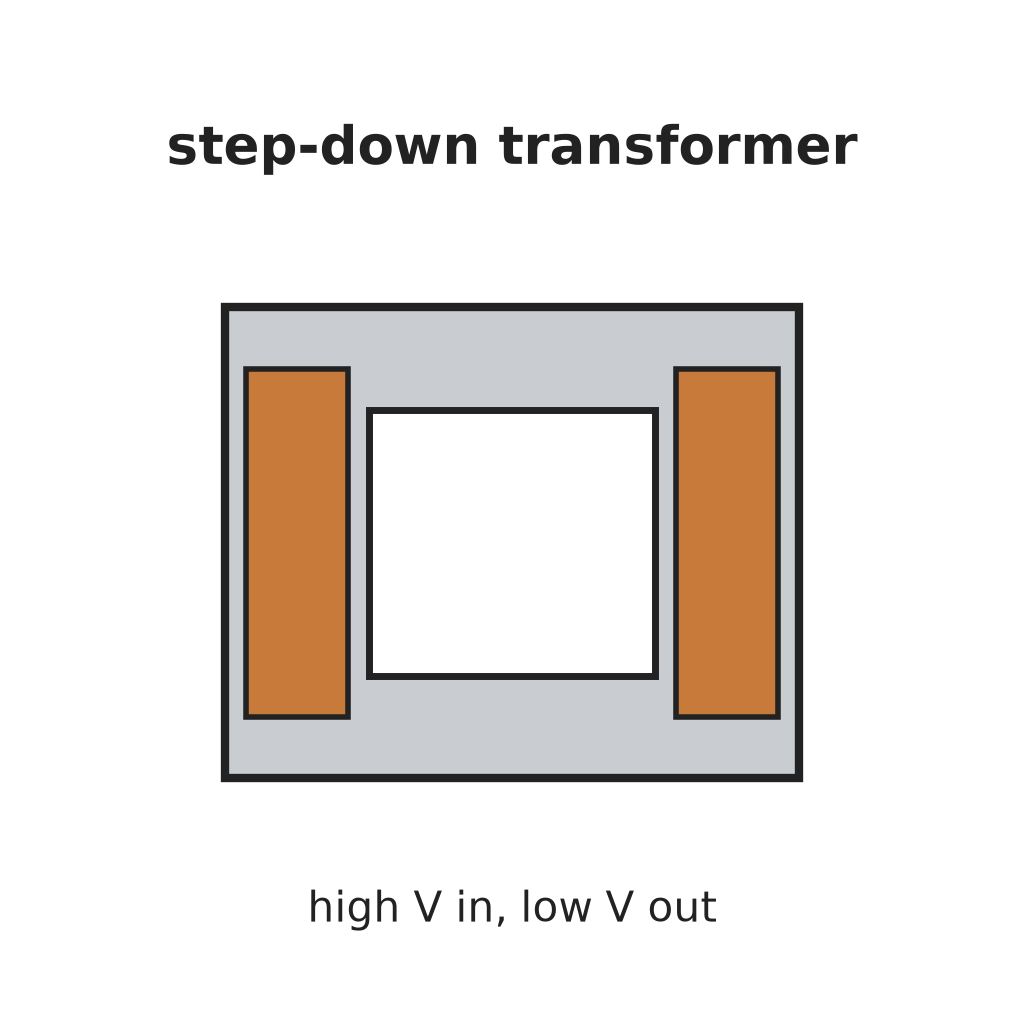
Feed a line switch from the mains through two fuses, with a pilot lamp. Wire a high-voltage transformer with two primaries, which a high-low switch puts in series or in parallel. Run its centre-tapped secondary to two mercury-vapour rectifier tubes, "or the like", with their own filament transformer, so they charge the energy-storage capacitor. A charging on-off switch with a red lamp switches the high-voltage side. A meter with multiplier resistors across the capacitor shows its voltage. Ours: toggle switches, neon lamps, a moving-coil meter. Not given: any voltage or value.
مواد مورد نیاز این مرحله:
 ترانسفورماتور ولتاژ بالا1 high-voltage transformer
 لامپ یکسوساز بخار جیوه2 rectifier tubes
 ترانسفورماتور کاهنده1 filament transformer
 خازن ذخیره انرژی1 storage capacitor
 نمایشگر عقربهای پنلی با پیچهٔ متحرک1 voltage meter
 مقاومت نامعلوم2 meter multipliers
 کلید اهرمی3 line, charging and high-low switches
 فیوز2 fuses
 لامپ نشانگر نئون2 pilot and red lamps
ابزارهای مورد نیاز:
 هویه
 سیملختکن
2
2
Add the delay and the bleeder
Add the delay and the bleeder
Put a thermal time-delay relay before the charging switch: about thirty seconds after switch-on it energises a control relay, which feeds the charging switch and holds itself on. A third contact of the control relay lifts a bleeder resistor off the capacitor while the charger runs. When the charger is shut down the relay drops out and the bleeder drains the dangerous high-voltage charge from the capacitor.
مواد مورد نیاز این مرحله:
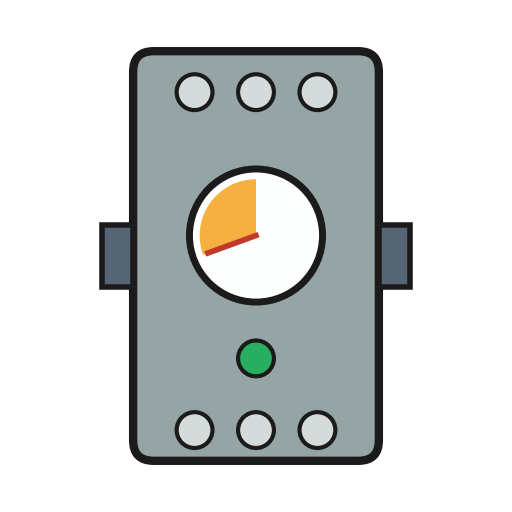 رلهٔ تأخیری1 thermal delay relay
 رله1 control relay, three contact setsمقاومت نامعلوم1 bleeder resistor
ابزارهای مورد نیاز:
هویهسیملختکن3
3
Fit the ignitron firing circuit
Fit the ignitron firing circuit
Put an ignitron in the discharge path of the storage capacitor, as its switch. The meter's multiplier resistors also form a divider that charges a small firing capacitor. Pressing the push button discharges the firing capacitor through a small limiting resistor into the ignitron's igniter, and the ignitron conducts. Not given: the firing capacitor's type and value.
مواد مورد نیاز این مرحله:
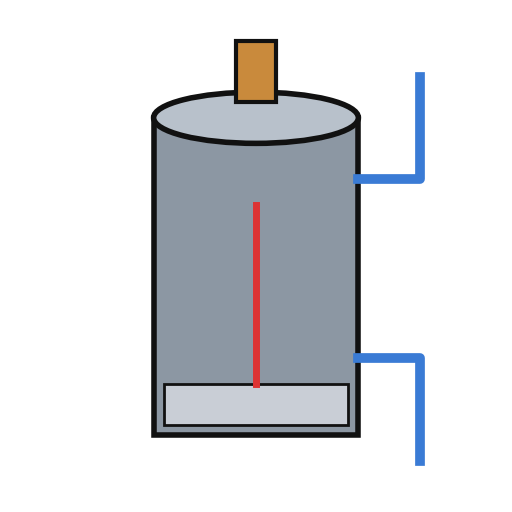 ایگنیترون1 discharge switch
 ماده ناشناخته1 firing capacitorمقاومت نامعلوم1 limiting resistor
 کلید فشاری1 charge button
ابزارهای مورد نیاز:
هویهسیملختکن4
4
Build the wire-wound fixture
Build the wire-wound fixture
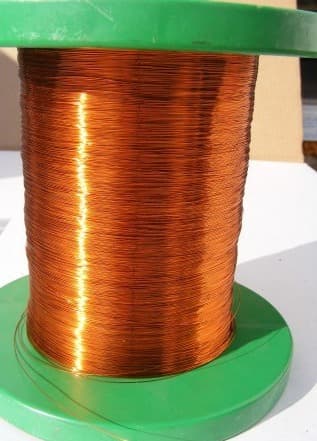
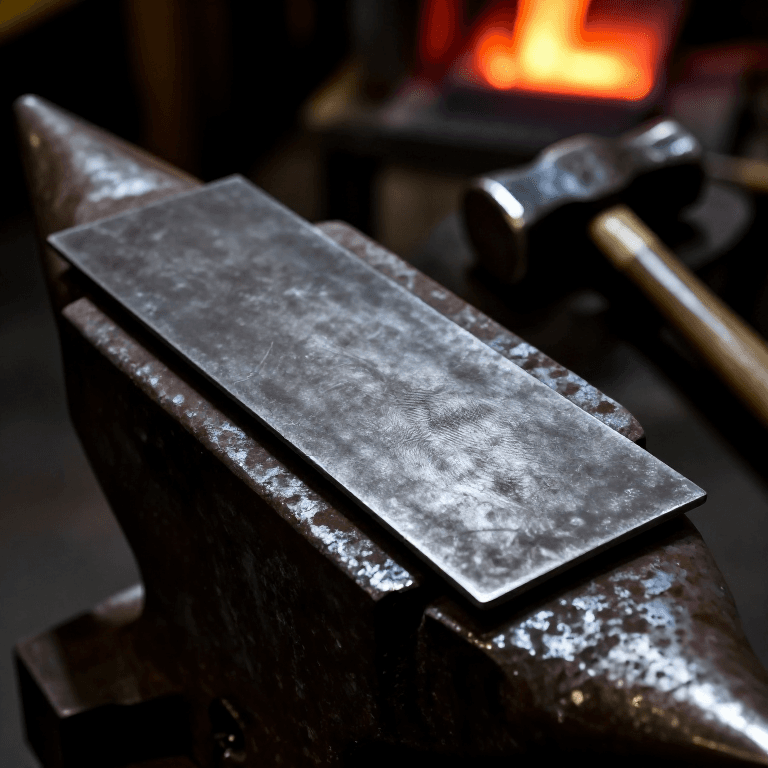
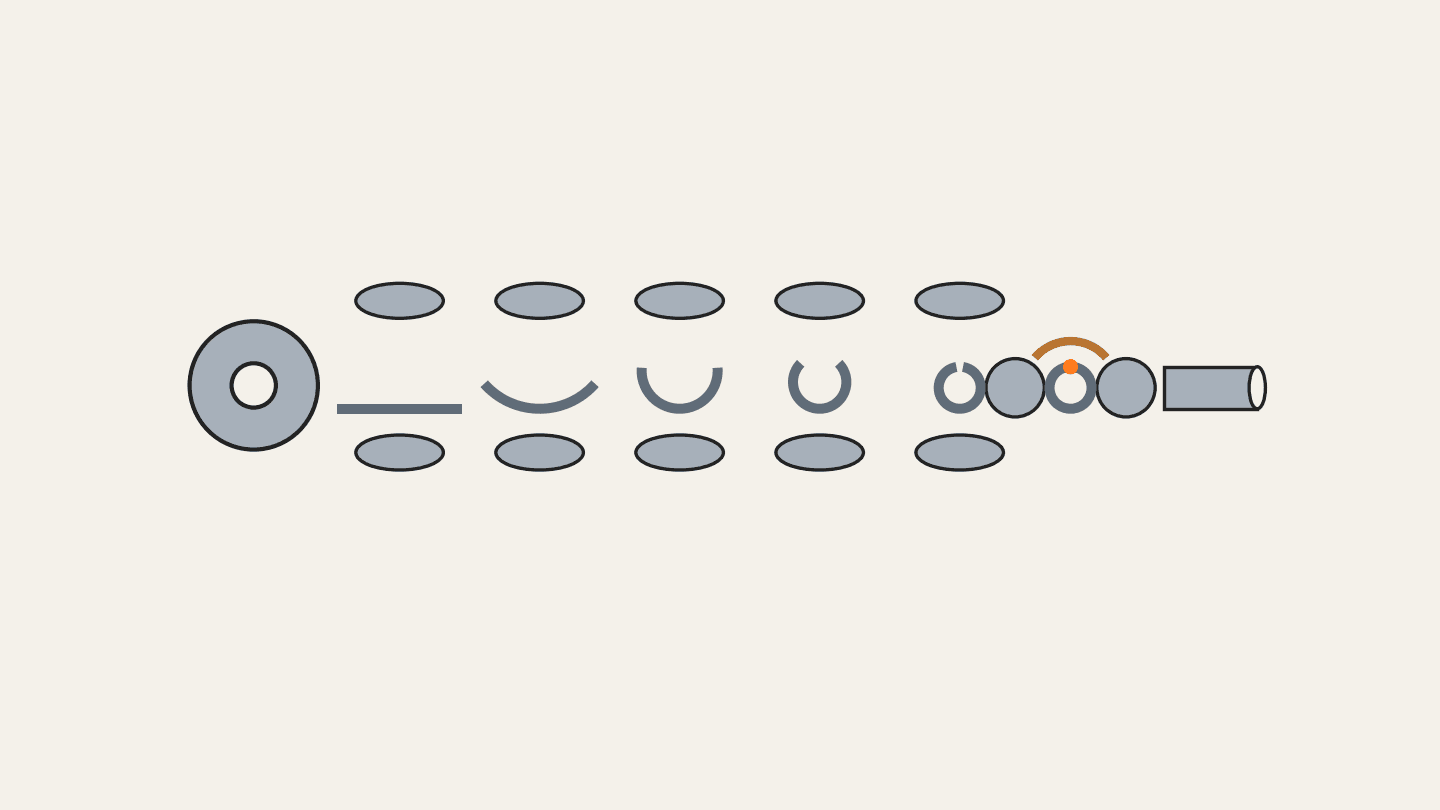
Weld a hollow cylindrical shell onto a base plate on levelling legs, both of magnetic material, to make a pot. Cut slots through the shell and the base plate so they cannot act as a shorted single-turn winding. Set the coil inside the shell in potting compound, with ring-shaped end pieces and a hollow cylindrical core in it. Hinge a square magnetic cover on a post beside the shell, held by a collar and set screw, with a handle. An L-shaped plate on the cover closes a switch in the igniter circuit only when the cover is shut. Wire the coil between the storage capacitor and the ignitron anode. Ours: mild steel, enamelled copper wire, casting epoxy. Not given: sizes, turns.
مواد مورد نیاز این مرحله:
 ورق فولاد نرم1 base plate and cover
 لولهٔ گرد از فولاد نرم1 shell
 سیم مسی لاکی1 coil
 رزین اپوکسی ریختگی سیاه1 potting compound
 فلز نامعلوم1 end pieces, core, post, legs
 ریزکلید (اهرمی)1 lid interlock switch
ابزارهای مورد نیاز:
 دستگاه جوشکاری قوس الکتریکی
 دریل ستونی
 مجموعه پیچگوشتی
 ابعاد نامعلوم
5
5
Charge a magnet
Charge a magnet
Put the magnet inside the core. Fill most of the air gap between it and the base plate and cover with soft iron, but leave a small gap near the cover, or the cover will be hard to swing open afterwards. Lay insulating material about 1/16 inch thick on top of the magnet. Close the cover, which arms the igniter switch, charge the capacitor, and press the button: one pulse magnetises it. Ours: wrought iron for the soft iron.
ابزارهای مورد نیاز:
 میلهٔ آهن چکشخوار
 مادهٔ عایق نامعلوم
مواد
20- 1 high-voltage transformerجایگزین
- 2 rectifier tubesجایگزین
- 1 filament transformerجایگزین
- 1 storage capacitorجایگزین
- 1 voltage meterجایگزین
- 1 limiting resistorجایگزین
- جایگزین
- 2 fusesجایگزین
- 2 pilot and red lampsجایگزین
- 1 thermal delay relayجایگزین
- 1 control relay, three contact setsجایگزین
- 1 discharge switchجایگزین
- 1 firing capacitorجایگزین
- جایگزین
- 1 base plate and coverجایگزین
- 1 shellجایگزین
- 1 coilجایگزین
- 1 potting compoundجایگزین
- 1 end pieces, core, post, legsجایگزین
- 1 lid interlock switchجایگزین
ابزارهای لازم
8- 2 vendors sell this, none ship to you yetجایگزین
- جایگزین
- جایگزین
- جایگزین
- جایگزین
- جایگزین
- جایگزین
- جایگزین
مواد نقشههای متصل


این نقشه میسازد
CC0 مالکیت عمومی
این نقشه تحت مجوز CC0 منتشر شده است. شما آزاد هستید آن را کپی، ویرایش، توزیع و برای هر هدفی بدون نیاز به اجازه استفاده کنید.
با خرید محصولات از طریق نقشه از سازنده حمایت کنید و او کمیسیون سازنده تعیین شده توسط فروشندگان، دریافت میکند یا یک نسخه جدید از این نقشه ایجاد کنید و آن را به عنوان اتصال در نقشه خود قرار دهید تا درآمد به اشتراک گذاشته شود.