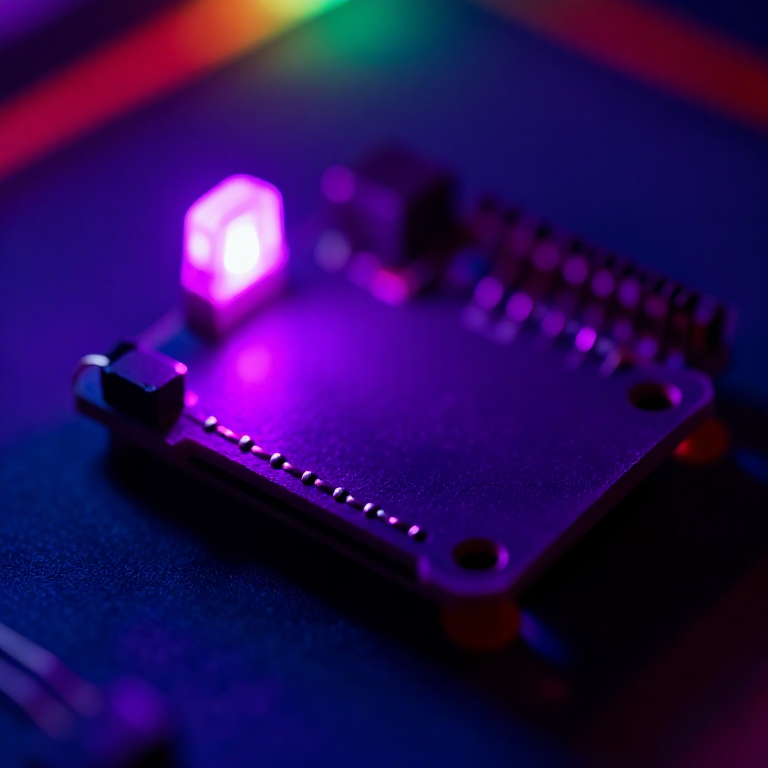


Making a Color-Changing LilyPad Patch
Sew a patch that glows in any color. A single RGB LED holds red, green and blue elements; by fading each one with the microcontroller's PWM pins you mix millions of colors and cycle through the rainbow. The e-textile version of the classic RGB colour-mixing project.
دستورالعملها
Sew the board and RGB LED
Sew the board and RGB LED
Sew a LilyPad Arduino onto felt. The RGB LED has four legs — bend each into a small loop so it can be sewn. Wire the common cathode (the longest leg) to -, and the red, green and blue legs to pins 5, 6 and 9. Keep the four lines from touching each other.
مواد مورد نیاز این مرحله:
 LilyPad Arduino Simple Board1 piece
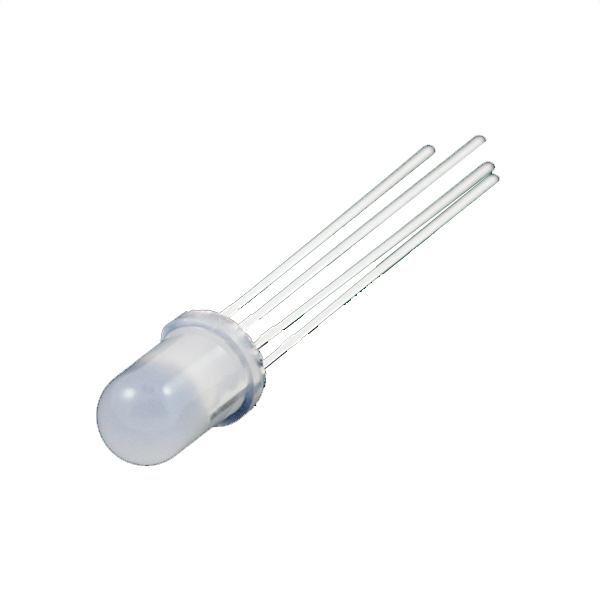 LED - RGB Diffused Common Cathode - 5mm1 piece
 Conductive Thread - 60g (Stainless Steel)1 spool
 Hand Sewing Needles (Assorted, 30-Pack)1 pack
 Wool Felt Sheet1 sheet
Connect the programmer
Connect the programmer
Plug the LilyPad FTDI onto the programming header and connect the USB cable. Open the Arduino IDE and select the LilyPad Arduino board and its serial port.
مواد مورد نیاز این مرحله:
 LilyPad FTDI Basic Breakout - 5V1 piece
 SparkFun Cerberus USB Cable - 1.8 meter1 piece
ابزارهای مورد نیاز:
 Computer with Arduino IDE
Upload the color-mixing sketch
Upload the color-mixing sketch
Paste this sketch and upload. It fades the LED through red, green, blue and the mixes using analogWrite (PWM).
Watch it cycle, then mix your own
Watch it cycle, then mix your own
The LED fades through the colors on its own. Make your own by changing the three numbers in setColor(red, green, blue) — each 0–255. Note: at the LilyPad's lower voltage blue and green look a little dimmer than red, which is normal for RGB LEDs.
Go wireless and wear it
Go wireless and wear it
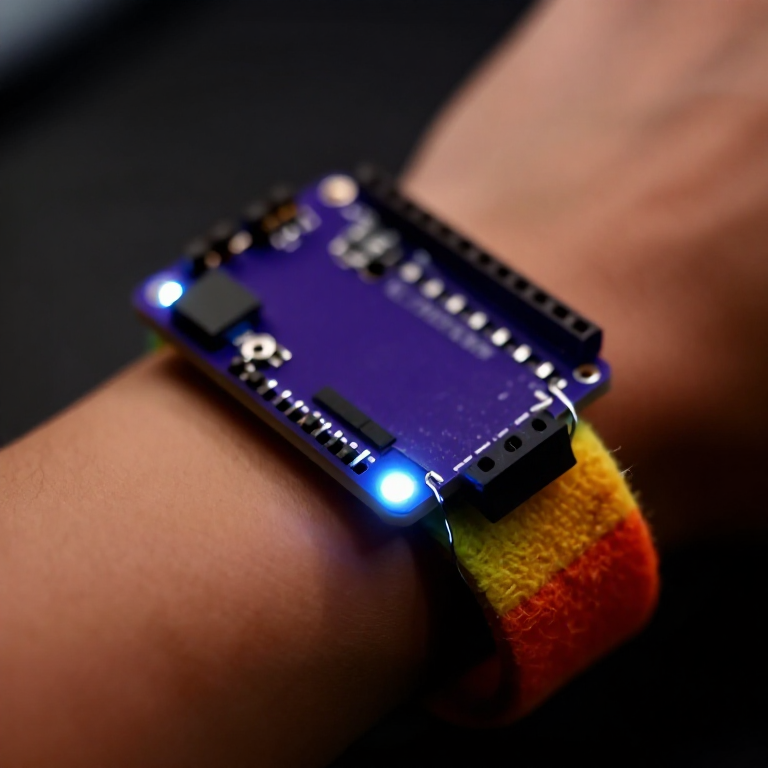
Plug a 3.7 V LiPo into the LilyPad Arduino's JST connector and switch on — the higher voltage also makes the colors brighter. Sew the felt onto a bag or costume for a colour-changing glow.
مواد مورد نیاز این مرحله:
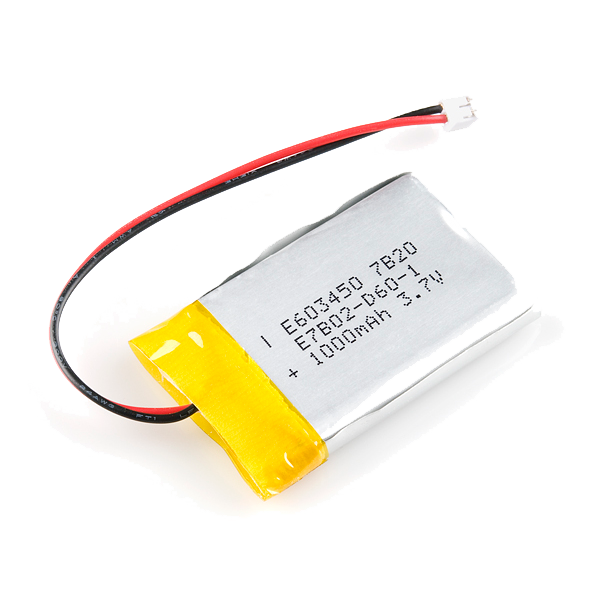 LiPo Battery 3.7V 1000mAh (JST Connector)1 piece
مواد
8- 1 piece$20.00
- $20.00
- $40.00
- جایگزین
- 1 sheetجایگزین
- $14.00
- $6.00
- $10.00
ابزارهای لازم
1نقشههای مرتبط
این نقشهها دانش مشترکی دارند — تکنیکها، مواد یا اصول
Related blueprints
Other builds that share materials, tools, or techniques with this one.

CC0 مالکیت عمومی
این نقشه تحت مجوز CC0 منتشر شده است. شما آزاد هستید آن را کپی، ویرایش، توزیع و برای هر هدفی بدون نیاز به اجازه استفاده کنید.
با خرید محصولات از طریق نقشه از سازنده حمایت کنید و او کمیسیون سازنده تعیین شده توسط فروشندگان، دریافت میکند یا یک نسخه جدید از این نقشه ایجاد کنید و آن را به عنوان اتصال در نقشه خود قرار دهید تا درآمد به اشتراک گذاشته شود.