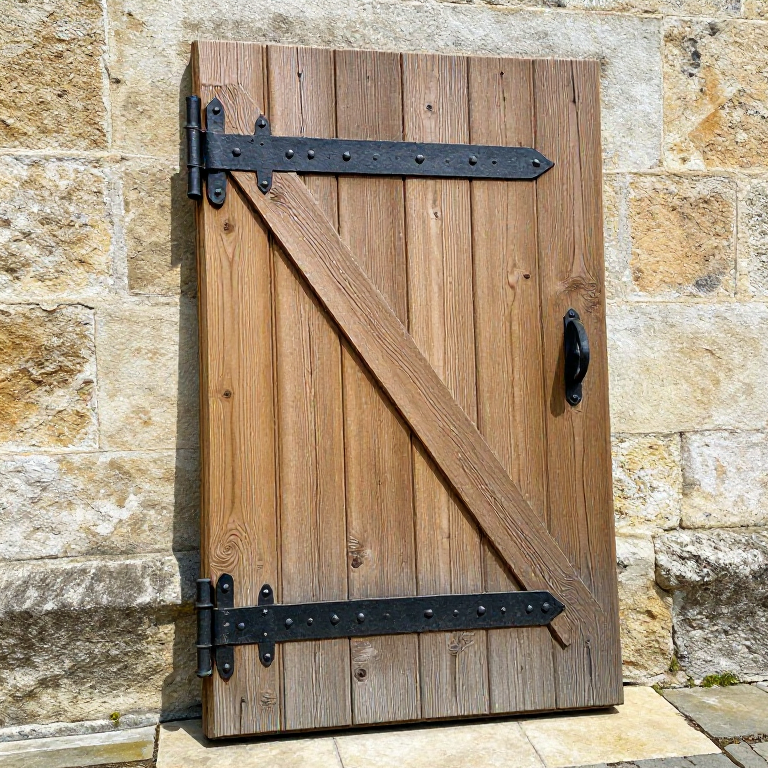
Building a Plank Door — A Battened Door from Riven Timber and Iron Nails
The simplest type of door — and the most common in medieval Europe — is the plank-and-batten door: several wide boards laid side by side and held together by horizontal battens nailed across the back. No frame, no panel, no joinery more complex than a nail. Despite this simplicity, a well-made plank door lasts for centuries — examples survive in English churches dating to the 12th century.
The planks must be riven, not sawn. Riven planks follow the natural grain of the wood, making them resistant to moisture penetration and warping. The battens (horizontal crosspieces) are nailed across the back, preventing the planks from cupping or separating. A diagonal brace running from the hinge side at the top to the latch side at the bottom prevents the door from sagging under its own weight — without this brace, a heavy plank door drops at the free corner within months.
Iron hinges and a latch complete the door. The strap hinge — a long iron bar attached to the batten and pivoting on a pin driven into the door frame — is the traditional hinge for plank doors, distributing the weight across several battens rather than concentrating it at two points.
دستورالعملها
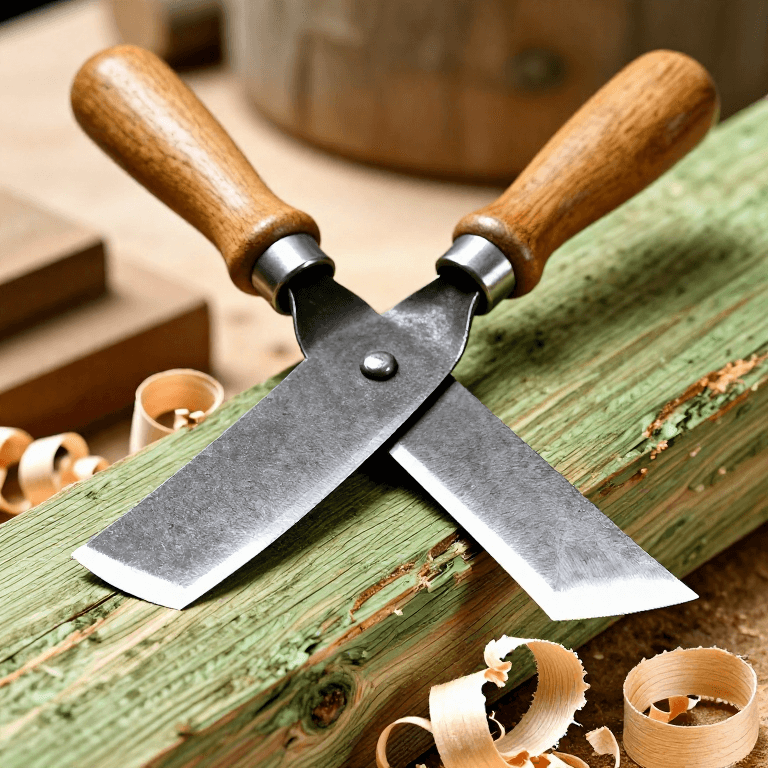
Rive and dress the door planks
Rive and dress the door planks
ابزارهای مورد نیاز:
 Drawknife
Lay out the planks and mark the battens
Lay out the planks and mark the battens
Cut and attach the battens
Cut and attach the battens
مواد مورد نیاز این مرحله:
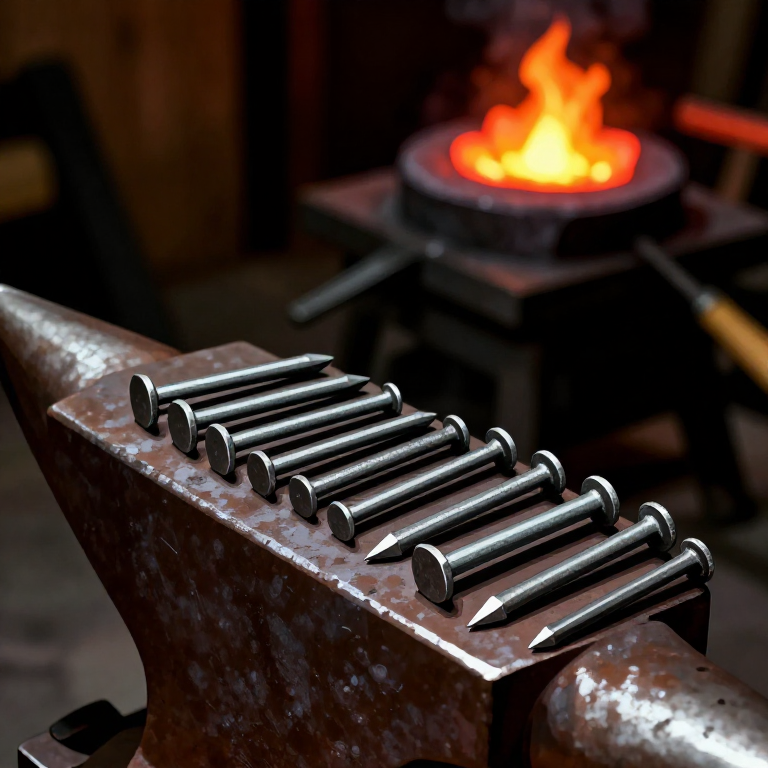 Iron Nails30 pieces
ابزارهای مورد نیاز:
 Forge Hammer (Cross-Peen)
Fit the diagonal brace
Fit the diagonal brace
Hang the door on strap hinges
Hang the door on strap hinges
ابزارهای مورد نیاز:
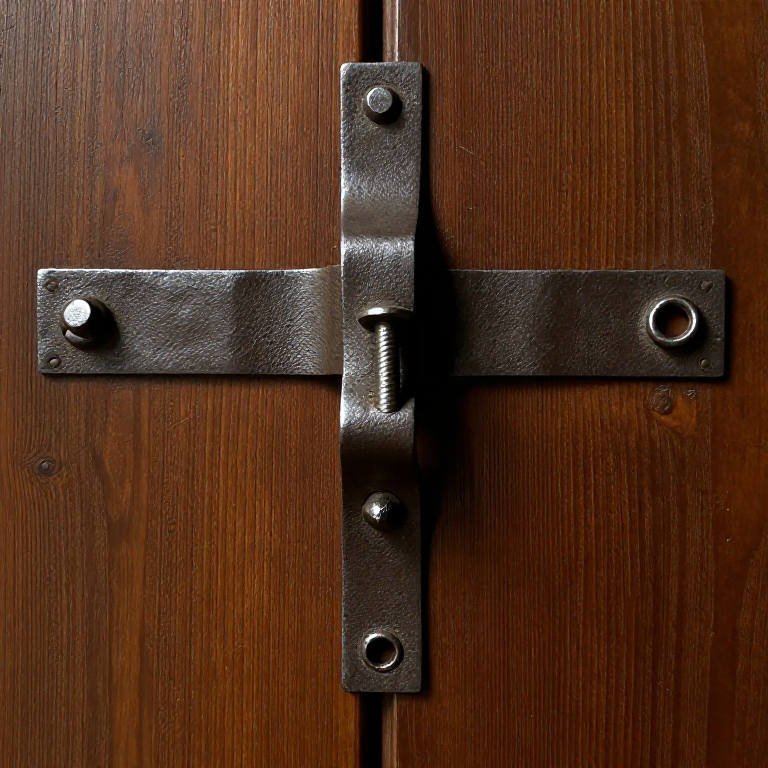 Iron Strap Hinge
Fit a latch and check the swing
Fit a latch and check the swing
مواد
1- جایگزین
مواد نقشههای متصل


نقشههای مرتبط
این نقشهها دانش مشترکی دارند — تکنیکها، مواد یا اصول


CC0 مالکیت عمومی
این نقشه تحت مجوز CC0 منتشر شده است. شما آزاد هستید آن را کپی، ویرایش، توزیع و برای هر هدفی بدون نیاز به اجازه استفاده کنید.
با خرید محصولات از طریق نقشه از سازنده حمایت کنید و او کمیسیون سازنده تعیین شده توسط فروشندگان، دریافت میکند یا یک نسخه جدید از این نقشه ایجاد کنید و آن را به عنوان اتصال در نقشه خود قرار دهید تا درآمد به اشتراک گذاشته شود.