هنر
زیبایی و سلامت
صنایع دستی
فرهنگ و تاریخ
سرگرمی
محیط زیست
غذا و نوشیدنی
آینده سبز
مهندسی معکوس
علوم
ورزش
فناوری
پوشیدنی‌ها
Making Tallow Dipped Candles — The Poor Man's Light for Two Thousand Years
YourGrandma

ایجاد شده توسط

YourGrandma

26. مه 2026IS
۱۴
۰
۰
۰
۰

Making Tallow Dipped Candles — The Poor Man's Light for Two Thousand Years

For most of human history, artificial light meant burning animal fat. Beeswax candles existed but were expensive — reserved for churches and the wealthy. The vast majority of people lit their homes with tallow candles: rendered beef or mutton fat moulded or dipped around a wick. Tallow candles smoke, smell of burning fat, and burn half as long as beeswax — but they cost almost nothing to make from kitchen waste.

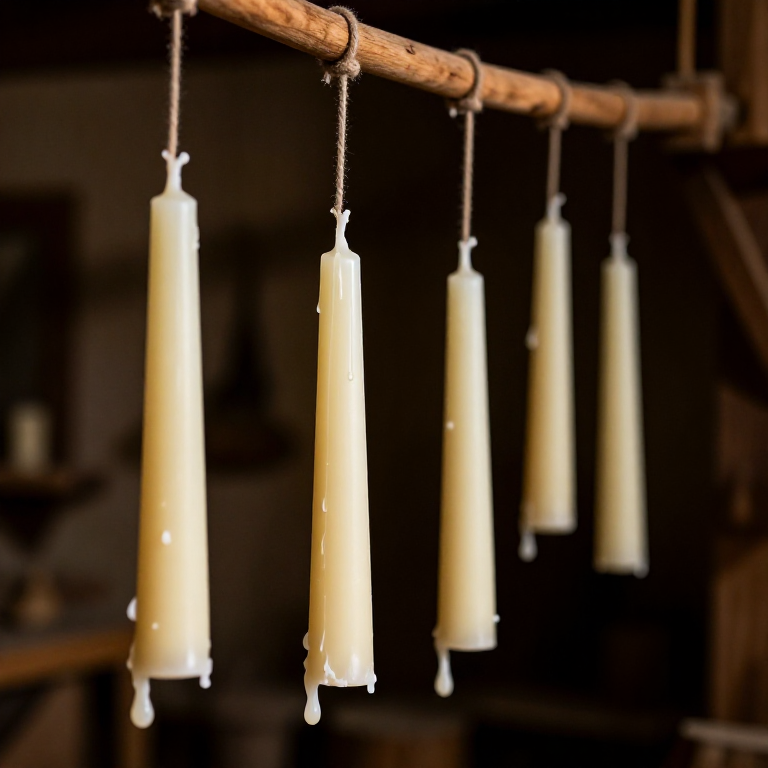
The dipping method is the oldest candle-making technique. A wick is repeatedly lowered into a pot of melted tallow and lifted out to cool, building up layers of fat around the wick with each dip. Twenty to thirty dips produce a candle thick enough to burn for several hours. A chandler (professional candle maker) would dip dozens of wicks on a frame simultaneously, producing hundreds of candles per day.

Tallow dipping requires no special equipment — only rendered fat, twisted fibre for wicks, and a pot deep enough to submerge the candle length. This is one of the most accessible crafts in human history.

مبتدی
2-3 hours (including rendering, makes 8-12 candles)

دستورالعمل‌ها

1

Render the tallow

Start with about 1 kg of raw beef or mutton suet — the hard white fat from around the kidneys and loins. Chop or mince the suet into small pieces to expose maximum surface area. Place in a heavy pot with about 100 ml of water (the water prevents scorching during the early stages and boils off later). Heat gently over a low fire, stirring occasionally, until all the solid fat has melted into clear liquid. This takes 1-2 hours. Do not let the fat smoke — overheated tallow turns brown and smells worse when burned.

مواد مورد نیاز این مرحله:

Animal Fat (Tallow)Animal Fat (Tallow)1 kg
2

Strain and clarify

Strain the melted tallow through a cloth into a clean pot to remove the cracklings (the fibrous residue of connective tissue). For cleaner-burning candles, repeat: let the tallow cool and solidify, then re-melt and strain again. Each rendering removes more impurities. Well-clarified tallow is pale white and nearly odourless when cool. Poorly clarified tallow contains protein residues that smoke and smell when the candle burns.
3

Prepare the wicks

Cut lengths of twisted cotton or linen thread about 5 cm longer than the desired candle height. For a candle 20 cm tall, cut wicks 25 cm long. The wick should be tightly twisted from three strands — a loose wick drowns in melted tallow and gutters. Tie a small weight (a pebble or nail) to the bottom of each wick to keep it hanging straight during dipping. Dip each wick once in the melted tallow and hang to dry — this stiffens the wick and helps the first layers of tallow adhere.

مواد مورد نیاز این مرحله:

Cotton Twine (for bundling)Cotton Twine (for bundling)2 m
4

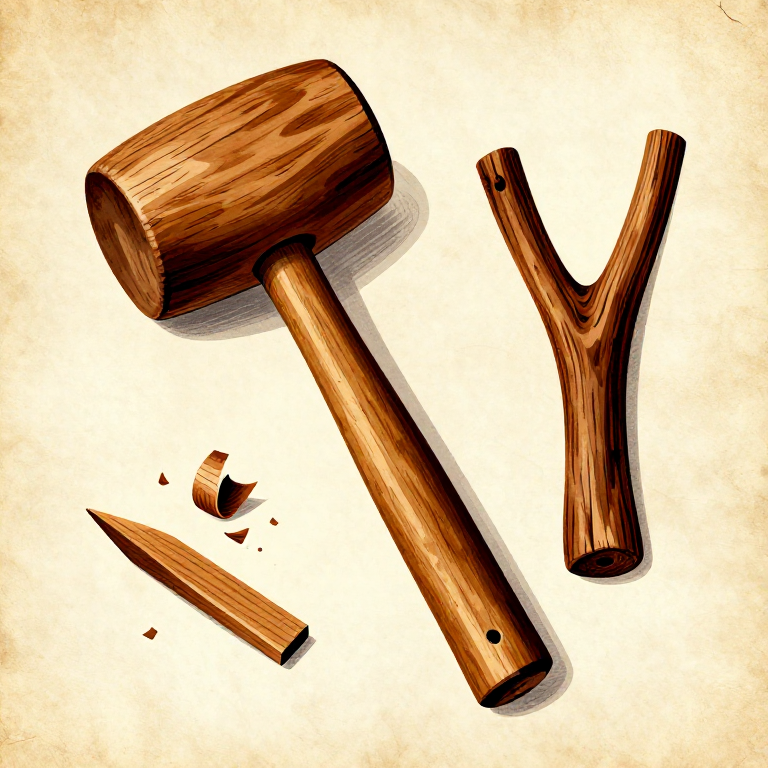
Set up the dipping station
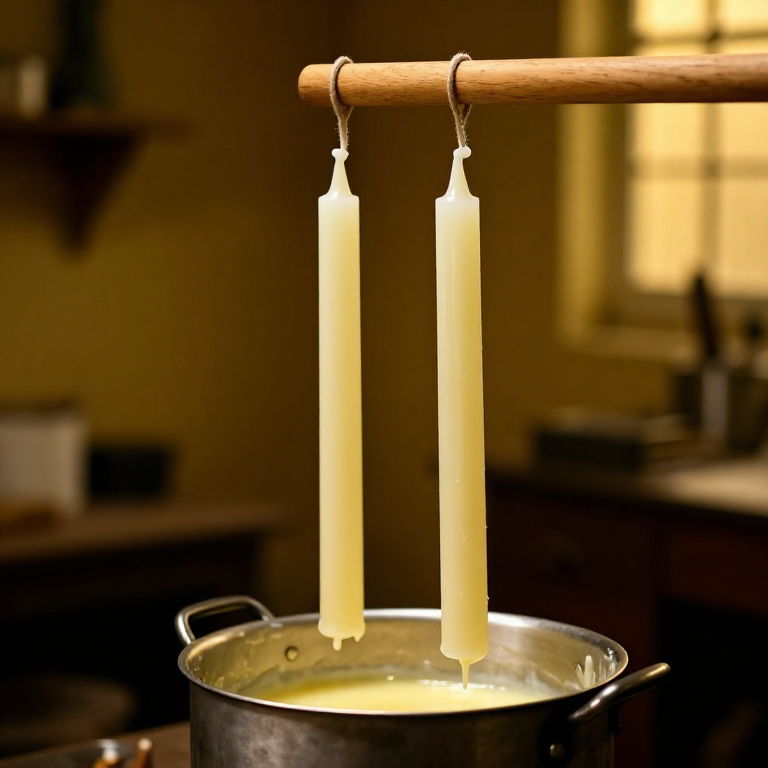
You need a pot of melted tallow deep enough to submerge the full candle length — a tall narrow pot wastes less tallow than a wide shallow one. Keep the tallow at about 65-70 °C — hot enough to stay liquid but cool enough that each dip adds a visible layer rather than melting the previous one. Hang a horizontal rod or stick between two supports above the pot to hold the wicks between dips.
5

Dip the candles

Hold a wick by its top end and lower it smoothly into the melted tallow until only the top 2-3 cm stays dry. Lift it out in one fluid motion — do not pause in the tallow or the heat will melt off the previous layer. Hang the wick on the drying rod and move to the next wick. By the time you have dipped all wicks once, the first is cool enough for another dip. Continue the rotation, building up layers. Each dip adds about 1 mm of thickness.
6

Build up to full thickness

A standard tallow candle requires 20-30 dips to reach about 2 cm diameter. Dip steadily and evenly — rushing produces lumpy candles with air pockets that sputter when burning. If the candle develops a pear-shaped bulge at the bottom (from tallow running down before solidifying), let it cool fully between dips or briefly dip just the bottom in slightly hotter tallow to even it out.
7

Trim and finish

When the candles reach the desired thickness, remove the weights from the bottoms. Trim the base flat with a warm knife so the candle stands upright in a holder. Trim the wick to about 1 cm above the candle top. If the candles are slightly crooked, roll them on a smooth warm surface to straighten. A well-made tallow candle of 2 cm diameter and 20 cm height burns for about 3-4 hours.

مواد

2

مواد نقشه‌های متصل

You might also need

Materials makers commonly use alongside this build.

CC0 مالکیت عمومی

این نقشه تحت مجوز CC0 منتشر شده است. شما آزاد هستید آن را کپی، ویرایش، توزیع و برای هر هدفی بدون نیاز به اجازه استفاده کنید.

با خرید محصولات از طریق نقشه از سازنده حمایت کنید و او کمیسیون سازنده تعیین شده توسط فروشندگان، دریافت می‌کند یا یک نسخه جدید از این نقشه ایجاد کنید و آن را به عنوان اتصال در نقشه خود قرار دهید تا درآمد به اشتراک گذاشته شود.

بحث و گفتگو

(0)

ورود برای شرکت در بحث

در حال بارگذاری نظرات...