هنر
زیبایی و سلامت
صنایع دستی
فرهنگ و تاریخ
سرگرمی
محیط زیست
غذا و نوشیدنی
مهندسی معکوس
علوم
ورزش
فناوری
پوشیدنیها
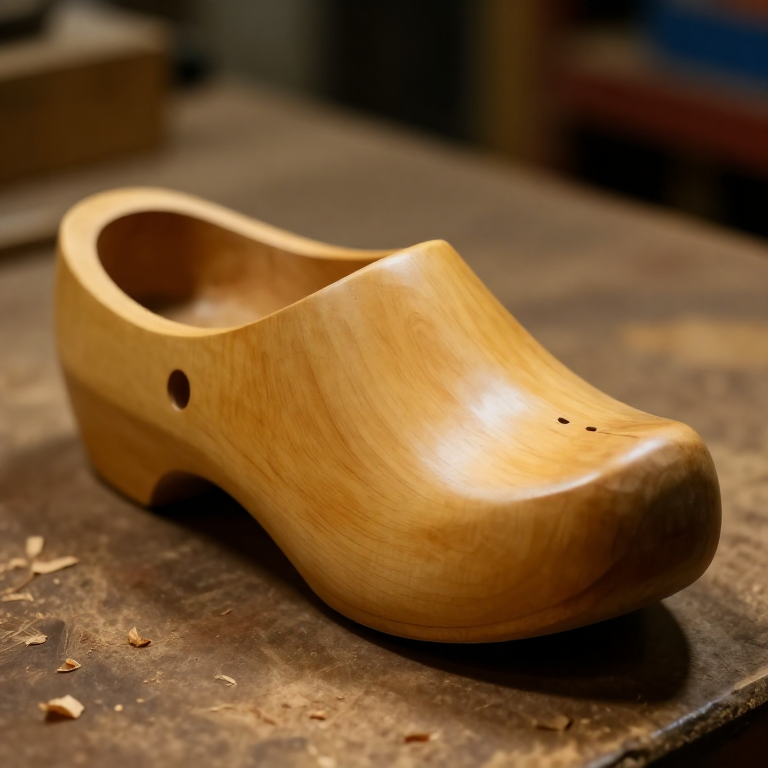
Carving a Wooden Clog — The All-Wood Sabot from a Single Green Block
Across rural Europe the wooden clog — the French sabot, the Dutch klomp — kept feet warm and dry for centuries. Each shoe is carved from a single block of green hardwood: the outside shaped like a foot, the inside hollowed out to receive it. Green (unseasoned) alder, willow or beech is used because it carves easily and splits little, then hardens as it dries. This blueprint carves one clog from froe-split billet to finished shoe, then repeats for the matching pair, using only edge tools.
متوسط
6
دستورالعملها
1
1
Split a clean billet
Split a clean billet
Split a straight-grained block of green alder, willow or beech to a little larger than the foot, using the froe driven with a wooden mallet. Choose a length free of knots so the wood carves cleanly.
مواد مورد نیاز این مرحله:
 Hardwood Block1 piece
ابزارهای مورد نیاز:
 Froe
Froe Wooden Mallet
2
2
Rough out the foot profile
Rough out the foot profile
With the hatchet, chop the billet down to the rough shape of a foot seen from the side — a flat sole, an upturned toe, and a squared heel. Leave the block oversize everywhere for now.
ابزارهای مورد نیاز:
 Hatchet
3
3
Mark the sole and top outlines
Mark the sole and top outlines
Stand the block on the wearer's foot or a pattern and mark the outline of the sole and the top opening with the point of the carving knife, so you have clear lines to carve to.
ابزارهای مورد نیاز:
 Sloyd Carving Knife
4
4
Shape the outside with the drawknife
Shape the outside with the drawknife
Clamp the block and draw the drawknife toward you to shape the rounded outside of the clog — the swell of the toe, the waist at the instep, and the flat of the sole. Work down to the marked lines.
ابزارهای مورد نیاز:
 Draw Knife
5
5
Refine the curves with a spokeshave
Refine the curves with a spokeshave
Smooth the toe curve, the sides and the instep with the spokeshave, fairing the outside into an even foot shape ready to hollow.
ابزارهای مورد نیاز:
 Spokeshave
6
6
Bore out the mouth
Bore out the mouth
Bore down into the top opening with the hand auger to remove the bulk of the inside waste quickly, stopping short of the sole so you do not bore through.
ابزارهای مورد نیاز:
 Hand Auger
7
7
Hollow the foot cavity
Hollow the foot cavity
Hollow the inside to the shape of a foot with the hook knife and gouge, driven by the mallet where needed. Follow the curve of the sole and open out under the instep, leaving even walls.
ابزارهای مورد نیاز:
 Hook Knife (Spoon Carving)
 GougeWooden Mallet
8
8
Fit the cavity to the foot
Fit the cavity to the foot
Test the hollow against the foot it must fit: the sole should sit flat, the toes have room, and the walls be thin enough to be light but thick enough to be strong. Pare away any tight spots.
ابزارهای مورد نیاز:
Hook Knife (Spoon Carving)9
9
Cut the instep throat
Cut the instep throat
Shape the opening at the top of the foot — the 'throat' — with the gouge and carving knife so the foot slides in and the clog grips the instep without pinching.
ابزارهای مورد نیاز:
GougeSloyd Carving Knife10
10
Smooth inside and out
Smooth inside and out
Pare every surface smooth, inside and out, with the carving knife and spokeshave, removing tool ridges so nothing chafes the foot and the outside is clean.
ابزارهای مورد نیاز:
Sloyd Carving KnifeSpokeshave11
11
Carve the matching clog
Carve the matching clog
Repeat every step to carve the second clog as a mirror image of the first, so the pair matches in length, depth and shape — one left, one right.
مواد مورد نیاز این مرحله:
Hardwood Block1 pieceابزارهای مورد نیاز:
HatchetDraw KnifeHook Knife (Spoon Carving)12
12
Dry the pair slowly
Dry the pair slowly
Set the finished green-wood clogs to dry slowly in a cool, airy place away from direct heat. As the wood seasons it hardens and the clogs become light and durable — drying too fast would crack them.
مواد نقشههای متصل
نقشههای مرتبط
این نقشهها دانش مشترکی دارند — تکنیکها، مواد یا اصول
Related blueprints
Other builds that share materials, tools, or techniques with this one.
Carving a Wooden Bowl with an Adze — Hollowing from a Green Wood BlankWoodworking
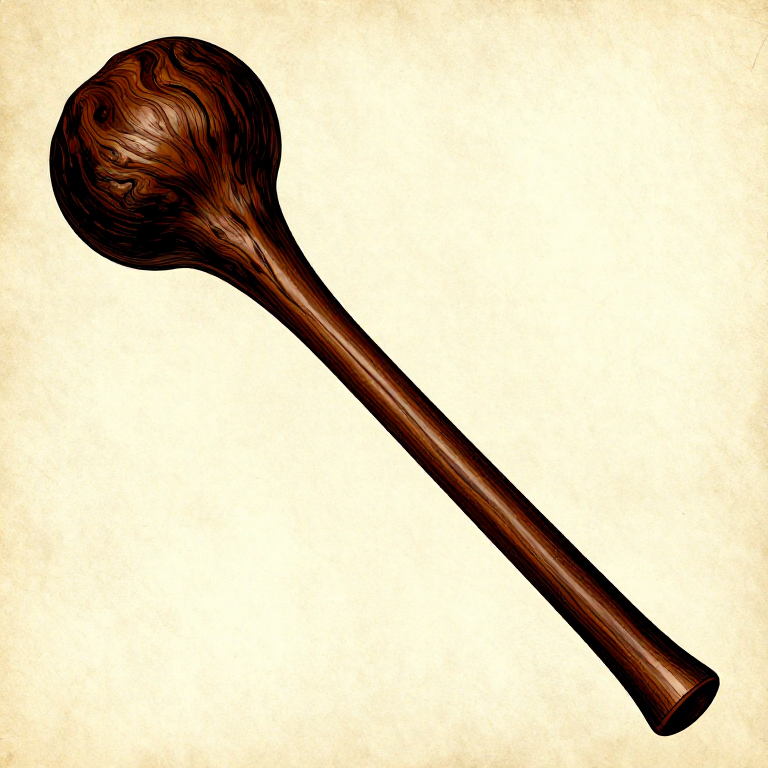
Shaping a Wooden War Club from a Dense Hardwood Root Ball — Stone Age Cudgelwoodworking
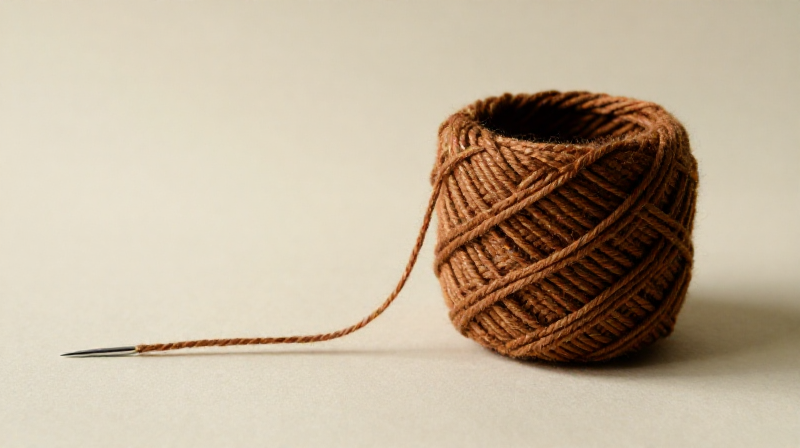
Nålbinding with the Oslo Stitch — Looped Fabric from a Single Needletextiles
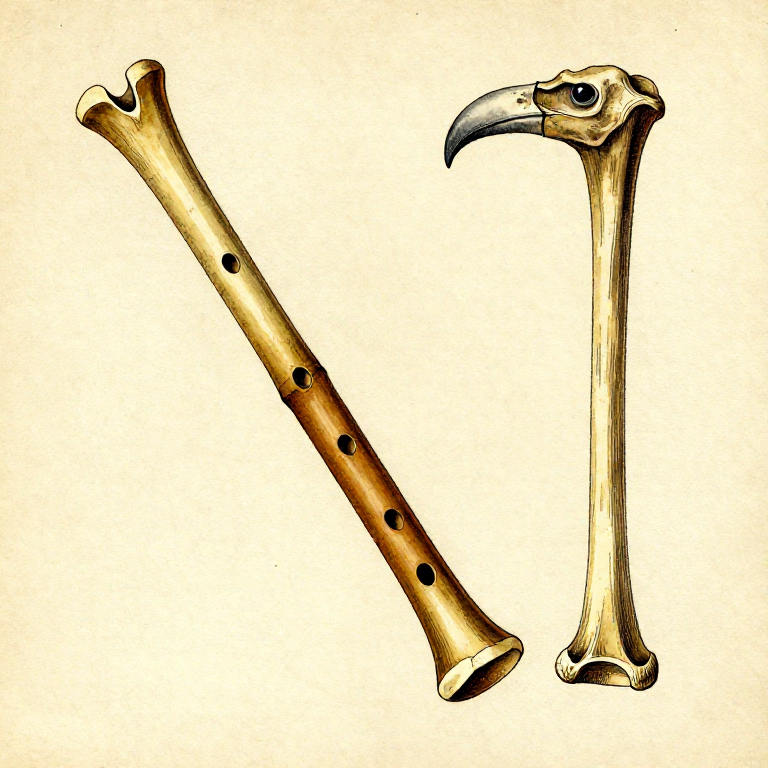
Carving a Bone Flute — Prehistoric Musical Instrumentwoodworking
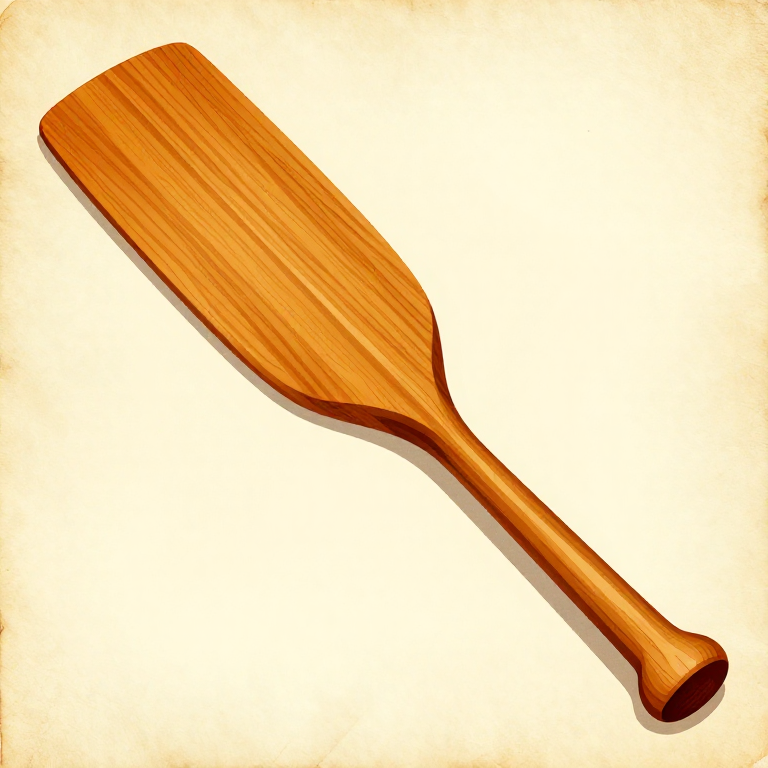
Carving a Wooden Paddle from a Single Piece of Hardwood — Prehistoric Watercraft Propulsionwoodworking
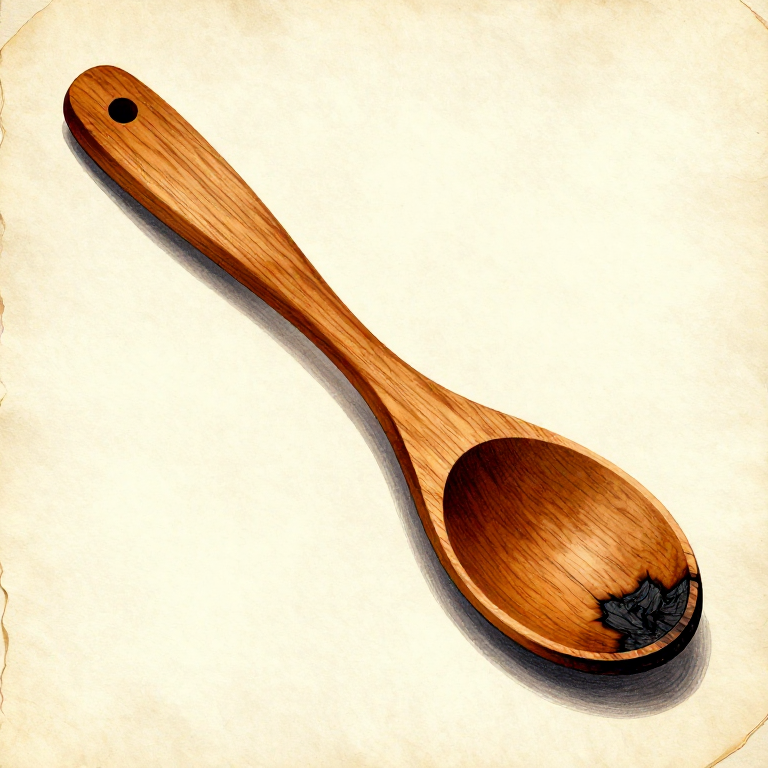
Carving a Wooden Spoon with Stone Tools and Ember Hollowing — The Universal Kitchen Toolwoodworking
CC0 مالکیت عمومی
این نقشه تحت مجوز CC0 منتشر شده است. شما آزاد هستید آن را کپی، ویرایش، توزیع و برای هر هدفی بدون نیاز به اجازه استفاده کنید.
با خرید محصولات از طریق نقشه از سازنده حمایت کنید و او کمیسیون سازنده تعیین شده توسط فروشندگان، دریافت میکند یا یک نسخه جدید از این نقشه ایجاد کنید و آن را به عنوان اتصال در نقشه خود قرار دهید تا درآمد به اشتراک گذاشته شود.