هنر
زیبایی و سلامت
صنایع دستی
فرهنگ و تاریخ
سرگرمی
محیط زیست
غذا و نوشیدنی
مهندسی معکوس
علوم
ورزش
فناوری
پوشیدنیها
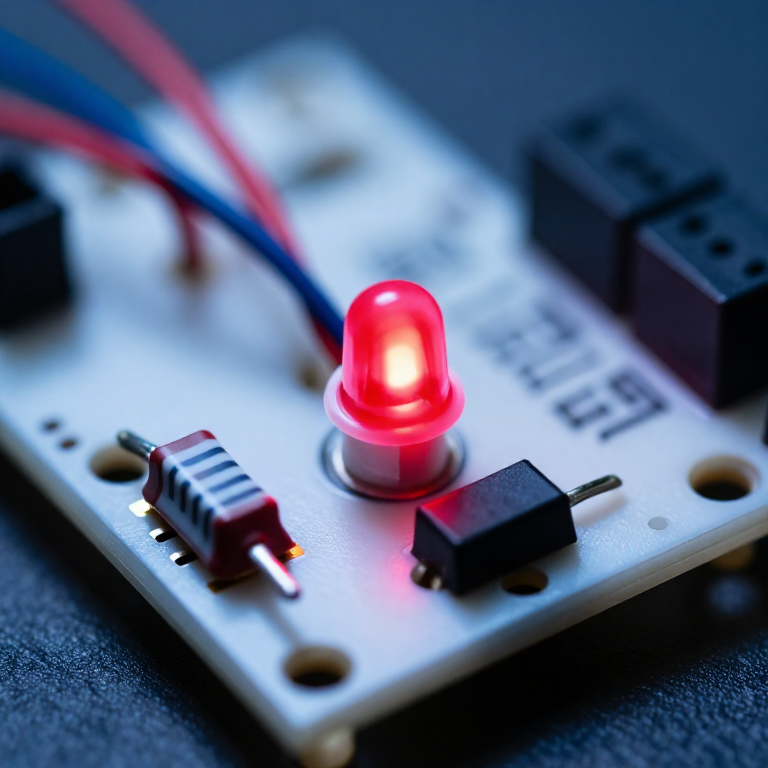


Ohm's Law at the Bench: Picking the Resistor That Saves the LED
One equation does most of the arithmetic a maker ever needs from electronics, and it is three letters long. What makes it worth a rung of its own is that the three commonest beginner disasters — the LED that dies instantly, the resistor that cooks, the divider that sags under load — are all the same equation applied carelessly.
An LED is the sharpest example. It is not a resistor: past its forward voltage the current rises almost without limit, so connecting one directly across a supply destroys it in a fraction of a second. The resistor beside it is not a formality, it is the only thing deciding the current.
Every SIK circuit published here that lights an LED has one, and this is why.
مبتدی
3 hours
دستورالعملها
1
1
Size the resistor for an LED, and see why it is not optional
Size the resistor for an LED, and see why it is not optional
در حال بارگذاری دفترچهٔ Jupyter…
مواد مورد نیاز این مرحله:
 کیت الایدی1 قطعه
 مجموعه مقاومت1 قطعه
ابزارهای مورد نیاز:
 بردبورد
 ماشینحساب
 مولتیمتر
2
2
Check the resistor will survive the heat
Check the resistor will survive the heat
در حال بارگذاری دفترچهٔ Jupyter…
مواد مورد نیاز این مرحله:
مجموعه مقاومت1 قطعهابزارهای مورد نیاز:
ماشینحسابمولتیمتر3
3
The divider that works until you connect something
The divider that works until you connect something
در حال بارگذاری دفترچهٔ Jupyter…
مواد مورد نیاز این مرحله:
مجموعه مقاومت1 قطعهابزارهای مورد نیاز:
بردبوردمولتیمترماشینحساب4
4
Measure it, and find out what your parts really are
Measure it, and find out what your parts really are
Build the LED and its resistor on a breadboard, then measure: the supply, the voltage across the LED, and the voltage across the resistor. They should add up to the supply.
Then work out the current from the resistor's voltage and its measured resistance, and compare it with what you calculated. The LED's real forward voltage will not be exactly the table value — it varies by part, by colour bin, and with current — which is why the calculation is a starting point and the measurement is the answer.
This also demonstrates Kirchhoff's voltage law without naming it: around any loop, the voltages sum to zero. Once you have seen it on a meter it stops being an abstraction and becomes a tool for finding where a missing volt went.
مواد مورد نیاز این مرحله:
کیت الایدی1 قطعهمجموعه مقاومت1 قطعهابزارهای مورد نیاز:
بردبوردمولتیمتر منبع تغذیهٔ رومیزی
مواد
2- 2 قطعهجایگزین
- از$5.64
نقشههای مرتبط
این نقشهها دانش مشترکی دارند — تکنیکها، مواد یا اصول

CC0 مالکیت عمومی
این نقشه تحت مجوز CC0 منتشر شده است. شما آزاد هستید آن را کپی، ویرایش، توزیع و برای هر هدفی بدون نیاز به اجازه استفاده کنید.
با خرید محصولات از طریق نقشه از سازنده حمایت کنید و او کمیسیون سازنده تعیین شده توسط فروشندگان، دریافت میکند یا یک نسخه جدید از این نقشه ایجاد کنید و آن را به عنوان اتصال در نقشه خود قرار دهید تا درآمد به اشتراک گذاشته شود.