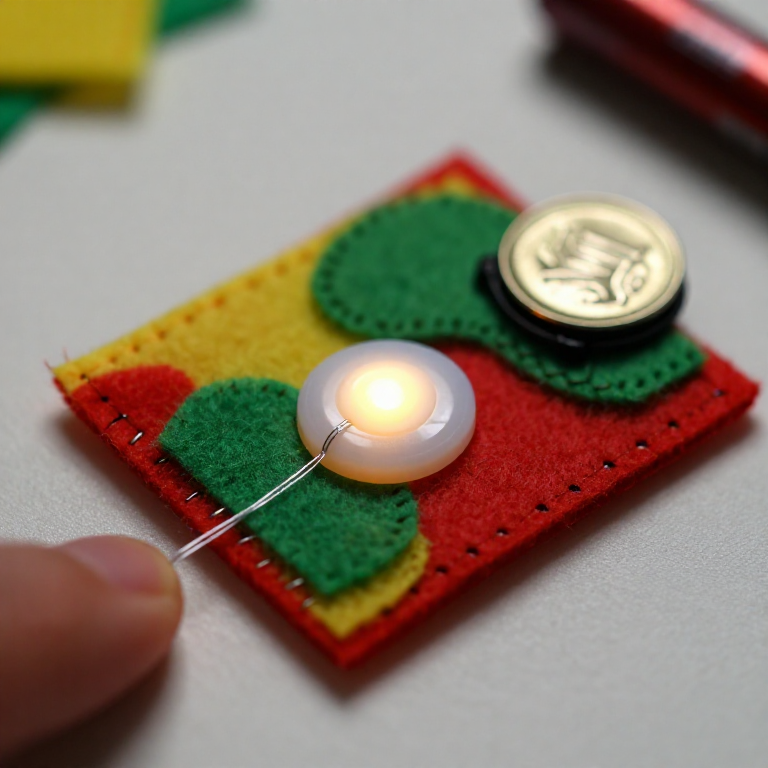


Sewing a LilyPad Button Circuit
Add a switch you can sew: a LilyPad button placed in the circuit lights your LED only while it's pressed. Same e-textile rules as before — + to + and - to -, no crossing lines — but now the button sits in the + line, so current flows only when you press it. A press-to-light patch for a bag, badge or costume.
دستورالعملها
Plan the circuit with a button
Plan the circuit with a button
Arrange a LilyPad LED, a LilyPad button and a coin-cell battery holder on felt. The button goes in the + line, between the battery's + tab and the LED's + tab, so pressing it completes the circuit.
مواد مورد نیاز این مرحله:
 LilyPad LED - 5 pcs1 بسته
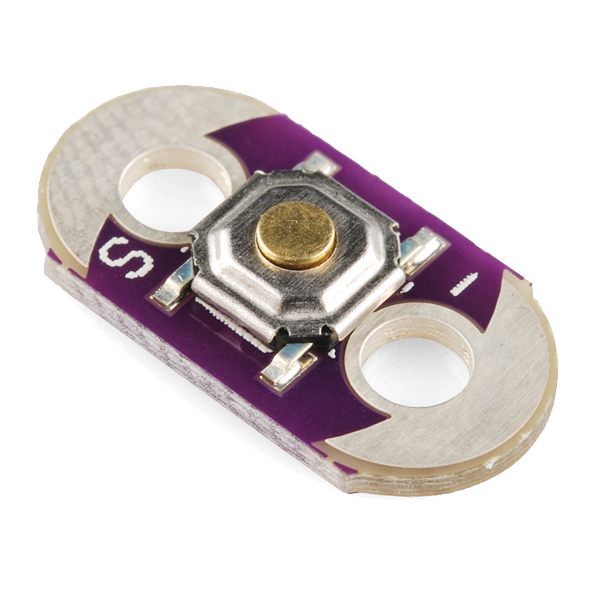 LilyPad Button Board1 قطعه
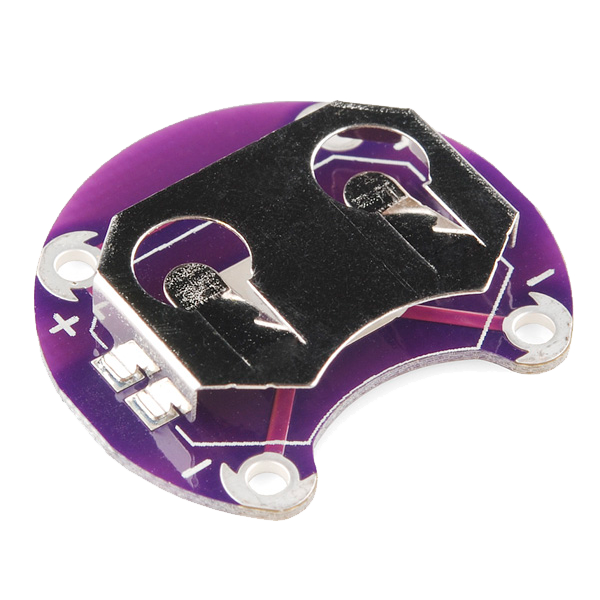 LilyPad Coin Cell Battery Holder - 20mm1 قطعه
 ورق نمد پشمی1 ورق
Sew the positive line through the button
Sew the positive line through the button
With conductive thread, stitch from the battery + tab to one tab of the button, then knot and cut; start fresh and stitch from the button's other tab to the LED + tab. Loop 3–4 times through each hole for firm contact and trim the tails short.
مواد مورد نیاز این مرحله:
 Conductive Thread - 60g (Stainless Steel)1 قرقره
 سوزنهای خیاطی دستی1 بسته
Sew the negative line
Sew the negative line
With a fresh thread, stitch the LED - tab straight to the battery - tab. Keep this line well away from the + line and the button — anywhere the two conductive paths touch, the circuit shorts.
Press to test
Press to test
Slot in a CR2032 (+ side up). Press the button — the LED lights; release — it goes out. If it stays dark, check that both button tabs are stitched into the line and that no threads are touching across the two sides.
مواد مورد نیاز این مرحله:
 باتری سکهای CR20321 قطعه
Secure and use
Secure and use
Seal each knot with a dab of clear nail polish or fabric glue so it can't loosen. Sew the felt onto a bag, badge or costume — you've made a press-to-light patch.
مواد
7- LilyPad LED - 5 pcs10% کمیسیون1 بسته$4.16
- LilyPad Button Board10% کمیسیون1 قطعه$2.21
- LilyPad Coin Cell Battery Holder - 20mm10% کمیسیون1 قطعه$4.16
- 1 ورقجایگزین
- Conductive Thread - 60g (Stainless Steel)10% کمیسیون1 قرقره$39.78
- 1 بستهجایگزین
- 1 قطعهجایگزین
ابزارهای لازم
1- جایگزین
نقشههای مرتبط
این نقشهها دانش مشترکی دارند — تکنیکها، مواد یا اصول

CC0 مالکیت عمومی
این نقشه تحت مجوز CC0 منتشر شده است. شما آزاد هستید آن را کپی، ویرایش، توزیع و برای هر هدفی بدون نیاز به اجازه استفاده کنید.
با خرید محصولات از طریق نقشه از سازنده حمایت کنید و او کمیسیون سازنده تعیین شده توسط فروشندگان، دریافت میکند یا یک نسخه جدید از این نقشه ایجاد کنید و آن را به عنوان اتصال در نقشه خود قرار دهید تا درآمد به اشتراک گذاشته شود.