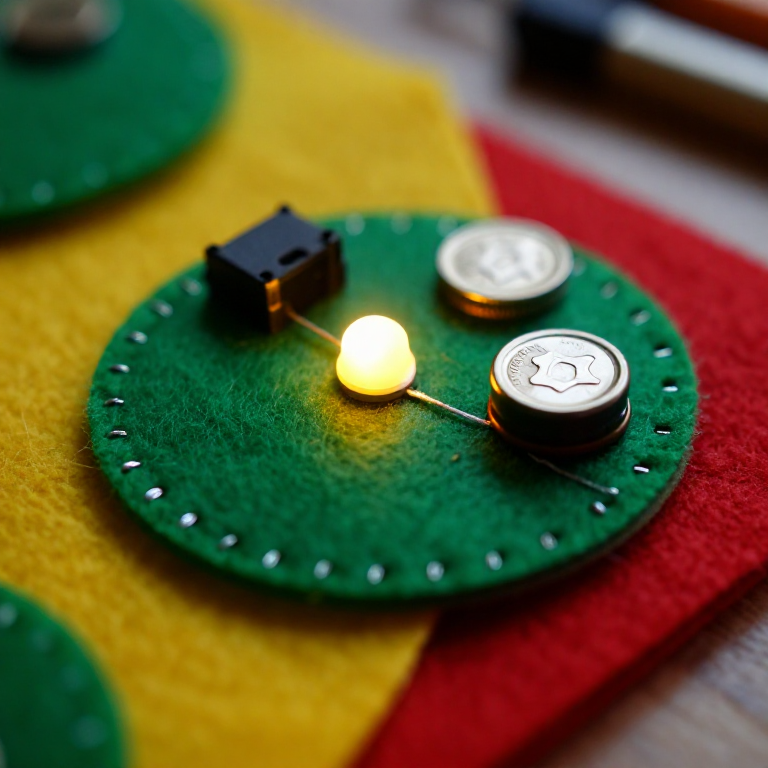


Sewing a LilyPad LED Circuit
Sewable electronics — 'e-textiles' — build circuits into fabric with conductive thread instead of wires. This first project sews a LilyPad LED to a coin-cell battery so it lights up, teaching the two rules of e-textiles: connect + to + and - to -, and never let the two thread lines cross. The 'hello world' of wearable electronics.
دستورالعملها
Plan the circuit on fabric
Plan the circuit on fabric
Pin a LilyPad LED and a LilyPad coin-cell battery holder a few centimetres apart on a piece of felt. Find each board's + and - sew tabs, and plan two thread paths — one joining the + tabs, one joining the - tabs — that never cross.
مواد مورد نیاز این مرحله:
 LilyPad LED - 5 pcs1 بسته
 LilyPad Coin Cell Battery Holder - w/Switch - 20mm1 قطعه
 ورق نمد پشمی1 ورق
Sew the positive line
Sew the positive line
Thread a needle with conductive stainless-steel thread. Stitch from the + tab of the battery holder to the + tab of the LED, looping 3–4 times through each tab hole for firm electrical contact. Knot tightly and trim the tail short — stray strands cause shorts.
مواد مورد نیاز این مرحله:
 Conductive Thread - 60g (Stainless Steel)1 قرقره
 سوزنهای خیاطی دستی1 بسته
Sew the negative line
Sew the negative line
With a fresh length of thread, stitch the - tab of the battery holder to the - tab of the LED the same way. Keep this line clear of the + line everywhere — if the two conductive paths touch, the circuit shorts and the LED won't light.
Power it up
Power it up
Slide a CR2032 coin cell into the holder, + side up, and switch it on. The LED lights — no separate resistor is needed, because the 3 V coin cell can't push enough current to harm it. If it stays dark, check the battery direction, loose knots, or threads touching.
مواد مورد نیاز این مرحله:
 باتری سکهای CR20321 قطعه
Secure the knots
Secure the knots
Dab a little clear nail polish or fabric glue on each knot so it can't work loose or fray. Use the holder's switch to turn your LED on and off — your first wearable circuit is done.
مواد
6- LilyPad LED - 5 pcs10% کمیسیون1 بسته$4.16
- 1 قطعه$5.01
- 1 ورقجایگزین
- Conductive Thread - 60g (Stainless Steel)10% کمیسیون1 قرقره$39.78
- 1 بستهجایگزین
- 1 قطعهجایگزین
ابزارهای لازم
1- جایگزین
نقشههای مرتبط
این نقشهها دانش مشترکی دارند — تکنیکها، مواد یا اصول


CC0 مالکیت عمومی
این نقشه تحت مجوز CC0 منتشر شده است. شما آزاد هستید آن را کپی، ویرایش، توزیع و برای هر هدفی بدون نیاز به اجازه استفاده کنید.
با خرید محصولات از طریق نقشه از سازنده حمایت کنید و او کمیسیون سازنده تعیین شده توسط فروشندگان، دریافت میکند یا یک نسخه جدید از این نقشه ایجاد کنید و آن را به عنوان اتصال در نقشه خود قرار دهید تا درآمد به اشتراک گذاشته شود.