Samvinna
LIST
FEGURÐ OG VELLÍÐAN
HANDVERK
MENNING OG SAGA
SKEMMTUN
UMHVERFI
MATUR OG DRYKKUR
ÖFUGVERKFRÆÐI
VÍSINDI
ÍÞRÓTTIR
TÆKNI
KLÆÐANLEG TÆKNI
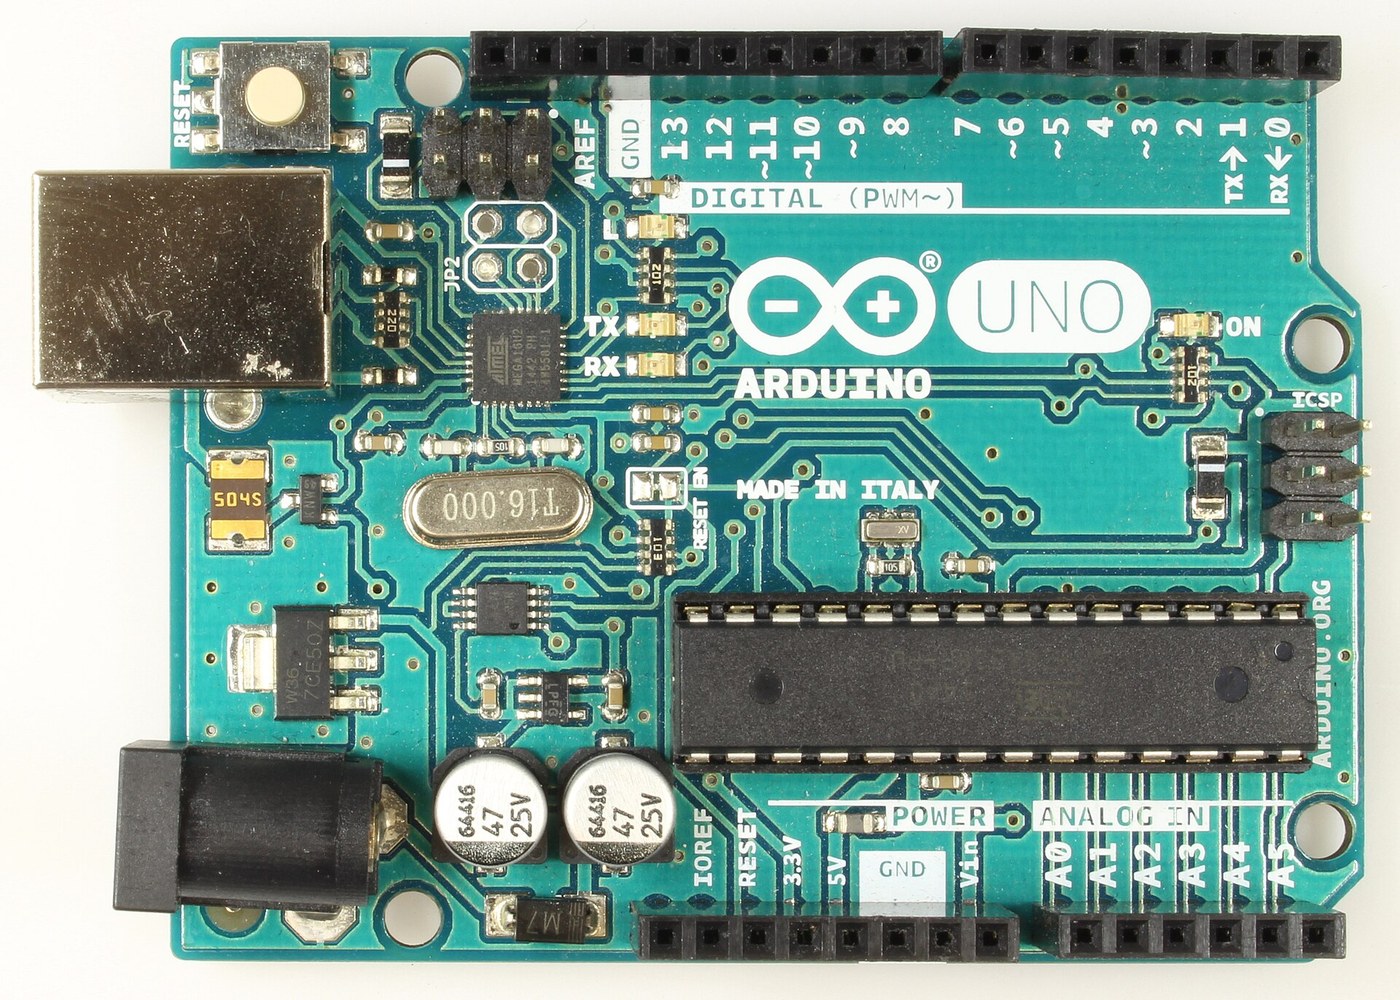


Arduino Uno R3: Assembled from Arduino's Open UNO-TH Rev3e Design Files and Flashed over ICSP
The Arduino Uno R3 is open hardware: Arduino publishes its schematic and board layout. This blueprint builds one from those files, part by part, then loads the firmware into its two processors.
Result: an Arduino Uno R3. An ATmega328P (16 MHz, 32 kB flash, 2 kB SRAM, 1 kB EEPROM) runs your programs; an ATmega16U2 turns USB into its serial link. It runs from USB (5.5 V at most) or 6-20 V at the DC jack.
Source: Arduino UNO-TH_Rev3e design files and the A000066 schematic and datasheet (Arduino, CC BY-SA). Unknown: how every bought part is made; no public source in hand says. The soldering method is ours. Picture: Wikimedia Commons.
Lengra kominn
1 day
Leiðbeiningar
1
1
Get the bare board
Get the bare board
Have the two-layer board made to Arduino's UNO-TH_Rev3e board layout (the .brd file of the design files). Check it against the schematic before fitting anything.
Efni fyrir þetta skref:
 Prentplata1 UNO-TH Rev3e layout
Nauðsynleg verkfæri:
 Stækkunarlúpa
2
2
Fit the small surface-mount parts
Fit the small surface-mount parts
Solder the chip parts to their marked places: resistor arrays RN1 (10K), RN2 and RN4 (1K), RN3 (22R); R1, R2 (1M); capacitors C1, C2, C4-C7, C10 (100n), C3, C8 (1u), C9, C11 (22p); varistors Z1, Z2; ferrite bead L1; inductor L2 (10 uH); diodes D2, D3; LEDs ON (green), L, RX, TX (yellow). Ours: flux, tweezers and hot air or a fine iron, checked under a loupe.
Efni fyrir þetta skref:
 Flísarviðnámsröð4 RN1-RN4
 Flísarviðnám2 1M
 Keramískur flísarþéttir11 7x100n, 2x1u, 2x22p
 Flísarvaristi2 Z1, Z2
 Ferrítperla1 L1
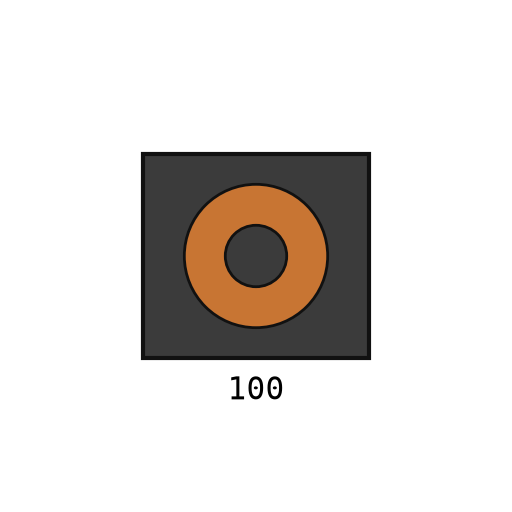 Yfirborðsspóla1 L2
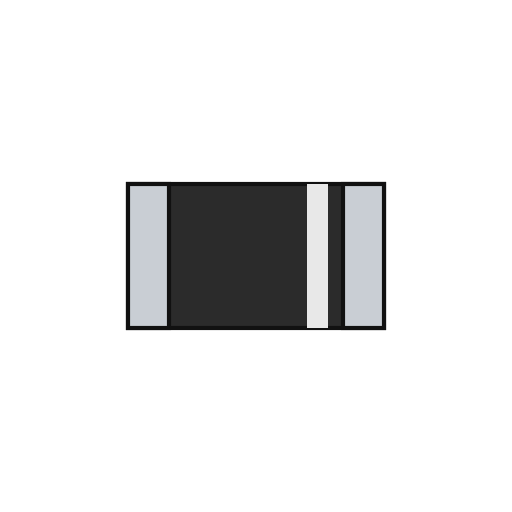 Yfirborðsdíóða2 D2, D3
 Flísar-LED4 1 green, 3 yellow
 Lóðtinsvír1 a little
Nauðsynleg verkfæri:
 Lóðfeiti
 Oddmjóar pinsettur
 Heitloftsviðgerðarstöð
 LóðboltiStækkunarlúpa
3
3
Fit the power and chip parts
Fit the power and chip parts
Solder the ATmega16U2 (U3), the 16 MHz resonator Y2 and crystal Y1, the 5 V regulator NCP1117 (U1) and 3.3 V regulator LP2985 (U2), the LMV358 op-amp (U5), the FDN340P transistor (T1), the M7 diode (D1), the 500 mA resettable fuse (F1) and the 47 uF capacitors PC1, PC2 with their polarity as marked.
Efni fyrir þetta skref:
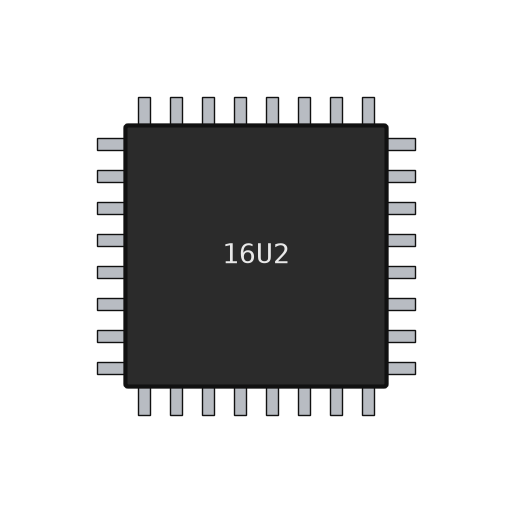 ATmega16U2 örstýring1 U3
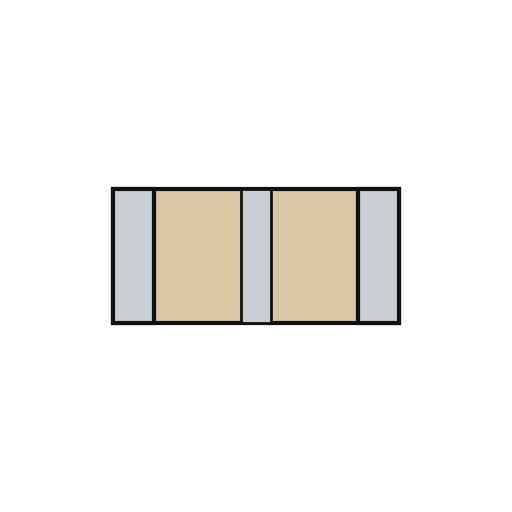 Píesókeramískur hermir1 Y2
 Kvarskristall1 Y1
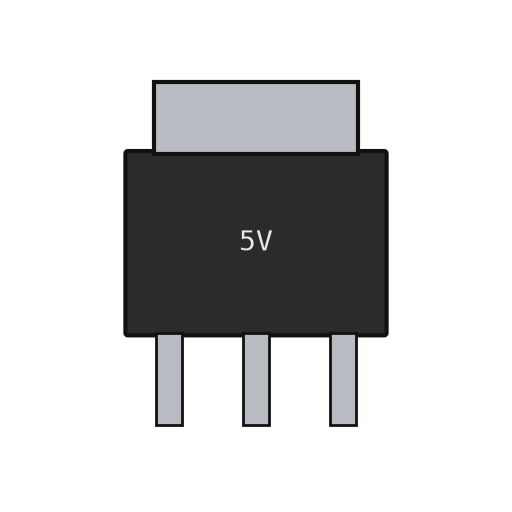 Línulegur spennustillir2 U1 5 V, U2 3.3 V
 Aðgerðamagnara-kubbur1 U5 LMV358
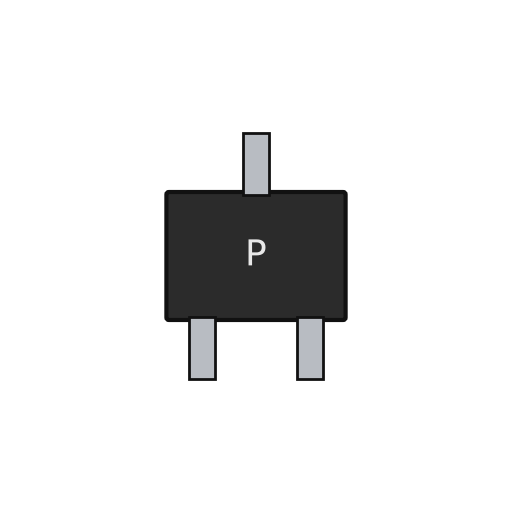 P-rása MOSFET1 T1Yfirborðsdíóða1 D1 M7
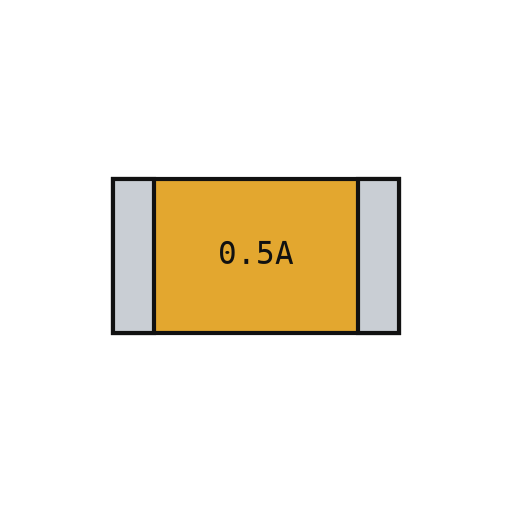 Sjálfendurstillandi vari1 F1
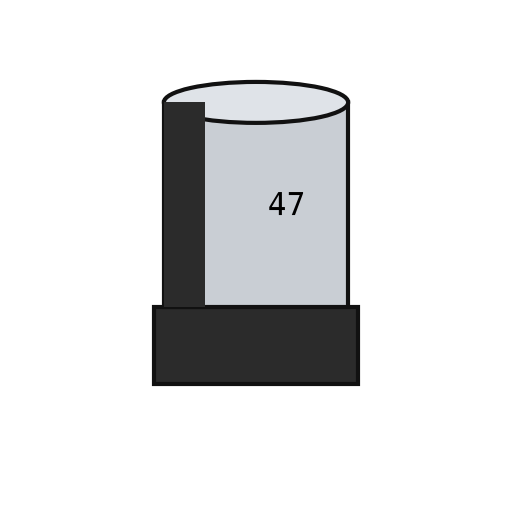 Skautaður flísarþéttir2 PC1, PC2Lóðtinsvír1 a little
Nauðsynleg verkfæri:
LóðfeitiOddmjóar pinsetturHeitloftsviðgerðarstöðLóðboltiStækkunarlúpa4
4
Fit the through-hole parts
Fit the through-hole parts
Solder the USB-B socket (X2), the DC jack (X1), the reset switch, the female headers (one 10-way, two 8-way, one 6-way) and the two 2x3 ICSP headers. Seat the ATmega328P in its place (ZU4).
Efni fyrir þetta skref:
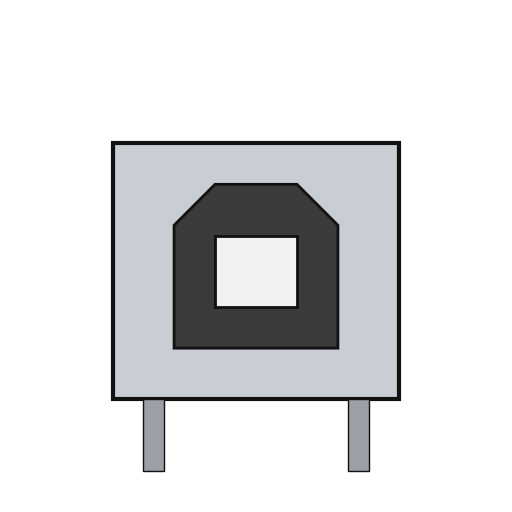 USB-B tengi1 X2
 Tunnutengi fyrir straum1 X1
 Þrýstihnappur1 RESET
 Pinnaröð6 10x1, 2x 8x1, 6x1 female; 2x 3x2 ICSP
 ATmega328P örstýring1 ZU4Lóðtinsvír1 as needed
Nauðsynleg verkfæri:
Lóðbolti5
5
Flash and check
Flash and check
Check with a meter that 5 V and GND are not shorted. Through the ICSP headers, load the USB-to-serial firmware into the ATmega16U2 and the bootloader into the ATmega328P. Plug in USB: the green ON LED lights, and the blink test in the next step flashes the L LED. Ours: an AVR ISP programmer and a multimeter.
Efni fyrir þetta skref:
 Fastbúnaður Arduino Uno1 download
Nauðsynleg verkfæri:
 Fjölsviðsmælir
 AVR ISP forritari
 USB-B-snúra
6
6
The blink test
The blink test
blink_test.ino: the same check as Arduino's Blink example. Upload it over USB from the Arduino IDE with the board set to Arduino Uno; the L LED on pin 13 turns on for one second and off for one second, over and over. If it does, both processors, the USB link and the bootloader work.
blink_test.inocpp
Nauðsynleg verkfæri:
USB-B-snúraEfni
24- 1 UNO-TH Rev3e layoutStaðgengill
- 4 RN1-RN4Staðgengill
- 2 1MStaðgengill
- 11 7x100n, 2x1u, 2x22pStaðgengill
- 2 Z1, Z2Staðgengill
- 1 L1Staðgengill
- 1 L2Staðgengill
- 1 D1 M7Staðgengill
- 4 1 green, 3 yellowStaðgengill
- 1 as neededStaðgengill
- Staðgengill
- Staðgengill
- 1 Y1Staðgengill
- 2 U1 5 V, U2 3.3 VStaðgengill
- 1 U5 LMV358Staðgengill
- 1 T1Staðgengill
- Staðgengill
- 2 PC1, PC2Staðgengill
- 1 X2Staðgengill
- frá$1.51
- frá$0.51
- 1 ZU4Staðgengill
- 1 downloadStaðgengill
Nauðsynleg verkfæri
8- Staðgengill
- Staðgengill
- Staðgengill
- Staðgengill
- Staðgengill
- Staðgengill
- USB-B-snúra10% þóknunMagento Legacy Storeships internationallyStaðgengill
Þessi teikning býr til
Tengd Blueprint
Þessi blueprint deila þekkingu — tækni, efni eða meginreglur

CC0 opinbert ríki
Þessi teikning er gefin út undir CC0. Þér er frjálst að afrita, breyta, dreifa og nota þetta verk í hvaða tilgangi sem er, án þess að biðja um leyfi.
Studdu smiðinn með því að kaupa vörur í gegnum teikningu hans þar sem hann fær þóknun smiða sem seljendur ákvarða, eða búðu til nýja endurskoðun á þessari teikningu og tengdu hana sem tengingu í þinni eigin teikningu til að deila tekjum.