Samvinna
LIST
FEGURÐ OG VELLÍÐAN
HANDVERK
MENNING OG SAGA
SKEMMTUN
UMHVERFI
MATUR OG DRYKKUR
ÖFUGVERKFRÆÐI
VÍSINDI
ÍÞRÓTTIR
TÆKNI
KLÆÐANLEG TÆKNI
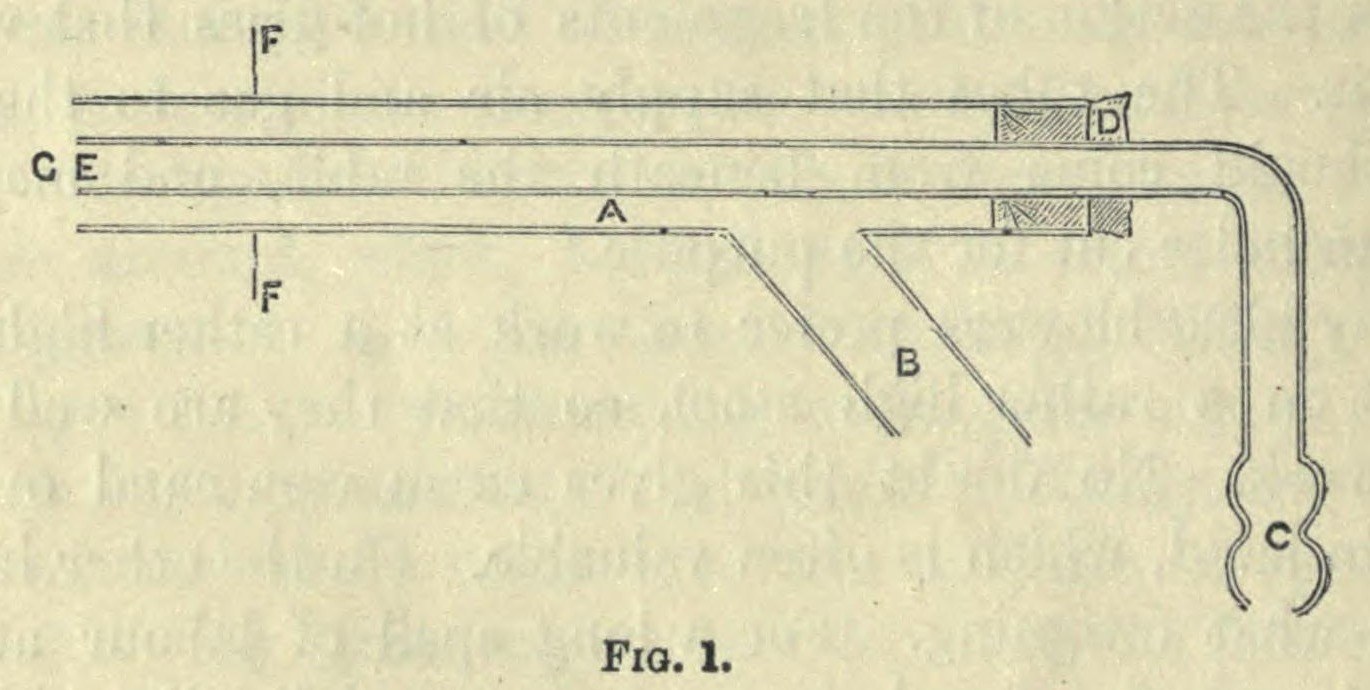


Bench Glassblowing Torch: Brass Gas Blowpipe with a Glass Air Jet (Shenstone, 1916)
A glassblower's gas blowpipe you can make yourself: a brass tube with a side tube for gas, and a glass air jet down its middle fed from a foot-blower. A fine jet gives the small pointed flame for joints, and a wider jet the big brush flame for heating large tubes. It is pegged into a wooden block on a sheet-iron-covered bench, with taps for gas and air at the bench edge.
Result: a bench blowpipe for working glass tube. Make two: one about 11 mm bore for small work, one 15 to 17 mm for large.
Source: W. A. Shenstone, The Methods of Glass-Blowing (1916), pp. 3-9. Unknown: the brazing metal and the tap type. Picture: Fig. 1 of the book.
Miðlungs
Unknown
Leiðbeiningar
1
1
Braze the gas inlet
Braze the gas inlet
Take a brass tube for the body: about 11 mm bore for the small blowpipe, 15 to 17 mm for the large one. Braze a side tube for the gas onto it 10 to 12 cm from the back end, according to the tube's size. Fix a spike to it for mounting. Ours: borax as the flux. Not given: the brazing metal.
Efni fyrir þetta skref:
 Messingrör1 body and side tube
 Óþekktur málmur1 brazing metal and spike
 Bóraxduft1 brazing flux
Nauðsynleg verkfæri:
 Járnsög
 Aflinn
2
2
Fit the glass air jet
Fit the glass air jet
Fit a glass tube down the middle of the brass tube, held by a cork at the back end, its tip near the mouth. For the small pointed flame, draw the tip down to the size of a large knitting needle. For a large flame rich in air, the tip may be nearly half the bore of the brass tube. Make several air tubes of different sizes for each blowpipe.
Efni fyrir þetta skref:
 Glerrör3 air jets of several sizes
 Korktappar1 jet cork
Nauðsynleg verkfæri:
 Bunsenbrennari
3
3
Set up the bench
Set up the bench
Cover the bench round the blowpipe with sheet iron. Drill several holes in a block of wood so the spike can be set at different positions. Fix two taps near the bench edge, one for gas and one for air. Connect them by flexible tubes to the supplies on one side and to the blowpipe's gas inlet and air jet on the other. Ours: mild steel sheet, rubber tubing. Not given: the tap type.
Efni fyrir þetta skref:
 Plata úr mjúku stáli1 bench cover
 Harðviðarkubbur1 mounting block
 Óþekktur loki2 gas and air taps
 Gúmmíslanga1 flexible tubes
Nauðsynleg verkfæri:
 Súlubor
4
4
Light it and blow
Light it and blow
Light the gas at the mouth and work a foot-blower to drive air through the glass jet into the burning gas. Little air and a small jet give the pointed flame; plenty of gas and a strong blast give the large, non-luminous brush flame.
Nauðsynleg verkfæri:
 Smiðjubelgur
Efni
9- 1 body and side tubeStaðgengill
- 1 brazing metal and spikeStaðgengill
- 1 brazing fluxStaðgengill
- 3 air jets of several sizesStaðgengill
- 1 jet corkStaðgengill
- 1 bench coverStaðgengill
- 1 mounting blockStaðgengill
- 2 gas and air tapsStaðgengill
- 1 flexible tubesStaðgengill
Efni úr tengdum teikningum
10% eignun
Venetian Borax: Refining Tincal with Lime
eftir Charlie
Ólífrænt
21
0
0
0
1
0
10% eignun
Natural Rubber Tubing, Bands and Sheet: Sulfur-Cured with Heat
eftir Mary
Efnafræði
15
0
0
0
2
0
10% eignun
Oak Boards and Blocks, Milled and Air-Dried
eftir Woody
Trésmiði
43
0
0
0
3
0
10% eignun
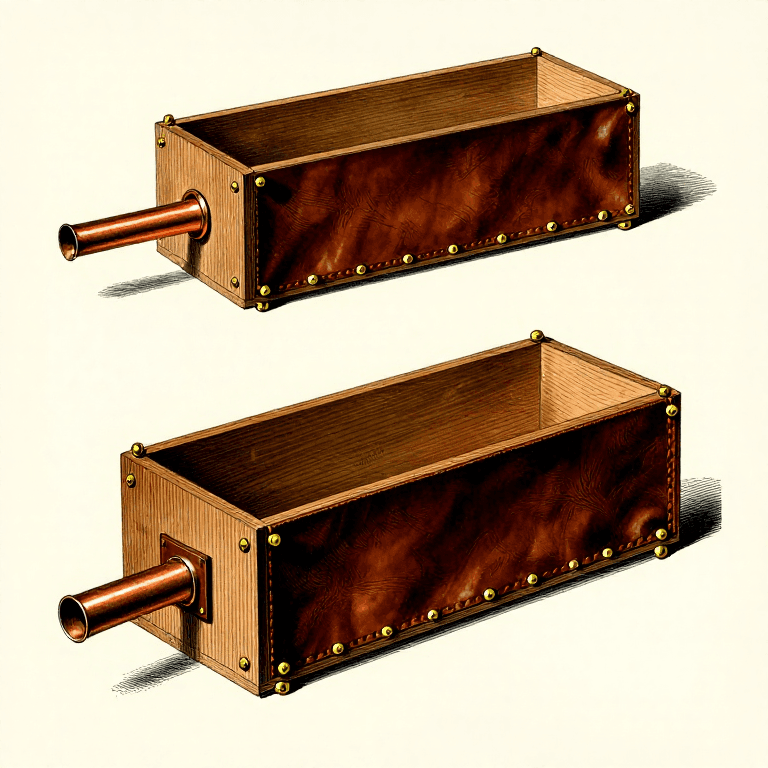
Building a Box Bellows — The Breath That Makes Metal Obey Fire
eftir Emma
Trésmiði
107
0
0
0
8
0
Þessi teikning býr til
CC0 opinbert ríki
Þessi teikning er gefin út undir CC0. Þér er frjálst að afrita, breyta, dreifa og nota þetta verk í hvaða tilgangi sem er, án þess að biðja um leyfi.
Studdu smiðinn með því að kaupa vörur í gegnum teikningu hans þar sem hann fær þóknun smiða sem seljendur ákvarða, eða búðu til nýja endurskoðun á þessari teikningu og tengdu hana sem tengingu í þinni eigin teikningu til að deila tekjum.