LIST
FEGURÐ OG VELLÍÐAN
HANDVERK
MENNING OG SAGA
SKEMMTUN
UMHVERFI
MATUR OG DRYKKUR
ÖFUGVERKFRÆÐI
VÍSINDI
ÍÞRÓTTIR
TÆKNI
KLÆÐANLEG TÆKNI
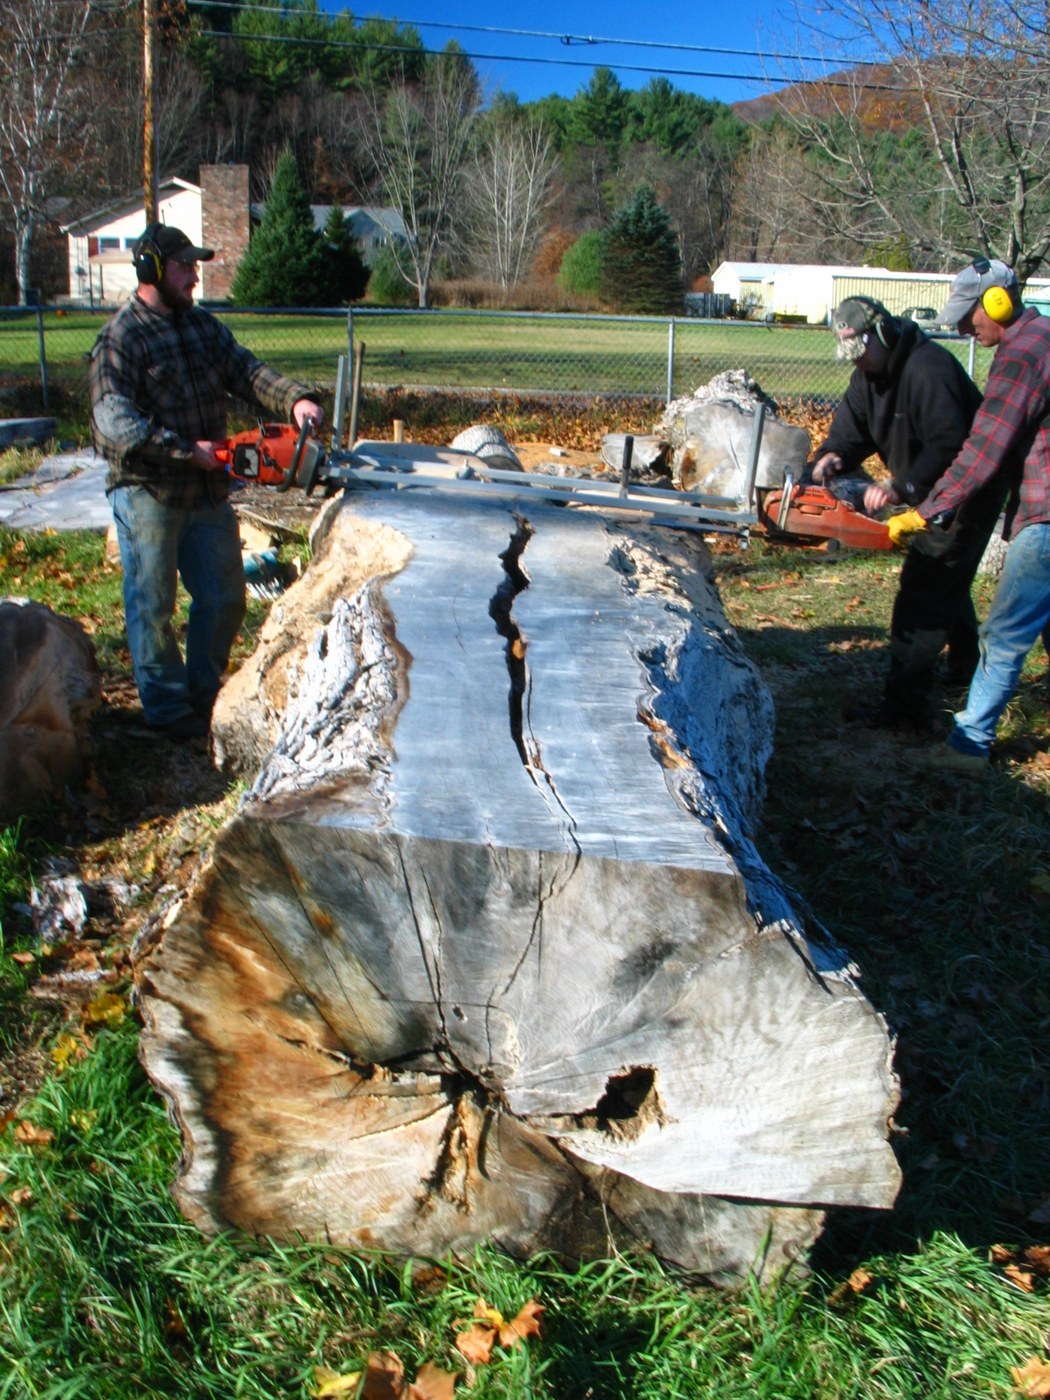


Pine Boards with a Chainsaw Mill
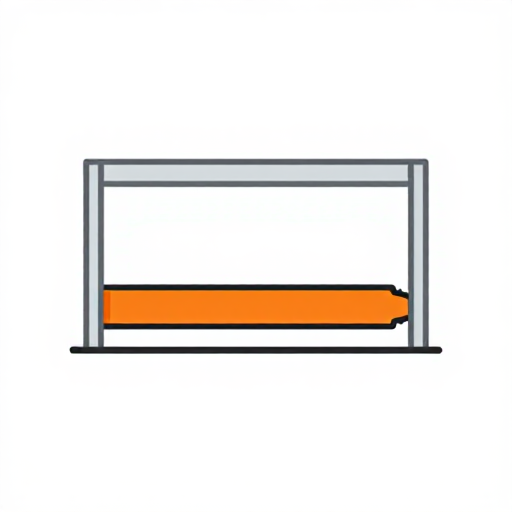
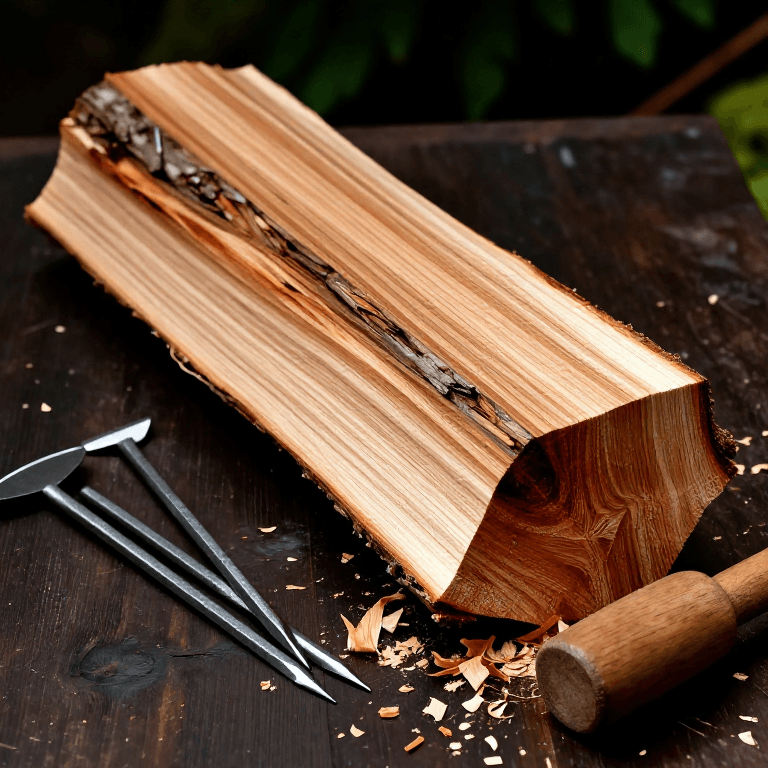
A chainsaw mill is a frame that holds the saw's bar flat at a set height, so the chain rips a log lengthways into boards. The first cut rides on a straight board screwed to the log; every later cut rides on the flat face before it. The green boards are then stacked on stickers to air-dry.
Pine dries fast: a 25 mm board can reach about 14 % moisture in 60 to 90 days in good drying weather. Oak and other slow species take far longer.
Miðlungs
1 day milling, 2–3 months drying
Leiðbeiningar
1
1
Pick and prop the log
Pick and prop the log
Choose a straight pine log, 2.5–3 m long, without large knots. Prop it on two short logs so it cannot roll and the chain will not reach the ground.
Efni fyrir þetta skref:
 Mjúkviðarbolir1 stykki
Nauðsynleg verkfæri:
 Málband
2
2
Fit the mill
Fit the mill
Bolt the mill to the chainsaw bar following its maker's instructions. A ripping chain cuts along the grain faster and smoother than a crosscut chain.
Nauðsynleg verkfæri:
 Keðjusög (fagleg skógarhöggsgerð)
 Sögunargrind fyrir keðjusög
3
3
Screw on the guide board
Screw on the guide board
Screw a straight board along the top of the log, level from end to end, as the rail for the first cut. Check it with the straightedge and level.
Efni fyrir þetta skref:
 Tréskrúfur6 stykki
Nauðsynleg verkfæri:
 Furuborð
 Hleðslubor
 Réttskeið
 Hallamál
4
4
First cut
First cut
Wearing helmet with visor, ear protection, gloves and boots, run the mill along the guide board and take off the top slab. Remove the guide board.
Nauðsynleg verkfæri:
Keðjusög (fagleg skógarhöggsgerð)Sögunargrind fyrir keðjusög Öryggishjálmur
 Heyrnarhlífar
 Vinnuhanskar úr leðri
 Öryggisskór með stáltá
5
5
Cut the boards
Cut the boards
Set the mill a few millimetres thicker than the finished board, to allow for shrinking and planing. Run each cut on the flat face left by the one before.
Nauðsynleg verkfæri:
Keðjusög (fagleg skógarhöggsgerð)Sögunargrind fyrir keðjusögMálband6
6
Seal the ends
Seal the ends
Paint both ends of every board with end sealer the same day, to stop them splitting as they dry.
Efni fyrir þetta skref:
 Endaþéttir (parafínvax)0.5 lítri
7
7
Sticker the stack
Sticker the stack
On a level base at least 30 cm off the ground, lay the boards in layers with a gap between them, each layer on stickers every 40–60 cm, the stickers one above the other.
Efni fyrir þetta skref:
 Stæðulisti úr tré (þurrkbil)30 stykki
Nauðsynleg verkfæri:
 TrébrettiHallamál
8
8
Cover and weight
Cover and weight
Cover the top of the stack against rain and lay weight on it to keep the top boards flat; leave the sides open to the air.
Nauðsynleg verkfæri:
 Hlífðardúkur
9
9
Measure the moisture
Measure the moisture
After 2 months, read a board from the middle of the stack. Air-dry outdoors reaches about 12–15 %; bring boards for furniture indoors to settle at 6–8 % before working them.
Nauðsynleg verkfæri:
 Rakamælir
10
10
Troubleshooting
Troubleshooting
Chainsaw milling troubleshooting.
Flow
Loading...
Efni
4- 1 stykkiStaðgengill
- 6 stykkiStaðgengill
- 0.5 lítriStaðgengill
- 30 stykkiStaðgengill
Nauðsynleg verkfæri
14- Staðgengill
- Staðgengill
- Staðgengill
- Hleðslubor3% þóknunMagento Legacy Storeships internationallyStaðgengill
- Staðgengill
- Staðgengill
- Staðgengill
- Staðgengill
- Staðgengill
- Staðgengill
- Staðgengill
- Staðgengill
- Staðgengill
Þessi teikning býr til

Tengd Blueprint
Þessi blueprint deila þekkingu — tækni, efni eða meginreglur
CC0 opinbert ríki
Þessi teikning er gefin út undir CC0. Þér er frjálst að afrita, breyta, dreifa og nota þetta verk í hvaða tilgangi sem er, án þess að biðja um leyfi.
Studdu smiðinn með því að kaupa vörur í gegnum teikningu hans þar sem hann fær þóknun smiða sem seljendur ákvarða, eða búðu til nýja endurskoðun á þessari teikningu og tengdu hana sem tengingu í þinni eigin teikningu til að deila tekjum.