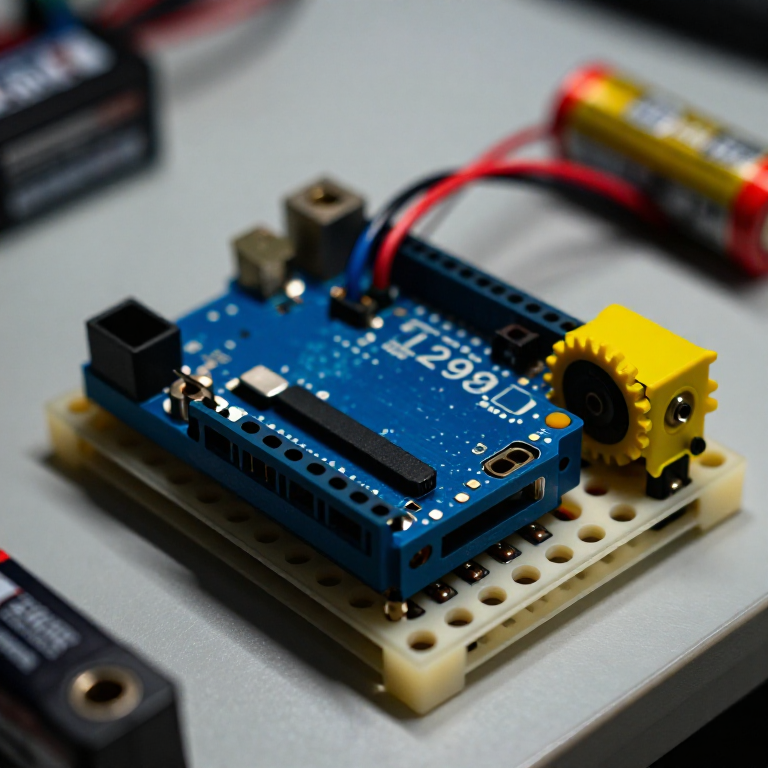


Controlling a DC Motor with an L298N Driver
An Arduino pin can't power a motor directly — it can't supply enough current, and it can't reverse the flow. An L298N H-bridge solves both: the Arduino sends low-power control signals, and the driver switches the motor's own battery to run it forwards, backwards and at any speed. This is the core building block of every wheeled robot.
Leiðbeiningar
Wire the driver, motor and battery
Wire the driver, motor and battery
Push the L298N's control header into the breadboard. From the Arduino, jumper pin 8 to IN1, pin 9 to IN2, and pin 10 to ENA. Connect the DC motor's two wires to the OUT1/OUT2 screw terminals, and a 4×AA battery pack to the +12V and GND motor terminals. IMPORTANT: join all the grounds together — Arduino GND, driver GND and battery GND — or the motor won't run.
Efni fyrir þetta skref:
 Arduino Uno R31 stykki
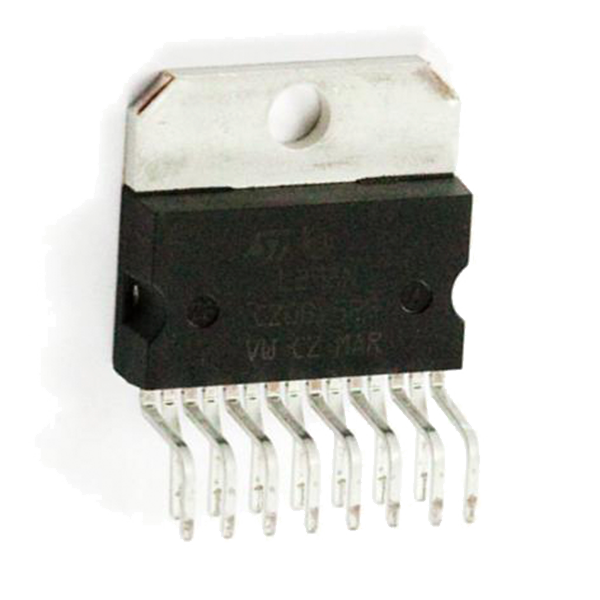 Full-Bridge Motor Driver Dual - L298N1 stykki
 Gírmótor1 stykki
 Rafhlöðuhaldari1 stykki
 Tengibretti1 stykki
 Tengivírar1 pakki
Connect and open the IDE
Connect and open the IDE
Plug the Arduino into your computer with the USB cable, open the Arduino IDE, and select Arduino Uno and its serial port. Leave the motor battery switched off until the code is uploaded.
Nauðsynleg verkfæri:
 Tölva með Arduino IDE
 USB-B-snúra
Upload the motor sketch
Upload the motor sketch
Paste this sketch and upload, then switch on the battery. The motor runs forward, stops, reverses, and stops — on a loop.
Test and control it
Test and control it
Watch the motor go forward, stop, reverse. IN1/IN2 set the direction (swap which is HIGH to flip it); the number in analogWrite(ENA, ...) sets the speed from 0 (off) to 255 (full). If the motor doesn't spin, check that all three grounds are joined and the battery is on.
Make it a robot
Make it a robot
The L298N drives TWO motors. Wire a second motor to OUT3/OUT4 and control it with IN3, IN4 and ENB on three more Arduino pins. Two motors on a chassis with wheels gives you a robot base you can drive — turn by running the wheels at different speeds or directions.
Efni
6- frá$27.30
- Full-Bridge Motor Driver Dual - L298N10% þóknun1 stykki$3.60
- frá$1.20
- frá$9.59
- frá$1.63
Nauðsynleg verkfæri
2- Staðgengill
- USB-B-snúra10% þóknunMagento Legacy Storeships internationallyStaðgengill
Tengd Blueprint
Þessi blueprint deila þekkingu — tækni, efni eða meginreglur


CC0 opinbert ríki
Þessi teikning er gefin út undir CC0. Þér er frjálst að afrita, breyta, dreifa og nota þetta verk í hvaða tilgangi sem er, án þess að biðja um leyfi.
Studdu smiðinn með því að kaupa vörur í gegnum teikningu hans þar sem hann fær þóknun smiða sem seljendur ákvarða, eða búðu til nýja endurskoðun á þessari teikningu og tengdu hana sem tengingu í þinni eigin teikningu til að deila tekjum.