LIST
FEGURÐ OG VELLÍÐAN
HANDVERK
MENNING OG SAGA
SKEMMTUN
UMHVERFI
MATUR OG DRYKKUR
ÖFUGVERKFRÆÐI
VÍSINDI
ÍÞRÓTTIR
TÆKNI
KLÆÐANLEG TÆKNI
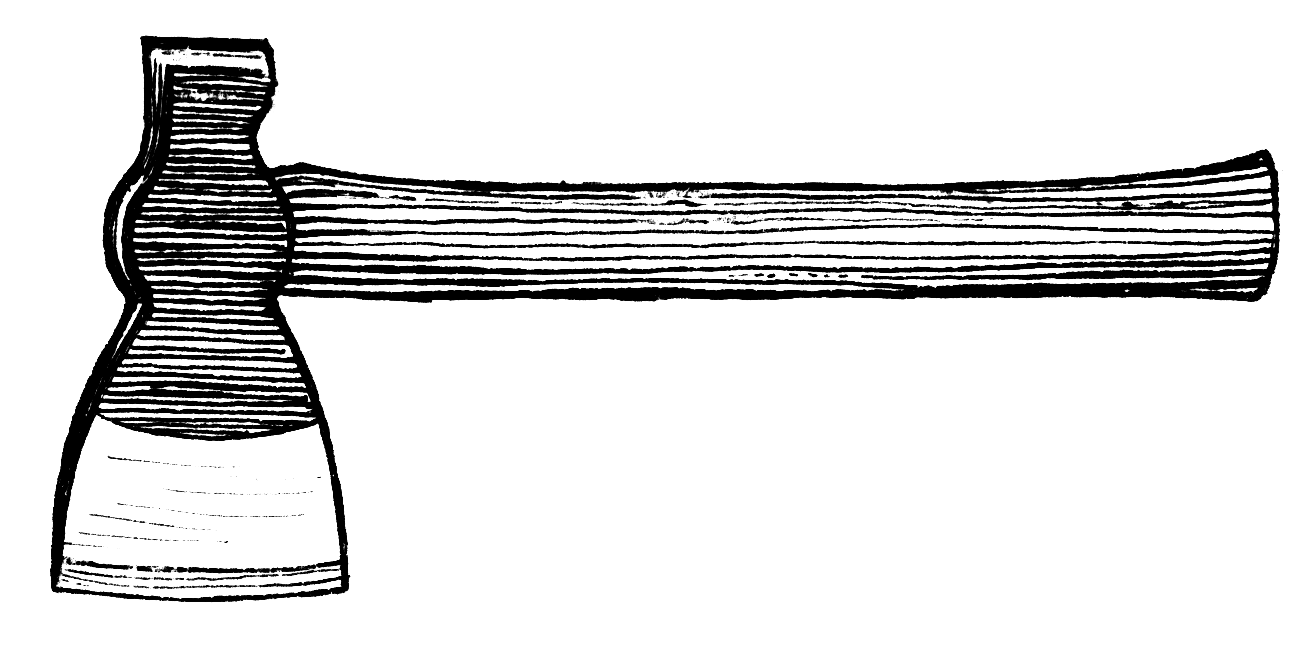


Forged Hunting Axe (Hatchet)
A small one-handed axe forged from a 7/8 × 2-inch bar of good tool steel, best made by two people; a 6¾-inch bar gives two heads. The eye, about 9/16 × 1½ inches, is punched at a yellow heat with an eye punch and opened with drifts, the blade drawn out to a 3-inch edge and the head cut to length. The axe is annealed in lime or ashes, ground and buffed, then hardened from the hardening heat in tepid water and tempered by two hot iron bars laid on either side at the centre: dark purple for the blade, blue for the head.
Lengra kominn
4–6 hours
Leiðbeiningar
1
1
Mark and punch the eye
Mark and punch the eye
Mark the stock with chisel and centre punch. At a yellow heat, punch the eye with the narrow edge of the punch toward the blade; lift the punch after each blow to check it runs straight and to let it cool; a little fine coal in the hole stops it sticking. Punch nearly through, then finish from the other side.
Efni fyrir þetta skref:
 Flatt verkfærastál1 stykki
Nauðsynleg verkfæri:
 Körnunardorg
 Smiðjueldstæði
 Steðji
 Heitgatajárn
 Sleggja
 Járnsmiðstöng
2
2
Drift and draw out
Drift and draw out
Drive in a tool-steel drift, hammer the bulges down to the bar's size and smooth with a flatter; take the drift out before each reheat. Use two drifts, the first 3/8 inch narrower. Draw out the blade, driving the drift back in as the eye stretches so no cold shut forms.
Nauðsynleg verkfæri:
 Gatvíkkari
 Sléttari
 Kambhamar
3
3
Shape and trim
Shape and trim
Shape the blade with a heavy hammer and flatter and form its edge. Cut the head from the bar, draw it to size, cut it to length, then trim the blade to shape.
Nauðsynleg verkfæri:
 SmíðahamarSléttari
 Heitmeitill
4
4
Anneal and grind
Anneal and grind
Heat to a full red and anneal in lime or ashes. When cold, grind on an emery wheel and finish on a buffing wheel.
Nauðsynleg verkfæri:
Smiðjueldstæði Bekkslípivél
5
5
Harden and temper
Harden and temper
Heat very slowly to the hardening heat and cool in tepid water. Draw the temper with two hot iron bars laid on either side at the centre; when the blade is dark purple and the head blue, cool quickly in water.
Nauðsynleg verkfæri:
Smiðjueldstæði HerslufataJárnsmiðstöng
6
6
Handle
Handle
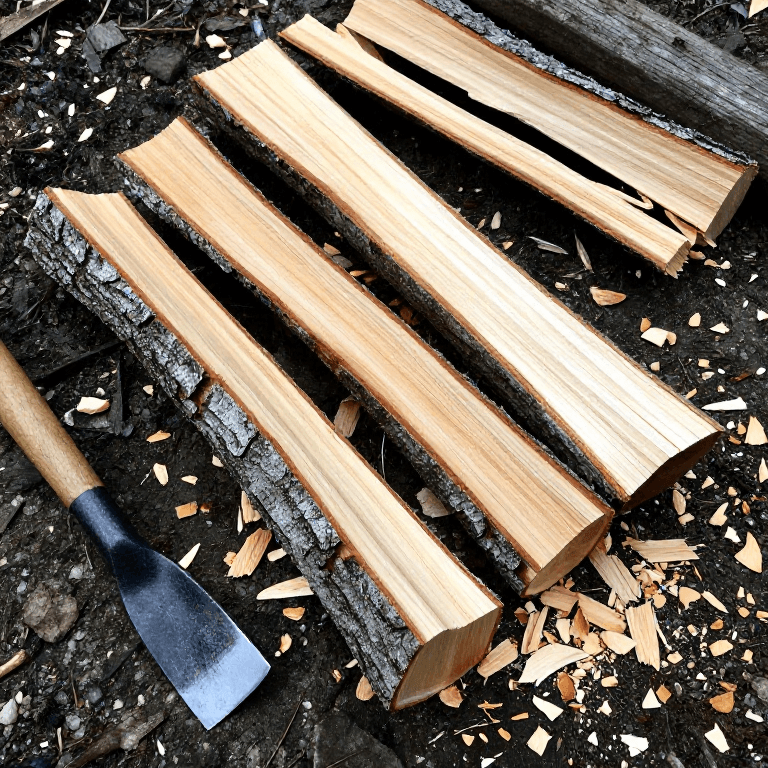
Shave the handle stock to fit the eye tightly, drive the head on, saw a kerf in the handle's top and drive a glued hardwood wedge into it. Trim flush and oil the handle.
Efni fyrir þetta skref:
 Harðviðarefni í sköft1 stykki
 Harðviðarkíll1 stykki
 Línolía10 ml
Nauðsynleg verkfæri:
 Bugtarhefill
 Þversög fyrir tvo
 Skrúfstykki
Efni
4- 1 stykkiStaðgengill
- 1 stykkiStaðgengill
- 1 stykkiStaðgengill
- 10 mlStaðgengill
Nauðsynleg verkfæri
16- Staðgengill
- Staðgengill
- Staðgengill
- Staðgengill
- Staðgengill
- Staðgengill
- Staðgengill
- Staðgengill
- Staðgengill
- Staðgengill
- Staðgengill
- Staðgengill
- Staðgengill
- Staðgengill
- Staðgengill
- Staðgengill
Þessi teikning býr til

Tengd Blueprint
Þessi blueprint deila þekkingu — tækni, efni eða meginreglur
CC0 opinbert ríki
Þessi teikning er gefin út undir CC0. Þér er frjálst að afrita, breyta, dreifa og nota þetta verk í hvaða tilgangi sem er, án þess að biðja um leyfi.
Studdu smiðinn með því að kaupa vörur í gegnum teikningu hans þar sem hann fær þóknun smiða sem seljendur ákvarða, eða búðu til nýja endurskoðun á þessari teikningu og tengdu hana sem tengingu í þinni eigin teikningu til að deila tekjum.